


Building a new gymnasium or school facility presents unique opportunities to integrate modern recognition technology from the ground up. Rather than retrofitting displays into existing spaces, new construction allows optimal placement, proper infrastructure, and seamless integration of interactive touchscreen systems that celebrate athletic achievement and build school pride.
The question facing administrators during new construction projects: when during the building process should we plan for and install touchscreen displays? The answer directly impacts budget allocation, infrastructure requirements, installation quality, and long-term functionality. Schools that treat digital recognition displays as integral building systems during the design phase achieve far better results than those attempting to add technology as an afterthought during finishing or after occupancy.
This comprehensive guide walks through the complete timeline for incorporating touchscreen displays into new gymnasium construction, from initial architectural planning through post-construction activation. Whether your project involves a complete athletic complex, new school building, or major renovation, understanding proper timing for technology integration ensures displays function reliably while avoiding costly retrofits or compromises.
Understanding the Construction Timeline for Technology Integration
New construction projects follow predictable phases, each presenting specific opportunities and requirements for touchscreen display integration. Understanding how technology planning aligns with construction phases prevents common mistakes and ensures displays become permanent, professional installations rather than obvious add-ons.
Standard Construction Phases
Pre-Construction Phase (18-24 Months Before Occupancy)
This initial planning period encompasses architectural design, program requirements, budget development, and stakeholder input. During pre-construction, decision-makers determine facility layout, finishes, equipment specifications, and technology systems.
For touchscreen displays, pre-construction represents the most critical planning phase. Architectural drawings should show display locations, electrical specifications, and network requirements before construction begins. Budget documents should include display costs alongside other permanent building fixtures like scoreboards, sound systems, and lighting.

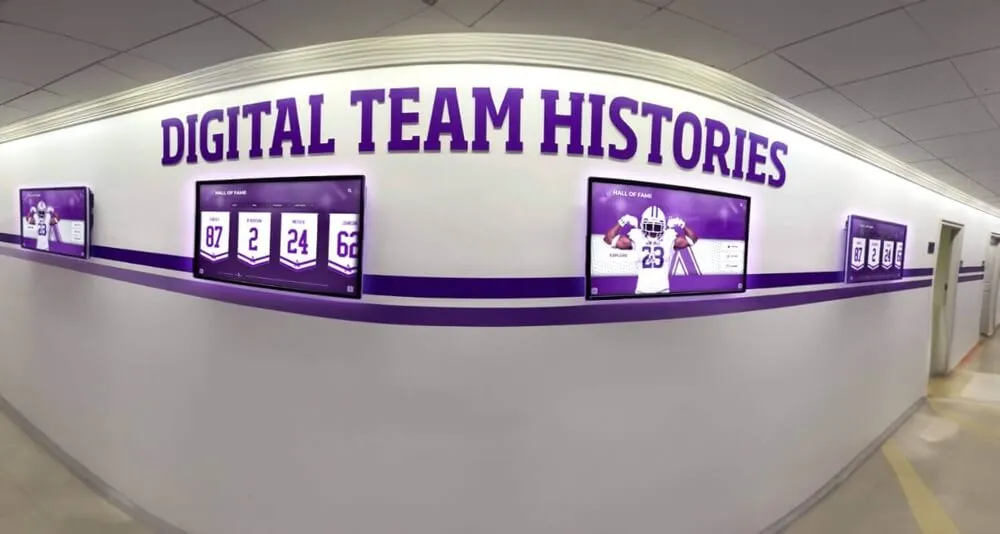
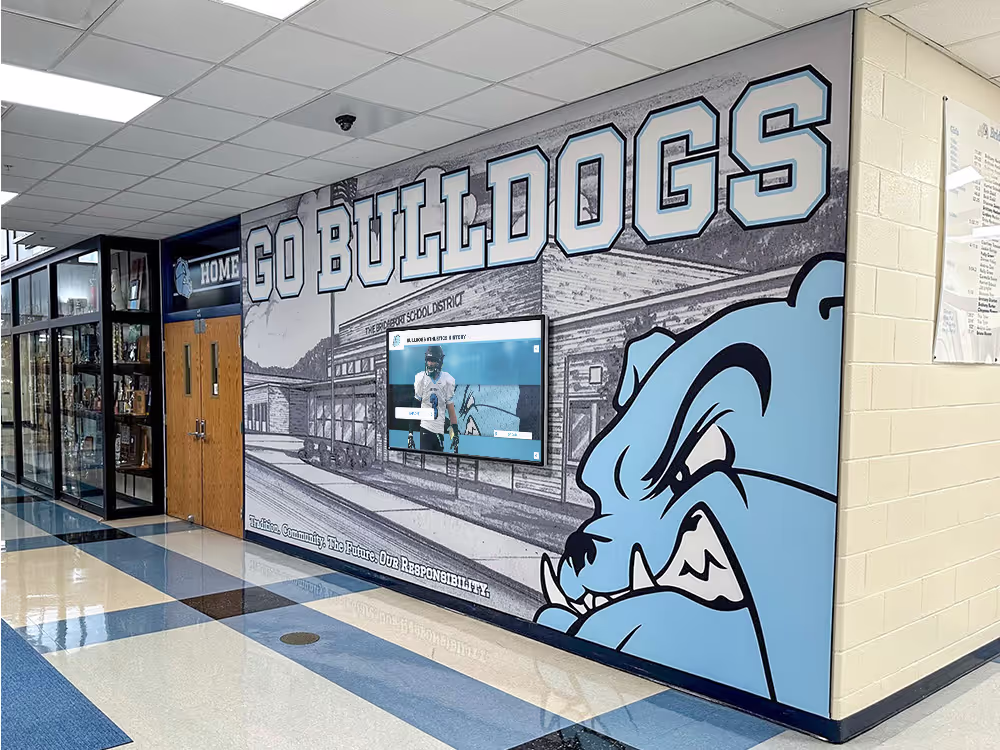
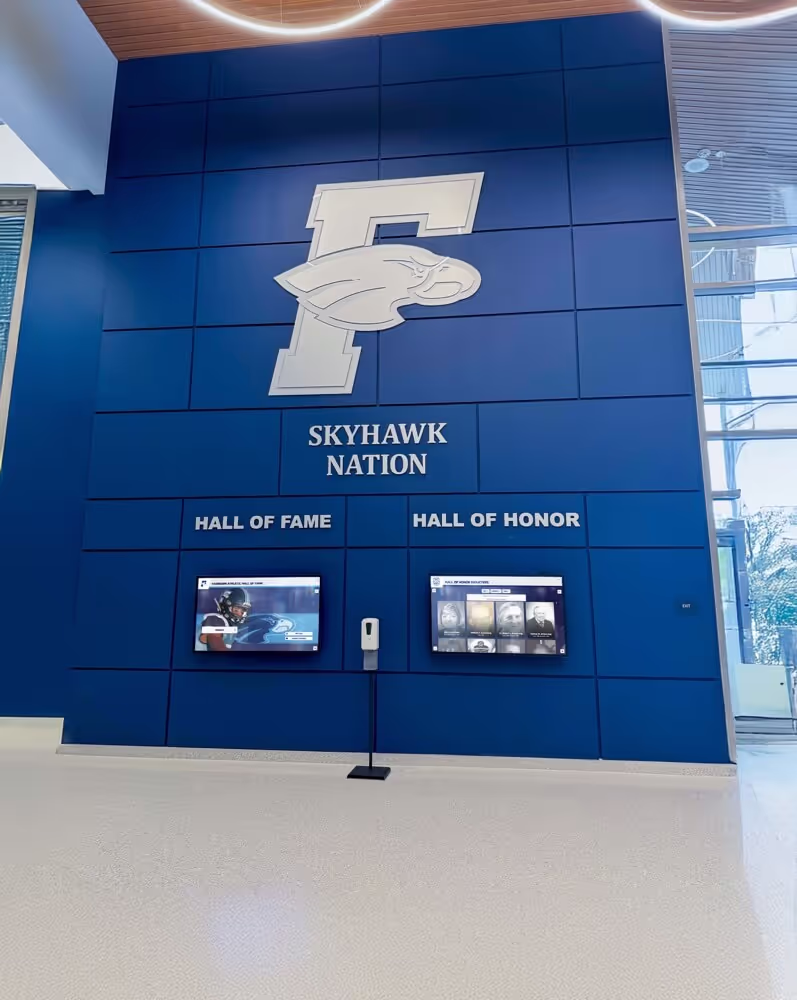
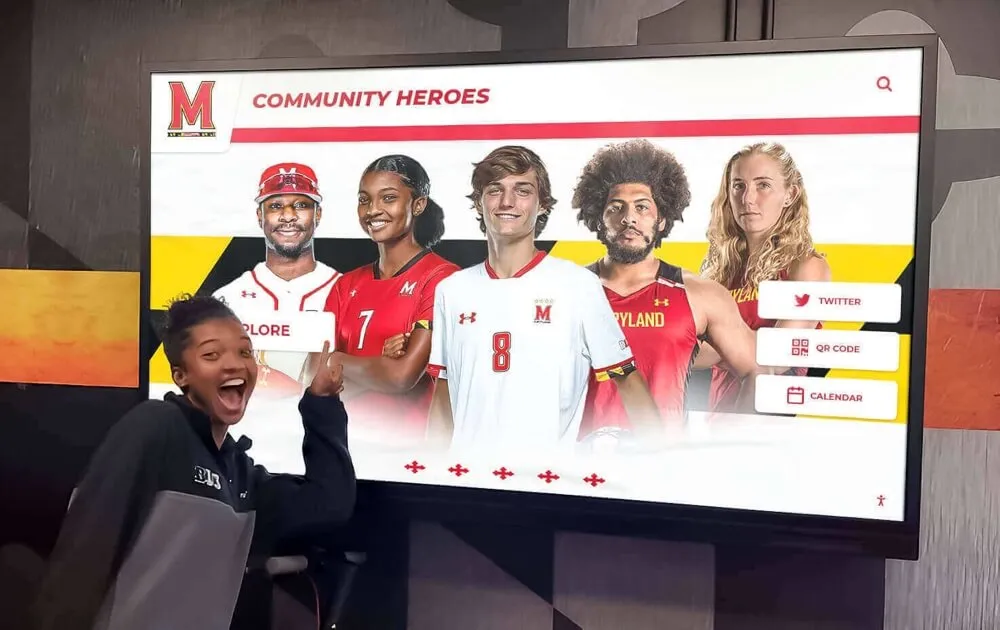
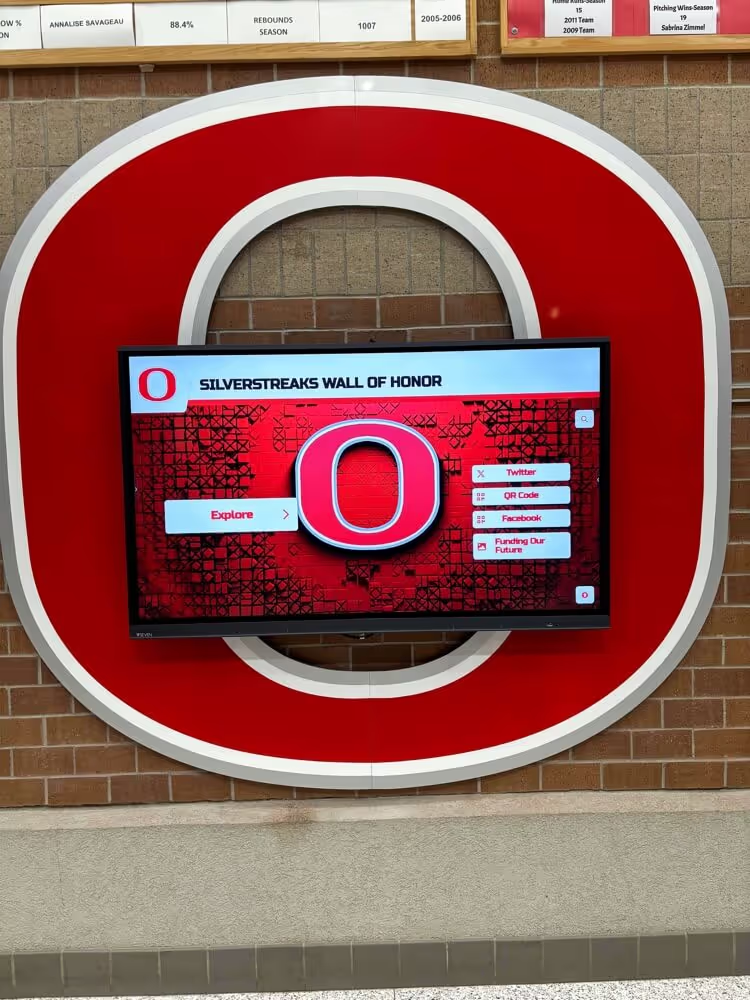
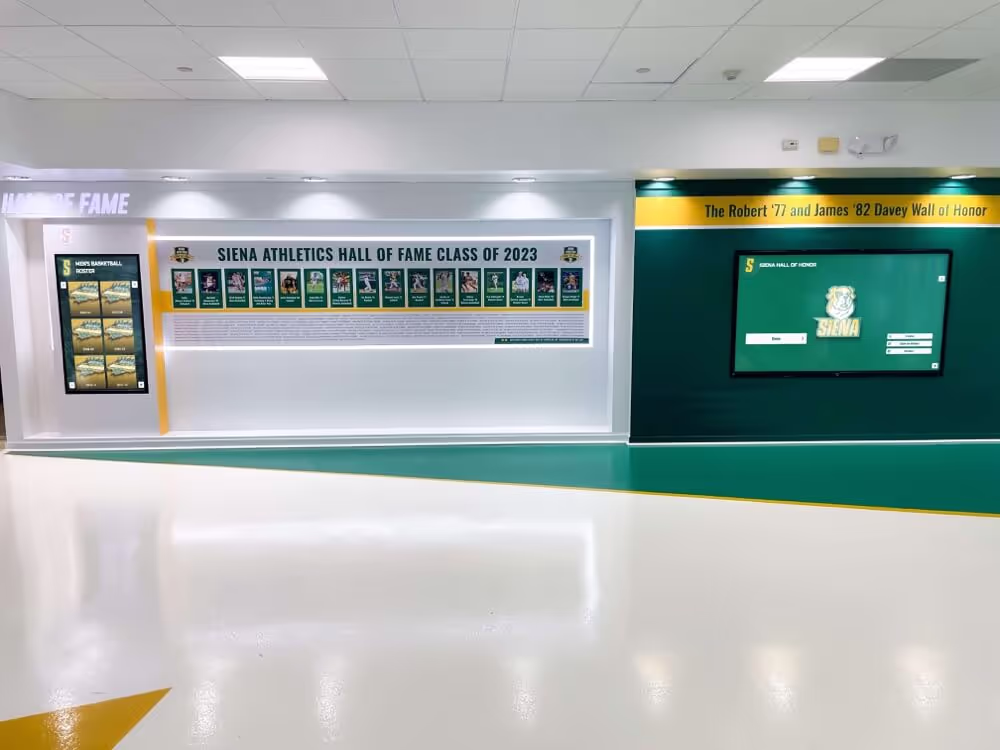
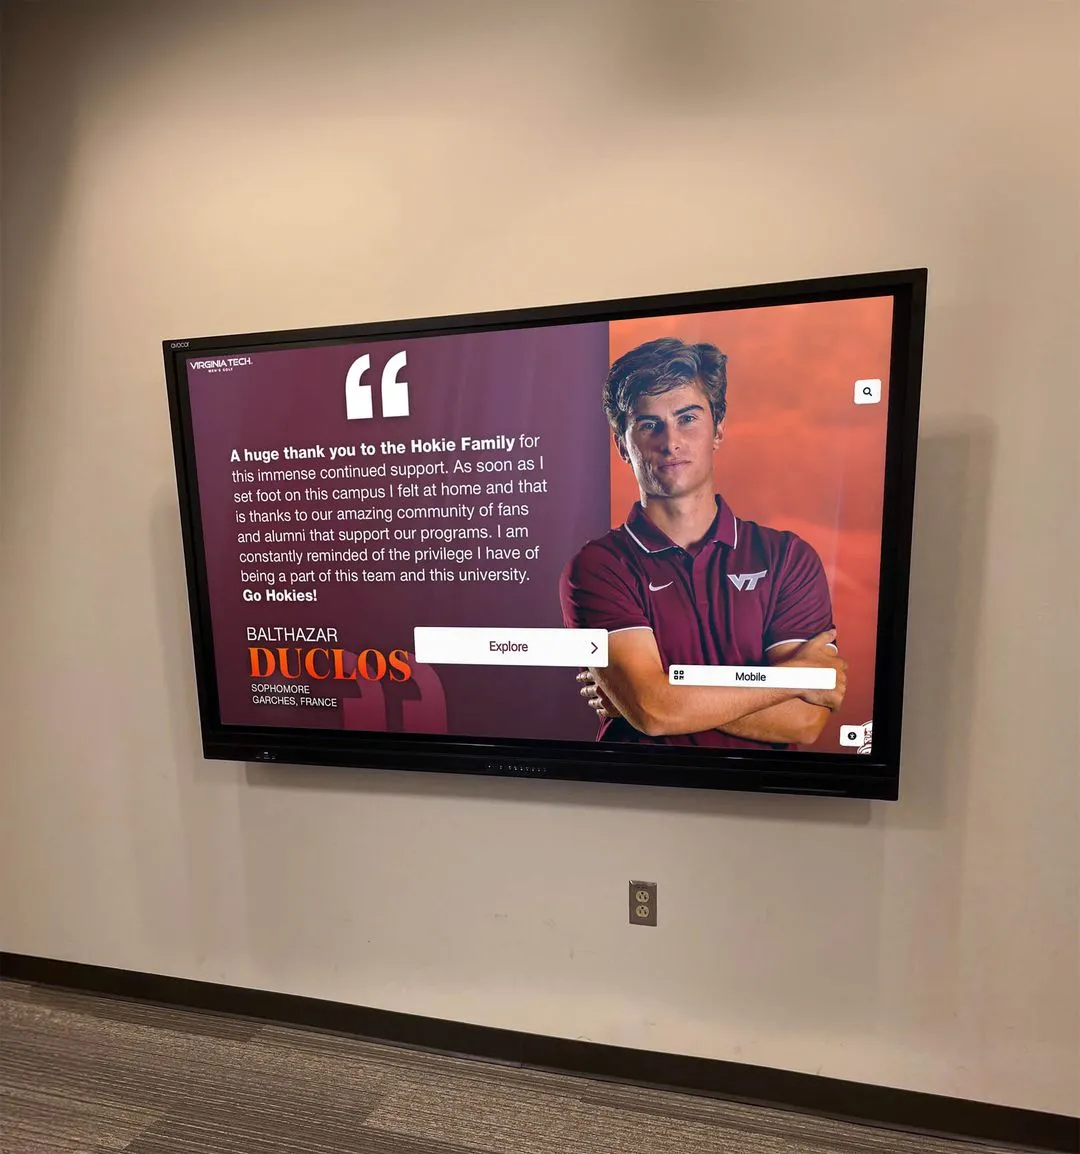
Multiple coordinated displays integrate seamlessly when planned during architectural design phases
Construction Phase (12-18 Months)
Active construction progresses from foundation work through building closure, interior finishes, and systems installation. This phase divides into rough-in periods when infrastructure gets installed behind walls and ceilings, followed by finishing work when visible surfaces and fixtures appear.
Display infrastructure installation occurs during electrical and network rough-in phases, typically 6-9 months before occupancy. Final display mounting happens during finishing phases, approximately 2-4 months before opening.
Post-Construction Phase (1-3 Months Before Occupancy)
Final commissioning involves testing all building systems, completing punch lists, conducting inspections, and preparing for occupancy. During this period, technology systems undergo final configuration, content development, and staff training.
Touchscreen displays receive final software configuration, content loading, and operational testing during post-construction. Staff training on content management ensures smooth operation when the facility opens.
The Critical Design Phase: Why Early Planning Matters
The most significant finding from successful school technology implementations: displays must be included in architectural planning from project inception, not added during construction or after completion.
Schools that plan displays during design phases benefit from:
Proper Infrastructure Integration
Electrical circuits, network connections, and mounting reinforcement get designed into building specifications rather than requiring expensive modifications. Dedicated electrical circuits prevent power interruptions from other building systems. Network infrastructure provides reliable connectivity without WiFi limitations.
Optimal Location Selection
Display locations get evaluated against traffic patterns, sight lines, lighting conditions, and architectural features during design. This prevents the common mistake of placing displays in inappropriate locations due to infrastructure constraints.
Budget Accuracy and Funding
Including displays in initial construction budgets enables proper funding allocation through bonds, capital campaigns, or other sources. Displays become permanent building features funded through construction budgets rather than competing for limited operational funds.
Coordinated Aesthetic Integration
Architects can design spaces around displays, incorporating them into overall facility aesthetics rather than treating them as obvious add-ons. Wall treatments, lighting, and finishes complement display installations.
Procurement Lead Time
Technology procurement requires significant lead time, particularly for custom installations or specialized equipment. Early planning ensures hardware arrives when needed during construction schedules.
Organizations exploring facility renovations benefit from understanding how to design spaces incorporating digital recognition displays, ensuring layouts optimize both functionality and visitor engagement.

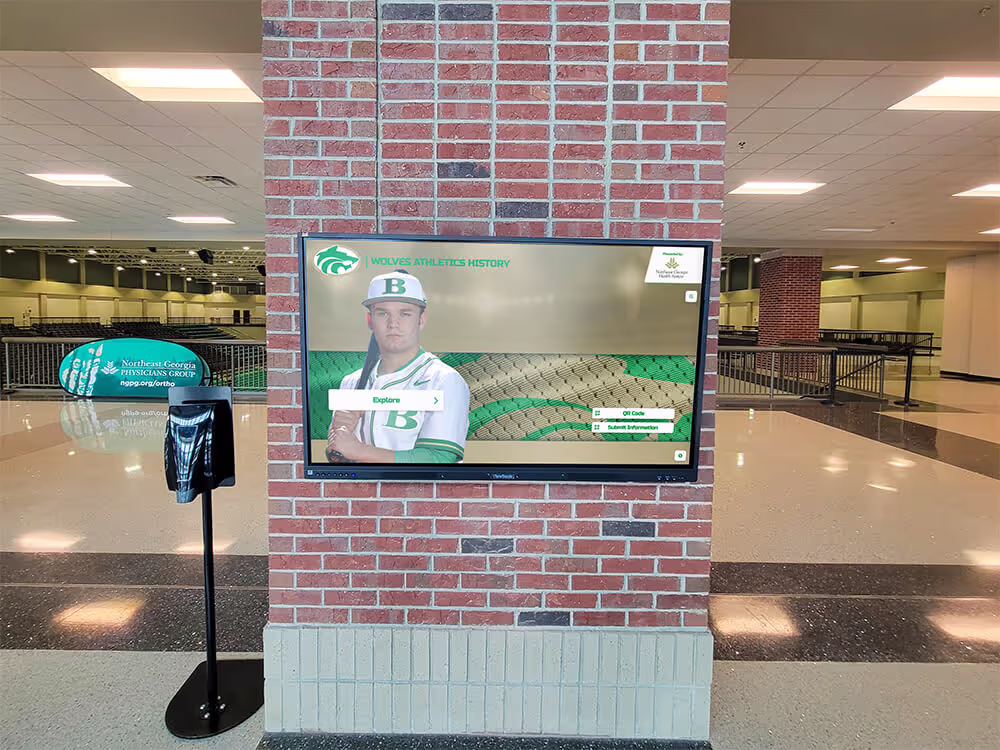
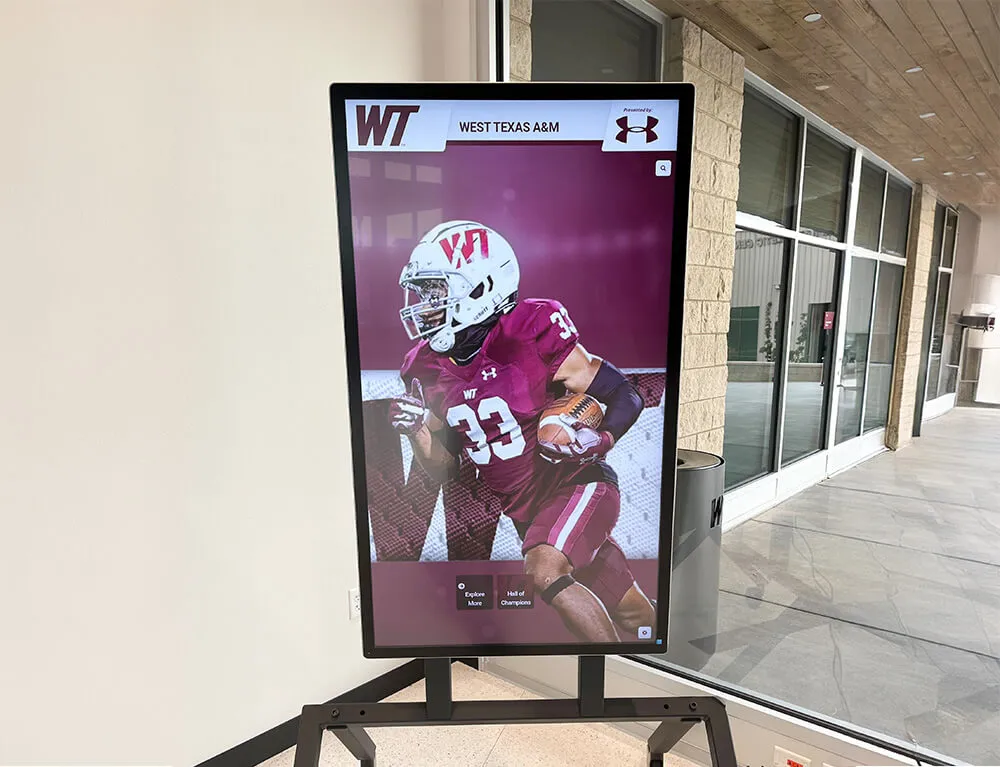
Freestanding kiosks provide flexible installation options when integrated into architectural planning
Phase 1: Pre-Construction Planning (18-24 Months Before Opening)
Successful technology integration begins long before construction starts. During pre-construction planning, schools establish requirements, select locations, specify infrastructure, and secure funding for display systems.
Conducting Needs Assessment
Before specifying technology, determine recognition program goals and requirements:
Recognition Categories
Identify what achievements deserve permanent recognition. Athletic facilities typically showcase:
- Hall of fame inductees across all sports programs
- Championship teams with rosters and season highlights
- Individual record holders and statistical achievements
- Conference and state honor recipients
- Coaching excellence and program milestones
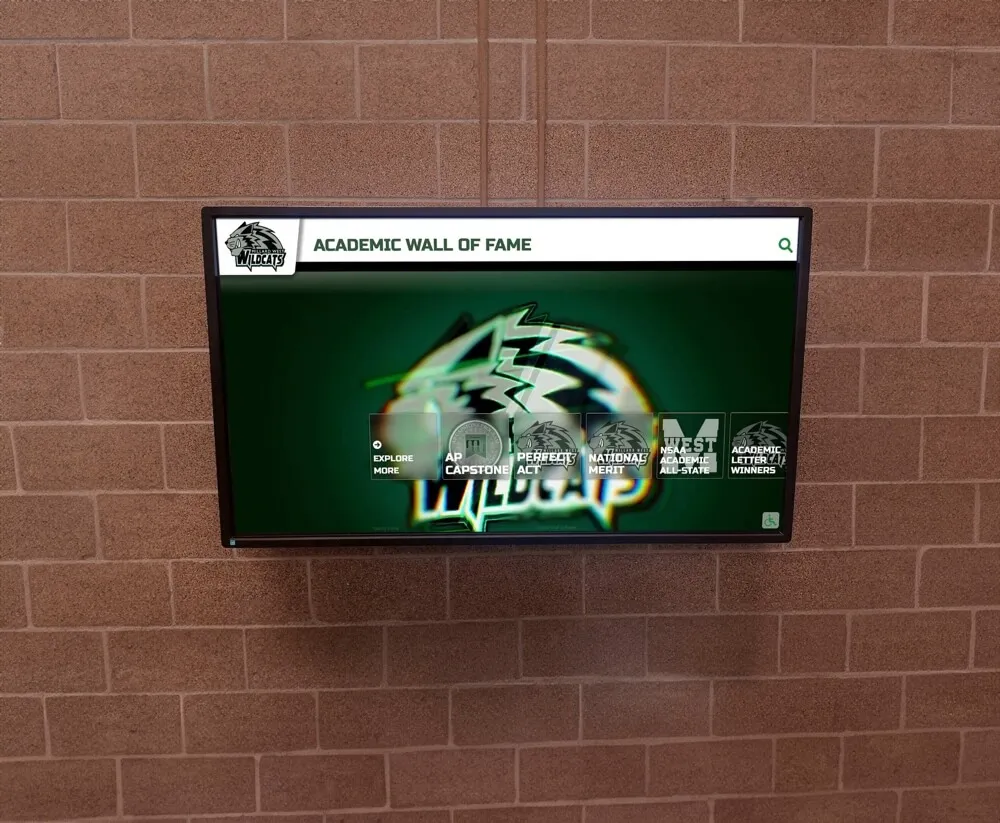
Some facilities incorporate academic recognition alongside athletic displays, celebrating comprehensive student achievement rather than athletics alone.
Display Quantity and Locations
Determine how many displays serve your program effectively. Common configurations include:
- Single flagship display in main gymnasium entrance (budget-conscious starting point)
- Multiple displays throughout athletic complex (comprehensive coverage)
- Coordinated network connecting gymnasium, training facilities, and hallways
Strategic placement locations include main entrance lobbies, hallways between locker rooms and competition spaces, training and conditioning facilities, and community or alumni gathering areas.
Content Strategy
Consider content management capabilities and long-term sustainability. Questions to address:
- Who manages content updates and schedule?
- How frequently will content need updating?
- What multimedia formats will displays support (photos, videos, documents)?
- Will displays offer interactive exploration or run in signage mode?
- How will historical content get digitized and organized?
Schools implementing digital trophy case systems benefit from platforms offering both interactive touchscreen modes and passive digital signage capabilities, providing flexibility as needs evolve.
Selecting Strategic Display Locations
Work with architects to identify optimal placement during space planning:
Traffic Pattern Analysis
Place displays where people naturally congregate or pass through daily. Main entrances capture visitors, recruits, and community members. Athletic hallways expose current athletes to program tradition continuously. Common areas near training facilities see daily use by student-athletes.
Visibility and Sight Lines
Ensure displays remain visible from natural approach angles. Consider viewing distances when specifying screen sizes. Account for lighting conditions throughout the day, avoiding direct window light causing glare. Verify displays don’t obstruct required sight lines for supervision or safety.
Accessibility Compliance
ADA guidelines require specific considerations:
- Touch-interactive displays should have screen center 48-60 inches above finished floor for standing interaction
- Bottom of viewable screen should not exceed 36 inches from floor for wheelchair users
- Ensure approach space provides adequate maneuvering room
- Consider mounting height relative to surrounding features
Infrastructure Access
Confirm locations provide reasonable access to:
- Electrical service and circuit breaker panels
- Network distribution closets or fiber paths
- Sufficient wall depth for flush mounting or structural support for freestanding kiosks
- Service access for future maintenance without disrupting facility operations
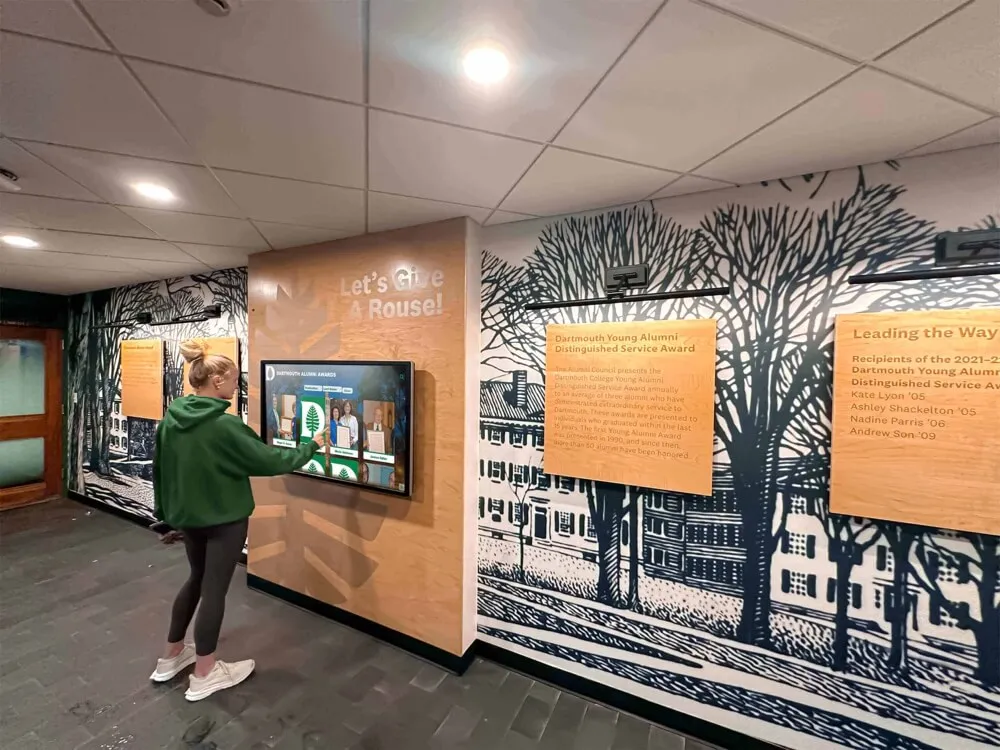
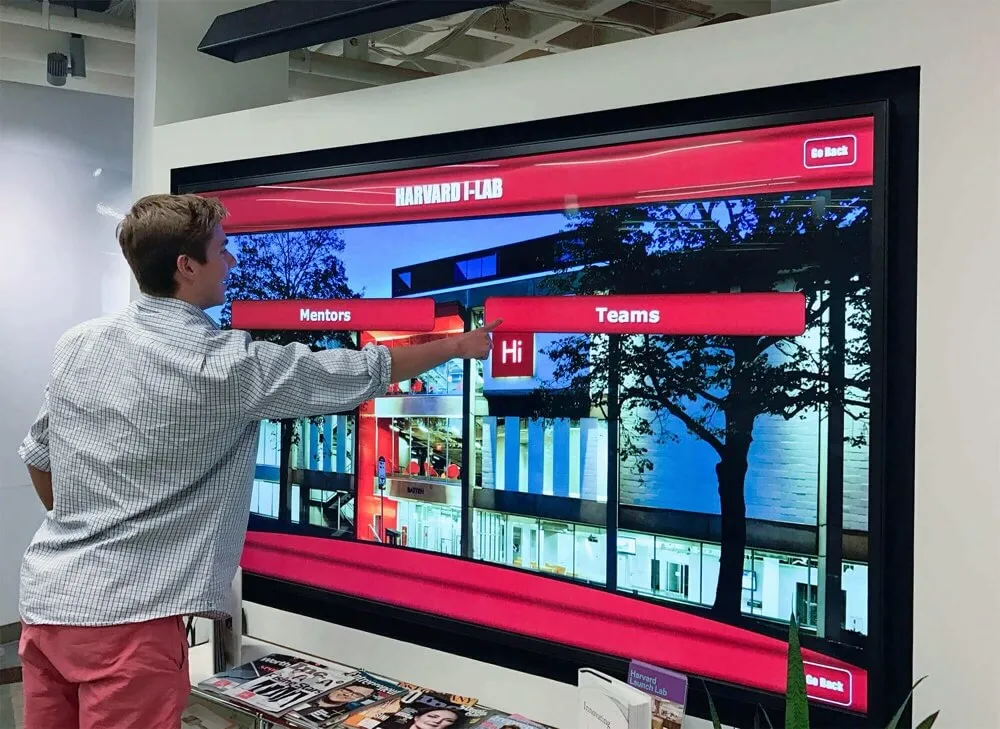
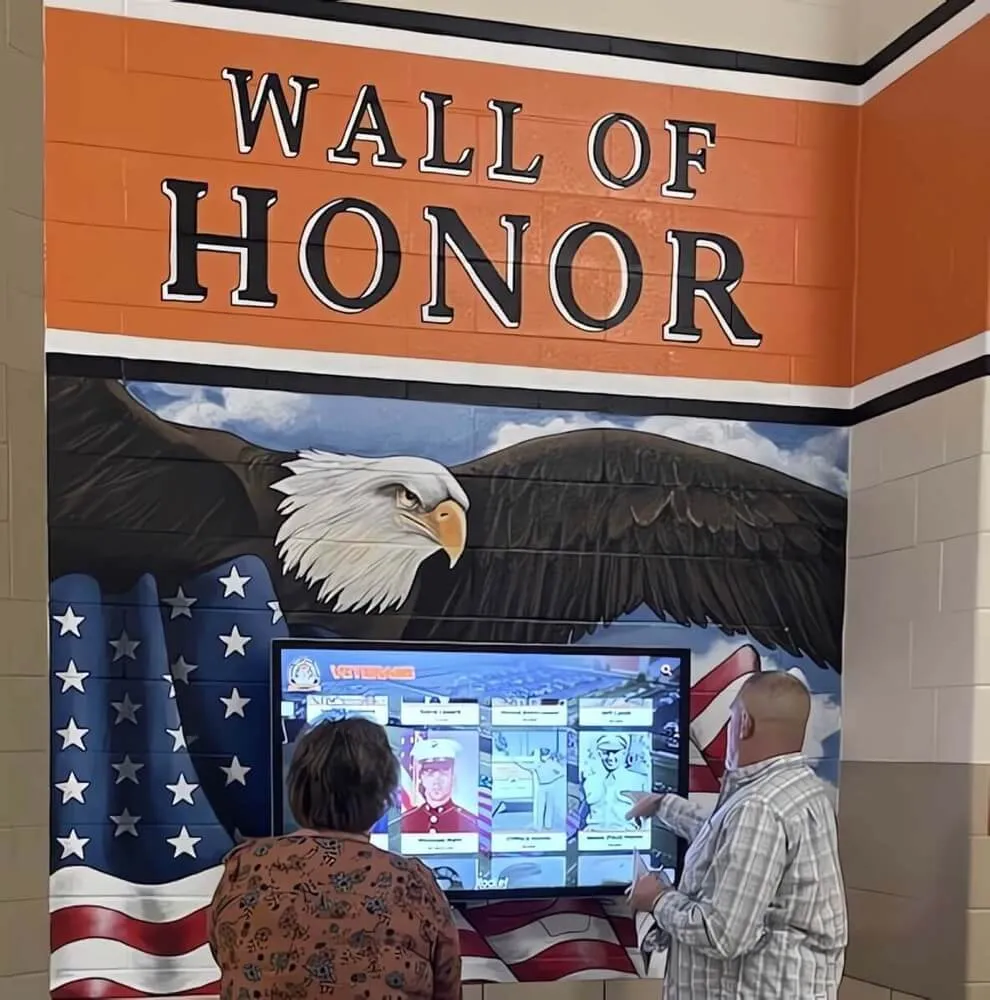
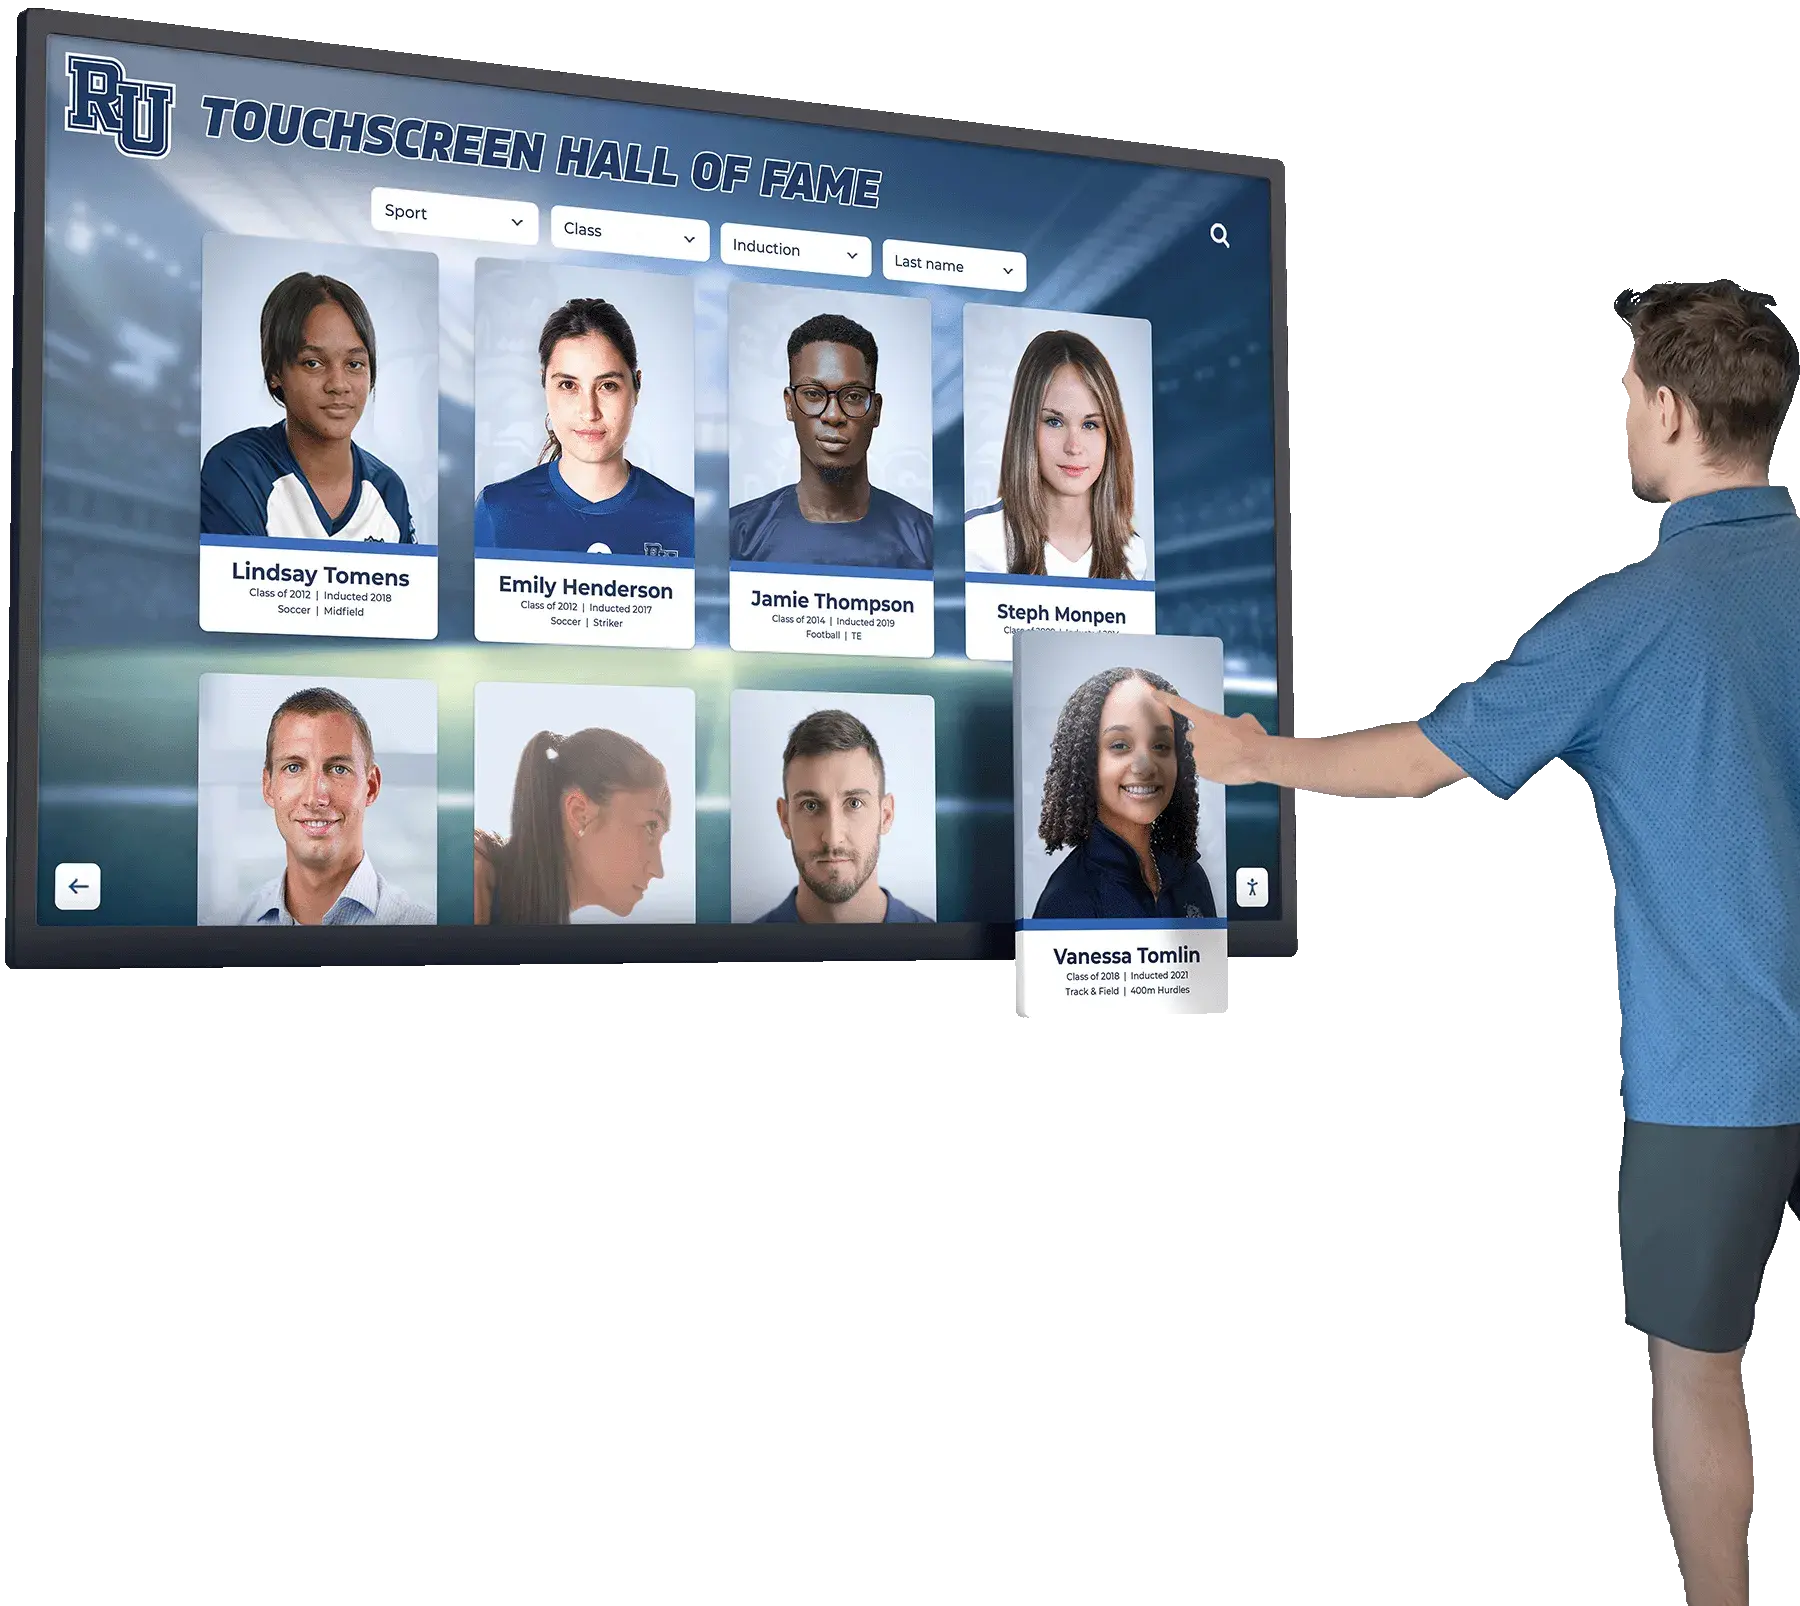
Intuitive card-based interfaces enable natural exploration when proper viewing heights are specified
Developing Infrastructure Specifications
Create detailed specifications for inclusion in architectural drawings and construction documents:
Electrical Requirements
Specify dedicated electrical circuits for each display location:
- Standard 110V/120V, 20-amp circuit per display location
- Outlet location within 3 feet of planned display mounting position
- Surge protection either at circuit breaker or outlet level
- Conduit pathway from electrical panel to display location
- Consider UPS (uninterruptible power supply) for critical installations
Dedicated circuits prevent displays from power interruptions when other building systems cycle. The modest cost of additional circuit runs during construction ($300-800 per circuit) prevents expensive retrofits later.
Network Infrastructure
Hardwired network connections provide far superior reliability compared to WiFi:
- CAT6 or better Ethernet cabling from network distribution room
- Network outlet within 3 feet of display mounting position
- Minimum 100 Mbps connection speed; gigabit preferred
- Coordinate with IT department regarding network segmentation
- Plan for PoE (Power over Ethernet) if using network-powered displays
WiFi connectivity introduces potential reliability issues from interference, bandwidth limitations, and network congestion. The relatively minor cost of running network cables during construction ($150-400 per connection) provides long-term performance benefits.
Structural Mounting Requirements
Specify wall reinforcement or floor anchoring for secure installation:
- Additional framing or blocking in walls at planned mounting positions
- Weight capacity specification based on display and mounting hardware (typically 200-300 lbs combined)
- Adequate wall depth accommodating mounting brackets and cable management (minimum 6-inch stud walls)
- Floor anchoring provisions for freestanding kiosks
- Coordinate mounting positions with window openings, doors, and other architectural features
Retrofit wall reinforcement after construction completion typically costs $800-2,000 per location. Planning reinforcement during framing costs $100-300 per location, representing substantial savings.
HVAC and Ventilation
Commercial displays generate heat requiring adequate airflow:
- Ensure display locations don’t trap heat in enclosed spaces
- Verify HVAC system adequately conditions display areas
- Plan for minimum 3-inch clearance around display perimeters
- Consider additional ventilation for enclosed kiosk installations
Developing Technology Budget
Create comprehensive budget estimates for construction funding documents:
Hardware Costs (Per Display)
- Display hardware: $2,500-8,000 (depending on size: 43"-75")
- Computing hardware: $500-2,000 (built-in vs. external player)
- Mounting hardware: $300-1,500 (wall mount vs. floor kiosk enclosure: $3,000-8,000)
- Cabling and connectivity: $200-800
Infrastructure Costs (Per Location)
- Electrical circuit installation: $300-800
- Network connection installation: $150-400
- Wall reinforcement: $100-300
- Installation labor: $800-2,500
Software and Content Development
- Recognition platform software: $1,000-5,000 initial setup per display
- Content development: $2,000-10,000+ (depending on historical archive size)
- Training and documentation: $500-2,000
Total Per-Display Investment: $7,000-35,000+
Budget ranges vary based on display size, mounting approach (simple wall mount vs. custom kiosk), infrastructure complexity, and content development scope. Multiple-display installations benefit from economies of scale on software licensing and content development.
Vendor Selection and Partnership
During pre-construction planning, evaluate and select technology vendors:
Evaluation Criteria
- Purpose-built recognition platforms vs. generic digital signage systems
- Cloud-based content management enabling remote updates
- Responsive vendor support and training resources
- Experience with educational and athletic recognition applications
- Integration capabilities with existing school systems
- Total cost of ownership including annual licensing
Partnership Development
Establish relationships with vendors who become partners throughout construction:
- Provide technical specifications for architectural drawings
- Review infrastructure plans ensuring compatibility
- Advise on location selection and mounting approaches
- Coordinate procurement timing with construction schedules
- Support content development and staff training
Selecting vendors during pre-construction allows adequate time for specification development, budget refinement, and procurement planning without construction schedule pressure.
Solutions like Rocket Alumni Solutions specialize in athletic and academic recognition for educational institutions, providing experience addressing common challenges schools face during new construction integration.
Phase 2: Construction Rough-In (6-12 Months Before Opening)
During active construction, proper infrastructure installation creates foundations for successful display implementation. Rough-in phases when walls remain open present the only practical opportunity for installing electrical and network systems without extensive retrofitting.
Electrical System Installation
Licensed electricians install dedicated circuits during rough-in:
Circuit Installation Process
Electrical contractors run conduit and wiring from circuit breaker panels to planned display locations. Each display location receives a dedicated 20-amp circuit, typically on its own breaker to isolate display power from other building systems.
Outlet boxes get mounted at specified heights and positions, typically behind or adjacent to planned display mounting positions. Rough-in boxes are positioned to remain hidden behind displays or within kiosk enclosures after final installation.
Inspection Points
Verify several critical details during rough-in:
- Outlet box positions match architectural drawings and display specifications
- Adequate wire gauge for circuit amperage (12 AWG for 20-amp circuits)
- Proper conduit pathways allowing future wire replacement if needed
- Surge protection installed at breaker panel
- Labeling clearly identifies circuits for future service
Corrections during rough-in cost minimal time and materials. Discovering positioning errors after walls close requires expensive corrective work.
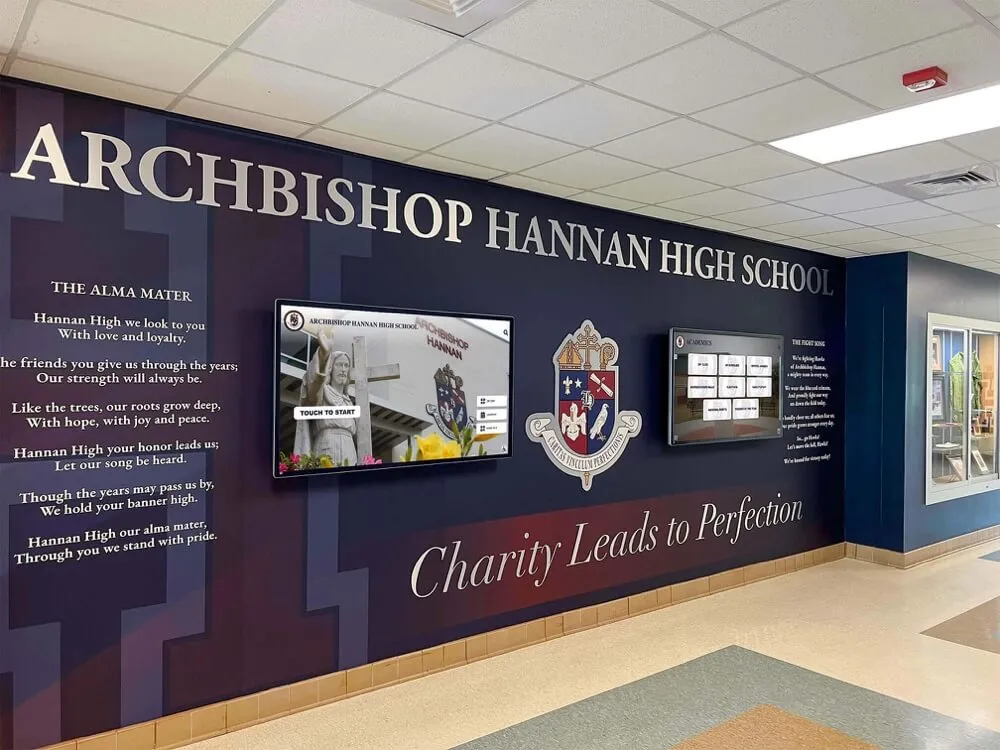
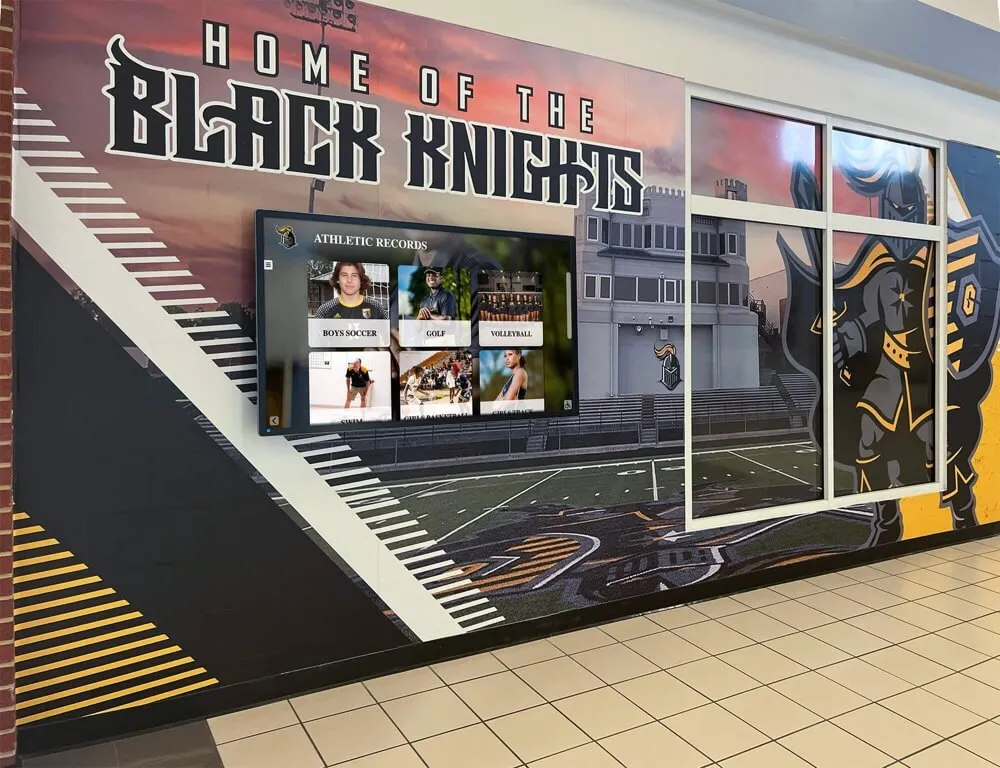
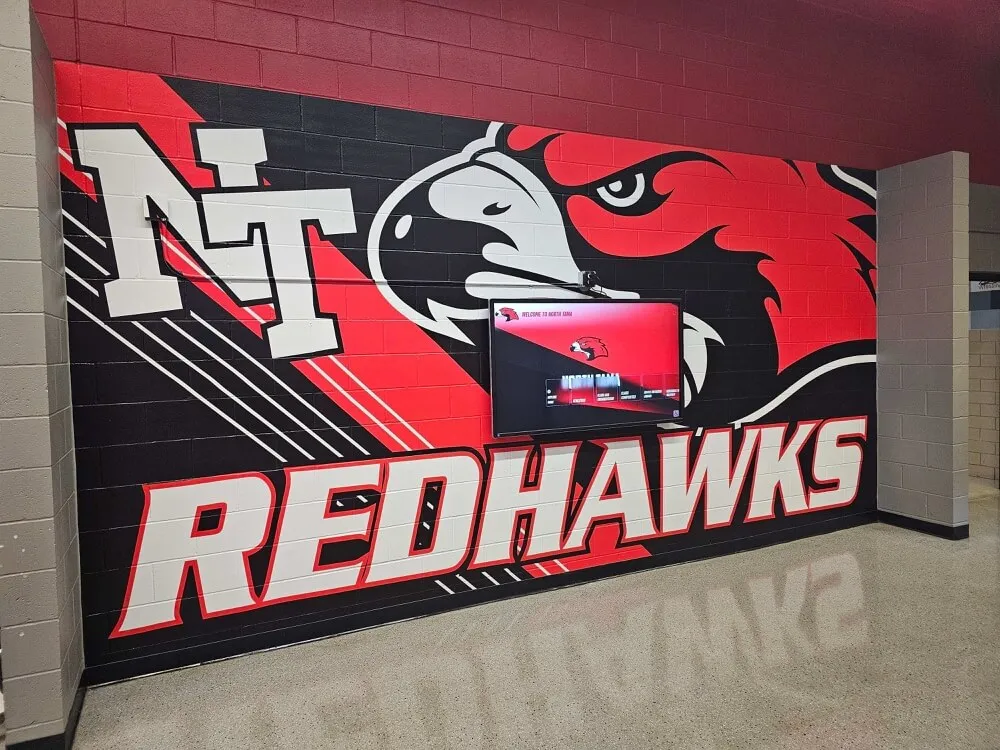
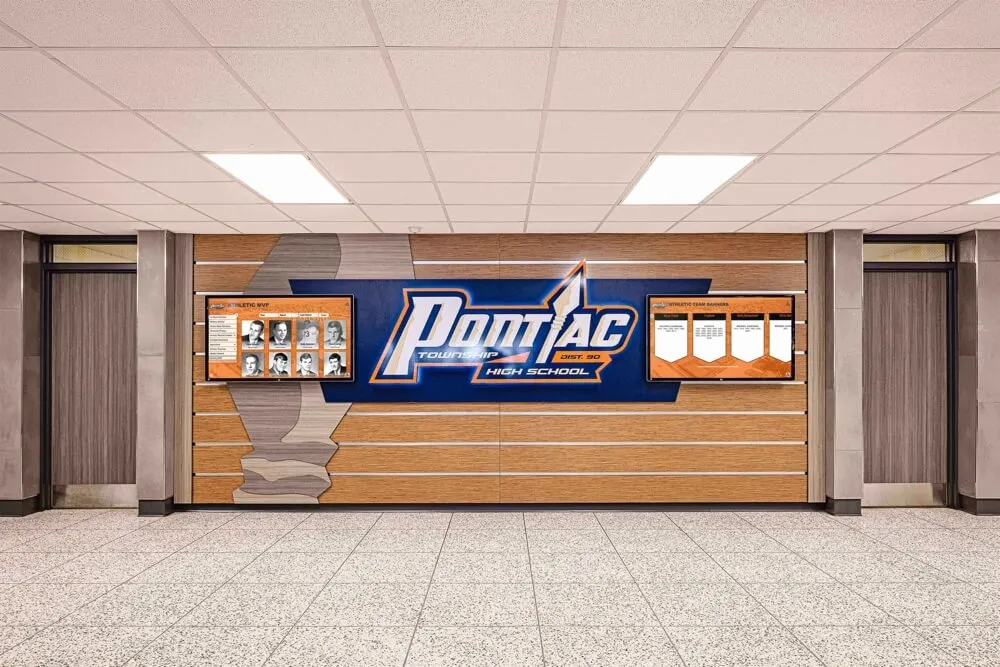
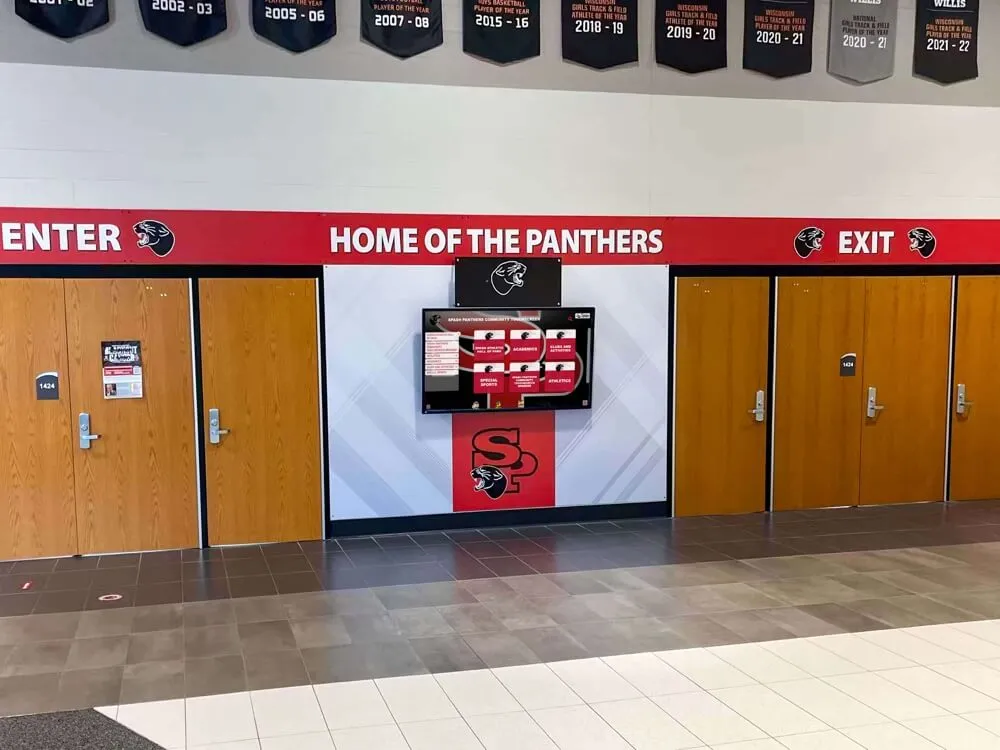
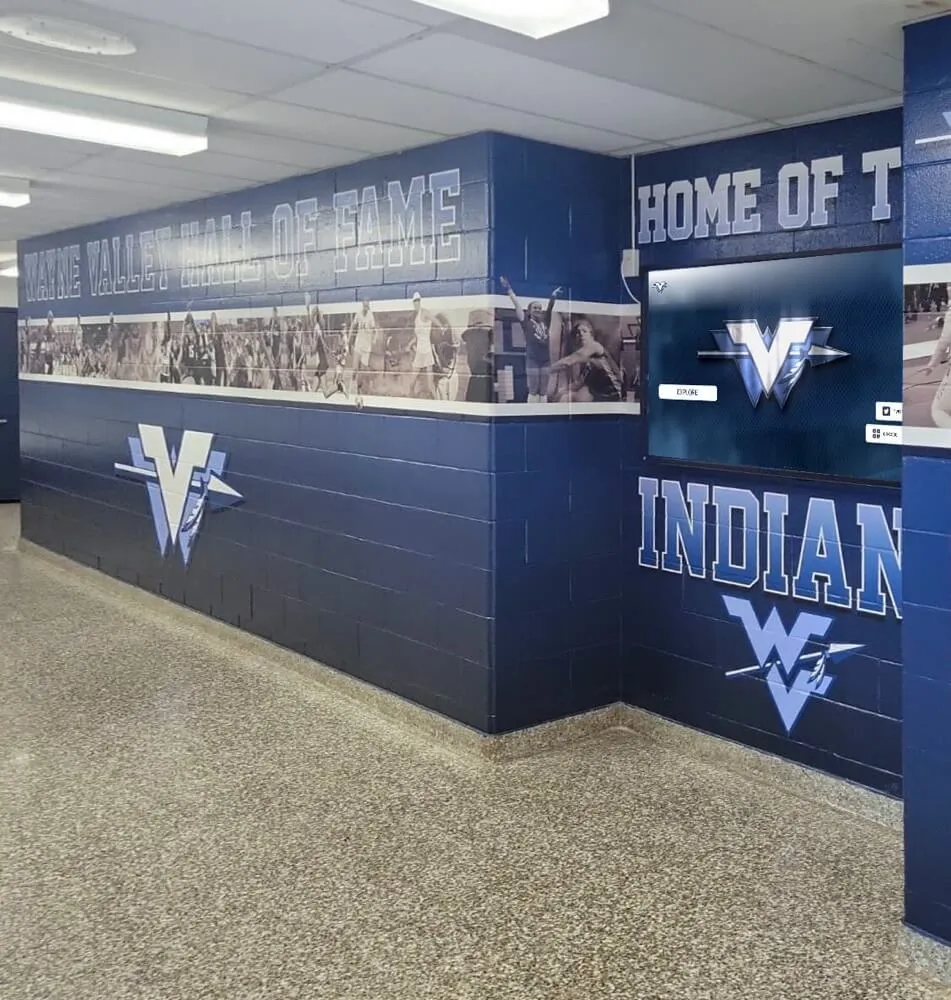
Proper infrastructure planning ensures displays integrate seamlessly into hallway designs
Network Infrastructure Installation
Network cabling typically occurs during the same rough-in period as electrical work:
Cable Installation Standards
IT contractors or low-voltage specialists run CAT6 or better Ethernet cabling from network distribution rooms to display locations. Cables should maintain proper bend radius and avoid electromagnetic interference from electrical conduits.
Network outlets get mounted near power outlets, following similar positioning specifications. Wall boxes accommodate RJ45 connectors with appropriate labeling identifying connection destinations.
Coordination with IT Department
School technology departments should actively participate in network rough-in:
- Verify cable routing meets departmental standards
- Confirm compatibility with existing network infrastructure
- Plan switch capacity accommodating additional displays
- Establish network segmentation strategies
- Coordinate firewall policies for display internet access
Display network segments often separate from student and staff networks, providing isolated connectivity for specialized applications while maintaining security policies.
Structural Mounting Preparation
Framing contractors install reinforcement during wall construction:
Wall Reinforcement Methods
For typical stud walls, contractors install blocking (horizontal framing members) or additional studs at planned display mounting heights. Reinforcement should span wider than display dimensions, typically 12-24 inches beyond display edges.
For masonry or concrete walls, embedded anchors or mounting plates may be installed during wall construction. These provide secure attachment points without requiring post-construction core drilling.
Kiosk Floor Anchoring
Freestanding kiosk installations require floor anchoring provisions:
- Embedded anchors in concrete floors during pouring
- Planned locations for post-installation anchor drilling
- Adequate floor area without underground utility conflicts
- Coordination with floor finishes and expansion joints
Cable Management and Concealment
Plan for professional appearance through proper cable management:
In-Wall Cable Pathways
Conduit or cable raceways should run from outlet boxes to display mounting positions, allowing cables to remain completely concealed. Adequate pathway sizing accommodates power cables, network cables, and potential future additions without crowding.
Service Access Planning
Design access points allowing future cable replacement or service without wall demolition. Removable wall plates or hinged access panels near display locations enable service technicians to reach connections.
Phase 3: Construction Finishing (2-4 Months Before Opening)
As interior finishes near completion, final preparation for display installation occurs. This phase focuses on finishing surfaces around planned display locations and completing infrastructure termination.
Final Electrical Installation
Electricians complete outlet installation during finishing:
Outlet Installation and Testing
Final outlet devices get installed in rough-in boxes and wired to circuit breakers. Outlets should be commercial-grade rather than residential-grade devices, providing better durability under continuous use.
After installation, electricians should test:
- Proper voltage at each outlet
- Correct polarity (hot and neutral connections)
- Functional ground connections
- Surge protection operation
- Circuit breaker operation
Schools should request documentation of electrical testing results for facilities records.
Power Conditioning
Consider installing dedicated power conditioning or UPS systems at display locations:
- Line-interactive UPS systems provide battery backup during power interruptions
- Power conditioning regulates voltage protecting sensitive electronics
- Typical UPS capacity: 1000-1500VA per display
While not strictly required, UPS systems protect hardware investments and prevent display interruptions during momentary power fluctuations common in large facilities.
Network Connection Completion
IT staff or contractors complete network infrastructure:
Connection Termination and Testing
Network cables get terminated with RJ45 connectors at both display locations and network distribution rooms. After termination, connections undergo certification testing verifying:
- Cable continuity without breaks or shorts
- Proper pin-out configuration (T568A or T568B standard)
- Performance certification meeting CAT6 specifications
- Adequate signal strength and minimal crosstalk
Certified testing documentation provides valuable troubleshooting references if connectivity issues emerge later.
Network Configuration
IT departments should configure network infrastructure before display installation:
- Assign IP address ranges for display devices
- Configure VLAN assignments if using network segmentation
- Establish firewall rules for required internet access
- Test connectivity from display network segments
- Document network configuration for future reference
Completing network configuration before hardware installation prevents delays during final commissioning.
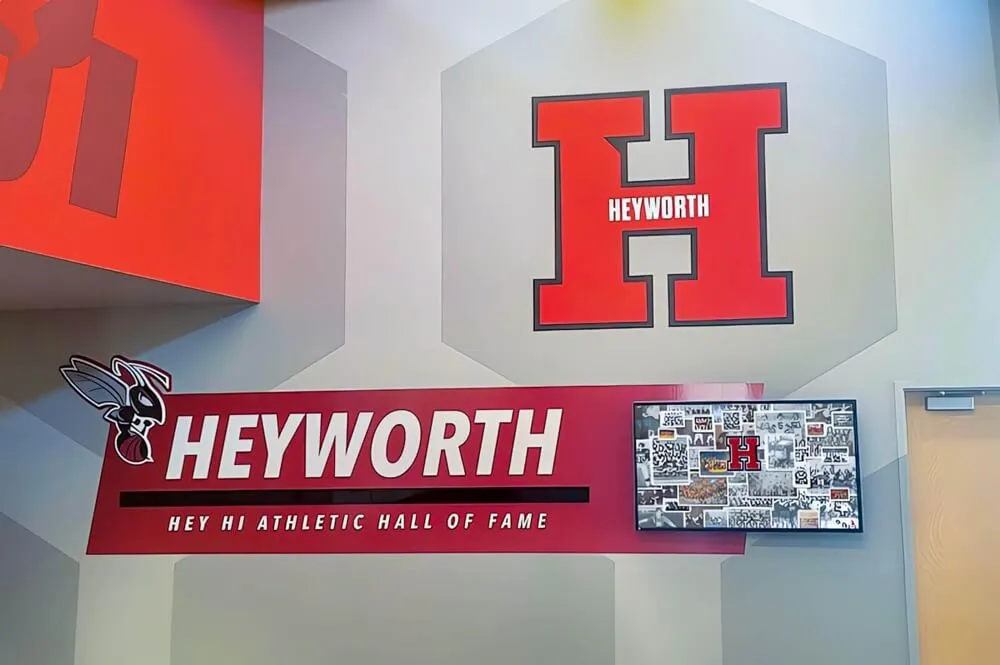
Professional installations create polished environments that reflect well on athletic programs
Wall Finishing Around Display Locations
Construction trades complete walls and surfaces near display positions:
Paint and Surface Finishing
Complete all painting, wall coverings, or other finishes before display installation. This prevents damage to expensive hardware during finishing work.
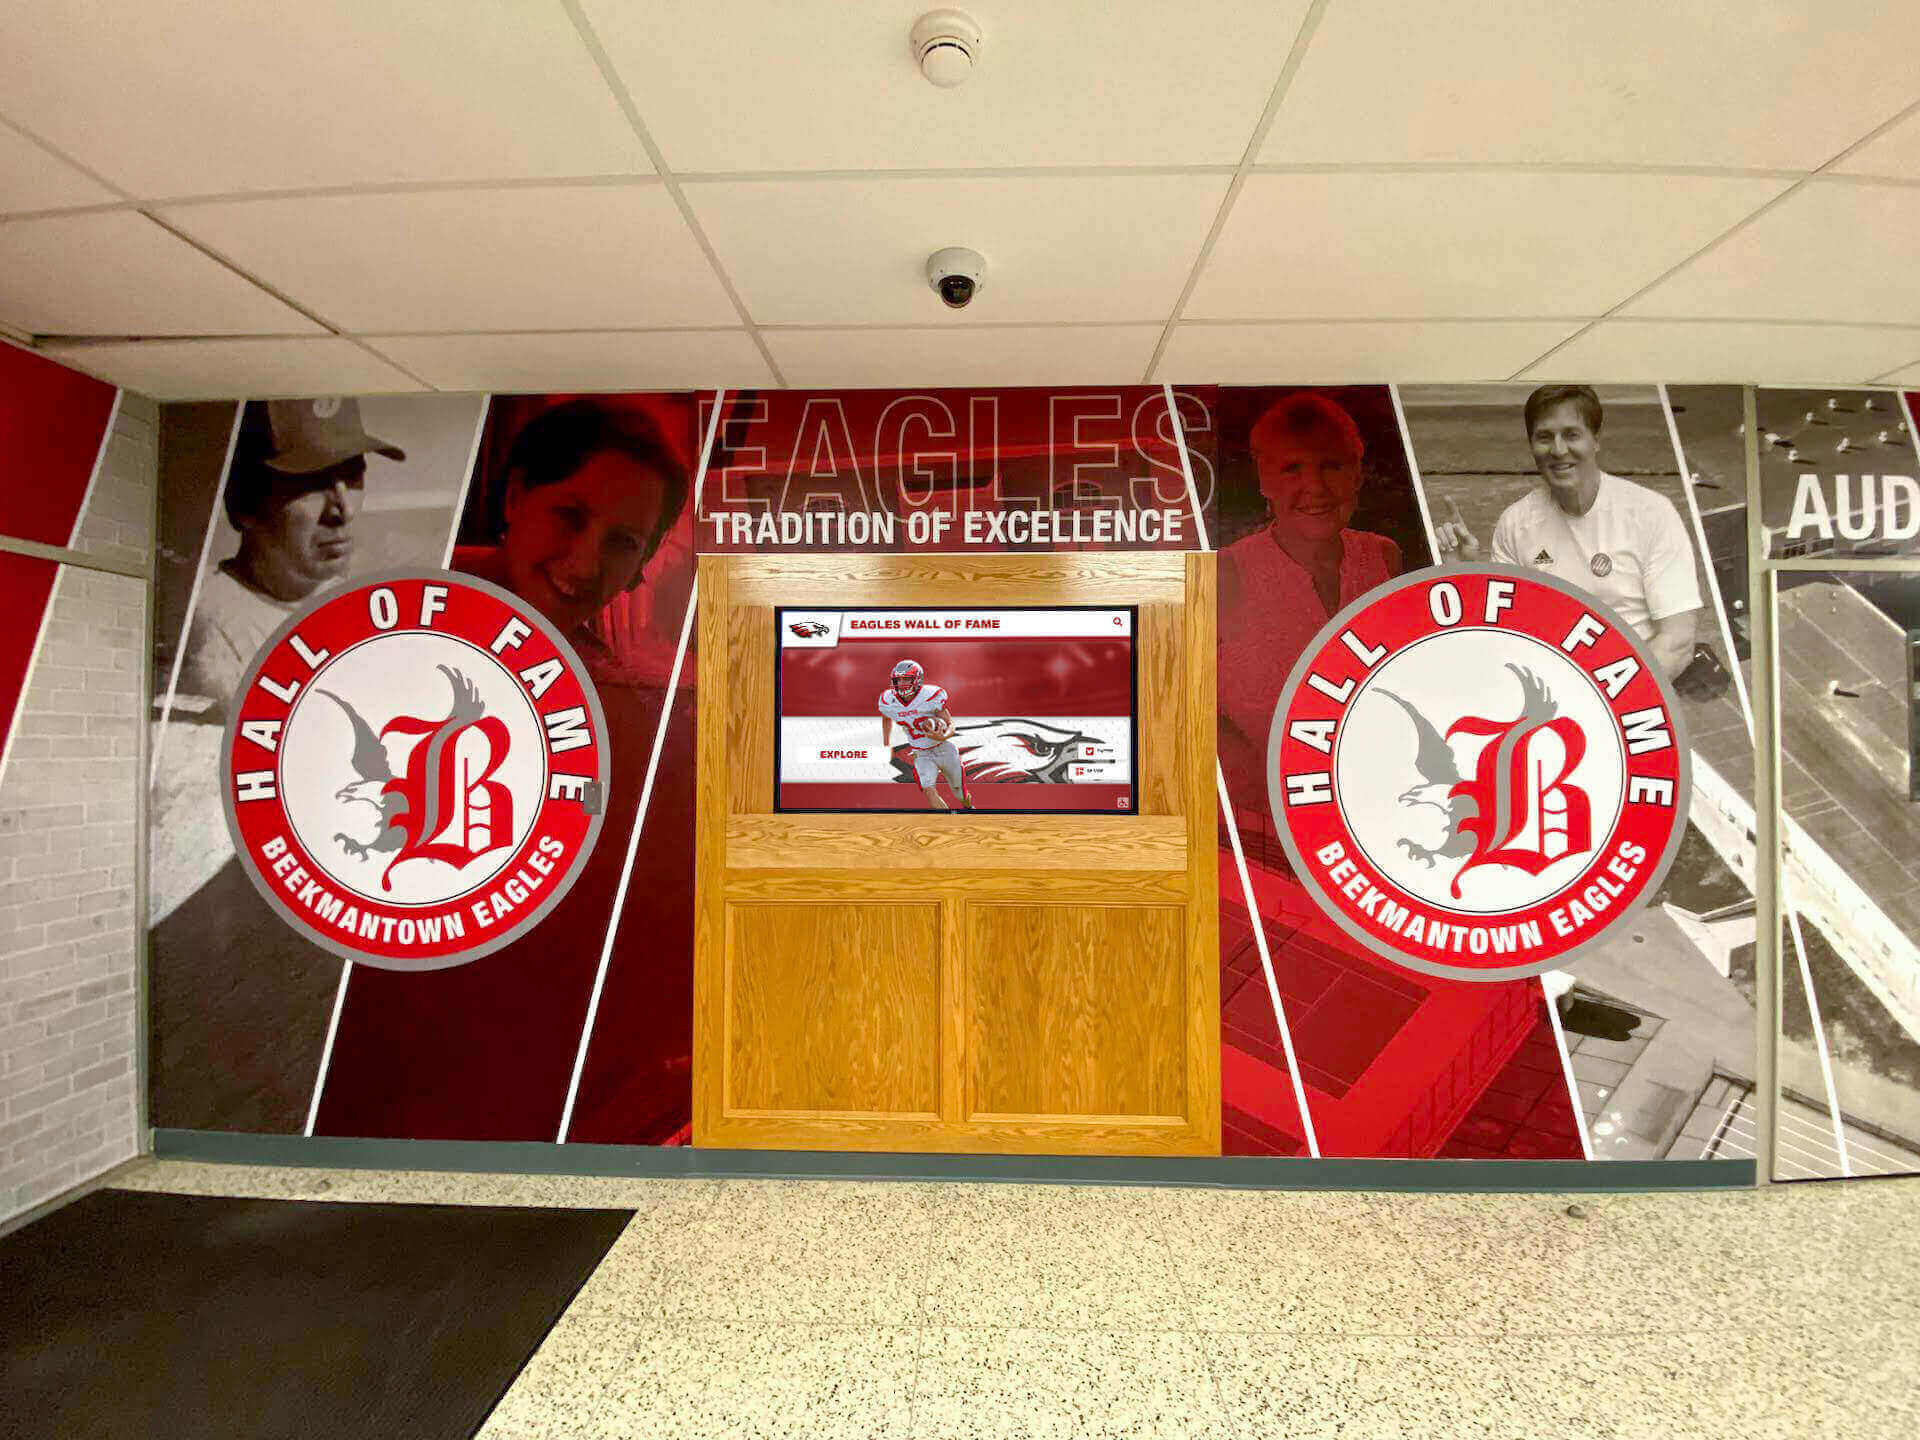
Consider accent walls or color treatments around display locations, creating visual emphasis and coordinating with display designs. Many schools incorporate school colors, logos, or wall wraps around recognition displays, strengthening visual impact.
Outlet and Access Panel Installation
Install final outlet cover plates and any cable management panels. Ensure outlet positions align precisely with display mounting positions to maintain professional appearance.
For wall-mounted displays, cable management channels or in-wall boxes can conceal connections between outlets and displays. Plan these finishing touches during wall completion rather than attempting to add them after display installation.
Phase 4: Display Installation (1-3 Months Before Opening)
Final display hardware installation occurs during construction’s final weeks. Professional installation ensures proper mounting, reliable connections, and polished appearance.
Hardware Installation Process
Professional installers mount displays and configure connections:
Display Mounting
Installers verify wall reinforcement locations, then mount heavy-duty brackets securely to wall studs or blocking. Commercial display mounting typically uses:
- Heavy-duty wall plates bolted through reinforcement
- Low-profile mounts keeping displays close to walls
- Tilt or articulating mounts allowing adjustment
- Anti-theft security features preventing removal
For freestanding kiosks, installers anchor enclosures to floors using concrete anchors or embedded mounting points. Proper leveling ensures displays remain plumb and professional-looking.
Computing Hardware Integration
Most modern installations use one of two approaches:
- System-on-chip displays with integrated computing (cleaner installation)
- External media players or computers (easier upgrading)
Computing hardware gets securely mounted behind displays or within kiosk enclosures. All cables between computing hardware and displays get properly managed and secured.
Connection and Power-Up
Installers make final power and network connections, then perform initial power-up testing:
- Verify display powers on and operates correctly
- Confirm network connectivity
- Test touch functionality across entire screen
- Adjust brightness and color settings
- Configure power management and sleep modes
Software Configuration
After hardware installation, technical staff configure recognition software:
Platform Installation and Setup
Cloud-based recognition platforms require minimal local software installation, typically just:
- Operating system configuration and updates
- Web browser or application launcher
- Content player configuration
- Network security certificates
Purpose-built recognition solutions designed for schools often provide streamlined setup processes, requiring less technical expertise than generic digital signage systems.
Content Management Access
Establish administrative access for staff who will manage content:
- Create user accounts with appropriate permissions
- Configure display identification and organization
- Set up content synchronization and scheduling
- Test remote content management capabilities
- Document login credentials and procedures
Schools should train multiple staff members on content management, preventing single-person dependencies when personnel change.
Initial Content Loading
Before facility opening, load foundational content:
- Institutional branding and design elements
- Existing hall of fame inductees and historical achievements
- Championship teams and records
- Attraction loops for idle periods
- Welcome messages and facility information
Content development often occurs concurrently with construction, allowing substantial archives to be ready when displays go live.
Testing and Commissioning
Comprehensive testing ensures reliable operation:
Functionality Testing
Verify all display features operate correctly:
- Touch response across entire screen surface
- Navigation through all content sections
- Search and filtering capabilities
- Video playback and audio (if applicable)
- Social sharing features
- System sleep and wake functions
Document any issues requiring correction before facility opening.
Reliability Testing
Run displays continuously for several days before opening, verifying:
- Stable operation without crashes or freezes
- Proper thermal management without overheating
- Reliable network connectivity
- Content synchronization
- Automatic recovery after power cycles
Continuous testing often reveals issues that don’t appear during brief checks.
User Experience Testing
Involve actual users in testing:
- Student-athletes exploring program recognition
- Coaches providing feedback on content accuracy
- Administrative staff reviewing ease of management
- Visitors unfamiliar with the system testing intuitiveness
User feedback during commissioning allows refinements before public opening.
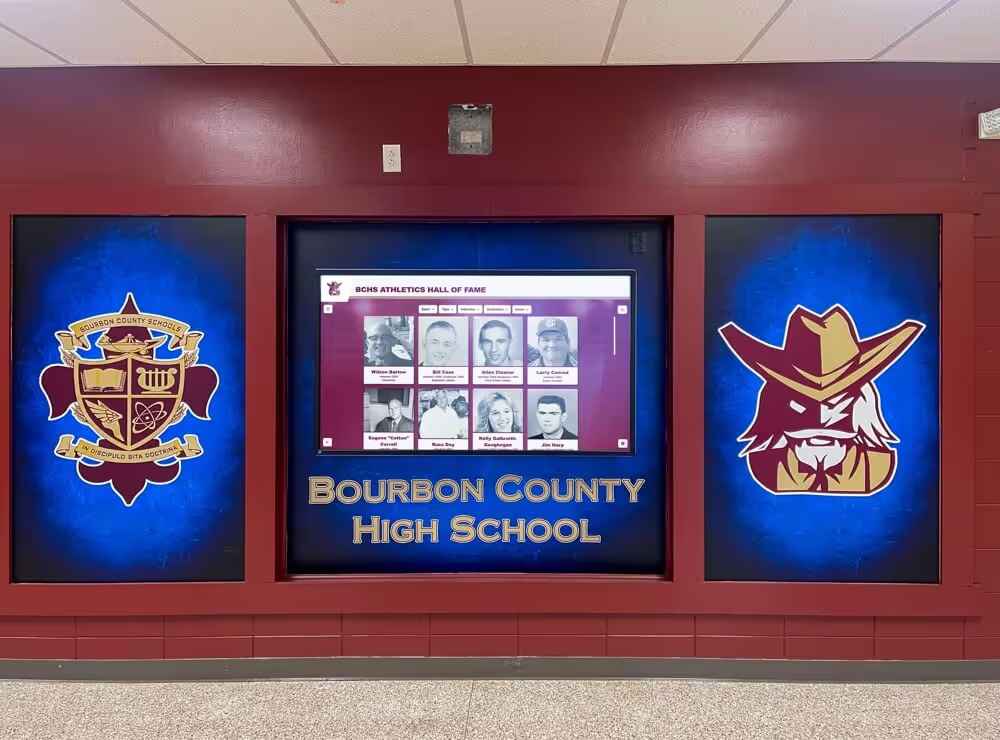
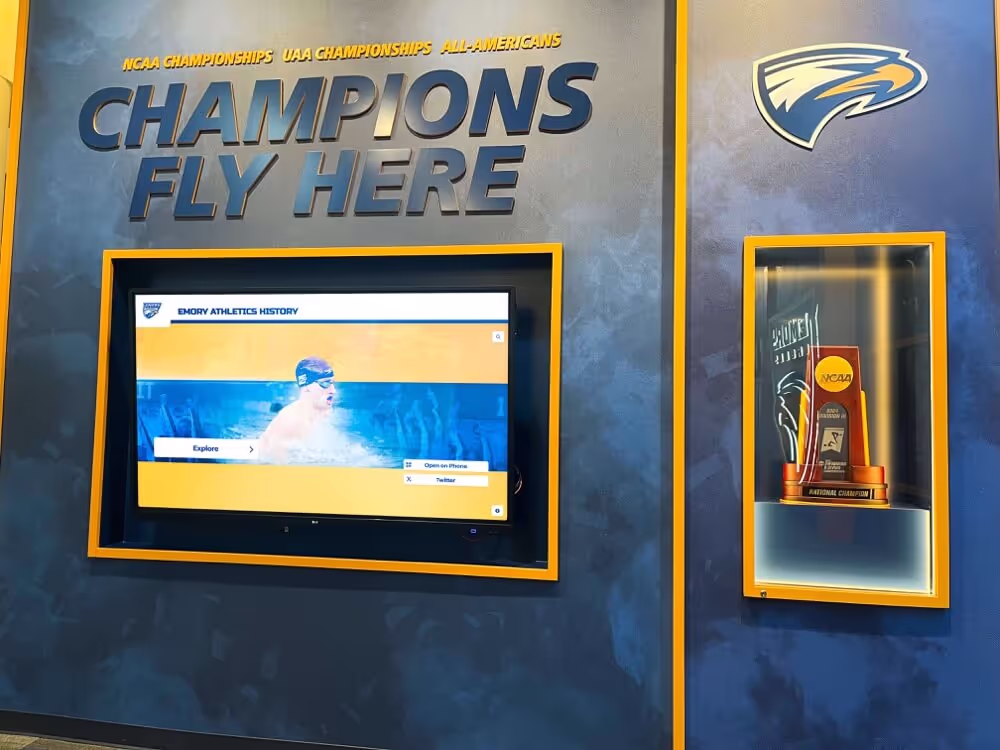
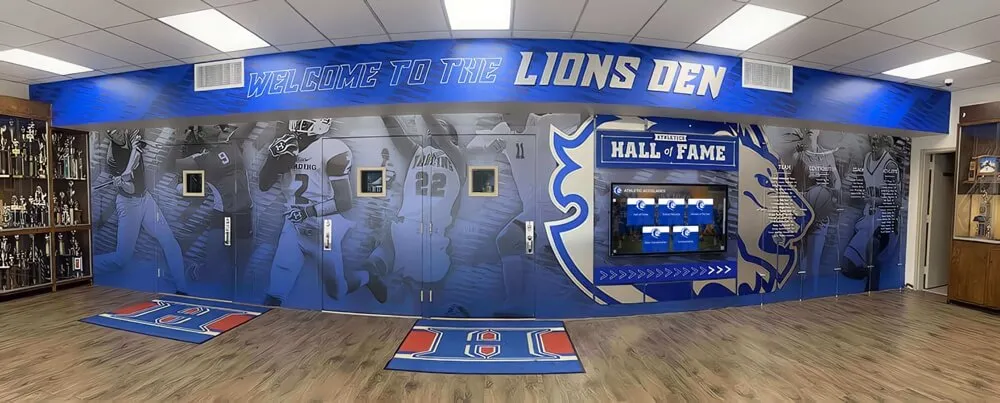
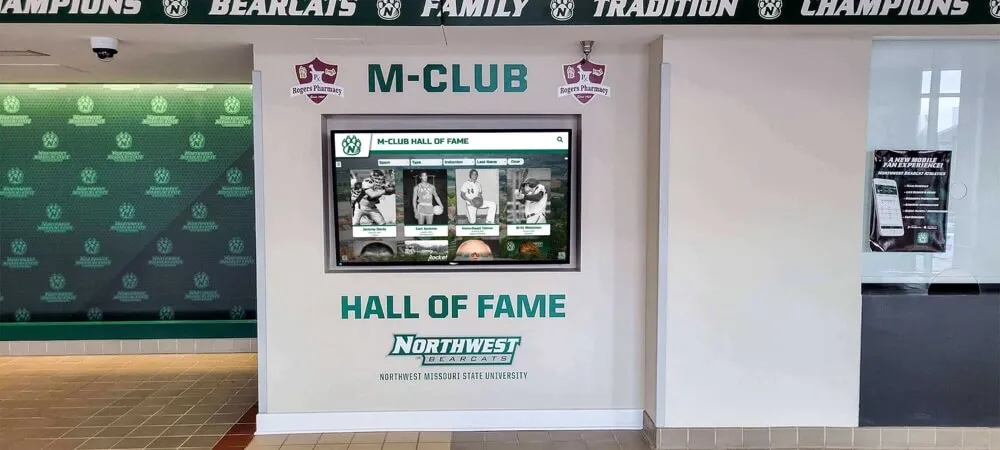
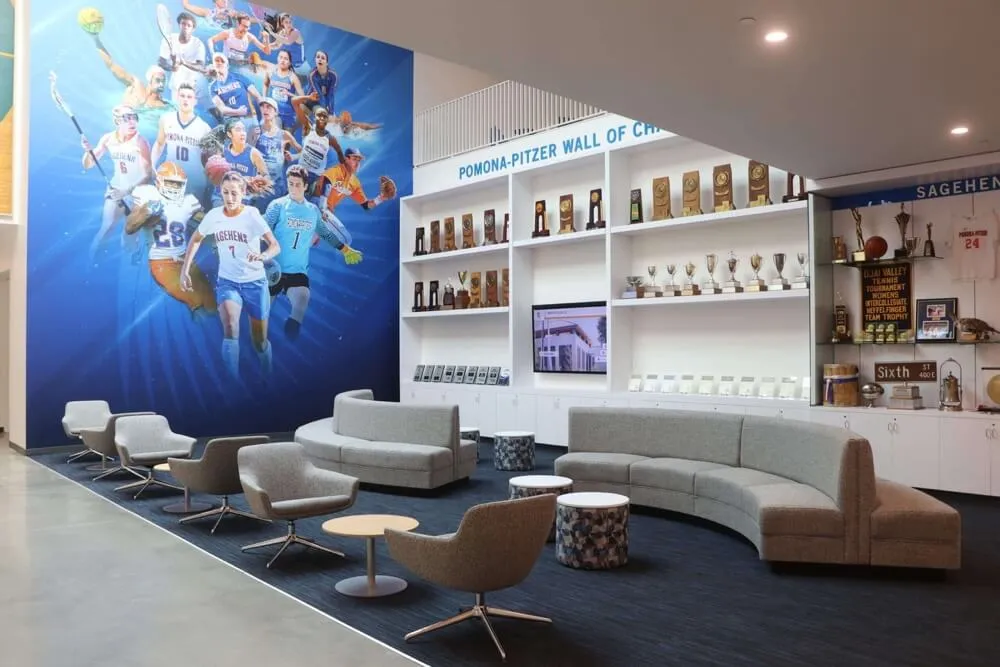
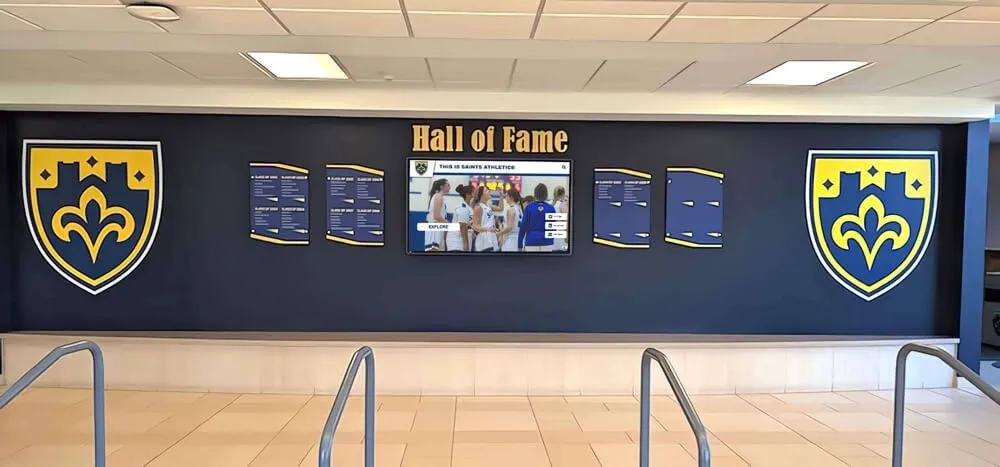
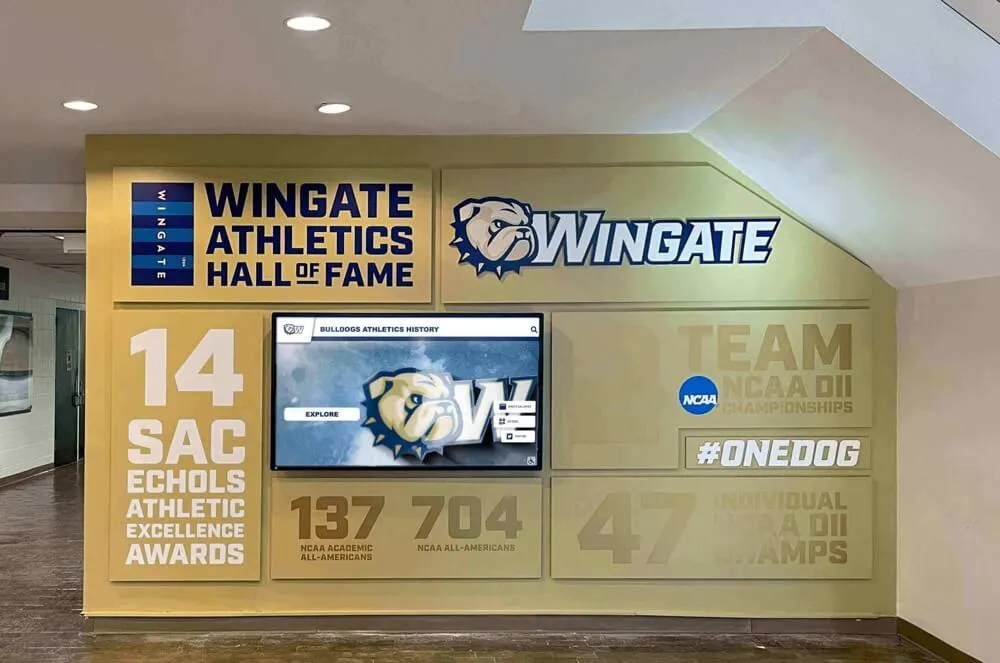
Integrated recognition environments blend digital displays with traditional design elements
Phase 5: Post-Installation Activation (Opening and Beyond)
Successful display implementation extends beyond hardware installation into ongoing operation and engagement.
Staff Training and Documentation
Prepare staff for long-term content management:
Training Sessions
Conduct hands-on training covering:
- Accessing content management platform
- Adding and editing individual profiles
- Uploading and organizing photos and videos
- Publishing content updates
- Managing display schedules and featured content
- Basic troubleshooting and support contacts
Multiple training sessions accommodate different learning preferences and schedules.
Documentation Development
Create internal documentation including:
- Content management procedures and workflows
- Style guides for consistent content formatting
- Technical support contacts and escalation procedures
- Hardware warranty information
- Network and infrastructure documentation
Comprehensive documentation prevents knowledge loss during staff transitions.
Launch and Community Engagement
Maximize initial impact through strategic launch activities:
Dedication Events
Consider formal dedication ceremonies highlighting new displays:
- Recognition of donors or sponsors funding displays
- Demonstration of features for students and community
- Celebration of first inductees or featured honorees
Launch events create awareness and generate excitement around new recognition capabilities.
Content Strategy Development
Establish long-term content plans:
- Regular update schedules (weekly, monthly, annually)
- Annual induction processes for new honorees
- Featured content rotations highlighting different programs
- Special collections for homecoming, reunions, or championships
Sustainable content strategies maintain visitor engagement beyond initial novelty.
Integration with Broader Programs
Connect displays with other athletic and school initiatives:
- Senior night celebrations featuring athletes on displays
- Recruiting materials showcasing program tradition
- Alumni engagement during reunions and fundraising
- Social media campaigns sharing display content
Integrated approaches amplify display value across multiple institutional goals.
Ongoing Operation and Maintenance
Plan for long-term display maintenance:
Regular Maintenance Tasks
- Weekly screen cleaning maintaining visibility and appearance
- Monthly content audits ensuring accuracy and currency
- Quarterly software updates maintaining security and functionality
- Annual hardware inspections checking mounting security and connections
Preventive maintenance prevents small issues from becoming major problems.
Technical Support Arrangements
Establish support relationships:
- Vendor support contracts covering software and content platforms
- Local installers or IT support for hardware issues
- Spare parts inventory for common replacement items
- Emergency contact procedures for critical problems
Responsive support minimizes downtime when issues occur.
Analytics and Optimization
Monitor display usage and engagement:
- Review interaction analytics identifying popular content
- Track session duration and navigation patterns
- Identify search terms revealing visitor interests
- Adjust content strategy based on engagement data
Data-driven optimization ensures displays continue delivering value over time.
Common Implementation Challenges and Solutions
Schools implementing touchscreen displays during construction frequently encounter predictable challenges. Understanding these issues and their solutions prevents costly mistakes.
Challenge: Budget Constraints and Scope Reductions
New construction projects often face budget pressure, tempting administrators to reduce technology investments.
Solution: Phased Implementation Strategy
Rather than eliminating displays entirely, consider phased approaches:
- Phase 1: Install infrastructure (electrical, network, mounting) in all planned locations during construction
- Phase 2: Install flagship display in highest-impact location at building opening
- Phase 3: Add additional displays as funding becomes available
Installing infrastructure during construction costs a fraction of retrofit expenses. Infrastructure-ready locations enable future display additions at minimal cost compared to comprehensive retrofitting.
Challenge: Coordination Between Multiple Contractors
Construction projects involve numerous trades working simultaneously. Display infrastructure requires coordination between electrical, network, framing, and finishing contractors.
Solution: Single Point of Coordination
Designate one person (project manager, technology coordinator, or architect) as the single point of coordination for all display infrastructure:
- Distribute detailed specifications to all relevant contractors
- Conduct regular coordination meetings during construction
- Verify completion at each phase before proceeding
- Document installations for facilities records
Clear coordination prevents contractors making assumptions or overlooking requirements.
Challenge: Technology Selection Overwhelm
Dozens of vendors offer digital signage, displays, and recognition platforms. Selection processes can become overwhelming, particularly for schools without technology expertise.
Solution: Focus on Purpose-Built Solutions
Rather than evaluating all digital signage options, focus on vendors specializing in educational recognition:
- Prioritize companies with extensive school and athletic recognition experience
- Review reference installations at similar institutions
- Evaluate long-term viability and support quality
- Consider total cost of ownership beyond initial hardware costs
Purpose-built recognition platforms like Rocket Alumni Solutions often provide better long-term value than generic systems requiring extensive customization.
Challenge: Content Development Capacity
Historical archives may contain hundreds of athletes, teams, and achievements requiring digitization and profile development before displays provide value.
Solution: Minimum Viable Content Strategy
Launch with achievable content scope, then expand systematically:
- Begin with recent recognition (past 5-10 years)
- Focus on highest-profile achievements (championships, hall of fame)
- Establish sustainable update workflows for new content
- Expand historical coverage incrementally over subsequent years
Better to launch with excellent coverage of recent years than poor coverage of entire history. Quality storytelling matters more than comprehensive historical rosters.
Challenge: Long-Term Support Concerns
Administrators worry about technology becoming obsolete or difficult to support after initial implementation.
Solution: Cloud-Based Platforms with Vendor Support
Select solutions designed for longevity:
- Cloud-based content management platforms receiving ongoing updates
- Vendor-provided technical support contracts
- Hardware using standard components enabling replacement
- Clear upgrade paths as technology evolves
Quality vendors understand educational institutions need reliable, low-maintenance solutions supported for many years. Evaluate vendor stability and commitment to educational markets, not just current feature sets.
Conclusion: Building Recognition Into Your Facility’s Foundation
New school construction projects present unique opportunities to integrate touchscreen recognition displays as permanent facility features rather than retrofitted additions. The key to successful implementation lies in treating displays as integral building systems from initial architectural planning through post-construction operation.
Schools that include displays in pre-construction planning, specify proper infrastructure during design, coordinate installation during construction phases, and plan for long-term content management achieve professional results that celebrate achievement, build program pride, and inspire current student-athletes for decades to come.
The timing guidance covered in this article provides actionable frameworks for construction teams, ensuring displays become seamless facility components rather than obvious afterthoughts. Proper planning prevents the costly mistakes of inadequate infrastructure, poor placement, or compromised installations that result from treating technology as late-stage additions.
Planning Your New Gymnasium Technology?
Rocket Alumni Solutions partners with schools during new construction planning, providing specifications, coordination support, and purpose-built recognition platforms designed specifically for educational athletic facilities. From initial architectural planning through post-construction activation, we ensure displays become permanent features celebrating your program's excellence.
Talk to our teamWhether your project involves a complete athletic complex, major gymnasium renovation, or new school building, understanding when and how to incorporate touchscreen displays ensures recognition technology enhances your facility rather than presenting ongoing challenges. Start planning during architectural design, specify infrastructure during construction documents, coordinate installation during finishing phases, and commit to long-term content management for displays that deliver value throughout your facility’s lifetime.