



A recognition display black level test is a structured pre-acceptance check that school administrators, IT staff, athletic directors, and facilities teams run on newly installed or repositioned touchscreens to confirm the panel renders dark areas of recognition content accurately. Black level describes the darkest tone a display can produce: when it is set too high, shadow regions in athlete portraits, gymnasium trophy photography, and archival sports footage appear washed out and gray rather than deep and defined. When it is set too low on certain panel types, fine shadow detail in dark uniforms or low-lit award ceremony photographs collapses into an undifferentiated black mass that destroys visual information. Either failure makes your school’s recognition program look careless, and it is almost always avoidable with a five-minute test before the display goes live.
Lobby and gymnasium recognition displays are exposed to a wide range of ambient light throughout the school day. A black level that looked acceptable during a vendor demonstration in a dim showroom may appear completely washed out against the bright afternoon sun entering a glass-walled atrium, or become oppressively dark in a gymnasium with no overhead windows. Testing black level on-site, in real lighting conditions, is the only reliable way to accept a recognition display for public service.
Quick answer: To run a recognition display black level test, display a full-screen PLUGE pattern (Picture Line-Up Generation Equipment) or a set of graduated dark-gray ramp images—begin at near-black (RGB 16, 16, 16) and step up to mid-gray (RGB 64, 64, 64) in increments of 8. Every step should be visually distinct. If the first two or three steps merge into solid black, black level is set too high and shadow detail will be crushed in actual recognition content. If the darkest ramp steps appear noticeably gray at typical viewing distance in normal room lighting, black level is too low and you will see washed-out darks in dark-background photography. Adjust using the display’s Brightness control in the OSD (which governs black level, not overall luminance), retest, and repeat until all ramp steps are cleanly distinct before accepting the installation.

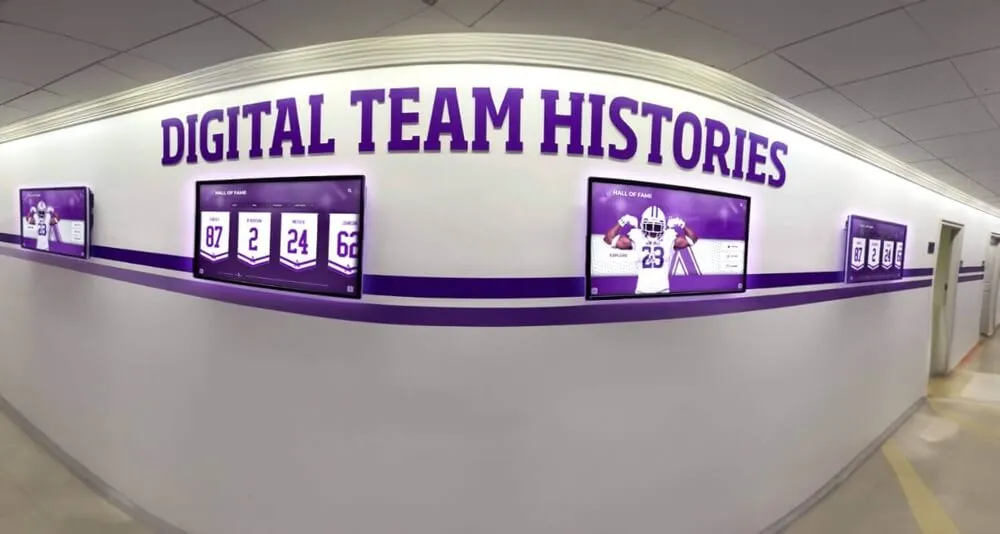
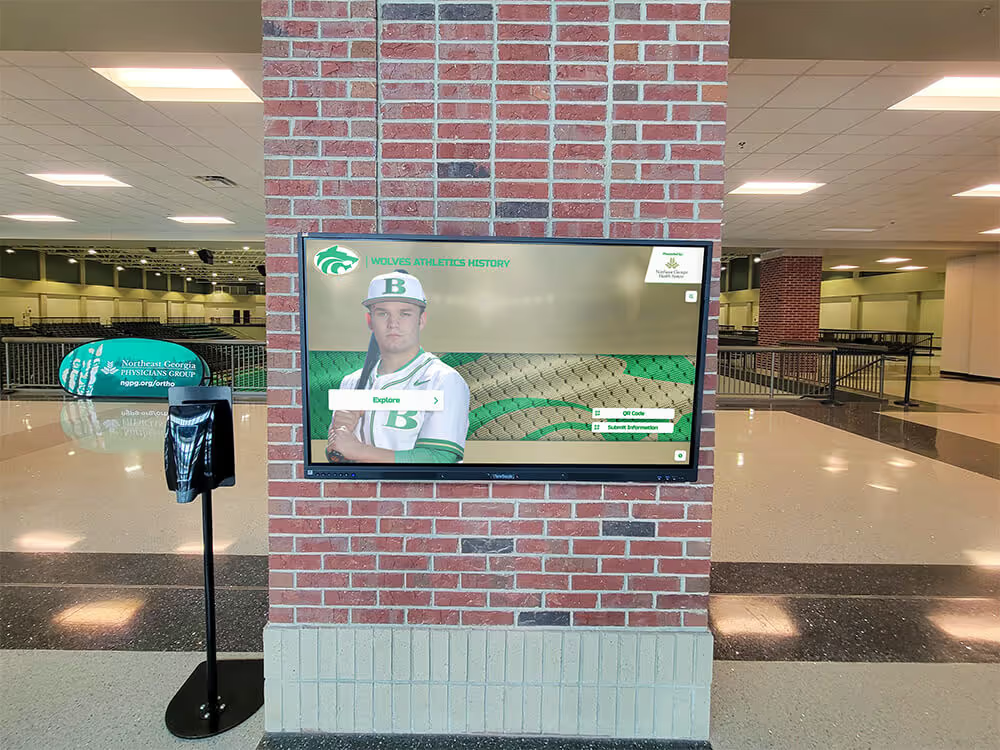
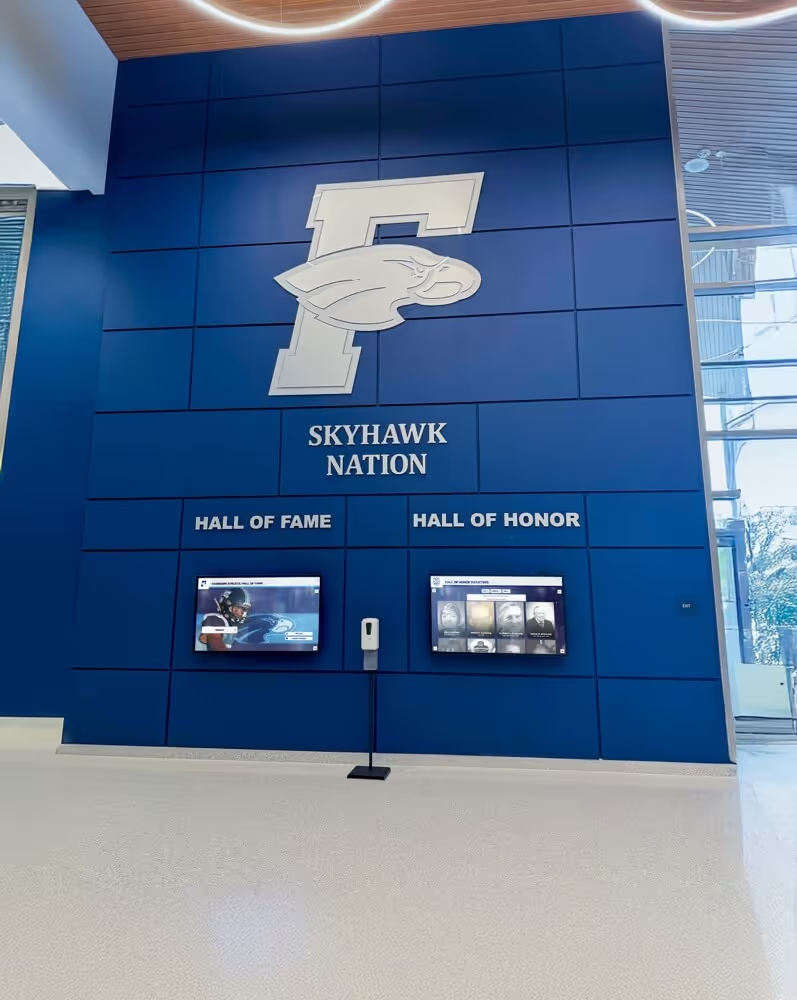
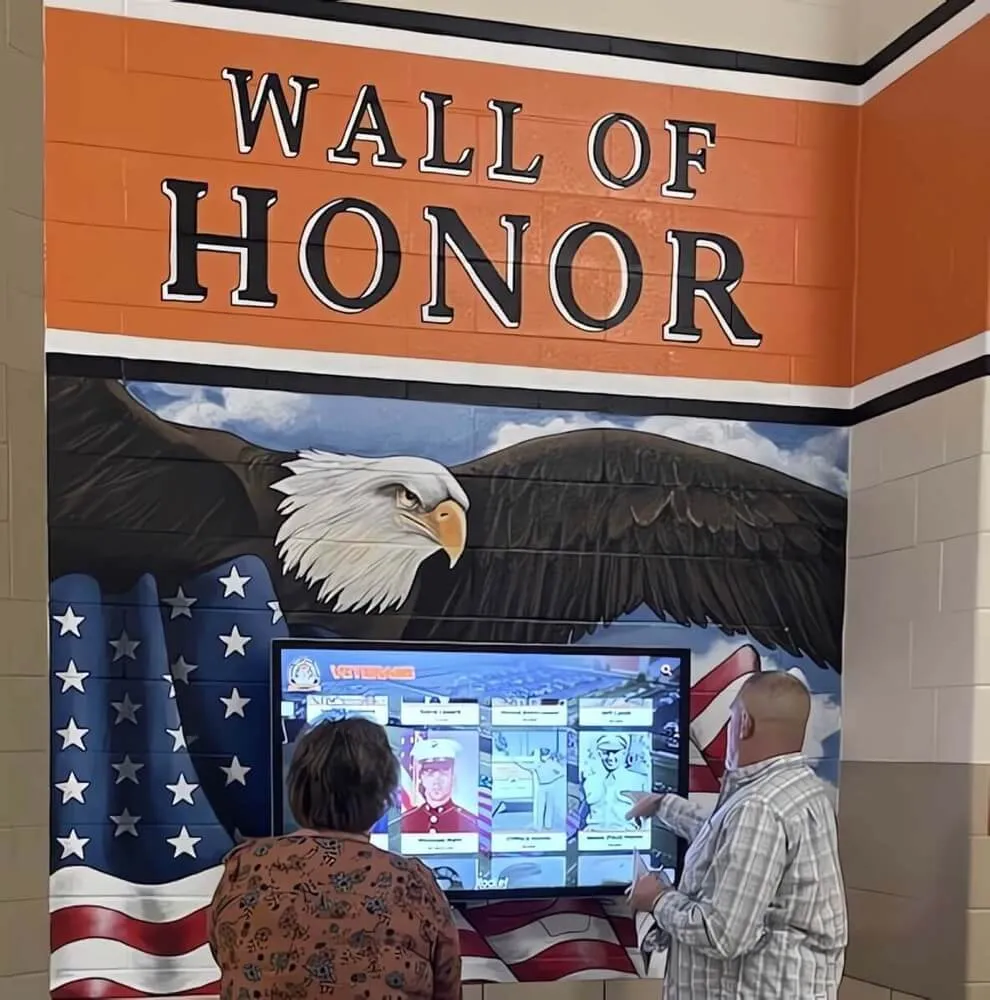
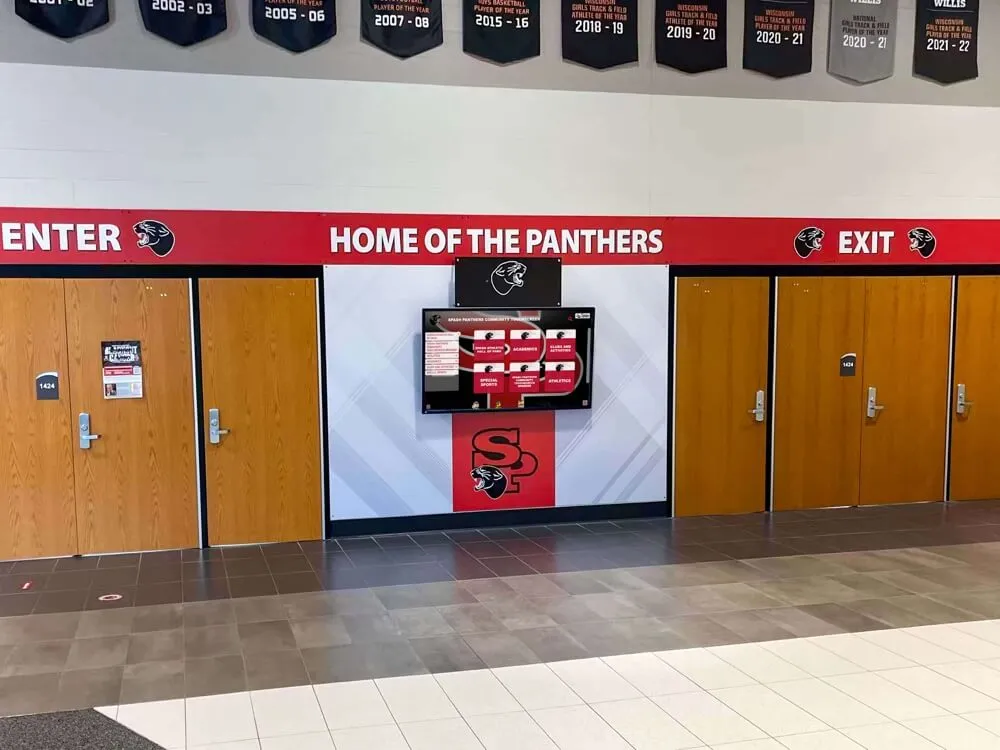
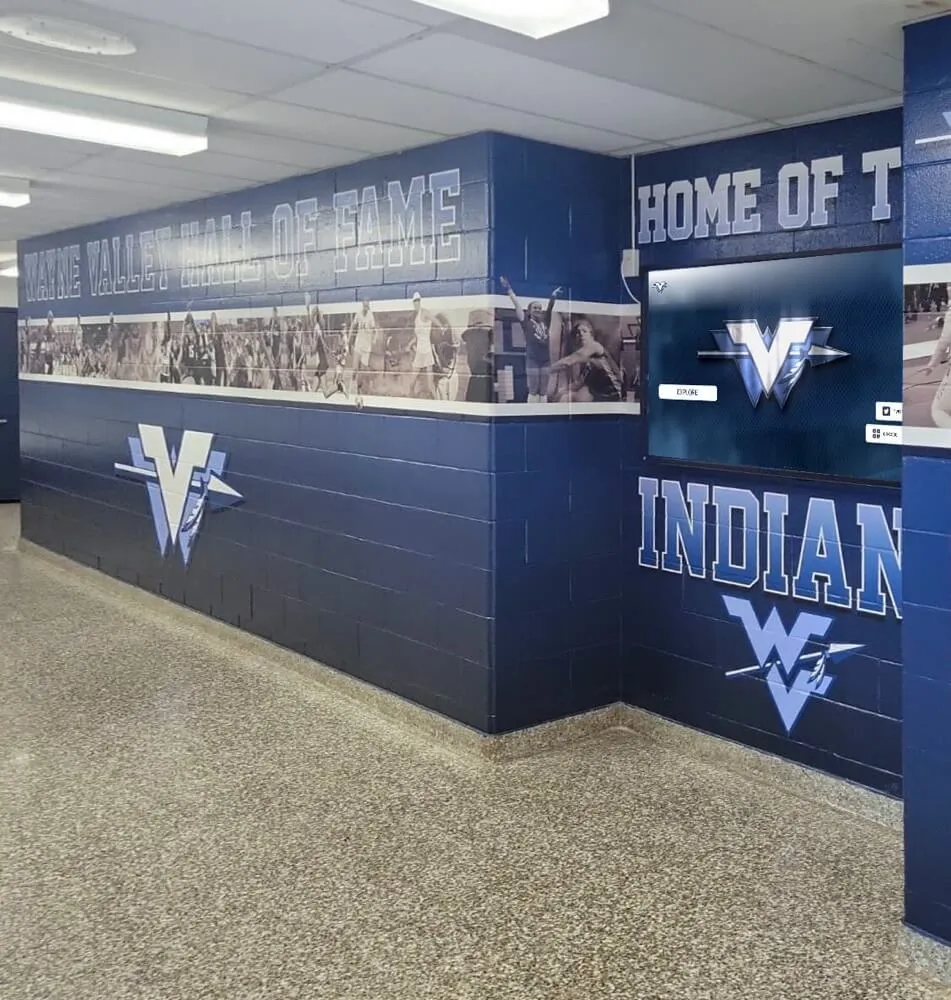
Lobby recognition screens in bright, windowed spaces are particularly vulnerable to black level drift—what looks correct at installation may wash out completely once ambient light changes
Why Black Level Matters for School Recognition Displays
School recognition programs rely on visual fidelity to communicate respect. An athletic hall-of-fame portrait where a player’s dark jersey bleeds into a black background, or a championship trophy photograph where the shadowed detail on the hardware is entirely lost, signals to every visitor that the program did not invest care in how it presents honored students and alumni. That perception damage is disproportionate to the cause—a misaligned OSD setting that takes under two minutes to correct.
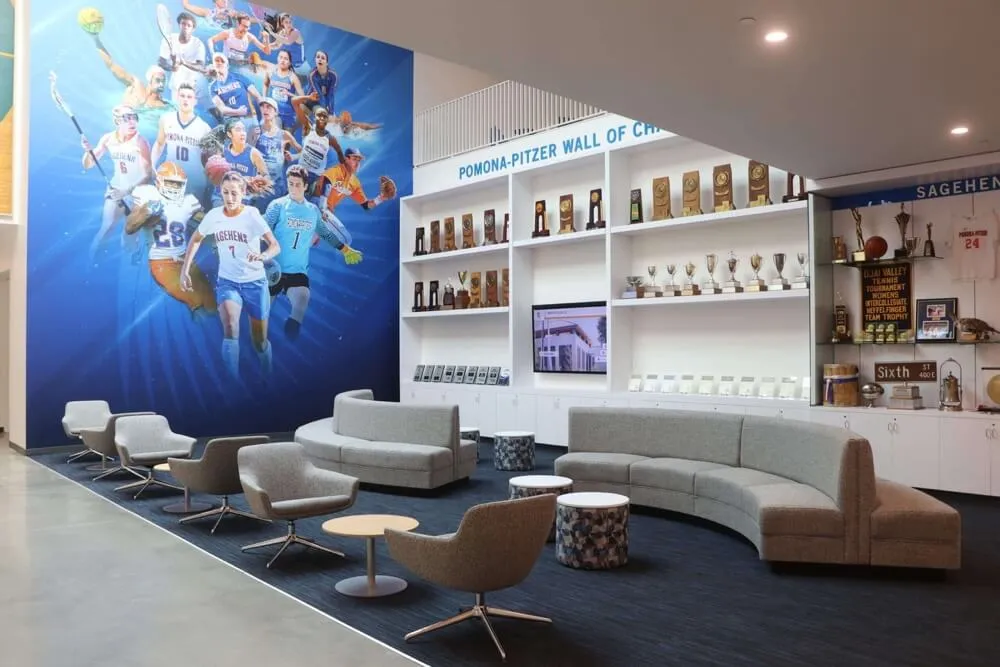
Dark content is more prevalent in school recognition photography than many program managers realize. Gymnasium trophy cases, evening award ceremonies, dramatic spotlight photography at banquets, and archival sports footage from the 1970s and 1980s all rely heavily on shadow retention to convey mood and visual quality. Schools building out basketball display cases in school lobbies and hall-of-fame walls need recognition displays that render the full tonal range of historic team photography—including the dark wood paneling, low-lit gymnasium interiors, and monochromatic action shots that define decades of program history.
Gymnasium installations face an additional complication. Ambient light levels in a gym change dramatically between a quiet Tuesday afternoon and a Friday evening varsity game when overhead sports lighting is running at full output. A black level dialed in correctly for one condition may perform poorly in the other. Running the test under both lighting scenarios—or testing in the middle of the range and documenting the tradeoff—is the only way to make an informed acceptance decision.
For schools developing school spirit display ideas for gyms and lobbies, getting black level right is a foundational step before any content design decision. Even the most carefully curated recognition photography and the most polished branded layout will look amateurish if the panel cannot render a clean, defined black.
Understanding Black Level vs. Brightness: The OSD Confusion
One of the most common setup errors in school display installations is confusing the Brightness control with the Backlight control in the display’s on-screen display menu. These two settings do different things:
| OSD Control | What It Actually Adjusts | Effect on Black Level |
|---|---|---|
| Brightness | The lift or offset of the panel’s darkest output—the black floor | Directly sets black level; too high = washed-out blacks, too low = crushed shadow detail |
| Backlight (or OLED Light) | The intensity of the illumination source behind or within the panel | Affects overall luminance; does not correct black level offset |
| Contrast | The ratio between peak white and current black floor | Affects highlight rendering; adjust after Brightness is set |
| Black Level (on some panels) | An explicit black offset control | Equivalent to Brightness on those panels—same setting, different label |
When IT staff or AV installers want “brighter” content, they often raise Brightness rather than Backlight, inadvertently lifting the black floor and washing out every dark area on the display. Lowering Brightness when the display looks dim—instead of raising Backlight—crushes shadow detail. Both errors are common, both are caught immediately by a black level test, and both are corrected in under 60 seconds once the diagnosis is clear.
Step-by-Step: Running the Recognition Display Black Level Test
This procedure requires no specialized hardware. A laptop or tablet that can mirror to the display, or a USB drive loaded with test images, is sufficient. Plan for 20 to 30 minutes of uninterrupted access to the display.
Prepare your test images before arriving at the display. Create or download a set of solid-color test patches at these approximate luminance levels: near-black at RGB 16 (level 16, 16, 16), dark gray at RGB 24, 32, 40, 48, 56, and mid-gray at RGB 64. Save each as a full-resolution JPEG or PNG on a USB drive. Alternatively, use a browser-based PLUGE generator and mirror your laptop screen to the display. The specific values matter less than having visually adjacent steps that should all be individually distinguishable.
Set the room to its typical ambient lighting condition before testing. If the display lives in a south-facing lobby with afternoon sun, test in afternoon light. If it is mounted in a gymnasium, test with the gymnasium’s overhead lighting at the level used during recognition events—not during athletic practice if those conditions differ. Black level acceptability is always relative to the ambient environment.
Display the near-black patch (RGB 16) fullscreen. Stand at the typical visitor viewing distance—usually 3 to 6 feet for a lobby kiosk or 6 to 15 feet for a wall-mounted gymnasium display. Observe whether the screen appears completely black or whether you can detect a faint, slightly lighter rectangle compared to the display’s bezel. If the RGB 16 patch is indistinguishable from the bezel or from a powered-off screen, black level may be set too low.
Step through the ramp patches from RGB 24 to RGB 64 and verify each step is visually distinct. At typical viewing distance, every step in the ramp should produce a clearly different shade. You should be able to count at least five distinct tonal steps between near-black and mid-gray. If the first three or four steps appear identical—all merging into solid black—the Brightness control is set too low and is crushing shadow detail.
Switch to the mid-gray patch (RGB 128) and observe. Mid-gray should appear as a noticeably lighter gray—roughly halfway between the bezel and peak white. If mid-gray appears nearly white, Brightness is set too high and the black floor has been lifted significantly. If mid-gray appears very dark, Brightness is set too low.
Open the display’s OSD and adjust Brightness in 3-unit increments. Do not adjust Backlight during this test. Raise Brightness if shadow steps are crushed into black; lower it if the near-black patch visibly floats above black. After each 3-unit adjustment, return to the ramp sequence and recheck step separation. The target is clean step separation throughout the ramp with the near-black patch appearing as close to true black as possible without merging with the bezel.
Confirm with a real recognition image after calibration. Load an actual portrait or trophy photograph from your recognition program—ideally one with a dark background or shadow areas—and evaluate it at viewing distance. Shadow detail in dark uniforms, behind-trophy backgrounds, and low-lit ceremony settings should be visible and differentiated. If it appears crushed or washed out, return to the ramp test and iterate.
Document the final Brightness setting, Backlight level, and Contrast value. Record the display serial number, installation date, test date, ambient lighting condition, and the final OSD settings. This baseline allows any future service visit or settings reset to restore the calibrated state quickly.
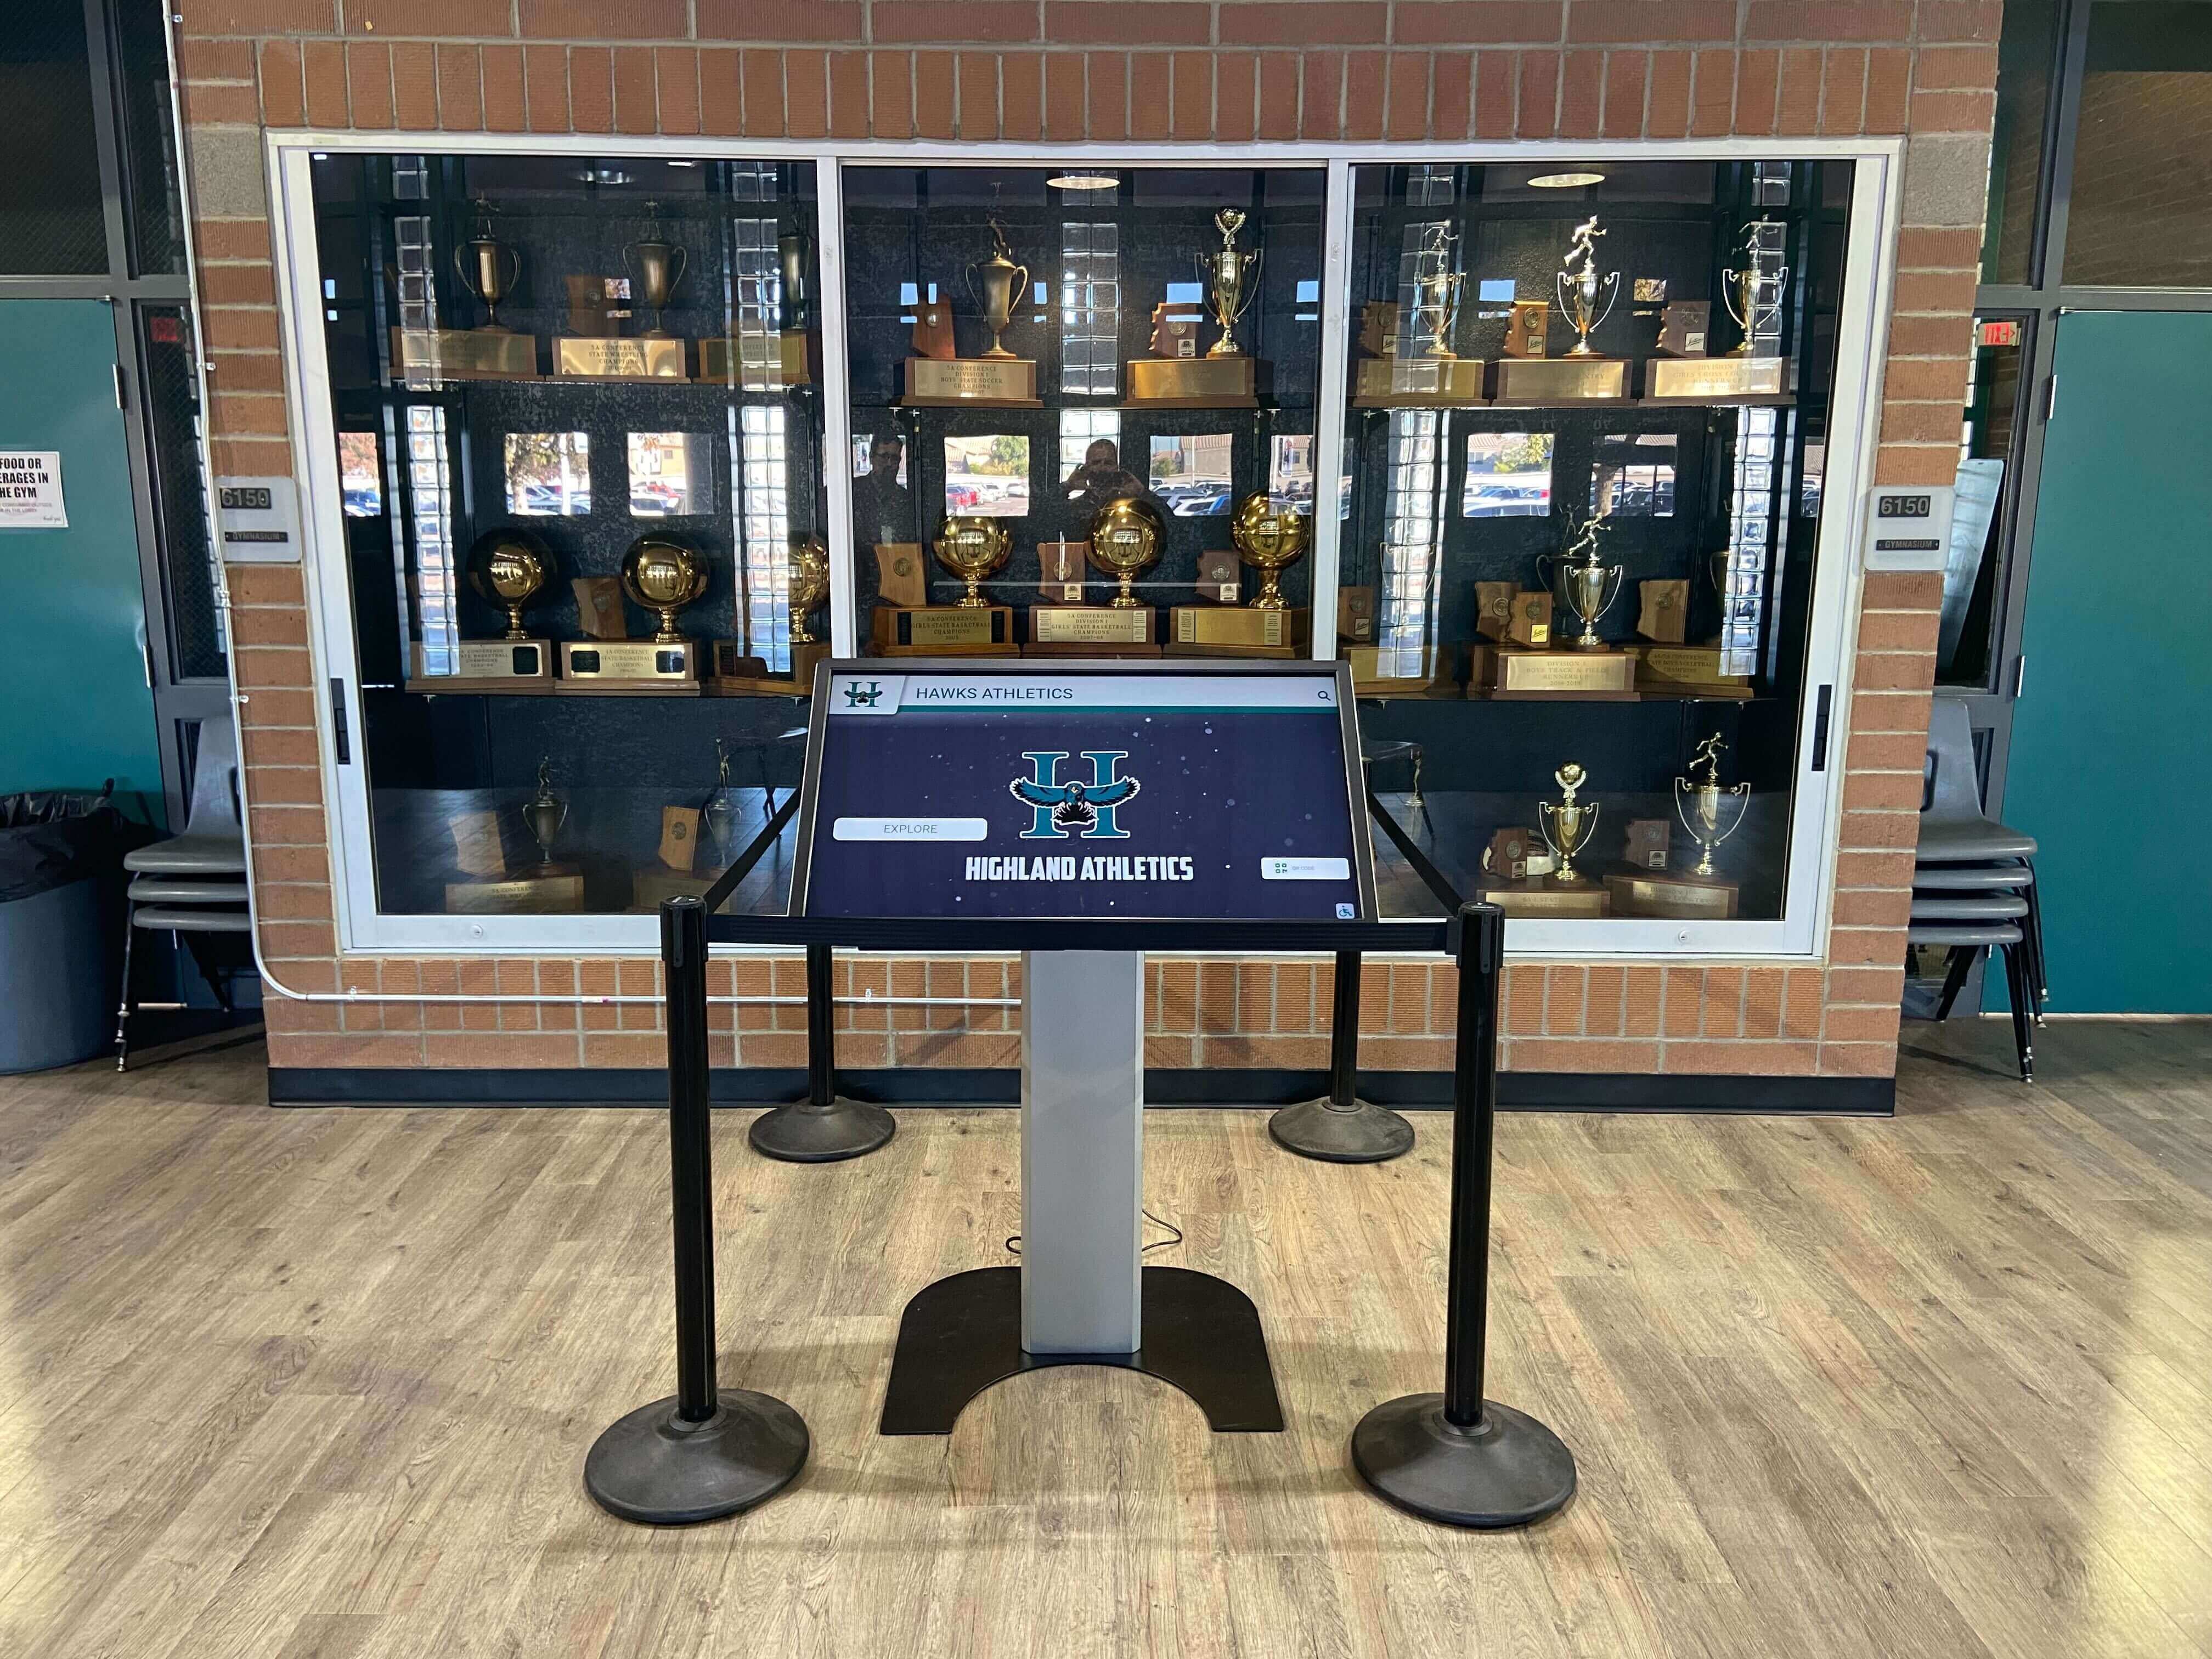
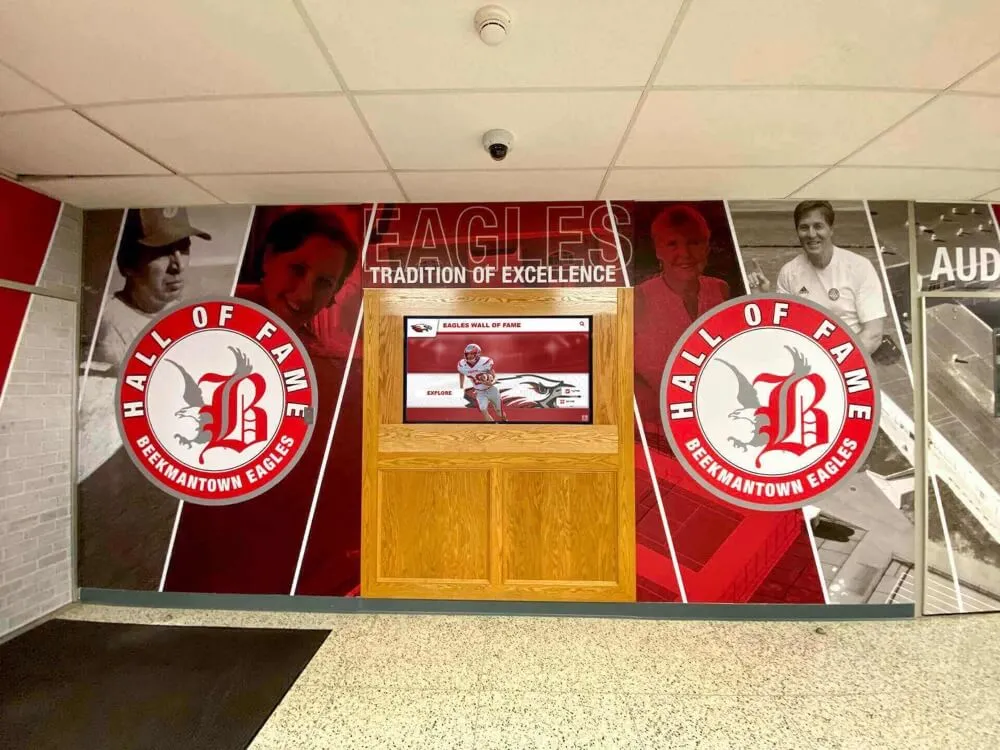
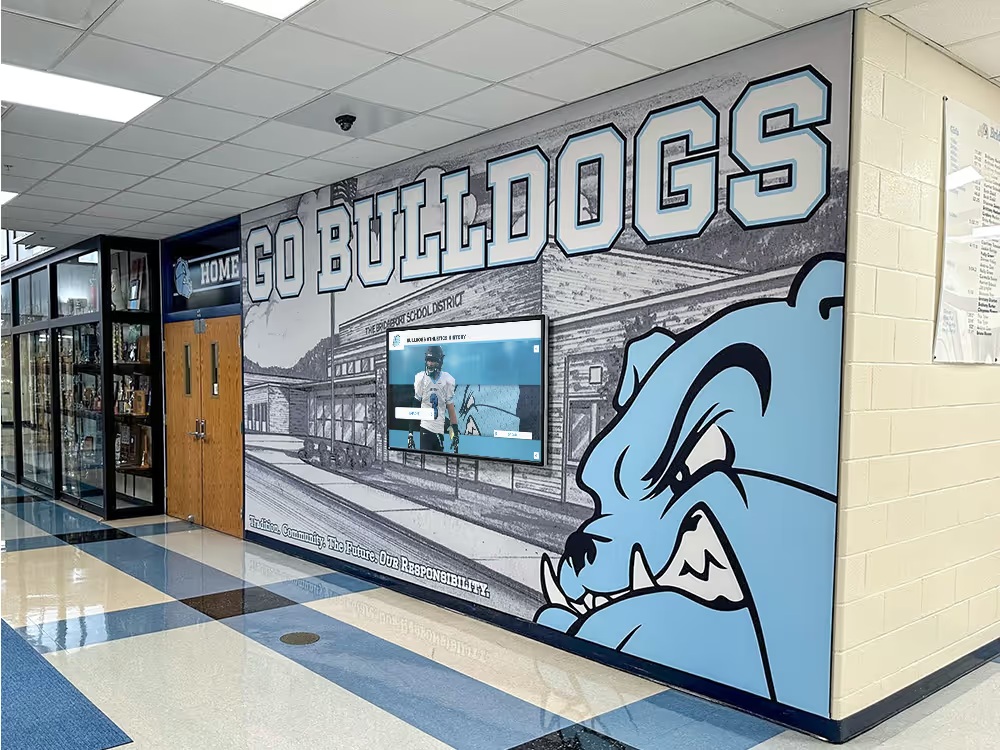
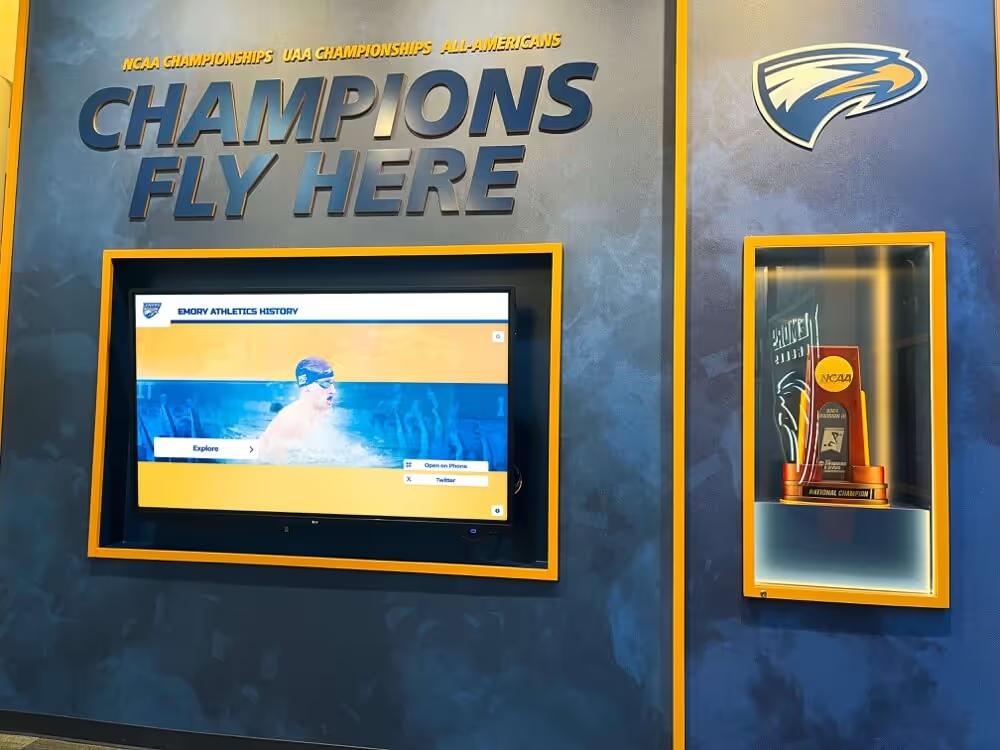
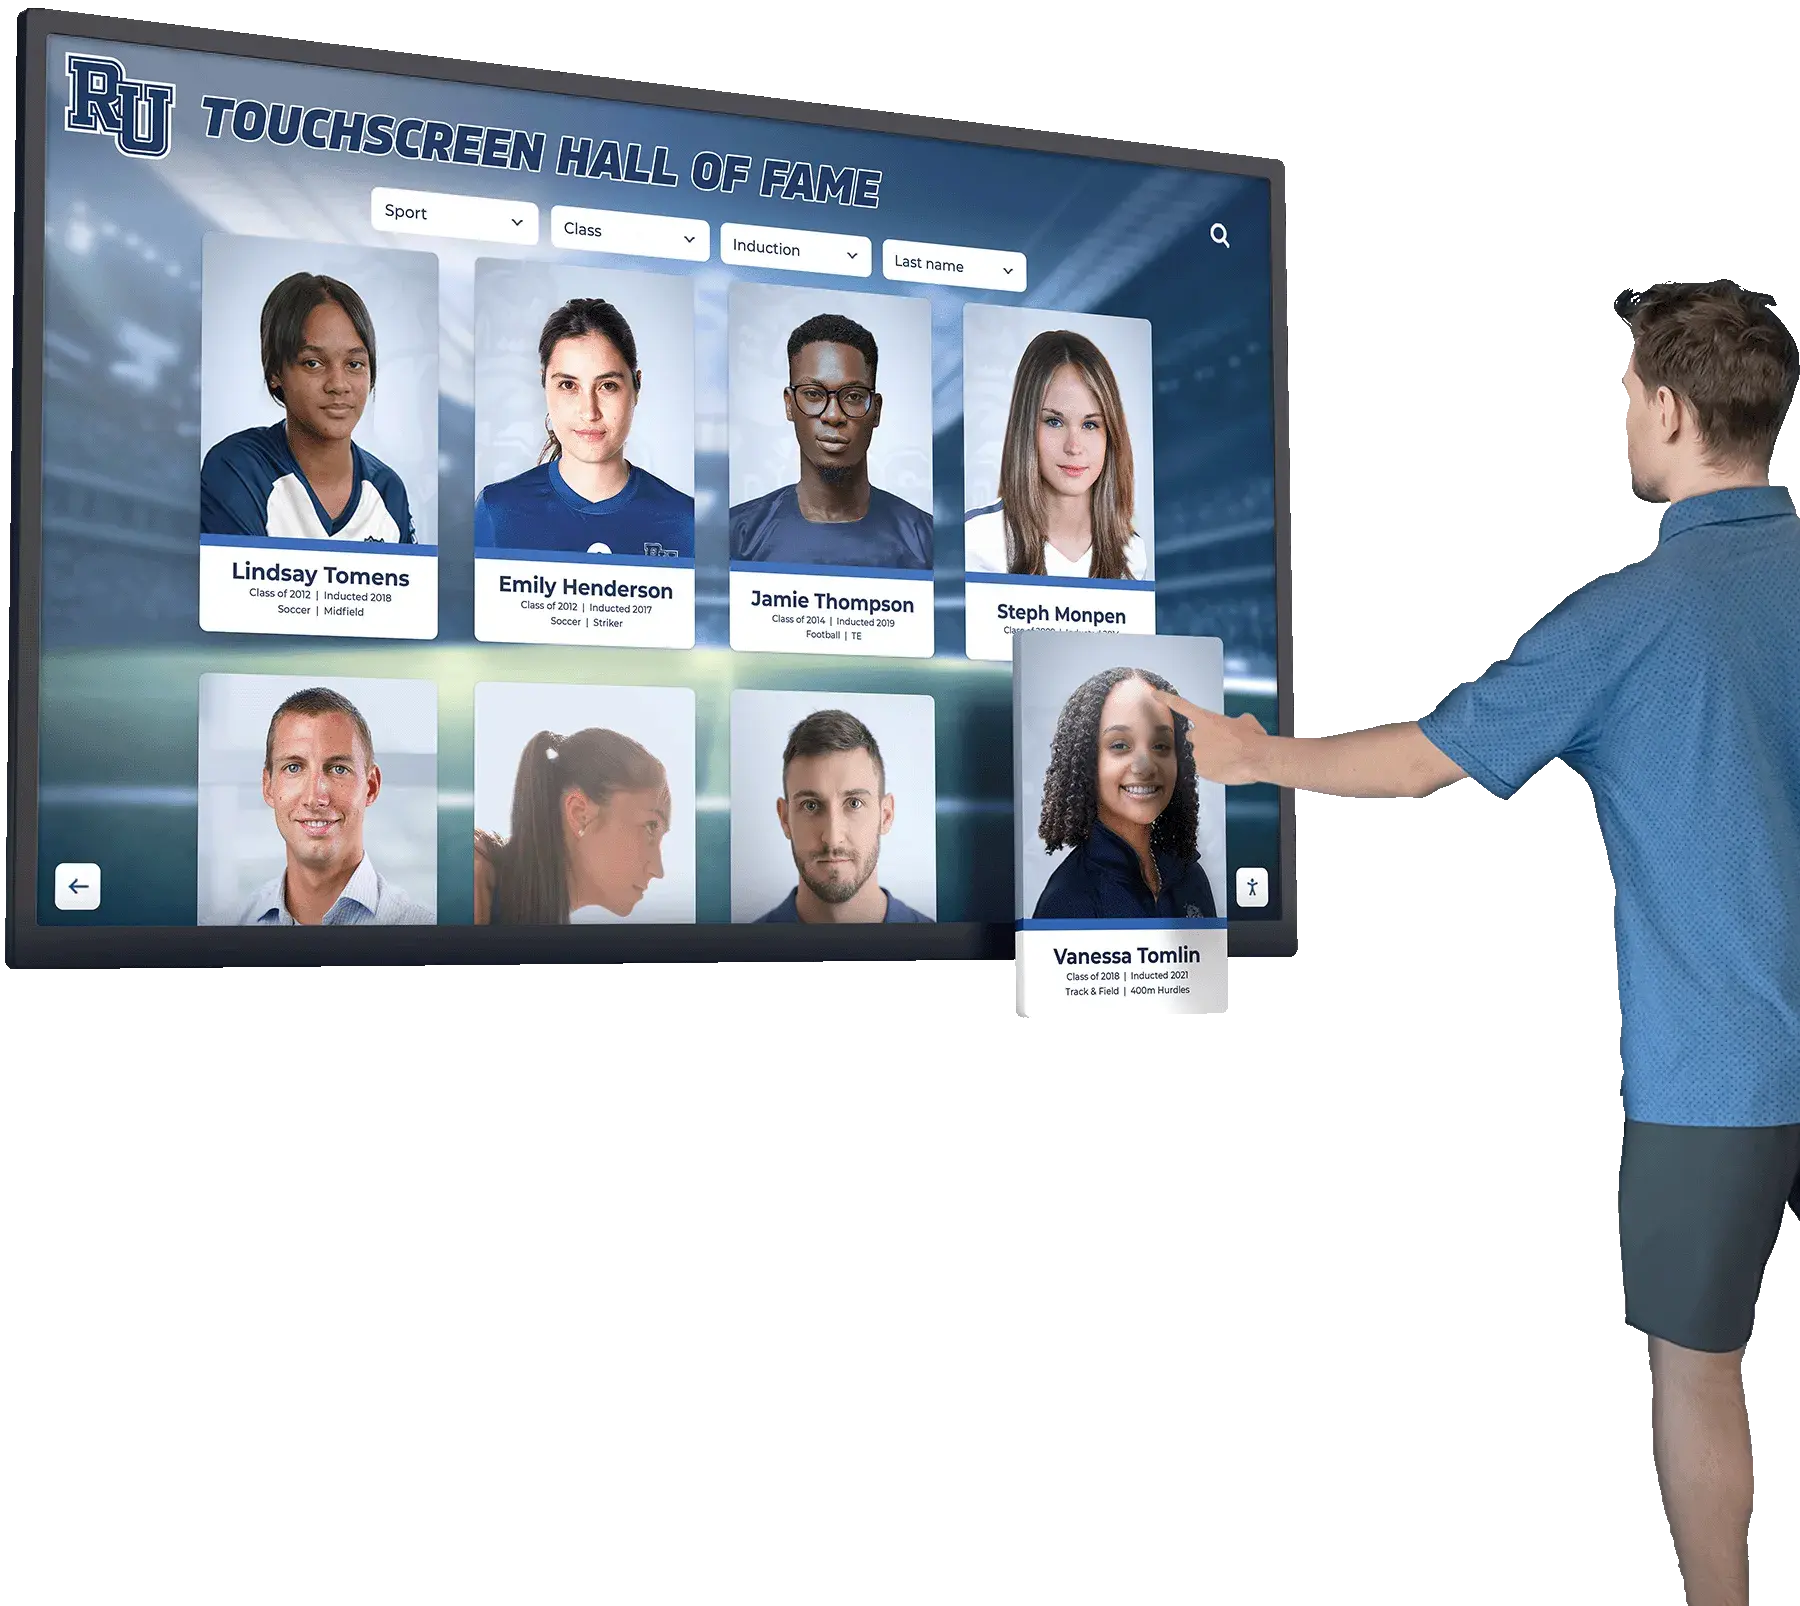
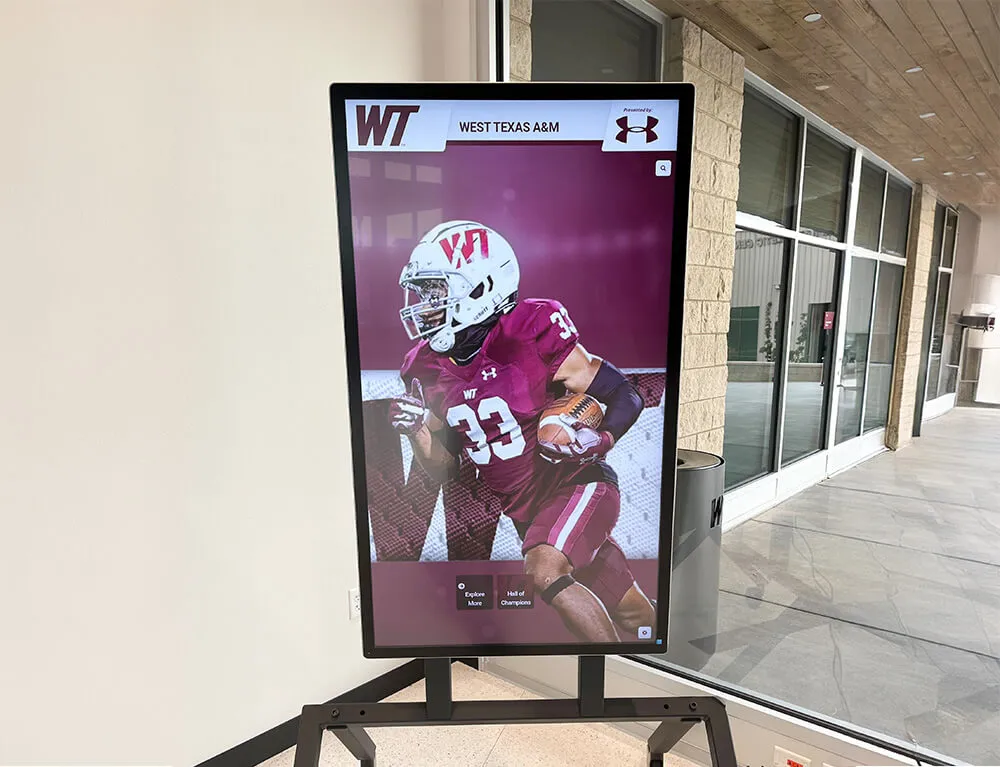
Trophy case kiosks display dark-background award photography that reveals black level errors immediately—calibrate before the case is sealed and access becomes difficult
Black Level Acceptance Thresholds
Use this table as your pass/fail reference during the test. Any “Fail” result requires OSD adjustment before accepting the display.
| Test Observation | Result | Action Required |
|---|---|---|
| RGB 16 patch indistinguishable from powered-off panel | Fail — Brightness too low | Raise Brightness in 3-unit increments until faintly visible |
| RGB 16 through RGB 32 patches all appear identical black | Fail — Shadow detail crushed | Raise Brightness until steps 16, 24, and 32 are individually distinct |
| All ramp steps RGB 16–64 cleanly distinct at viewing distance | Pass | No adjustment needed |
| RGB 16 patch appears noticeably gray at viewing distance | Fail — Black floor lifted | Lower Brightness in 3-unit increments until near-black patch approaches true black |
| Mid-gray patch (RGB 128) appears nearly as bright as peak white | Fail — Brightness far too high | Lower Brightness significantly; re-run full ramp test |
| Shadow detail visible in real recognition portrait photography | Pass confirmation | Proceed to document final settings and accept display |
Common Black Level Failures in School Environments
Factory “Vivid” or “Dynamic” picture mode. Commercial displays frequently ship in Vivid or Dynamic mode with Brightness elevated and Contrast maximized to appear impressive in a showroom. This mode crushes shadow detail on real-world content and should be switched to Standard, Custom, or Movie mode before any black level adjustment begins.
Installer error: Brightness and Backlight swapped. A technician who raised Brightness to “make the lobby display brighter” may have inadvertently lifted the black floor significantly. The backlight should govern overall luminance for the ambient environment; Brightness should be adjusted only for black level accuracy.
Display relocated from a different room. A gymnasium display moved to a brighter lobby may have its Brightness set correctly for gymnasium lighting but appear washed out in higher ambient light. Black level test on-site in the new location.
Consumer-grade display in a commercial recognition role. Consumer displays often have more aggressive black enhancement processing that dynamically adjusts black level based on content. This adaptive processing works against consistent recognition display calibration. Disable Dynamic Contrast, Auto Brightness, and any “Black Enhancement” or “Shadow Boost” features before running the test and before accepting the installation.
How Black Level Interacts with Other Recognition Display Tests
The black level test is one of several pre-acceptance checks that should be part of any school recognition display installation. It does not replace—and is not replaced by—related tests that each catch different failure modes:
A backlight bleed test for school recognition displays reveals whether uneven backlight illumination is casting bright patches across dark areas of the display—a separate issue from black level that can make correctly calibrated blacks appear uneven across the panel surface.
A recognition display refresh rate test confirms that motion artifacts and flicker do not undermine the clarity of video content in recognition programs, particularly for schools displaying archived athletic footage or livestreamed event content.
A cable continuity test for school recognition displays ensures that signal integrity from source to panel is uncompromised—a degraded cable can introduce noise and banding in dark areas that mimics black level problems and cannot be resolved through OSD adjustment alone.
Running all applicable tests before acceptance—rather than treating any single test as a complete sign-off—produces a documented baseline that protects the school’s capital investment and gives the IT team a structured troubleshooting framework when display quality issues are reported later.
Establishing a Pre-Acceptance Black Level Protocol for School Installations
Schools that plan display acceptance testing before a vendor’s technician leaves the site protect themselves from the most common support scenario: calling the vendor back weeks later because “the portraits look dark” or “the trophy photos are washed out,” only to discover that the fix is a two-minute OSD adjustment. By building the black level test into the formal acceptance checklist, you ensure the display meets your quality standard before you sign off.
A practical pre-acceptance black level protocol for school recognition installations includes these five steps:
- Verify picture mode is set to Standard or Custom—never Vivid or Dynamic.
- Disable all adaptive contrast, auto brightness, and black enhancement features.
- Run the graduated ramp test under actual site lighting conditions and confirm all steps from RGB 16 to RGB 64 are individually distinct.
- Confirm with a real recognition photograph containing significant shadow areas.
- Document final OSD settings in writing and photograph the OSD menu with a phone camera for the service record.
Schools building comprehensive recognition programs with awards and honors recognition programs in high school understand that visual quality is inseparable from the dignity of the recognition itself. A display that cannot faithfully render a championship photograph from 1987 is not fit to carry that program’s history.
For schools hosting school photo display ideas for athletic lobbies and team history programs, black level accuracy has direct impact on how decade-old team photographs appear to current students—and whether the display invites visitors to linger and explore or prompts them to walk past.
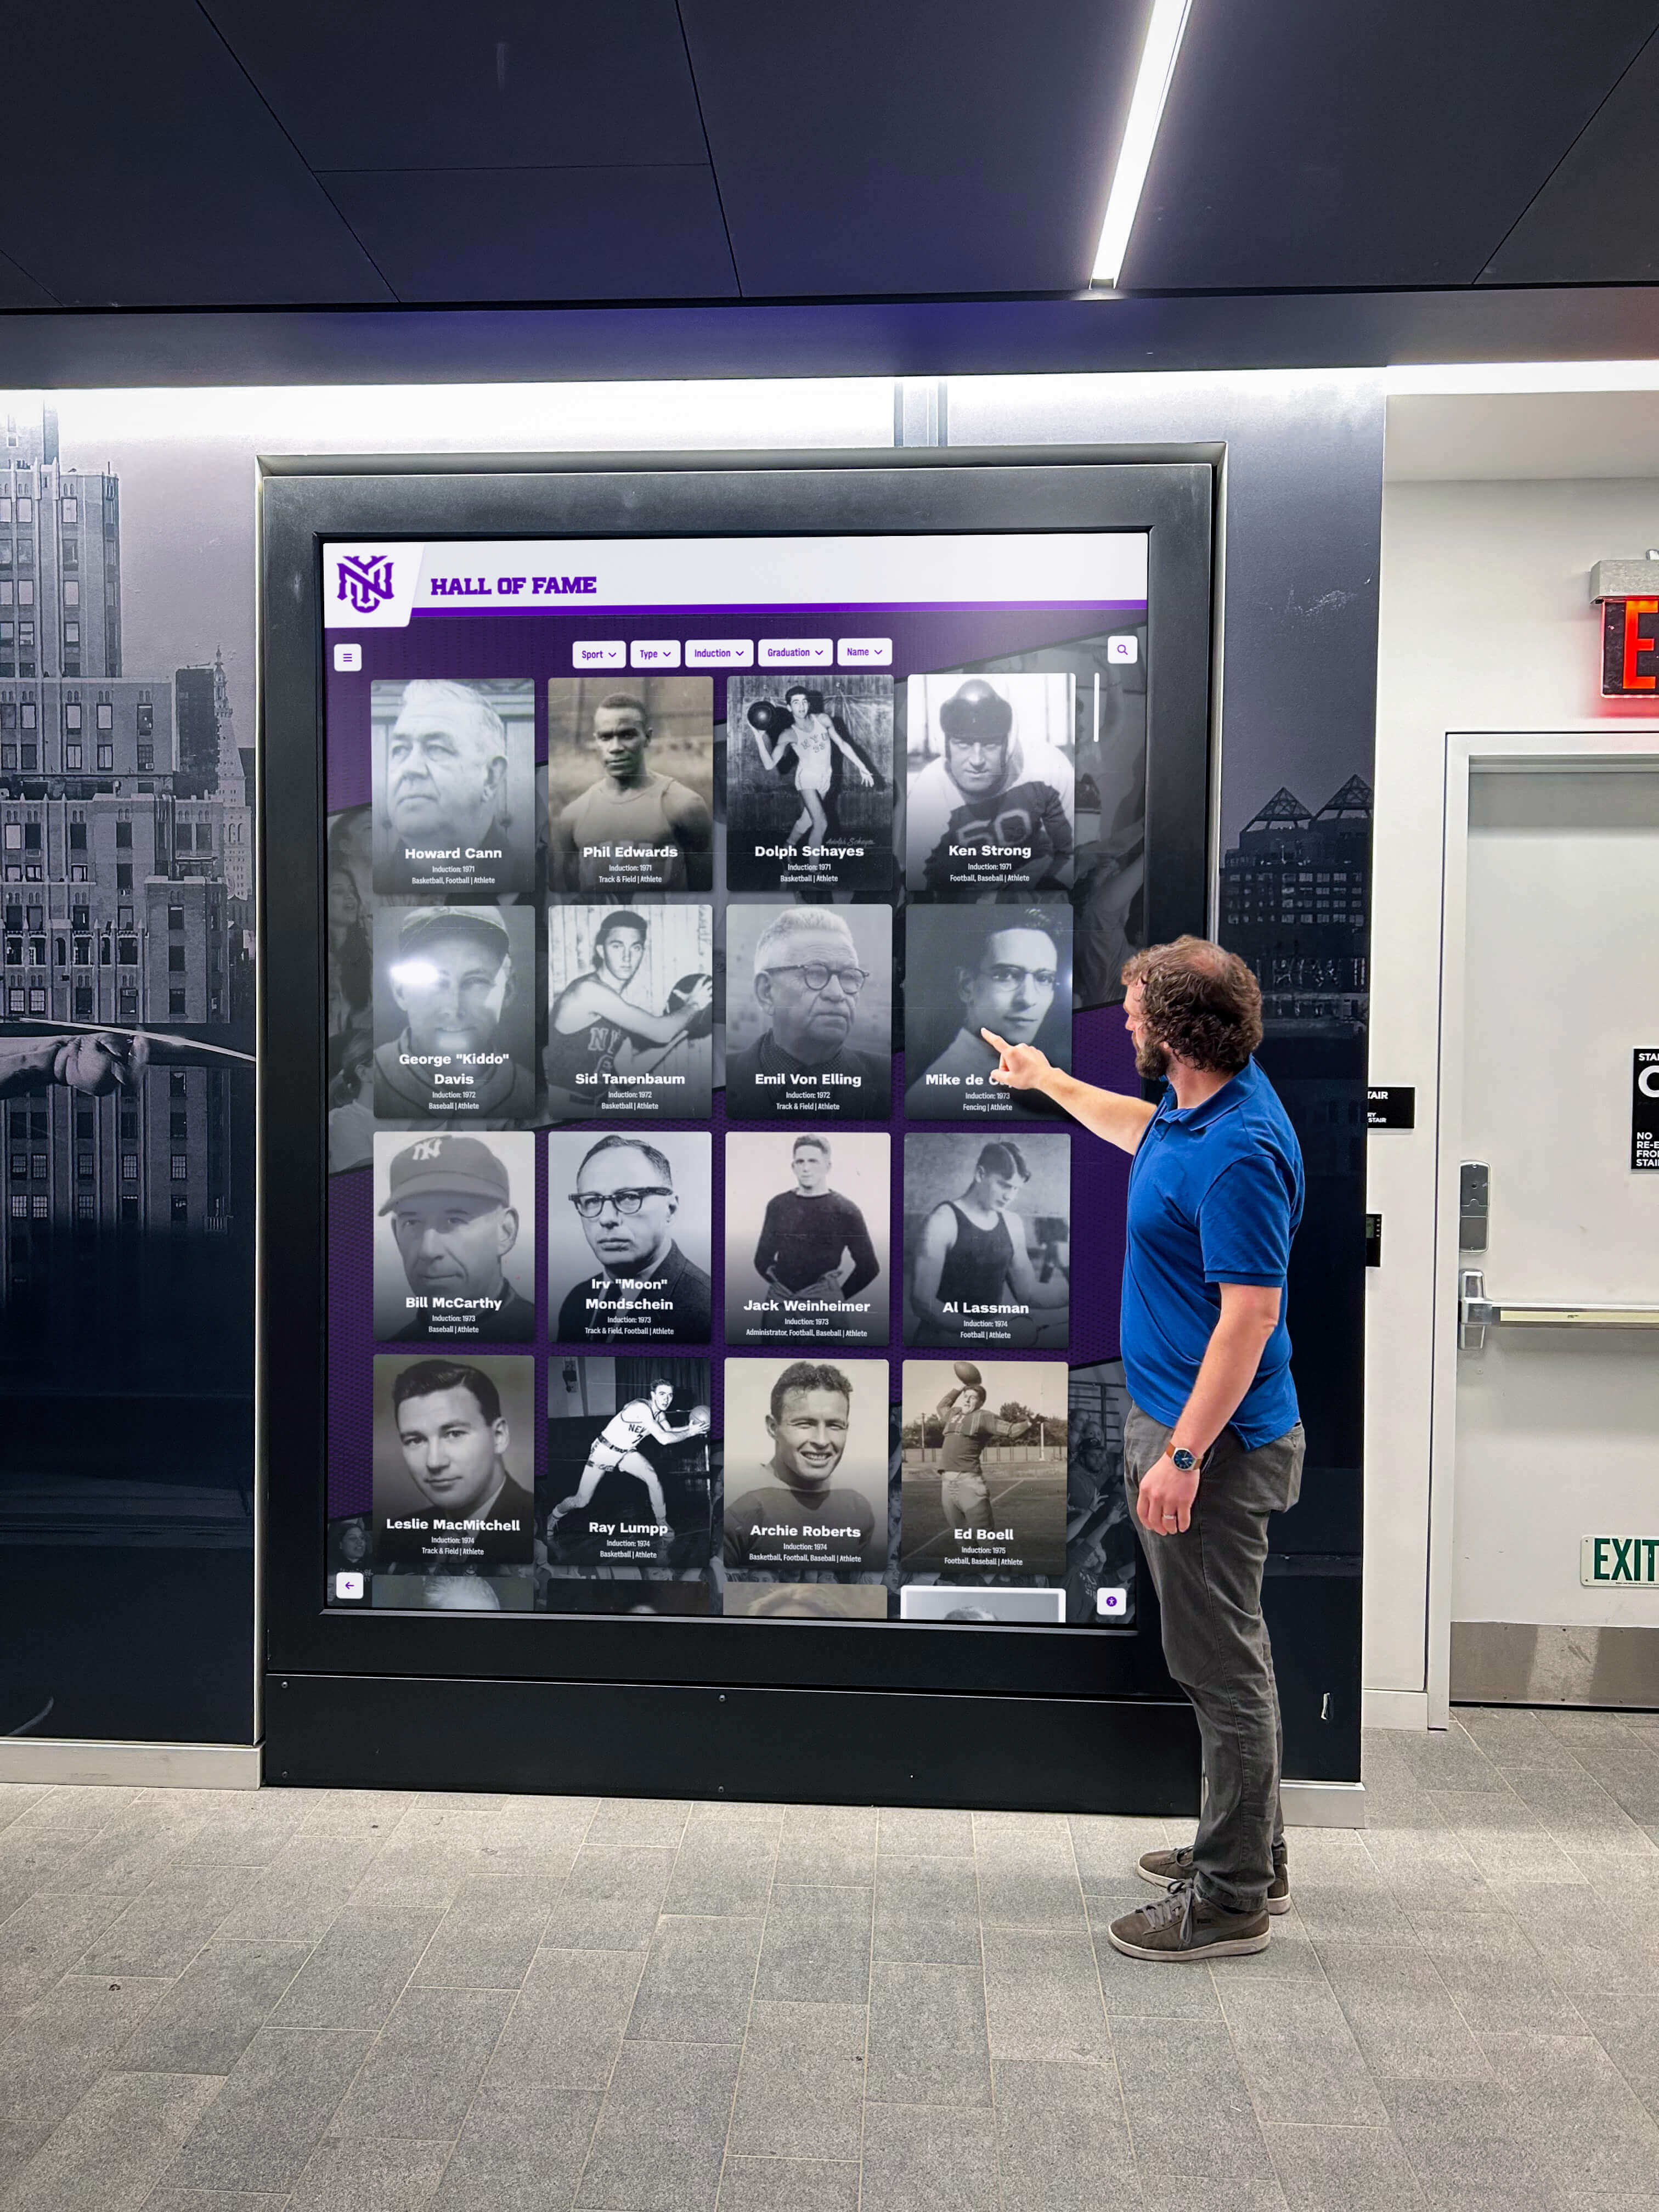
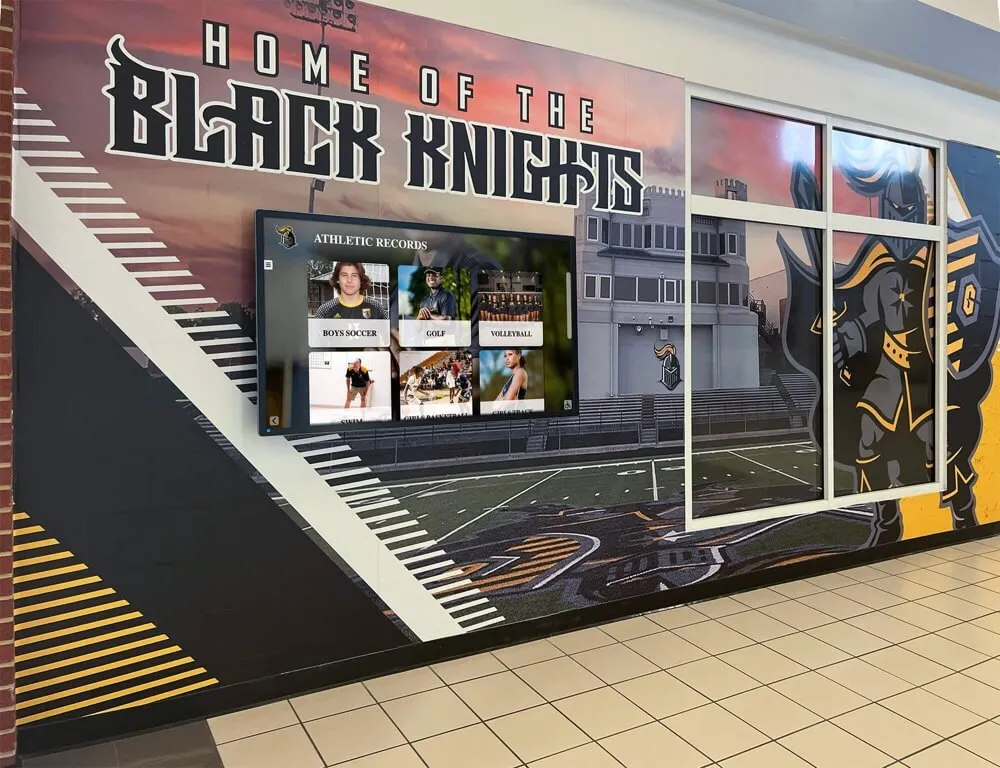
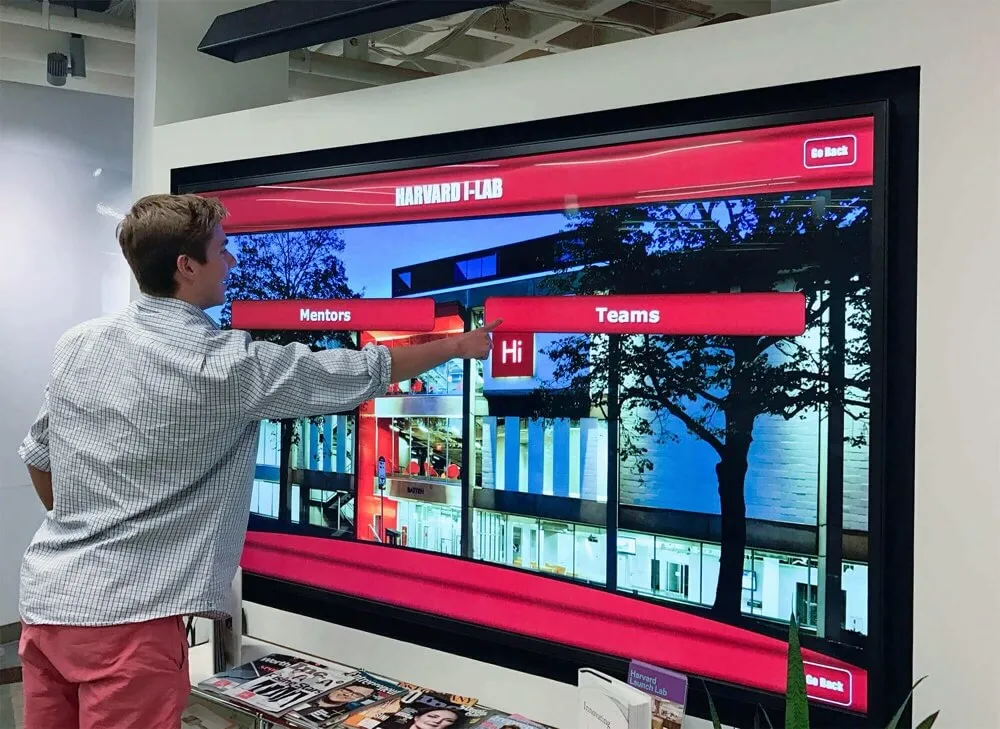
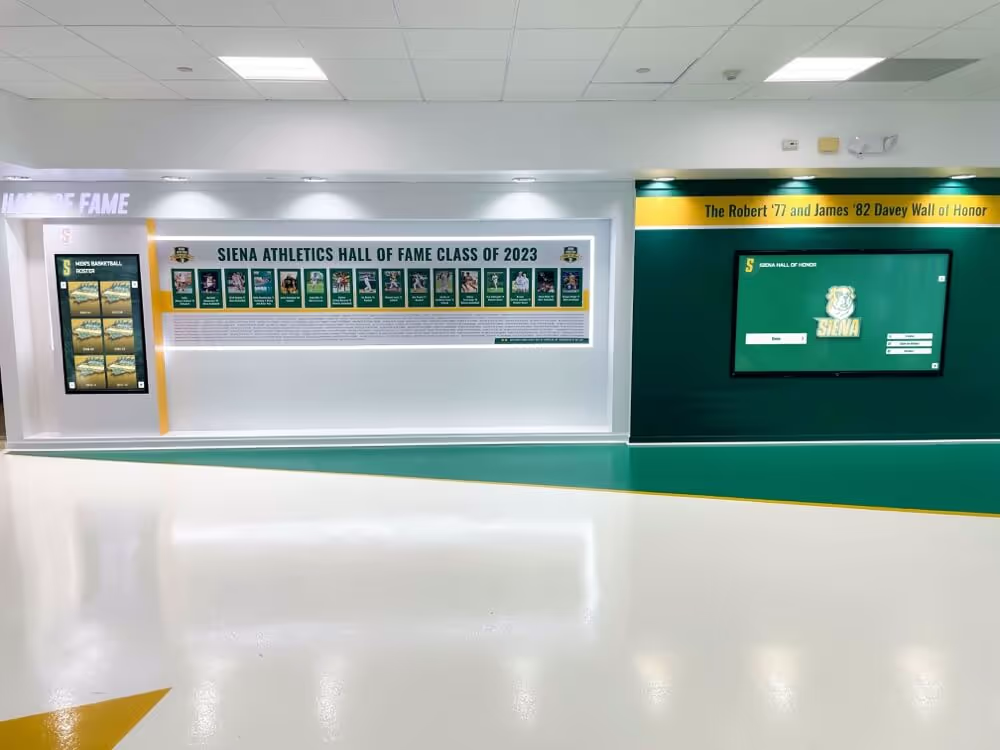
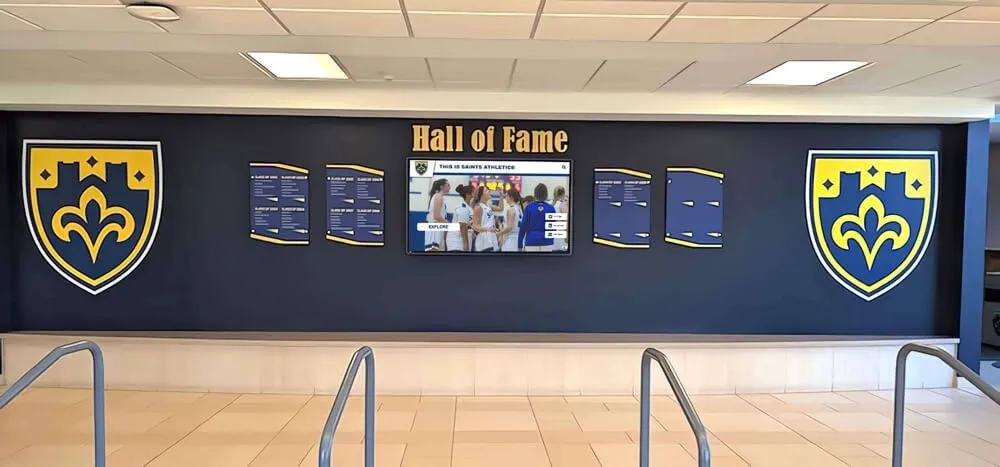
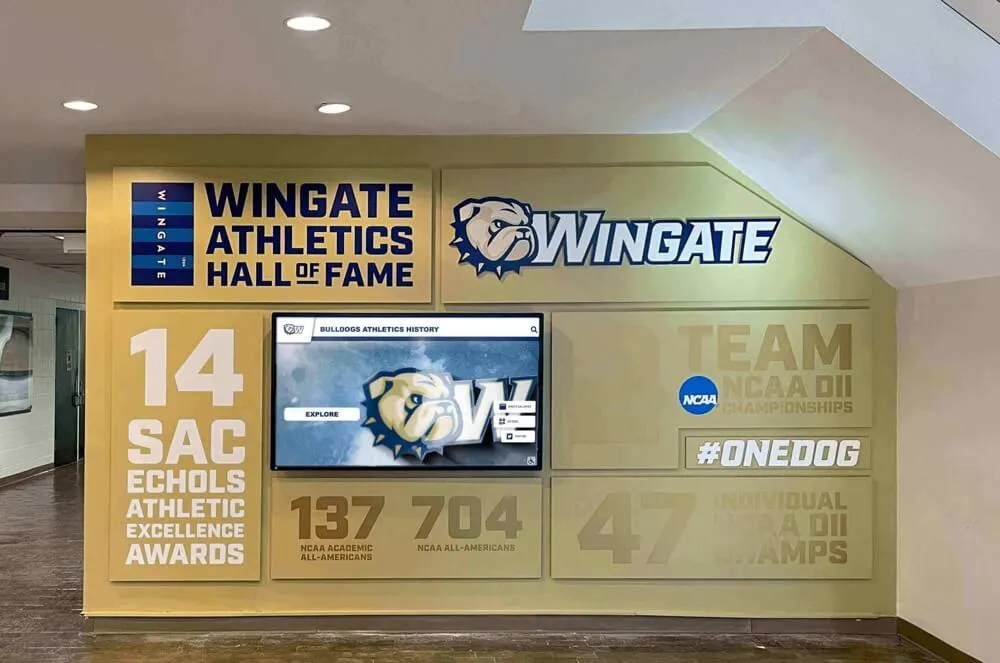
Recognition displays that render dark content accurately invite visitors to engage deeply with archival photography—poor black level makes historic imagery look neglected
Periodic Black Level Test Schedule
Black level should be re-verified whenever the display is moved, after any firmware or display software update, and on an annual maintenance schedule. Use this table to assign testing responsibility and frequency.
| Trigger | Test Type | Who Runs It | Documentation |
|---|---|---|---|
| Pre-acceptance (new or relocated display) | Full ramp test + real-image confirmation | IT or AV team | Record OSD settings to service log |
| Post-firmware update | Abbreviated ramp test (confirm steps visible) | IT department | Note whether settings survived update |
| Annual maintenance | Full ramp test + ambient light comparison | IT or facilities | Compare to baseline settings |
| Visible complaint (“portraits look dark/washed out”) | Full ramp test + mode verification | IT department | Document finding and corrective action |
| Display relocated to new room | Full ramp test in new ambient conditions | IT or AV team | Update service log with new setting values |
| After AV system reconfiguration | Abbreviated ramp test | AV team | Confirm signal chain has not introduced black level error |
Schools managing complex AV ecosystems across multiple buildings should include EDID troubleshooting for school AV teams as a companion check to the black level test whenever a display is reconfigured. An AV switcher or extender that misreads a display’s EDID profile can force an incorrect color range—full-range vs. limited-range—that produces the same symptoms as a misaligned Brightness setting but cannot be corrected through OSD adjustment alone.
Black Level Performance by Display Technology
Understanding your panel type helps set realistic expectations and prioritize prevention resources correctly.
| Panel Technology | Native Black Level | Ambient Light Sensitivity | Key Risk in School Recognition Context |
|---|---|---|---|
| OLED | Absolute black (pixel off) | Moderate | Reflection from bright lobbies reduces perceived contrast; anti-glare coating required |
| IPS LCD | Moderate — gray-black | High — glow from backlight | Backlight bleed visible in dark areas; black level calibration essential |
| VA LCD | Good — darker than IPS | Low-Moderate | Black crushing in shadow gradients; test ramp carefully |
| TN LCD | Moderate — varies by viewing angle | High | Off-angle viewing degrades blacks rapidly; avoid in wide-view lobby installations |
| LED Direct-View | Very good for indoor use | Low | Minimum brightness floor may prevent true near-black at low ambient light levels |
Most commercial recognition display touchscreens use IPS LCD technology for its wide viewing angle and color consistency in lobby environments. IPS panels have a characteristic backlight glow that prevents absolute blacks, which is normal and expected—the black level test is not checking for absolute black but for a correctly calibrated, consistent black floor across all content.
Frequently Asked Questions
What is the difference between black level and contrast ratio?
Black level is the absolute brightness of the darkest tone the display produces. Contrast ratio is the mathematical relationship between peak white brightness and black level. A display can have a high contrast ratio on paper by producing extremely bright whites while still having a lifted black floor that washes out dark recognition content. The black level test checks the black floor directly, which is the operationally relevant measurement for shadow detail in recognition photography. Contrast ratio specifications from manufacturers are often measured in ideal conditions and rarely reflect real-world performance.
Should I use the Vivid or Movie picture mode for a school lobby recognition display?
Neither, as a starting point. Vivid or Dynamic modes artificially boost color saturation and lift contrast in ways that distort both skin tones and shadow detail in recognition photography. Movie mode is often better calibrated than Vivid but may be too dim for a bright lobby environment. The correct approach is to start from the Standard or Custom picture mode, run the black level test, and adjust Brightness and Backlight to suit the specific room. This gives you a neutral, accurate baseline that serves recognition content well regardless of how the photographs were originally shot.
Our gym display passed the black level test in the morning but looks washed out by afternoon. What changed?
Afternoon sun entering gymnasium windows or skylights raises ambient light levels, which makes a correctly calibrated black floor appear lifted relative to the surrounding environment—not because the display changed, but because your eye’s reference point changed. Two corrective options: raise Backlight (not Brightness) in the afternoon to increase overall luminance and restore perceived contrast, or install ambient light sensors that adjust Backlight automatically throughout the day. Many commercial-grade displays include auto-brightness sensors; verify the sensor is enabled and correctly calibrated for your gymnasium’s specific light environment.
Is black level testing the same as gamma calibration?
No, though both affect how dark content appears. Black level sets the absolute floor of the display’s tonal range—the darkest reproducible shade. Gamma calibration sets the shape of the curve between that black floor and peak white. A display with correctly calibrated gamma but an improperly set black level will still render dark content incorrectly. Run the black level test first to establish an accurate floor, then assess whether gamma requires separate calibration if mid-tones appear inaccurate after the black floor is correctly set.
Can a recognition software platform affect black level?
The recognition software itself does not change display hardware black level settings. However, the software’s output signal type—full-range RGB (0–255) or limited-range RGB (16–235)—must match what the display expects. A full-range signal sent to a display expecting limited range will cause the first 16 luminance steps to map incorrectly, which produces exactly the appearance of a miscalibrated black level: near-black content appearing washed out. Verify that your recognition platform’s output color range matches your display and AV infrastructure’s expected input range. This is a software-level configuration check, not a hardware calibration issue, and is part of the broader EDID and signal chain verification process.
How do I know if my display’s “Black Enhancement” feature is interfering with the test?
If your ramp test shows that all dark steps from RGB 16 to RGB 32 are extremely defined and separated—more than you would expect based on the values—but actual recognition photographs look over-contrasty and shadow detail appears clipped rather than gradual, a Black Enhancement or Shadow Boost feature may be applying non-linear processing to dark content. Navigate to the display’s Advanced Picture Settings and disable any feature labeled Black Enhancement, Black Stretch, Shadow Boost, or Auto Black Level. Rerun the ramp test with those features disabled. The corrected baseline should show smooth, gradual step separation throughout the ramp rather than artificially exaggerated separation in the darkest steps.
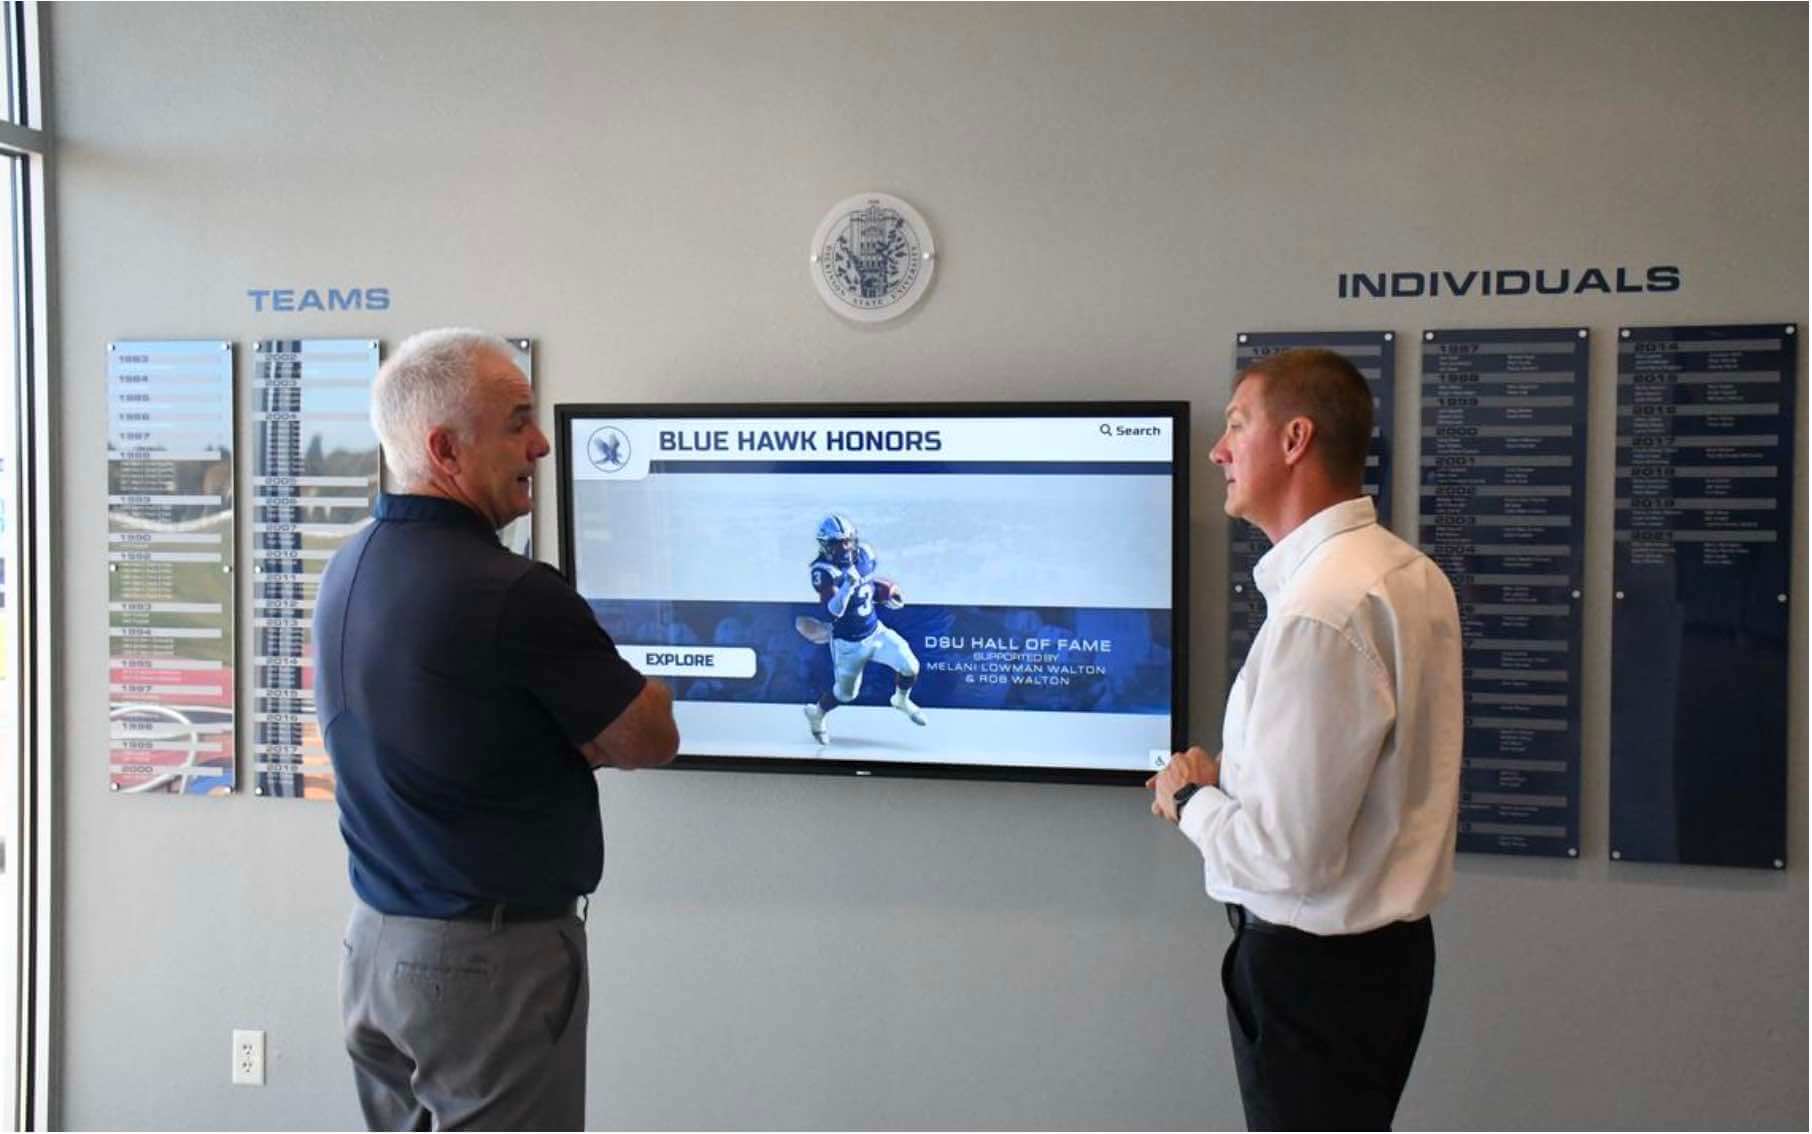
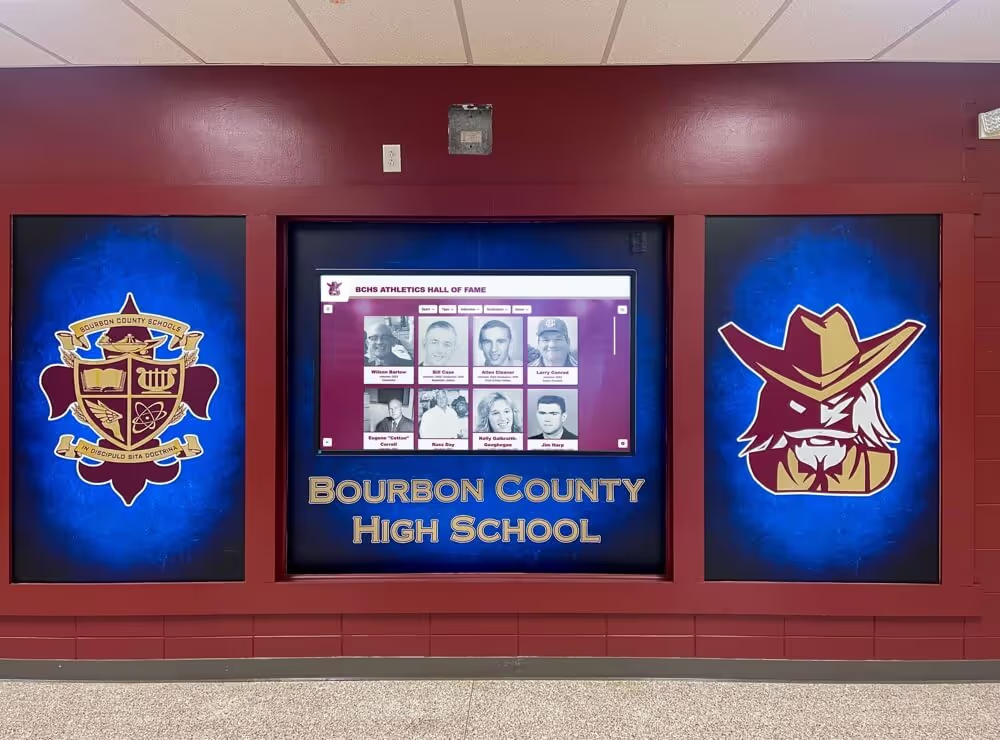
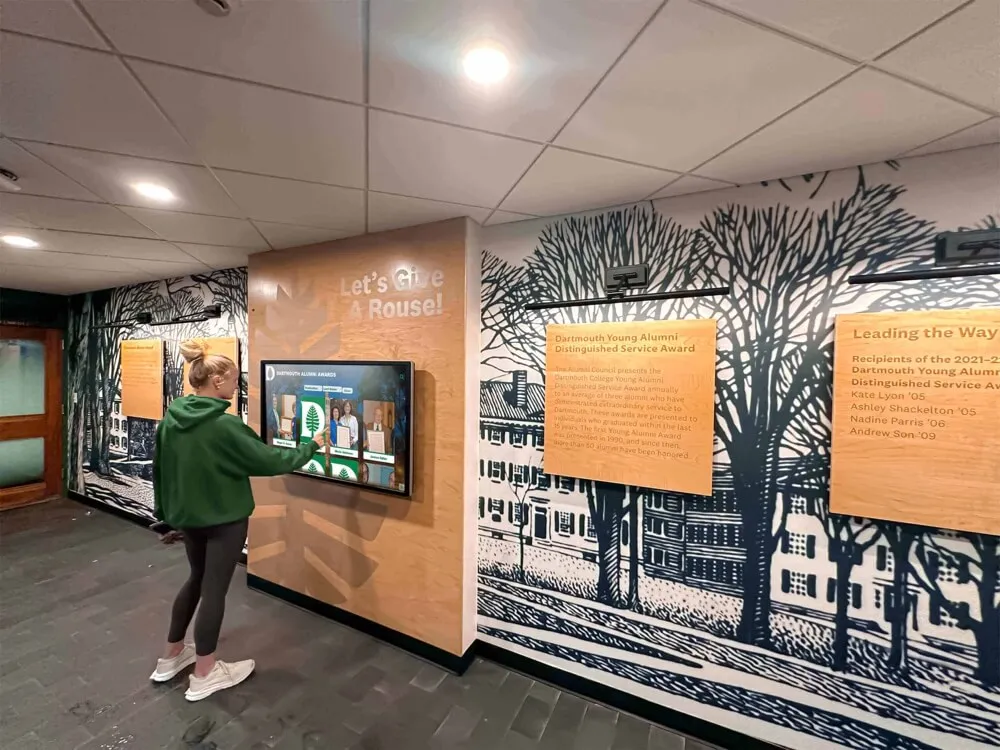
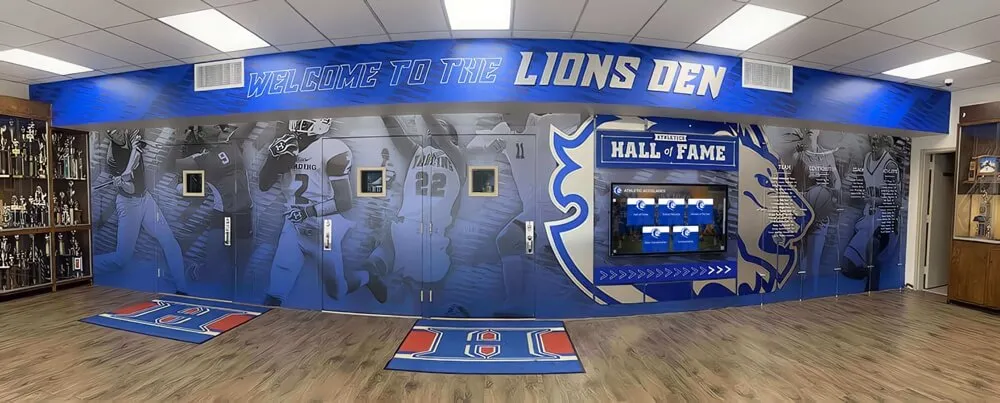
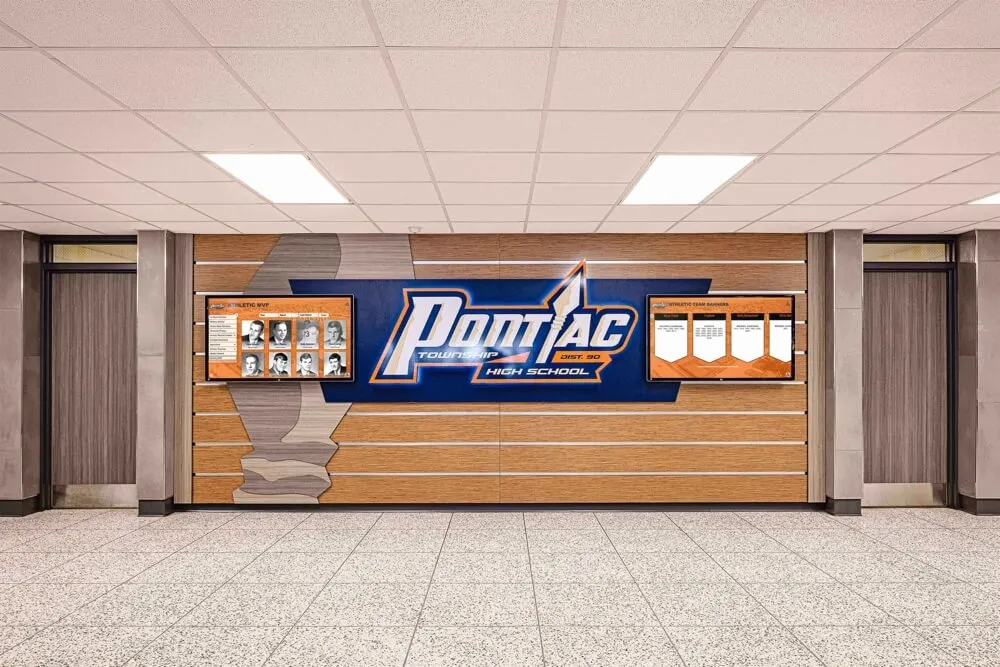
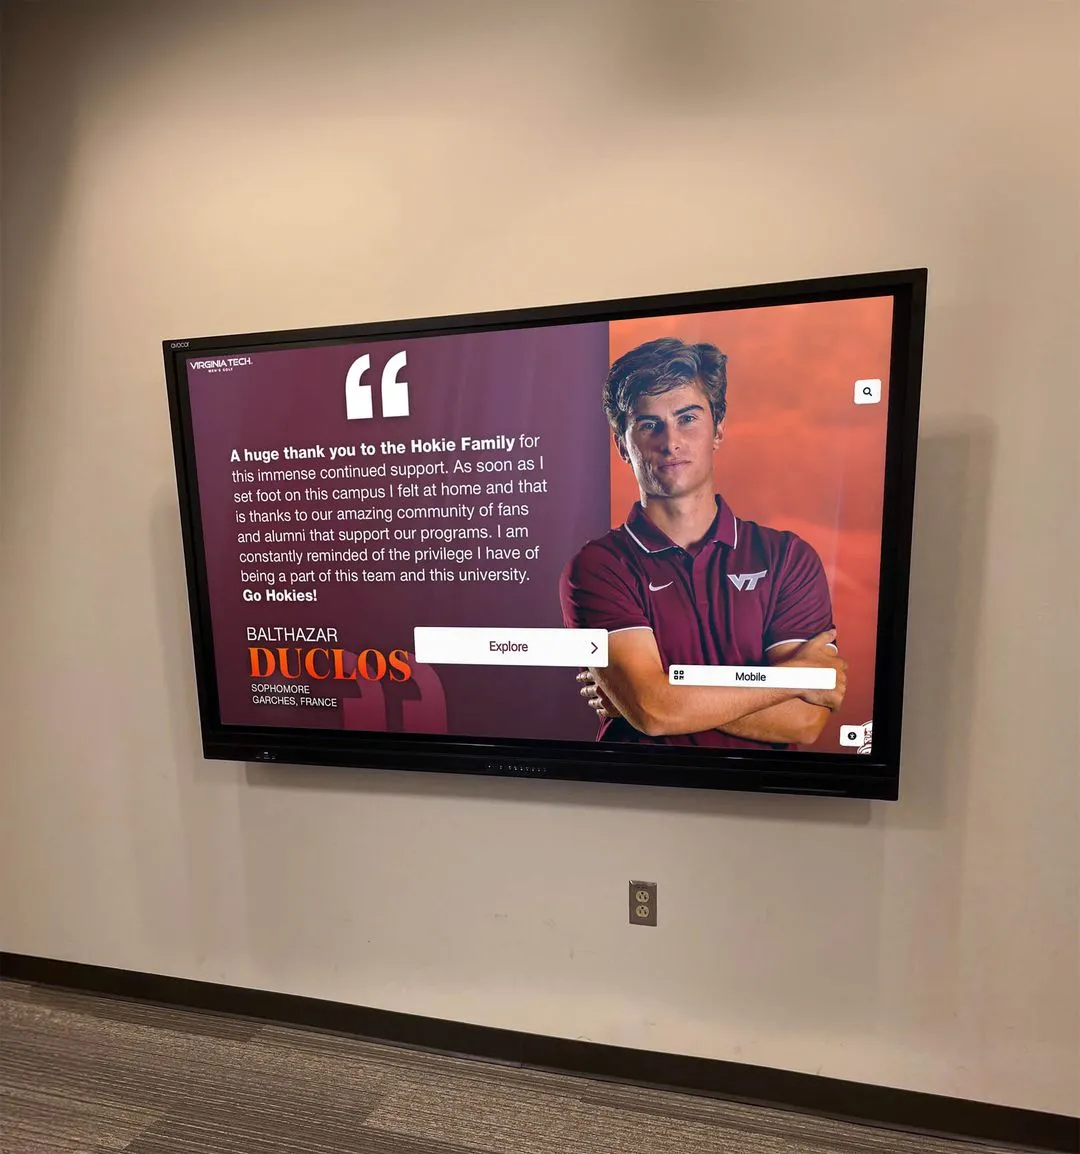
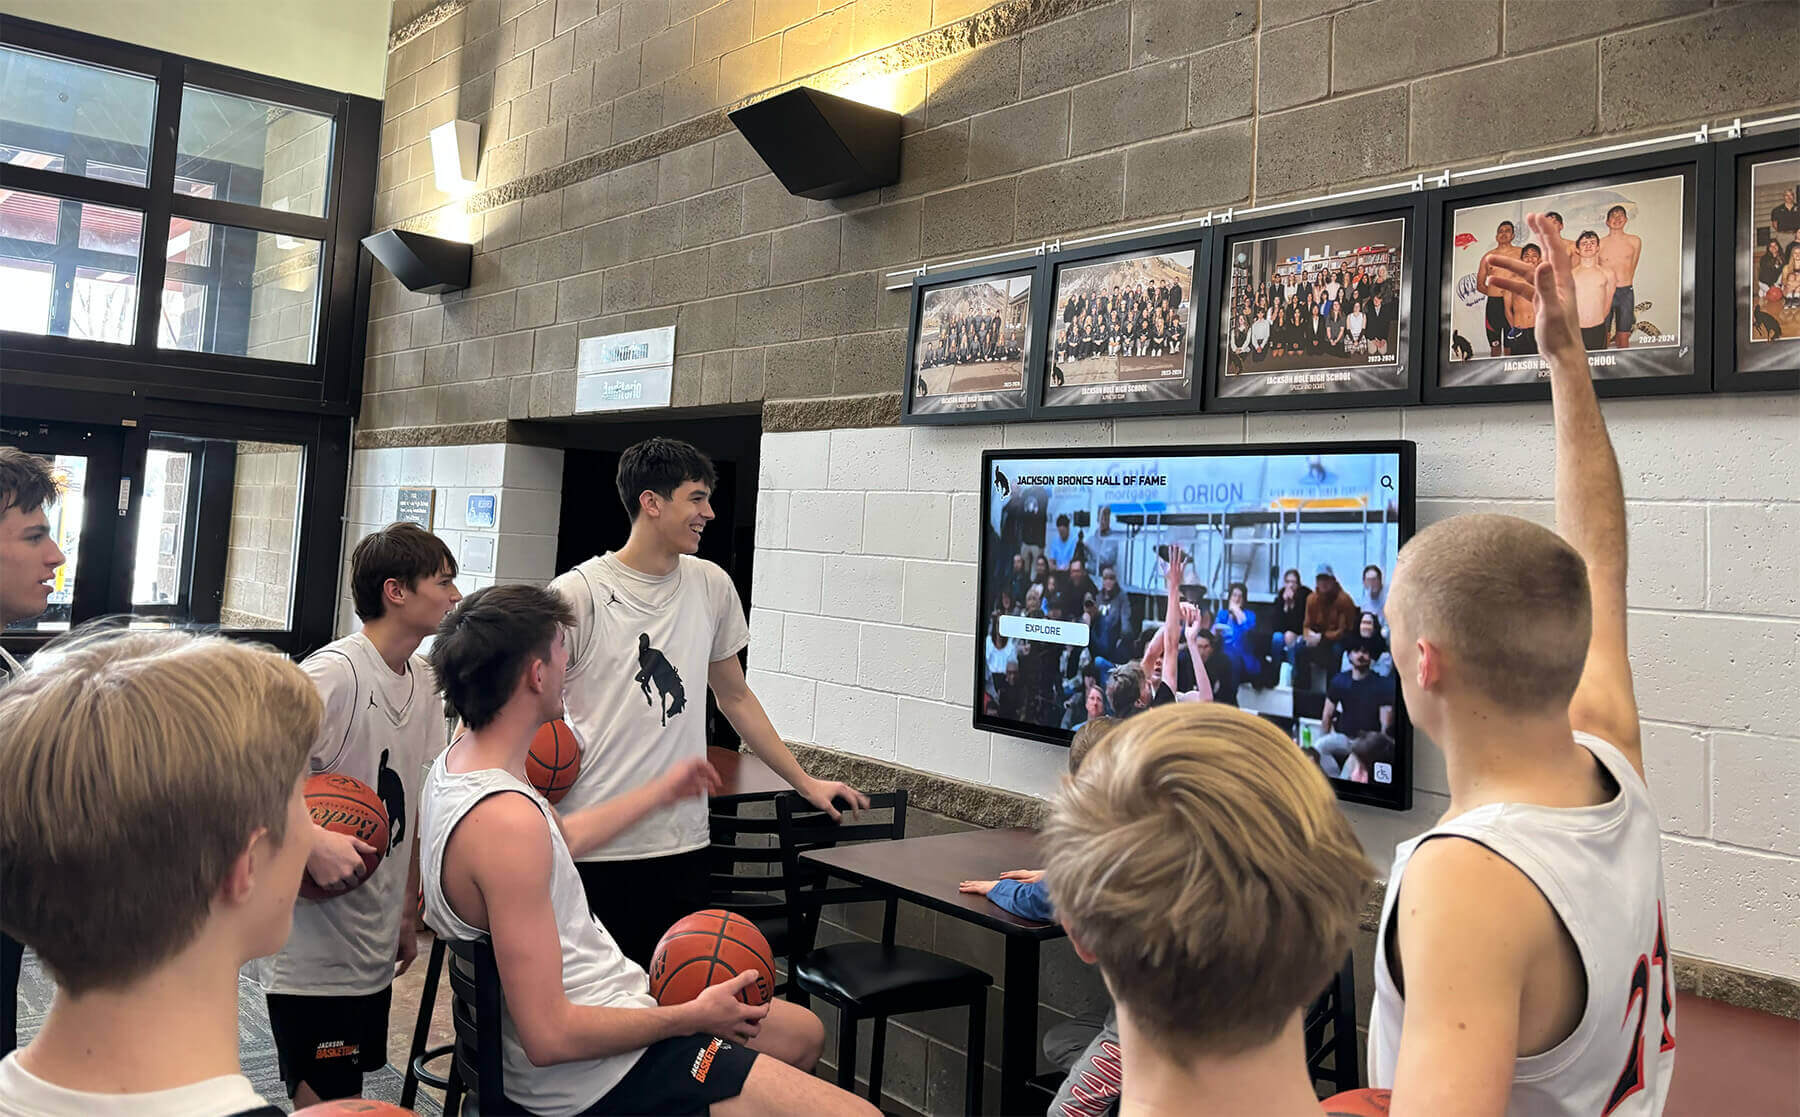
Athletic hallway recognition displays viewed at close range reveal black level issues quickly—calibrate before the program goes live rather than after visitors notice poor image quality
Connecting the Black Level Test to Your Full Acceptance Protocol
A recognition display black level test is most valuable as part of a comprehensive pre-acceptance checklist rather than as an isolated check. Schools commissioning a new lobby kiosk or gymnasium recognition wall should plan to verify black level, backlight uniformity, gamma response, signal continuity, and display software configuration before the installing vendor leaves the site. Each test catches a distinct failure mode; together they confirm the display will serve your recognition program faithfully from its first day in front of students, alumni, and visiting families.
The investment in a structured acceptance test—30 to 45 minutes per display—is repaid every day the program runs without a visible quality issue. Recognition displays in high-traffic school lobbies and gymnasiums are seen by hundreds of people each week. A display that renders every honored athlete’s portrait accurately, every trophy photograph with the shadow detail intact, and every archived team image with the depth and dimension the original moment deserved is a display that earns trust in your school’s commitment to its history.
Recognition Displays Designed to Look Right From Day One
Rocket Alumni Solutions builds school recognition platforms with the display quality standards that lobbies and gymnasiums demand. Request a demo to see how the software manages portrait photography, archival team imagery, and award content in real installation environments—and ask about the acceptance testing guidance included with every deployment.
Request a DemoRunning a recognition display black level test before accepting any new or relocated school display takes under 30 minutes and catches the single most common image quality problem in recognition program installations. Set your black floor correctly, confirm with real recognition photography, document your settings, and your display will render every honored athlete’s portrait and every archived championship photograph with the fidelity those moments deserve.