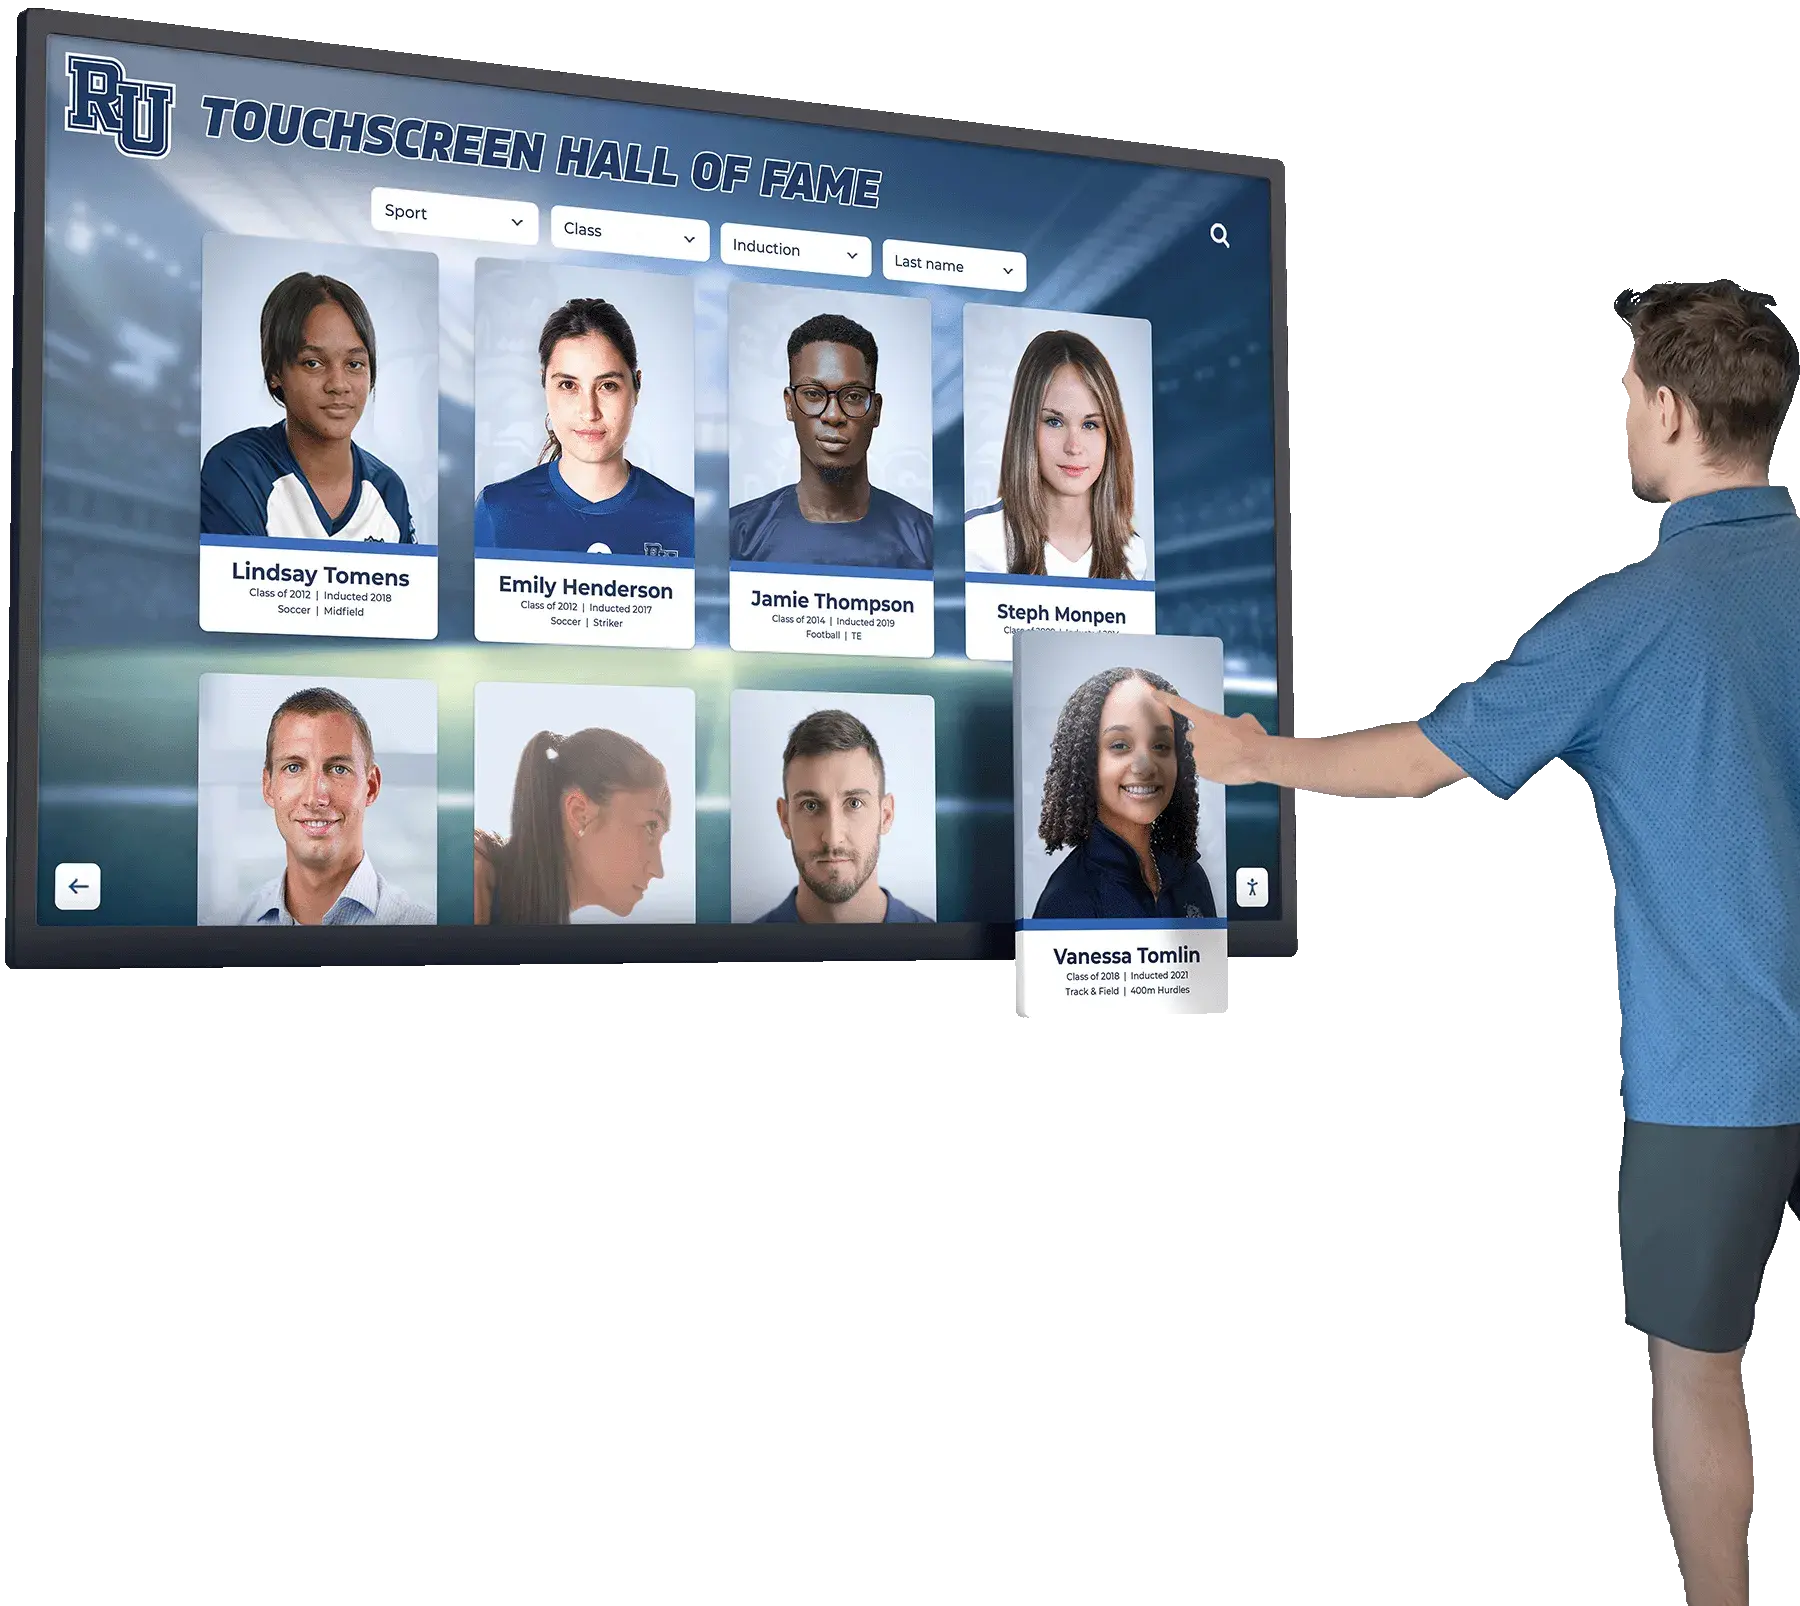




School AV and IT teams responsible for recognition displays—hall of fame kiosks, athletic record boards, donor walls, and interactive touchscreen archives—frequently encounter a shared problem: when a display goes offline or behaves unexpectedly, the first question is which switch port it is connected to and what the port’s current configuration looks like. Without a documented link-layer map, answering that question means tracing cables through crowded conduit, scrolling through MAC address tables, or guessing. Link Layer Discovery Protocol (LLDP) provides a better path. It is a vendor-neutral IEEE standard built into every enterprise-grade switch and into most modern operating systems, and it lets you query the network directly for a complete picture of what is connected where.
This recognition display LLDP inventory guide walks school AV and IT teams through the full workflow: what LLDP is, what it reveals about each display connection, how to run discovery queries on the most common school network platforms, how to capture the results in a usable inventory table, and how to use that inventory to speed up troubleshooting when a recognition display needs attention.
Quick answer: LLDP (IEEE 802.1AB) is a link-layer protocol that allows network devices to advertise their identity, port, and capabilities to directly connected neighbors. Running show lldp neighbors detail on the switch serving a recognition display returns the display host’s hostname, MAC address, connected switch port, VLAN, and PoE status in a single command—no cable tracing required. Capturing this output for every recognition display at installation creates an inventory that any IT or AV team member can use to locate and troubleshoot a display without institutional memory.

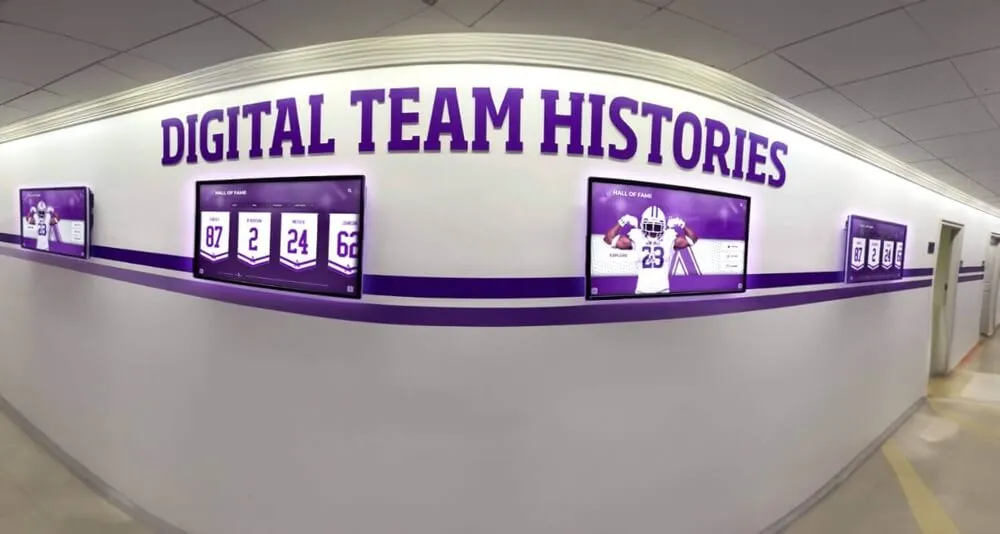
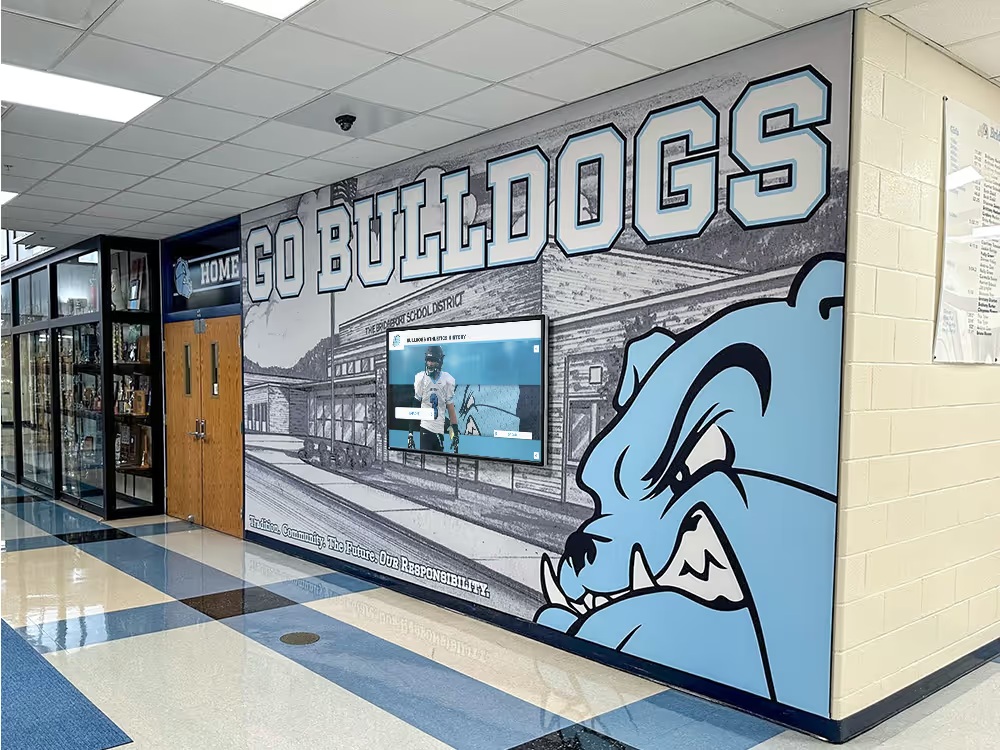
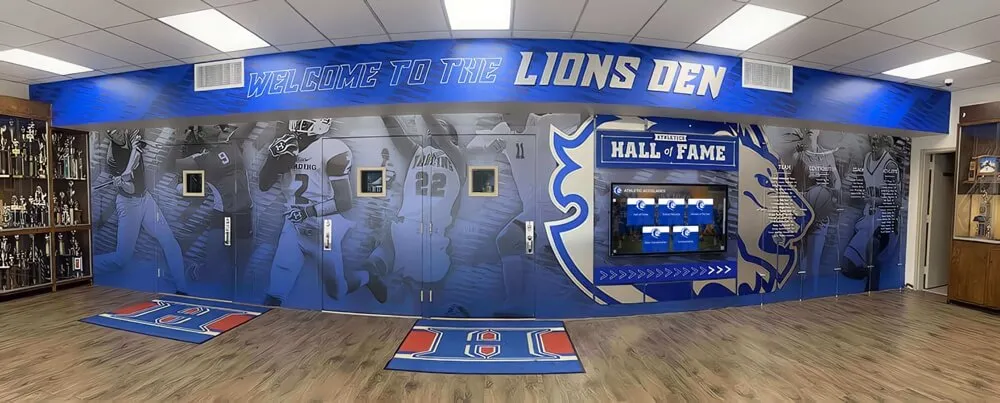
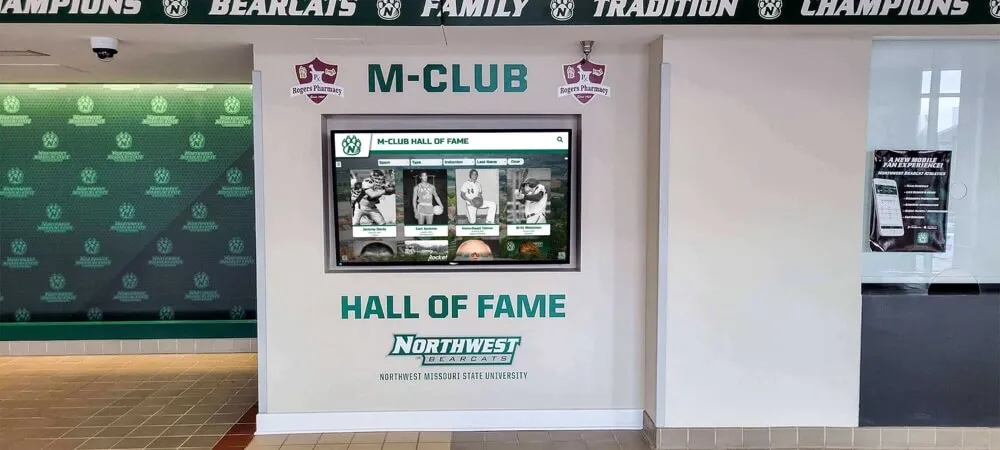
Recognition displays in school lobbies and hallways are networked devices—LLDP discovery maps each display to its exact switch port so IT and AV teams can act on connection issues without tracing cables or guessing topology
What LLDP Is and Why It Matters for Recognition Display Inventory
Link Layer Discovery Protocol (LLDP) is defined in IEEE 802.1AB. It operates at Layer 2 of the network model, meaning it works independently of IP addresses and routing tables. Each LLDP-capable device periodically transmits LLDP Data Units (LLDPDUs) as multicast frames on each interface. Directly connected neighbors receive and store these frames in a local neighbor table that can be queried by network management software or CLI commands.
Because LLDP operates at Layer 2, it can identify a connected device even when that device has not yet received an IP address—useful during initial recognition display commissioning when DHCP may not have assigned an address yet.
For school recognition displays specifically, LLDP matters because:
- Recognition displays are often installed in hard-to-access locations. A hall of fame kiosk behind a trophy case, a donor wall display mounted ten feet high, or a gym entrance screen installed in a recessed alcove cannot be physically traced back to a switch room easily. LLDP provides the switch port location from any management workstation without entering the space.
- School networks evolve after installation. Switch upgrades, port reassignments, and cable plant modifications can change where a display is connected. LLDP re-queries the live network state, not a documentation file that may have been updated months ago.
- AV and IT teams often share responsibility. The AV team owns the display content and scheduling; the IT team owns the switch configuration. An LLDP inventory gives both teams a common reference for each display’s network attachment point, reducing the coordination overhead when either team needs to troubleshoot.
- LLDP works across vendors. Whether the school runs Cisco, Aruba, Juniper, Extreme, or a mix, the LLDP standard is consistent. The commands differ slightly, but the data returned is the same.
What LLDP Reveals About a Recognition Display Connection
A single LLDP neighbor detail query for a recognition display returns:
| LLDP Field | What It Tells You | Why It Matters |
|---|---|---|
| System Name | Display host’s configured hostname | Identifies the device without an IP address |
| System Description | OS name and version | Confirms the correct host OS is running |
| Port ID | Interface on the connected switch | Tells you exactly which switch port to access for configuration |
| Port Description | Interface label on the switch | Often contains a human-readable label if the switch was configured correctly |
| Chassis ID (MAC) | Display host’s MAC address | Ties the LLDP record to the DHCP lease and MAC-based access control |
| Management Address | IP address the device advertises | Provides a jump-off point for remote management |
| System Capabilities | Device type flags (Station, Bridge, etc.) | Confirms the device is a workstation-class host, not another switch |
| VLAN ID | Native VLAN on the connected port | Confirms the display is in the correct network segment |
| PoE (Power over Ethernet) | Power class and draw | Relevant for PoE-powered kiosk or NUC devices |
| TTL | Time-to-live for the LLDP record | Indicates how recently the device advertised |
No other single network command returns all of this information simultaneously. An LLDP detail query is the most efficient way to build a recognition display inventory from the network itself.
Enabling LLDP on Recognition Display Hosts
LLDP must be running on both the switch and the display host for neighbor discovery to work. Enterprise switches run LLDP by default; the display host side requires a brief configuration step depending on the operating system.
Windows (Windows 10 / Windows 11)
Windows includes a built-in LLDP agent in the Link-Layer Topology Discovery Responder component. Enable it as follows:
- Open Control Panel → Network and Internet → Network Connections.
- Right-click the Ethernet adapter connected to the recognition display’s switch port and select Properties.
- In the networking components list, locate Link-Layer Topology Discovery Responder and Link-Layer Topology Discovery Mapper I/O Driver. Check both.
- Click OK and allow Windows to apply the settings.
Once enabled, the Windows host begins transmitting LLDP frames on its Ethernet interface. The switch will populate its LLDP neighbor table within 30 seconds.
For domain-joined display hosts, deploy this setting through Group Policy to ensure it is enabled consistently across all display machines without requiring manual steps: Computer Configuration → Administrative Templates → Network → Link-Layer Topology Discovery.
Linux
Most Linux distributions include lldpd or can install it from package repositories:
sudo apt install lldpd       # Debian / Ubuntu
sudo dnf install lldpd       # Fedora / RHEL
Start and enable the service:
sudo systemctl enable --now lldpd
Verify the agent is running and advertising:
sudo lldpctl
lldpctl shows both the local device’s LLDP advertisement and any neighbors the Linux host has detected—useful for confirming the LLDP frame exchange is working end-to-end.
Step-by-Step LLDP Discovery Procedure
Run this procedure at initial display installation to capture the baseline inventory record. Repeat after any switch upgrade, cable plant modification, or display relocation.
Prerequisites
- Management access to the switch serving the recognition display (SSH or console)
- Display host powered on and connected to its production Ethernet port
- LLDP enabled on the display host (see previous section)
- Allow 30–60 seconds after the display host boots for the first LLDP frame to reach the switch
Step 1 — Identify the Switch Serving the Display Location
If the switch is not already known, use the facility’s patch panel documentation or physically trace the Ethernet cable from the display to the nearest IDF closet. For new installations, confirm with the facilities or low-voltage cabling team which IDF panel port feeds the wall jack at the display location.
Note the switch’s management IP address and the approximate port range covering the IDF panel connections. You will use this to narrow the show lldp neighbors scope in the next step.
Step 2 — Query LLDP Neighbors on Cisco IOS
Connect to the switch via SSH or console:
ssh admin@<switch-mgmt-ip>
List all LLDP neighbors to find the display:
show lldp neighbors
Sample output:
Capability codes:
    (R) Router, (B) Bridge, (T) Telephone, (C) DOCSIS Cable Device
    (W) Wireless access point, (P) Repeater, (S) Station, (O) Other

Device ID        Local Intf     Hold-time  Capability  Port ID
HOF-DISPLAY-01   Gi1/0/24       120        S           Gi0
HOF-DISPLAY-02   Gi1/0/25       120        S           Gi0
The Device ID column shows the display host’s LLDP-advertised hostname. The Local Intf column shows the switch port to which it is connected.
Retrieve full detail for one display:
show lldp neighbors GigabitEthernet1/0/24 detail
Sample detail output:
------------------------------------------------
Local Intf: Gi1/0/24
Chassis id: a4:c3:f0:12:34:56
Port id: Gi0
Port Description: Ethernet adapter
System Name: HOF-DISPLAY-01
System Description:
  Microsoft Windows 11 Pro 10.0.22631
System Capabilities: B, S
  Enabled Capabilities: S
Management Addresses:
    IP: 10.10.20.101
Vlan ID: 20
Record all fields from this output in your inventory table (see the template in the next section).
Step 3 — Query LLDP Neighbors on Aruba / HP ProCurve Switches
show lldp info remote-device detail <port-number>
Example:
show lldp info remote-device detail 24
Aruba switches also support the abbreviated form:
show lldp neighbor-info 24
The output structure is similar to Cisco: chassis ID (MAC), port ID, system name, management address, system capabilities, and VLAN information. Aruba switches may display PoE power class and wattage in the same output if the port is PoE-enabled.
Step 4 — Query LLDP Neighbors on Juniper EX Switches
show lldp neighbors interface ge-0/0/23
For full detail:
show lldp neighbors interface ge-0/0/23 detail
Juniper displays LLDP data in a different layout than IOS but contains the same fields: system name, chassis ID, port ID, port description, system capabilities, and management address.
Step 5 — Query LLDP from the Display Host
If switch CLI access is restricted and you need to identify which switch port the display is connected to from the host side, lldpctl on Linux returns neighbor data received by the display host from the switch:
sudo lldpctl
Output shows the switch’s advertised hostname, the switch port the display is connected to, and the switch’s management IP—essentially the same information from the opposite direction. This is useful for verifying the switch port label matches what the switch reports.
On Windows, the built-in LLDP responder transmits but does not expose a user-queryable neighbor table in the standard UI. Use the free utility Wireshark to capture LLDP frames on the Ethernet interface and read the switch’s chassis ID and port ID from the captured LLDPDU.
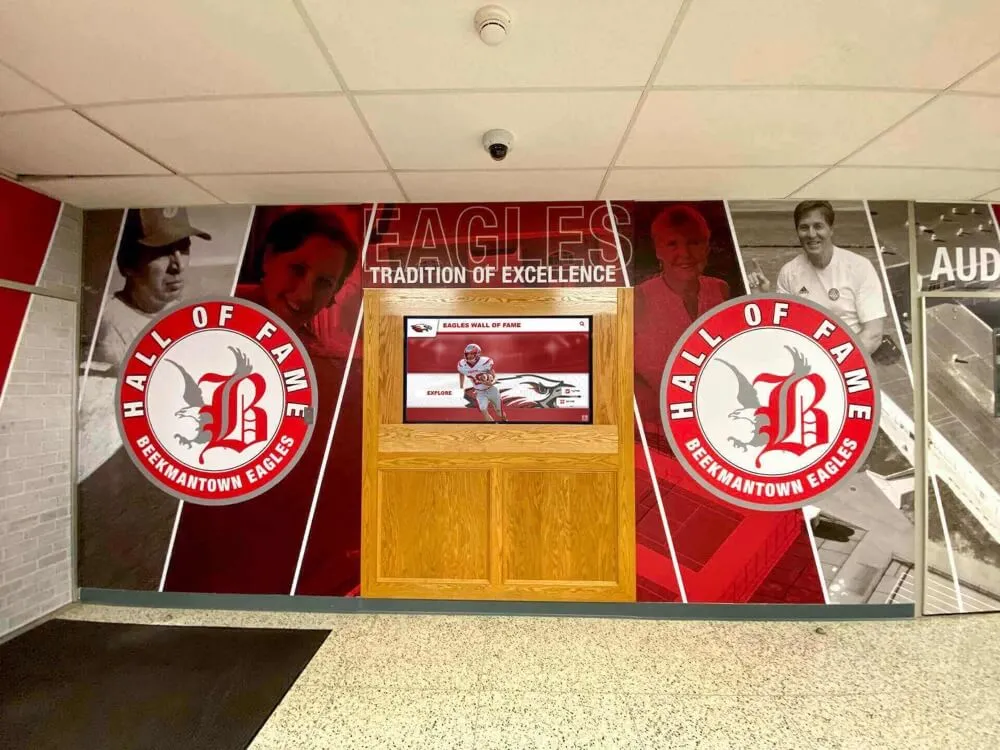
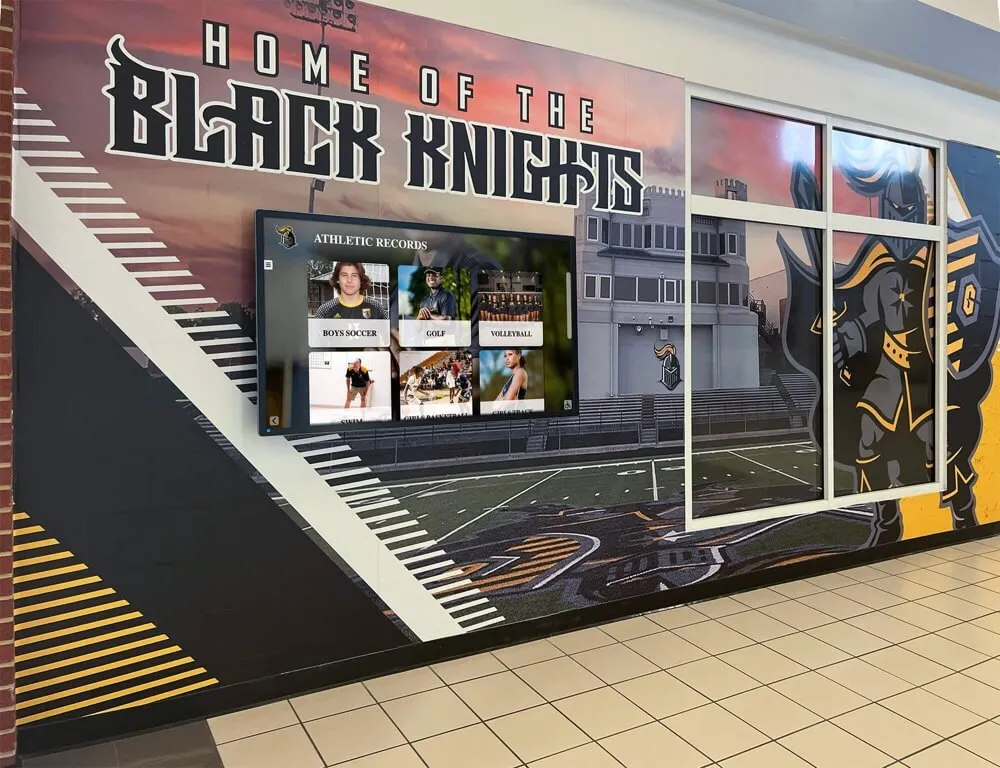
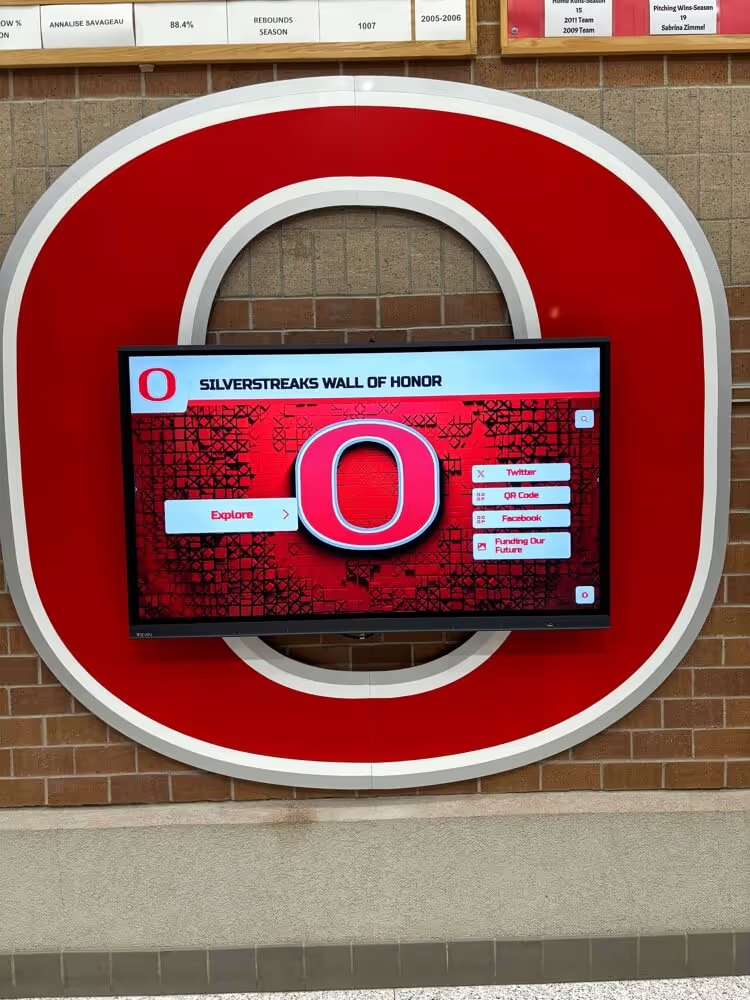
Recognition kiosks in athletic hallways benefit from accurate switch port documentation—an LLDP inventory record created at installation eliminates guesswork when a future connectivity issue requires physical port access
LLDP Inventory Template for Recognition Displays
Complete one row for each recognition display at initial installation. Store this table in your school’s IT asset management system, shared drive, or network documentation platform alongside the switch configuration backup.
| Display ID | Location | Hostname | MAC Address | Switch Hostname | Switch Port | VLAN | Mgmt IP | PoE Class | Notes |
|---|---|---|---|---|---|---|---|---|---|
| HOF-01 | Main lobby | HOF-DISPLAY-01 | a4:c3:f0:12:34:56 | SW-IDF1 | Gi1/0/24 | 20 | 10.10.20.101 | Class 3 | Athletic HOF kiosk |
| HOF-02 | Gym entrance | HOF-DISPLAY-02 | b8:27:eb:45:67:89 | SW-IDF2 | Gi1/0/12 | 20 | 10.10.20.102 | None | Wall-mounted display |
| HOF-03 | Athletic hall | HOF-DISPLAY-03 | dc:a6:32:78:9a:bc | SW-IDF2 | Gi1/0/13 | 20 | 10.10.20.103 | None | Donor recognition panel |
| HOF-04 | Library wing | HOF-DISPLAY-04 | 00:e0:4c:de:f0:12 | SW-IDF3 | Gi2/0/5 | 20 | 10.10.20.104 | Class 2 | Academic archive kiosk |
Recommended supplemental fields to include alongside the LLDP data:
- Date of last LLDP verification
- Firmware version of display host OS (from System Description field)
- Platform software version running on the display
- Physical cable label (wall jack ID and IDF panel port)
- Last content sync timestamp from the recognition platform admin console
The LLDP fields provide the real-time network state; the supplemental fields provide the operational context that makes the inventory actionable for both AV and IT teams. Schools managing recognition programs across multiple venues benefit from a unified inventory that both the volunteer program coordinator and the IT department can reference without routing every question through a single gatekeeper.
Automating LLDP Inventory Collection
For schools with more than five recognition displays, manual CLI queries at each switch become time-consuming. Several automation approaches bring this down to a single command or a scheduled script.
Using Ansible for LLDP Collection (Cisco IOS)
Ansible’s ios_command module sends CLI commands to Cisco switches and captures output. A simple playbook that queries all switches and writes LLDP neighbor data to a CSV:
---
- name: Collect LLDP neighbor data
  hosts: switches
  gather_facts: false
  tasks:
    - name: Run show lldp neighbors detail
      cisco.ios.ios_command:
        commands:
          - show lldp neighbors detail
      register: lldp_output

    - name: Save output to file
      copy:
        content: "{{ lldp_output.stdout[0] }}"
        dest: "/var/log/lldp/{{ inventory_hostname }}_lldp.txt"
Run this playbook weekly through a cron job to capture the current LLDP state of every recognition display. Changes in hostname, port, or VLAN between runs surface discrepancies that may indicate a cable reconnection or device replacement that was not formally documented.
Using SNMP LLDP MIB Queries
Enterprise network management platforms (SolarWinds, PRTG, LibreNMS, Zabbix) query the LLDP MIB (OID 1.0.8802.1.1.2) via SNMP to collect neighbor tables from all managed switches simultaneously. If your school runs one of these platforms for general network monitoring, enabling the LLDP MIB collection for the switches serving recognition displays integrates display inventory into your existing monitoring dashboard without separate tooling.
The key LLDP MIB tables for recognition display inventory:
lldpRemSysName— remote system name (display hostname)lldpRemPortDesc— remote port descriptionlldpRemManAddrTable— management addresses (display IP)lldpRemSysCapEnabled— system capabilities
Exporting from Network Management Platforms
Most enterprise network management platforms that support LLDP topology discovery can export neighbor tables to CSV or JSON. If your district runs Cisco DNA Center, Aruba Central, or Juniper Mist, check the network topology or device inventory section for an export option that includes LLDP neighbor data. Filtering the export by the recognition display VLAN number isolates the rows relevant to display inventory without manually parsing the full network neighbor table.
Connecting LLDP Inventory to Recognition Program Workflows
An LLDP inventory is most useful when it is integrated into the workflows that recognition-program administrators and AV teams already use, not stored in a separate IT-only document.
Pre-Event Connectivity Verification
Before major recognition events—athletic induction nights, senior award ceremonies, alumni reunions, homecoming—the AV team can use the LLDP inventory to verify that each display’s network attachment point is still correct. A five-minute check that runs show lldp neighbors for each switch port in the inventory and confirms the expected hostname is still present costs almost nothing and catches cable disconnections or device swaps before the event begins.
Schools running class reunion events that rely on recognition displays for alumni photo archives and award histories need these checks as part of the event setup checklist, not as a reactive troubleshooting step after something fails in front of guests.
New Display Commissioning Checklist
When a new recognition display is added to the campus—whether it is a dedicated athletic hall of fame display in a renovated gymnasium or a new interactive donor recognition panel in the performing arts center—commissioning should include an LLDP verification step:
- Power on the display host and confirm the Ethernet link is active.
- Wait 60 seconds for the first LLDP advertisement.
- Query
show lldp neighbors detailon the serving switch. - Confirm the correct hostname and MAC address appear in the LLDP output.
- Record all LLDP fields in the inventory table.
- Confirm the VLAN assignment matches the recognition display VLAN.
- Sign off on the network commissioning step before handing off to the content team.
This procedure catches incorrect VLAN assignments, wrong switch port patches, and hostname mismatches at commissioning rather than during a future troubleshooting session.
Decommissioning and Relocation Tracking
When a recognition display is relocated—moved from the main lobby to the athletic wing during a renovation, for example—the LLDP inventory should be updated immediately after the relocation. Query the new switch port, confirm the expected display hostname appears, and update the Switch Hostname, Switch Port, VLAN, and Management IP fields in the inventory table. Flag the old switch port for reclamation.
A display that is decommissioned entirely should be removed from the inventory and the switch port should be administratively disabled. Leaving an LLDP entry in the inventory for a device that no longer exists creates confusion during future troubleshooting and may cause the IT team to investigate a switch port that has nothing connected to it.
Troubleshooting Recognition Display Connectivity with LLDP
LLDP data is a first-response diagnostic tool when a recognition display reports a connectivity issue or when platform content stops updating.
Verifying the Display Is Connected to the Correct Port
When a display’s content stops updating and the platform admin console shows the device as unreachable, the first LLDP diagnostic step is to query the switch port recorded in the inventory:
show lldp neighbors GigabitEthernet1/0/24 detail
Expected result: The display host’s hostname and MAC address appear in the output.
Unexpected result: No LLDP neighbor. The display is not advertising LLDP on this port. Possible causes: display host is powered off, Ethernet cable is disconnected at either end, the display’s LLDP Responder is disabled (see the Windows configuration steps above), or the display has been moved to a different switch port without the inventory being updated.
Unexpected result: A different hostname appears. A different device has been connected to this switch port. The display may have been reconnected to a different port—query the full show lldp neighbors output for all ports to locate the display’s current connection.
Confirming VLAN Assignment
A display that has an active LLDP record but cannot reach the recognition platform’s cloud endpoint may be in the wrong VLAN. The LLDP detail output includes the VLAN ID:
Vlan ID: 20
Confirm this matches the recognition display VLAN recorded in the inventory. A mismatch—for example, VLAN 1 (the default) instead of VLAN 20—means the switch port VLAN assignment was not applied correctly during installation or was changed by another IT team member. Correct the port VLAN configuration:
interface GigabitEthernet1/0/24
  switchport access vlan 20
Identifying PoE Power Issues
For recognition display installations that use Power over Ethernet—compact NUC-style media players, all-in-one kiosk units, or Raspberry Pi-based signage controllers—the LLDP detail output on Aruba and some Cisco switches includes PoE negotiation data:
show lldp neighbors GigabitEthernet1/0/24 detail | include PoE
A display reporting a power class lower than expected may be underperforming because the switch has power-budgeted the port below the device’s maximum draw. Check the port’s PoE status:
show power inline GigabitEthernet1/0/24
And confirm the PoE budget for the switch module is not exhausted across all ports. Recognition displays with reliable PoE delivery run more stably than those on constrained PoE budgets, particularly during cold boot when startup current draw peaks.
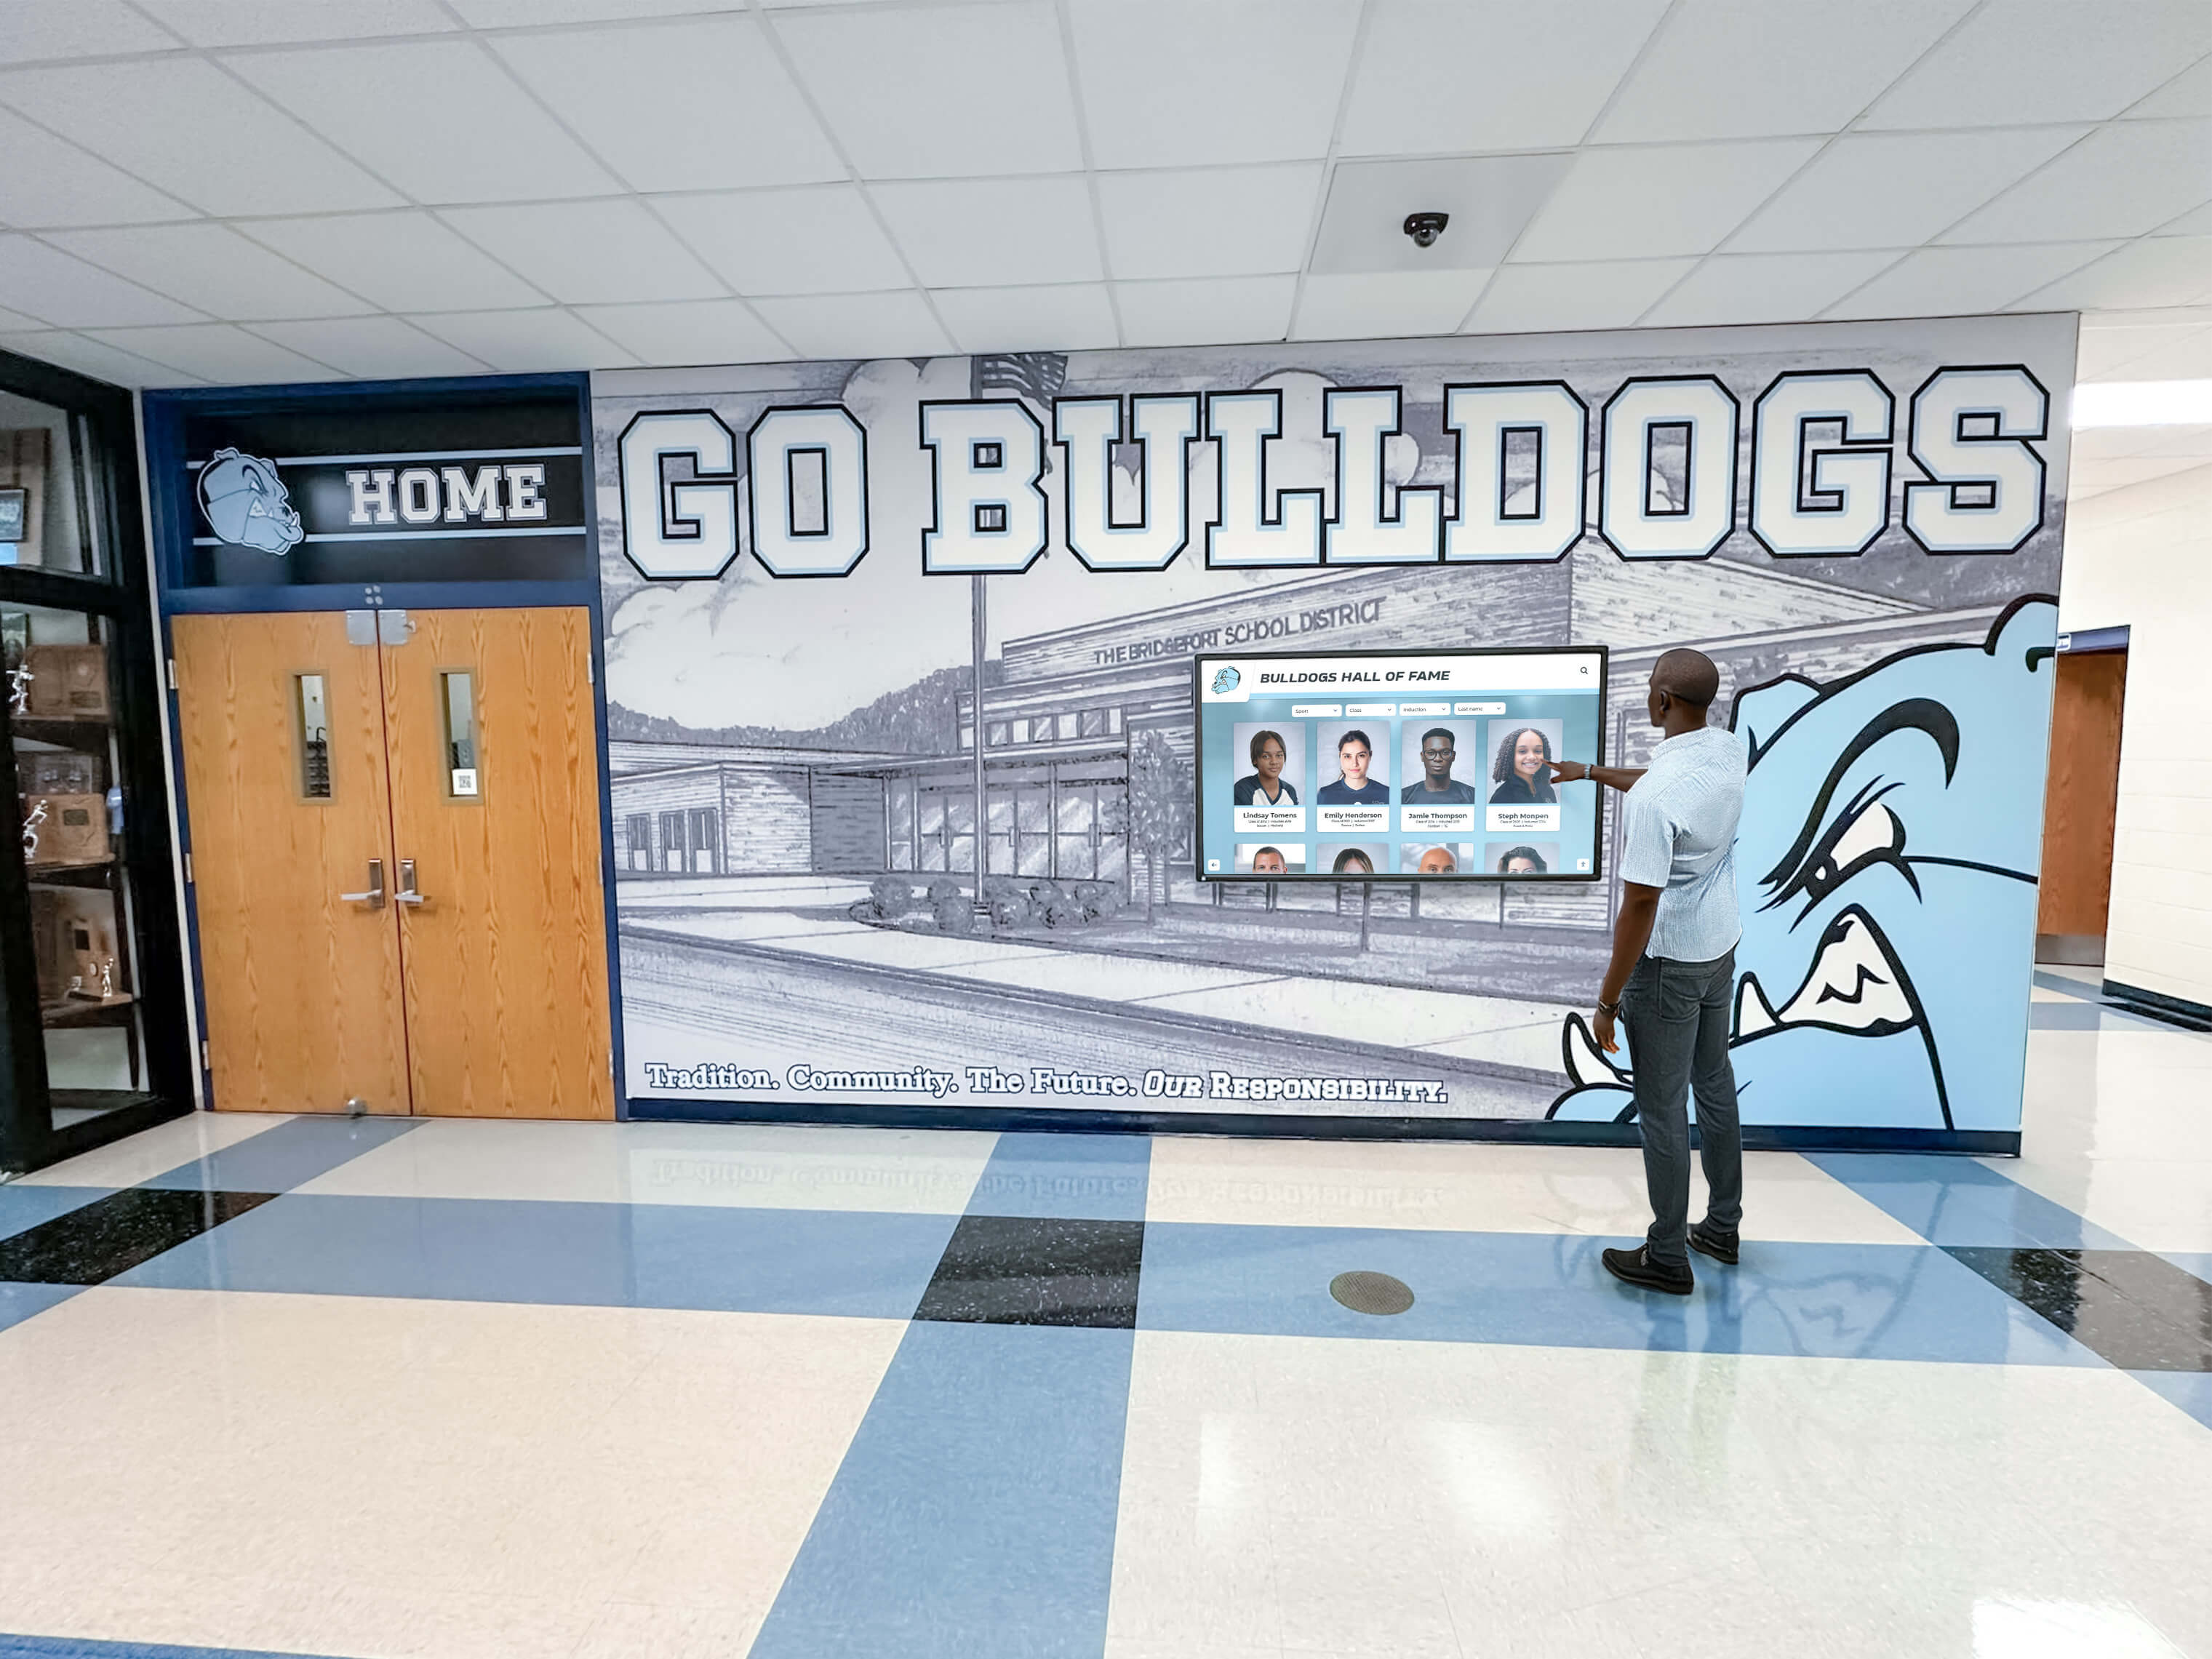
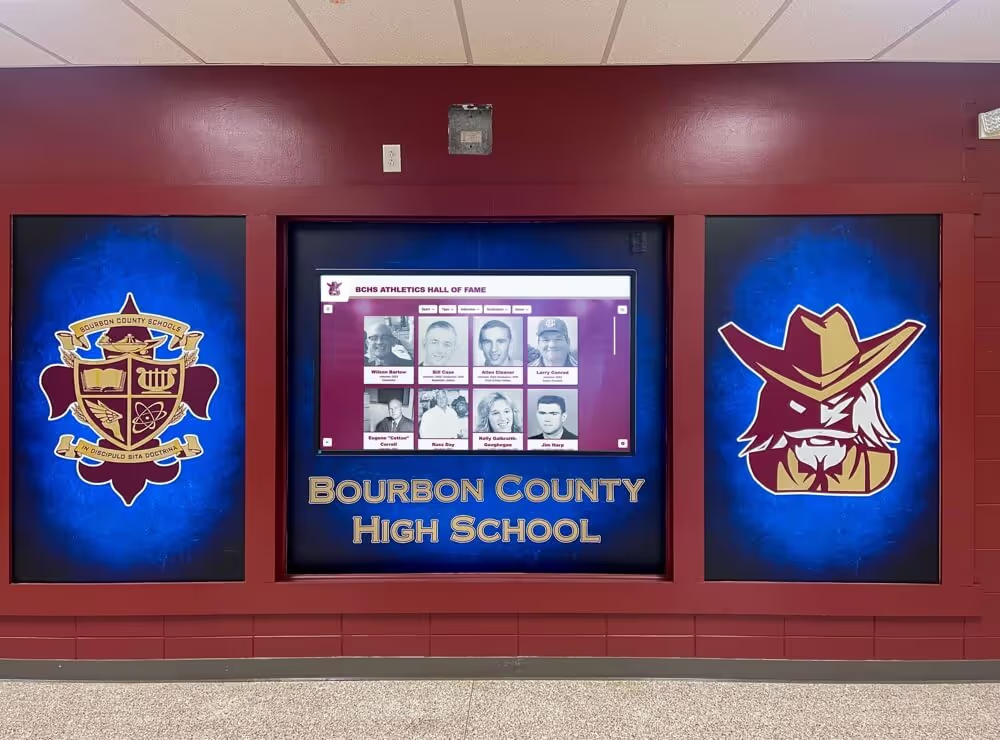
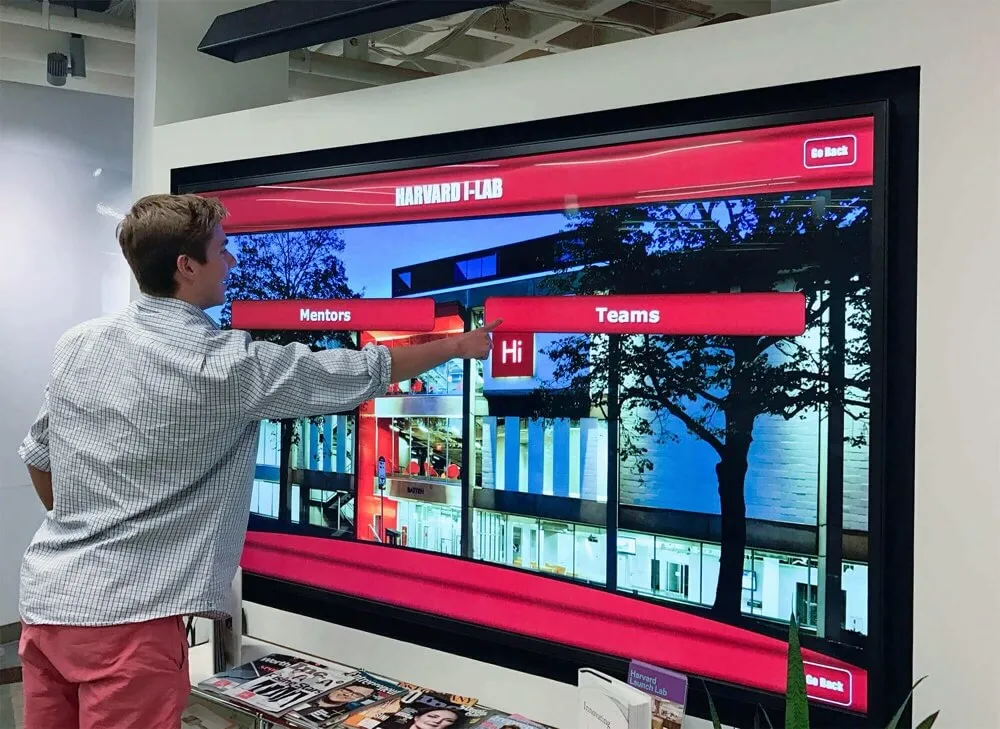
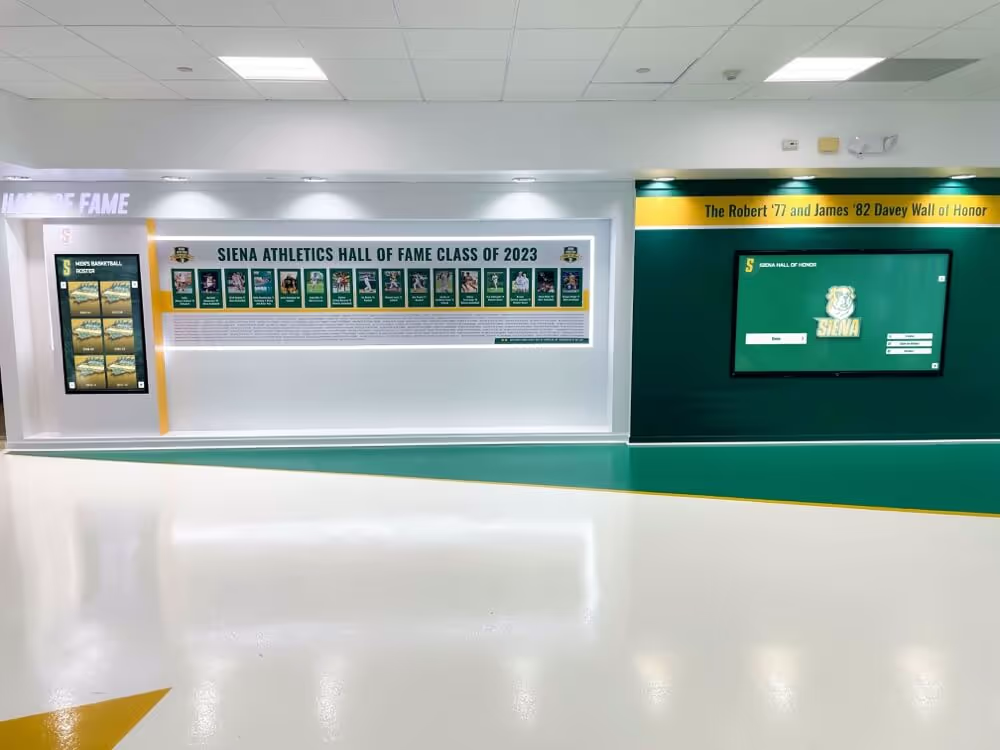
A visitor browsing a recognition display in a hallway depends on reliable network connectivity for current content—LLDP diagnostics give IT teams the switch port context needed to identify and resolve connectivity issues without manual cable investigation
LLDP and CDP: Choosing the Right Protocol for Your Network
Schools running an all-Cisco network have an additional option: Cisco Discovery Protocol (CDP), which predates LLDP and is Cisco-proprietary. CDP provides similar switch port neighbor discovery and is enabled by default on all Cisco IOS devices.
The command syntax for CDP is equivalent:
show cdp neighbors GigabitEthernet1/0/24 detail
CDP returns the same core information as LLDP: device ID (hostname), IP address, connected interface, platform, and capabilities. In an all-Cisco environment, CDP and LLDP provide equivalent data and either can be used for recognition display inventory.
In mixed-vendor environments—common in school districts that have accumulated hardware from multiple procurement cycles—LLDP is the correct choice because it is the only protocol that works across all vendor equipment. A Cisco switch can discover an Aruba access point or a Linux-based display host through LLDP, but CDP discovery stops at the Cisco boundary.
Best practice for school networks that include recognition displays from vendors using different operating systems: enable both LLDP and CDP on all Cisco switches, and enable LLDP on all non-Cisco equipment. This maximizes neighbor discovery coverage without requiring any device to be excluded from the inventory workflow.
Integrating LLDP Inventory into the Recognition Program Asset Register
The LLDP inventory is most valuable when it is part of a larger recognition display asset register that combines network data with content and hardware information. A complete asset register entry for one recognition display includes:
Network layer (from LLDP):
- Switch hostname and port
- VLAN assignment
- Management IP address
- MAC address
- PoE class and power draw
Hardware layer:
- Display manufacturer and model
- Serial number
- Installation date
- Physical location (building, room, mounting height)
- Warranty expiration date
Software layer:
- Operating system version
- Recognition platform software version
- Last platform update date
- Content last sync timestamp
- Support contract expiration
Operations layer:
- Responsible IT contact
- Responsible AV or content contact
- Scheduled maintenance windows
- Known issues or open tickets
Schools building comprehensive recognition programs that include multiple display types—hall of fame kiosks, academic achievement boards, donor recognition panels, and athletic record screens—benefit from a unified asset register that any team member can query for any display. The LLDP inventory provides the network foundation; the other layers add the operational context that makes the register useful across the full lifecycle of the display.
Recognition programs that document their display infrastructure thoroughly also find it easier to communicate the program’s scope and value to administrators and school boards. When an athletic director can show a complete inventory of which displays exist, where they are, and how they are managed, the recognition program reads as a managed institutional asset rather than an informal arrangement. For program administrators evaluating how their current setup compares to what peer schools run, the buyers guide for athletic hall of fame display software provides useful benchmarks for what a fully documented recognition display program looks like.
Security Considerations for LLDP on School Networks
LLDP advertises device identity, IP address, operating system version, and switch port information to any device on the same Layer 2 segment. In most school recognition display deployments this is acceptable because the displays are on an isolated VLAN that does not carry student or staff traffic. In environments where security teams have concerns about information disclosure, LLDP can be scoped:
Disable LLDP on access ports connected to untrusted devices. On Cisco IOS, disable LLDP transmission and reception on specific interfaces while leaving it enabled globally for infrastructure use:
interface GigabitEthernet1/0/24
  no lldp transmit
  no lldp receive
This prevents the display host from receiving LLDP frames from the switch (reducing information the display can gather about the network) while still allowing the switch to receive the display host’s LLDP advertisements for inventory purposes.
Limit LLDP to infrastructure VLANs. Some network platforms support LLDP filtering by VLAN so that LLDP frames are only processed on designated management VLANs. Consult your switch platform’s LLDP configuration guide for VLAN-scoped LLDP options.
Document LLDP access in the recognition display network design document. If LLDP access to the switch CLI is restricted—as it is in districts where switch management access requires a service ticket—document who is authorized to run LLDP queries for recognition display troubleshooting and what escalation path exists for AV team members who do not have direct switch access.
Schools building recognition programs that include volunteer and alumni involvement should ensure that LLDP query access stays with the IT and AV teams rather than being shared with volunteers who manage content but do not need network-layer access.

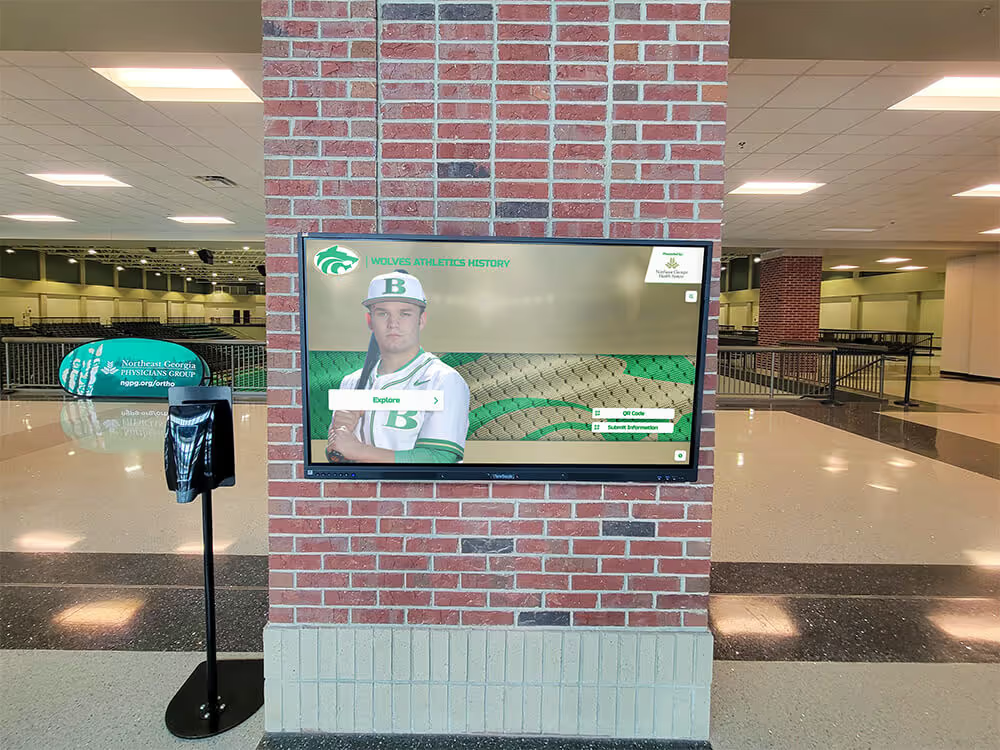
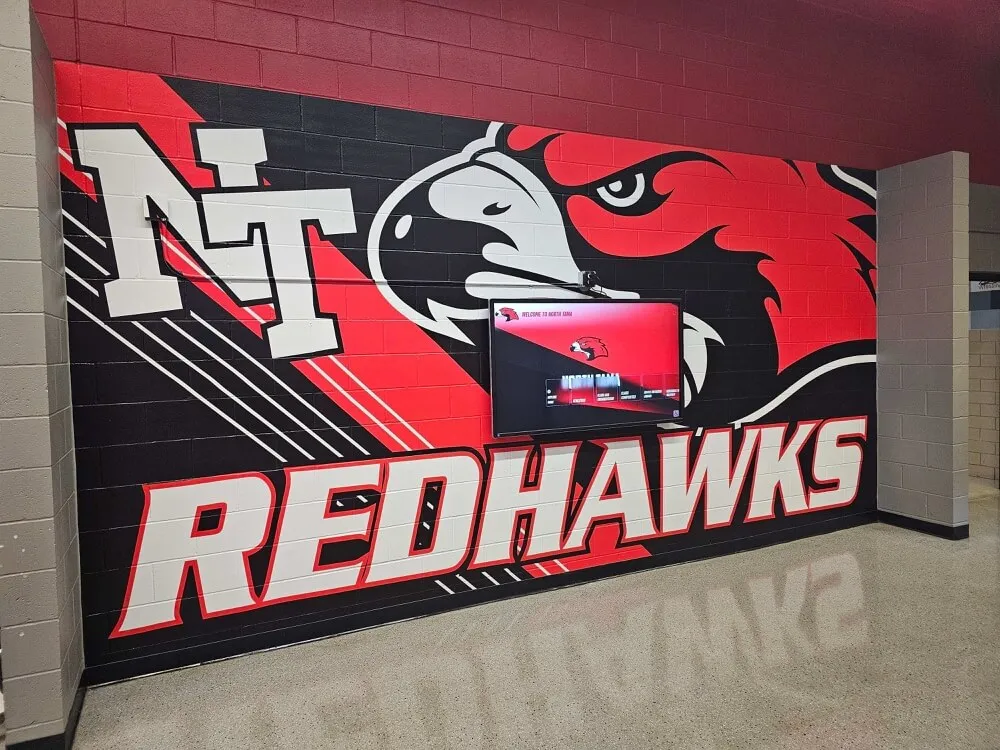
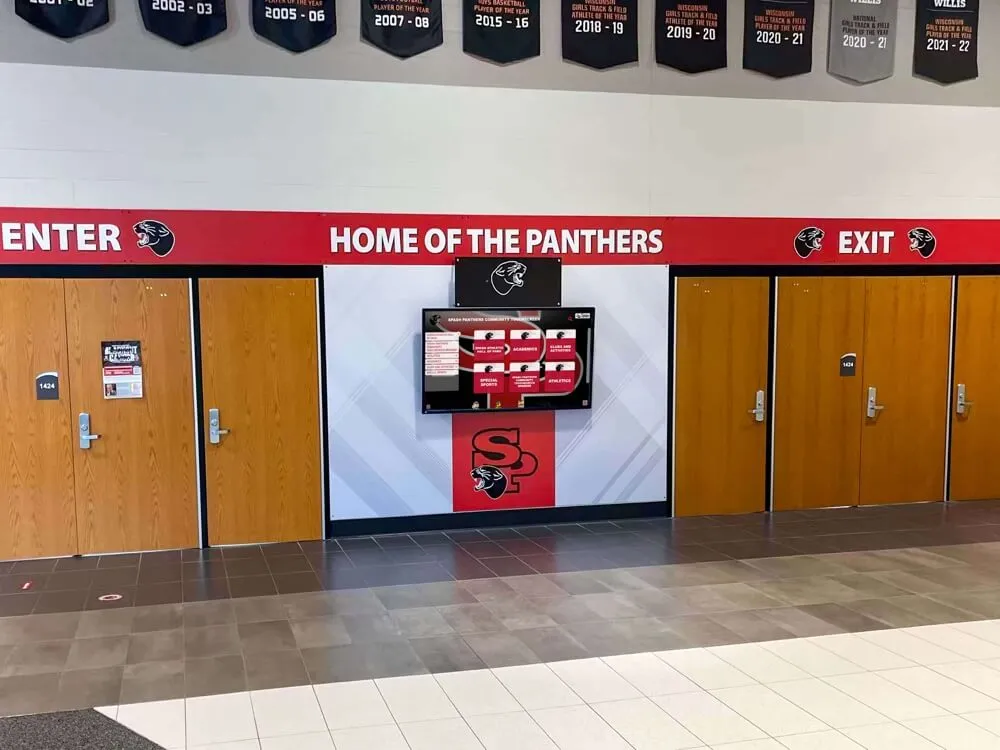
Multi-display hallway installations like this one benefit most from a centralized LLDP inventory—each display's switch port, VLAN, and management address are documented together so any IT team member can service any display without requiring specialized knowledge of the installation
LLDP Inventory Maintenance Schedule
An LLDP inventory that is created at installation and never updated becomes less accurate over time as devices are replaced, ports are reassigned, and switch upgrades change interface numbering. A maintenance schedule preserves inventory accuracy without requiring continuous manual effort.
| Trigger | LLDP Action Required |
|---|---|
| New display installed | Run show lldp neighbors detail on serving port; add row to inventory |
| Display relocated | Re-run LLDP query at new location; update all fields in inventory row |
| Display decommissioned | Remove inventory row; disable switch port |
| Switch upgraded or replaced | Re-run LLDP queries for all ports in the switch’s range; update Switch Hostname and Port fields |
| Platform connectivity issue reported | Run LLDP query as first diagnostic step to confirm physical connection |
| Annual IT audit | Run automated Ansible playbook or SNMP collection across all recognition display switch ports; compare to inventory and resolve discrepancies |
| Recognition program expansion | Add new display rows during commissioning; confirm new displays are on the correct VLAN |
Incorporating the annual LLDP verification into the school’s existing IT asset audit cycle—rather than treating it as a separate recognition-specific process—increases the likelihood that the inventory stays current without requiring dedicated maintenance time.
For schools where the recognition program is part of a broader fundraising or alumni engagement operation, debate team achievement boards and other academic recognition displays benefit from the same LLDP inventory discipline as athletic displays. A unified inventory that covers every recognition display on campus, regardless of which department owns the content, gives IT one complete picture of the full recognition display fleet.
Frequently Asked Questions
Does LLDP work on wireless recognition display connections?
LLDP is a wired Layer 2 protocol—it runs on Ethernet segments and is not transmitted over Wi-Fi. Wireless access points send LLDP frames on their wired uplink ports (toward the switch), so a wireless AP will appear in the switch’s LLDP neighbor table. However, a recognition display connected to the AP via Wi-Fi will not appear as an LLDP neighbor on the switch; it will only appear as an associated client in the wireless controller’s client table. For wireless recognition displays, use the wireless controller’s client inventory to map display MAC addresses to AP associations rather than relying on LLDP.
What if the display host’s hostname does not appear in LLDP output—only a MAC address?
If the display host’s LLDP advertisement does not include a hostname (the System Name field is empty or shows only the MAC address), the display host’s hostname has not been configured or the LLDP Responder is not transmitting system name data. On Windows, confirm the Computer Name is set correctly in System Properties. On Linux, confirm the system hostname is set and that lldpd is configured to advertise it (sudo lldpctl show chassis). A display with a missing or generic hostname in LLDP output is indistinguishable from other similarly configured devices in the neighbor table—giving every display host a unique, descriptive hostname (for example, HOF-LOBBY-01) is one of the most important steps in making LLDP inventory data readable.
How often does the switch update its LLDP neighbor table?
LLDP advertisements are sent by default every 30 seconds. The switch ages out an LLDP neighbor record if it does not receive an updated advertisement within the hold-time period, which is typically 120 seconds (four advertisement intervals). If you power a recognition display on and query LLDP within the first 30 seconds, the neighbor may not yet appear. Wait one minute after powering the display on before running the LLDP query. If the display still does not appear after two minutes, investigate whether LLDP is enabled on the display host.
Can we use LLDP to discover how many recognition displays are on the network without already knowing where they are?
Yes. Run show lldp neighbors across all switches and filter the output for System Capabilities values that indicate a Station (not a Bridge or Router). All display hosts running Windows or Linux with LLDP enabled will appear as Station-capable devices. Cross-reference the resulting MAC address list against your DHCP lease table to identify IP addresses, and cross-reference against your recognition platform’s device inventory to confirm which stations are recognition display hosts versus other workstations. This approach is useful for auditing how many recognition displays are on the network before a platform migration or a district-wide inventory reconciliation. Schools expanding their programs—for example, adding achievement boards to athletic department spaces—can use this method to confirm all previously installed displays are still present and connected before adding new ones.
What is the difference between LLDP-MED and standard LLDP?
LLDP-MED (Media Endpoint Discovery) is an extension of LLDP defined in ANSI/TIA-1057, designed specifically for IP phones, video endpoints, and similar media devices. LLDP-MED adds additional TLVs (Type-Length-Value data elements) for network policy (VLAN and QoS), PoE power requirements, and hardware inventory (model number, firmware version, serial number). Some recognition display hosts—particularly those with VOIP or AV-grade network adapters—transmit LLDP-MED advertisements rather than standard LLDP. The show lldp neighbors detail output on Cisco switches distinguishes LLDP-MED capable neighbors and displays the additional fields. For recognition display inventory purposes, LLDP-MED is strictly additive: it includes everything standard LLDP provides plus additional hardware inventory fields that can augment the asset register with serial number and firmware data sourced directly from the device’s LLDP advertisement.
Should we include LLDP verification in our recognition display installation checklist even if the IT team already documents switch port assignments?
Yes. Manual switch port documentation captures what the IT team intended to configure—LLDP verification captures what is actually connected. In busy installation periods where multiple vendors, AV contractors, and IT staff are all working in the same IDF closet, patch panel connections are occasionally made to the wrong port. An LLDP query run immediately after physical connection and before any software configuration confirms that the display host’s Ethernet cable is terminated at the expected switch port before the configuration work begins. Catching a mis-patched cable at commissioning costs one cable reconnection; catching it after full configuration and VLAN assignment has been applied costs a troubleshooting session. For recognition programs launching in time for a specific school event—homecoming, athletic banquets, alumni reunions—eliminating this source of last-minute delay is worth the sixty-second verification step.
A recognition display LLDP inventory built at installation and maintained through the display’s lifecycle gives school AV and IT teams a reliable map from display to switch port that neither documentation systems nor memory can provide as accurately. When a display reports a connectivity issue the day before a ceremony, the LLDP record eliminates the cable-tracing phase entirely and puts both teams at the switch interface configuration within minutes.
See how Rocket Alumni Solutions recognition platforms integrate with school network environments—including IT-friendly deployment documentation and network requirements built for managed enterprise infrastructure.