



A recognition display local dimming test is a structured pre-acceptance check that school IT staff, athletic directors, facilities teams, and AV technicians run on newly installed or repositioned touchscreens before those panels go live in hallways, athletic lobbies, and hall-of-fame installations. Local dimming is a backlight control technology—present in many commercial LCD displays—that divides the panel into independent dimming zones and adjusts each zone’s brightness separately based on the content it is currently showing. When it works correctly, local dimming delivers deeper perceived blacks alongside bright highlights in the same frame: a stadium scoreboard blazing white above a dark crowd, an athlete emerging from a shadowed tunnel, or a championship trophy under a spotlight against a rich navy background. When it misfires—as it frequently does at factory defaults or when misconfigured—local dimming introduces three specific failure modes: blooming (a halo of unwanted brightness bleeding from a bright object into surrounding dark areas), crushed highlights (detail disappearing in the brightest zones of an image because the corresponding zone is driven too hard), and uneven dark scenes (zones dimming at different rates so that a large dark area—a gymnasium floor, a black trophy base—appears as a patchwork of subtly different gray tones).
Sports photographs and archived game video are especially vulnerable to all three failure modes because they combine exactly the high-contrast elements local dimming is trying to manage: bright scoreboards, white uniforms against dark courts, stadium lighting above dark stands, and night-game footage where player numbers on dark jerseys must remain legible. A recognition display that cannot render this content cleanly will make your school’s athletic archive look like a degraded copy of itself—even when the original photography and video are excellent. Running a local dimming test before accepting the installation is the only way to confirm the display meets your program’s quality standard before students, alumni, and visiting families see it.
Quick answer: To run a recognition display local dimming test for sports photos and video, display a set of purpose-built test images—a white rectangle on a solid black field (blooming test), a graduated highlight ramp from 80 to 100 percent brightness (crush test), and a large near-black field (zone uniformity test)—on the panel at its installed location. Observe from typical viewing distance: any visible glow around the white rectangle indicates blooming; any loss of tonal separation in the top of the highlight ramp indicates highlight crush; any visible patchwork or unevenness in the dark field indicates zone-boundary artifacts. Supplement each synthetic test with a real sports photograph and a short clip of archived game footage drawn from your recognition program’s actual content library. Adjust local dimming settings in the display’s OSD—or disable local dimming entirely if adjustment cannot eliminate the visible artifacts—and document the final configuration before accepting the display.

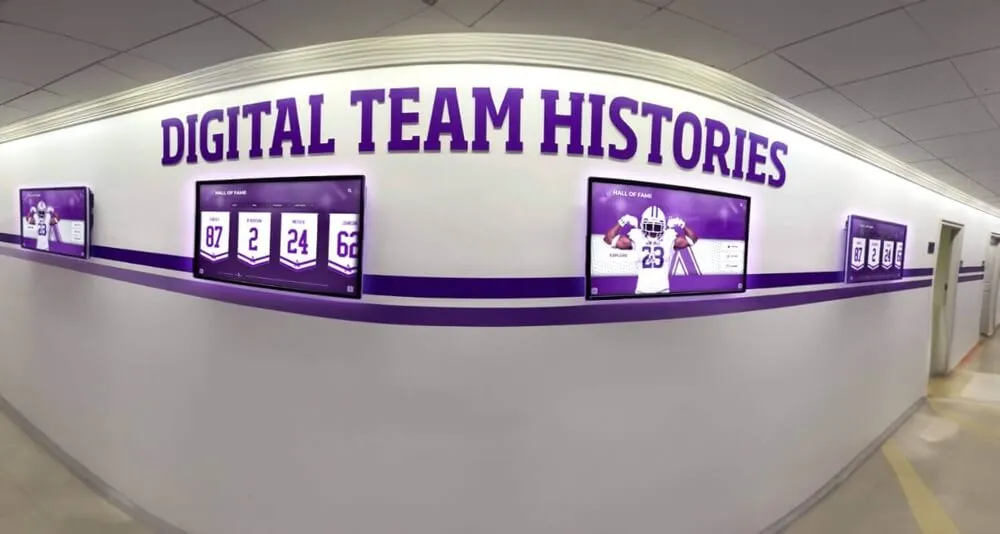
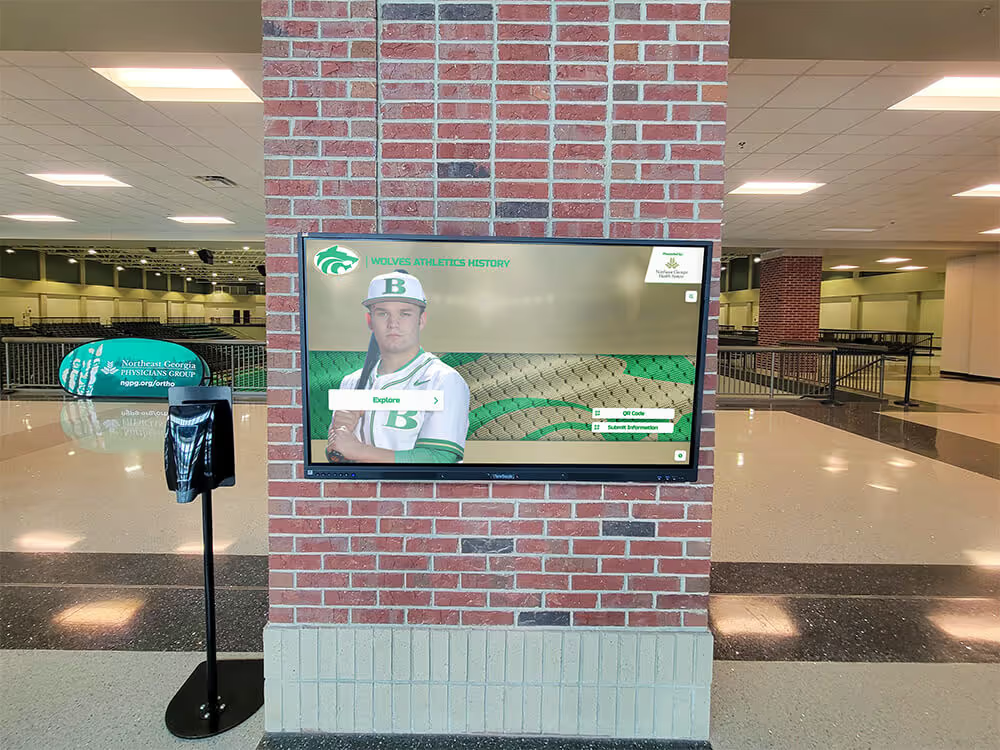
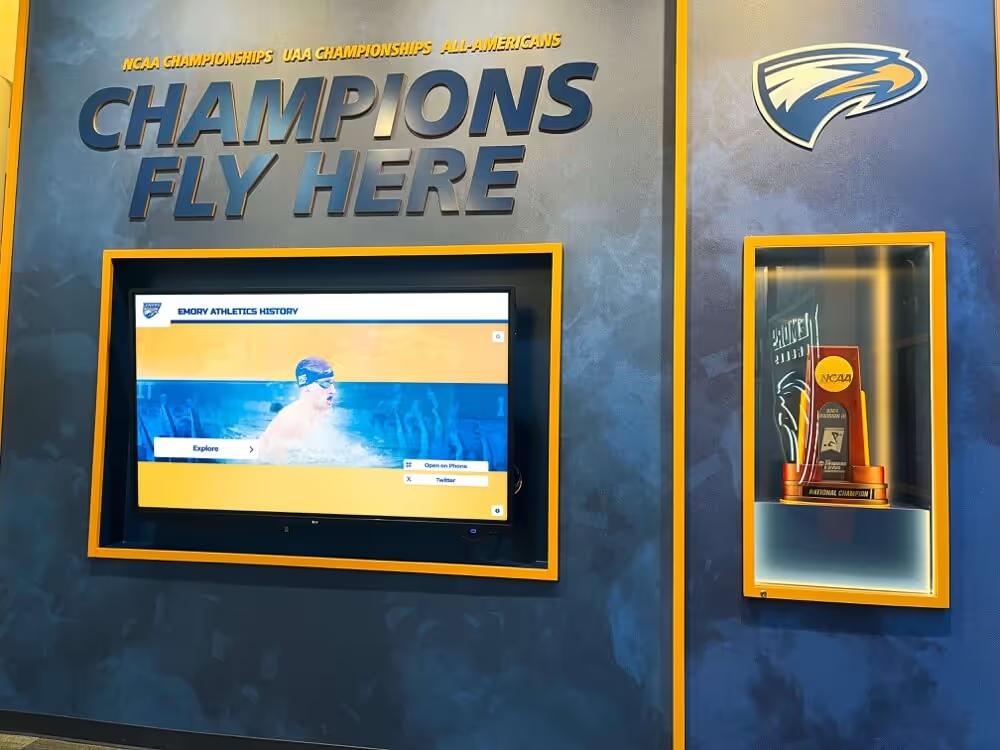
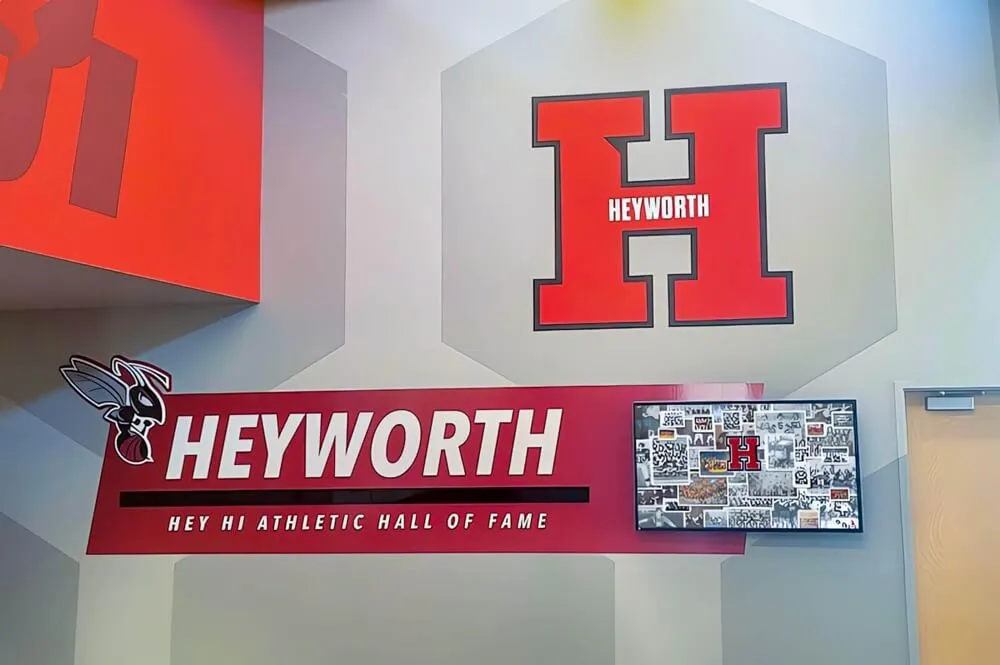
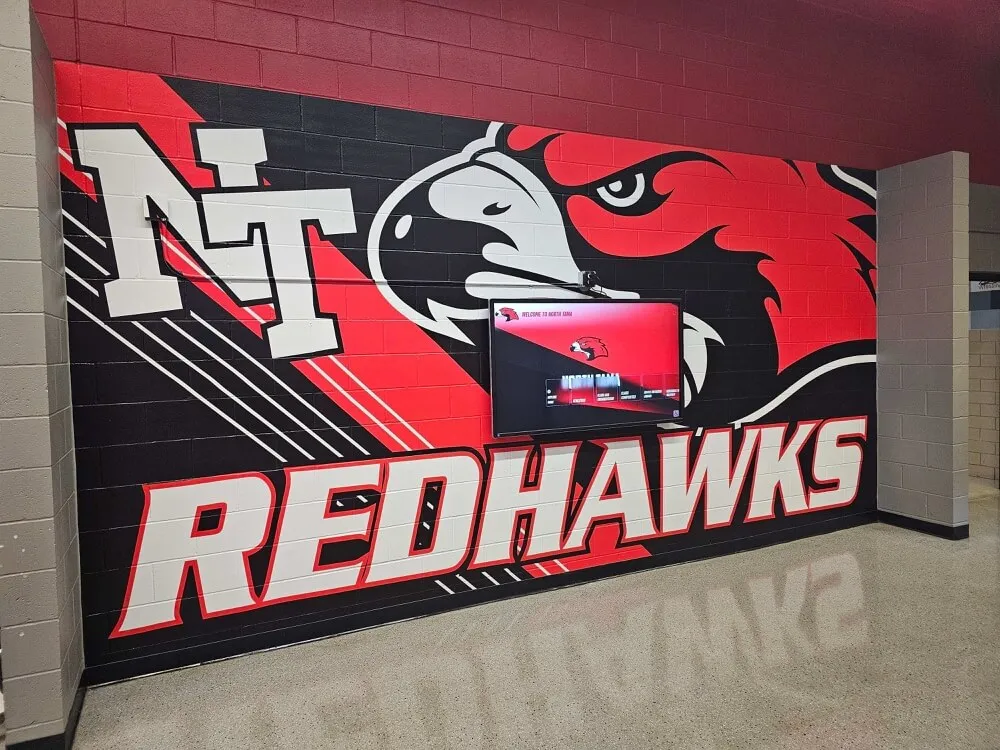
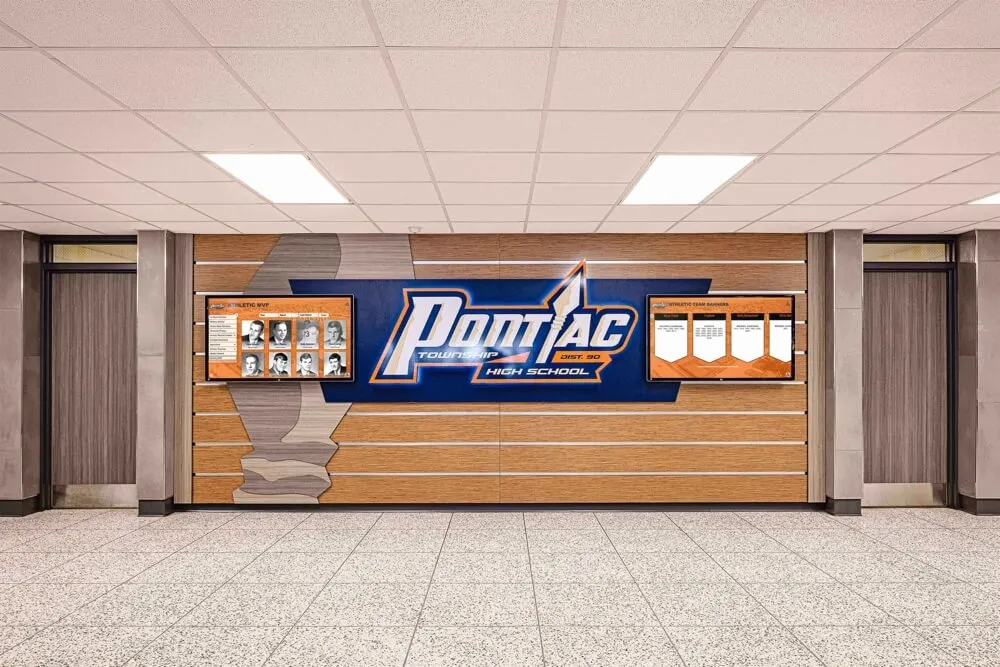
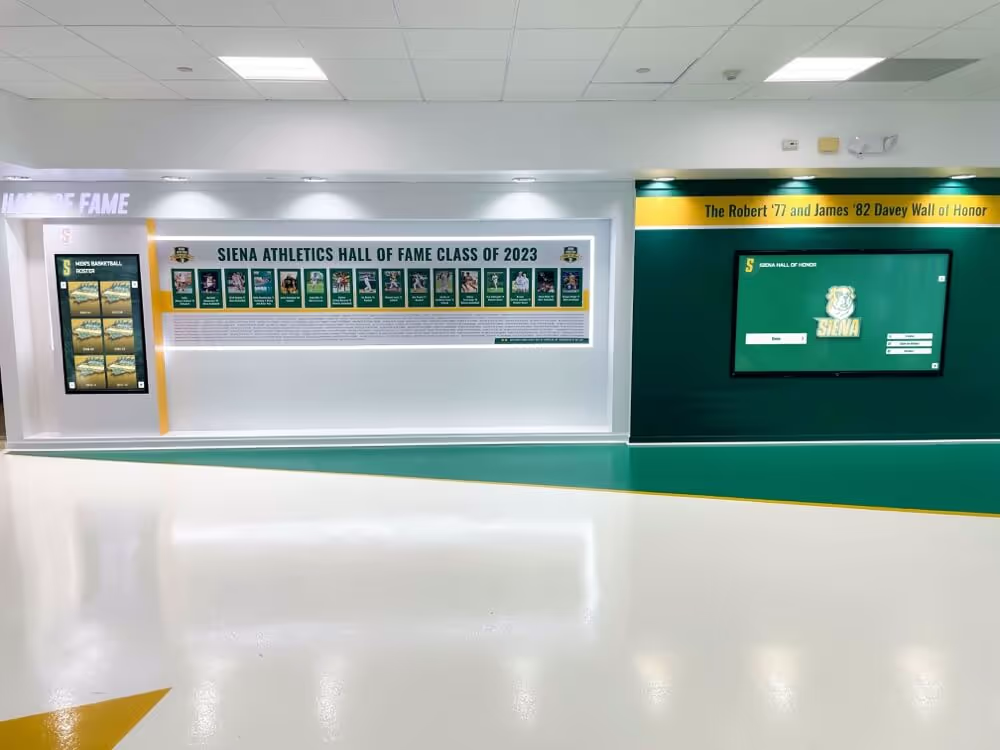
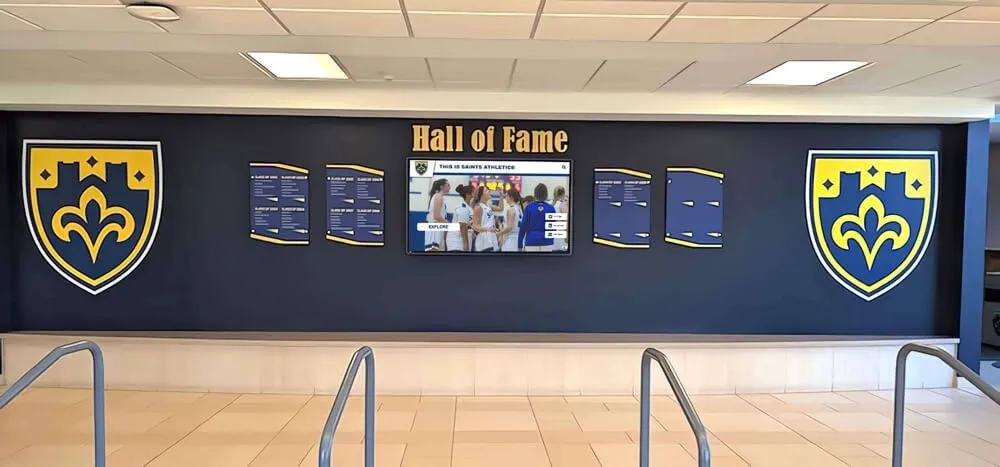
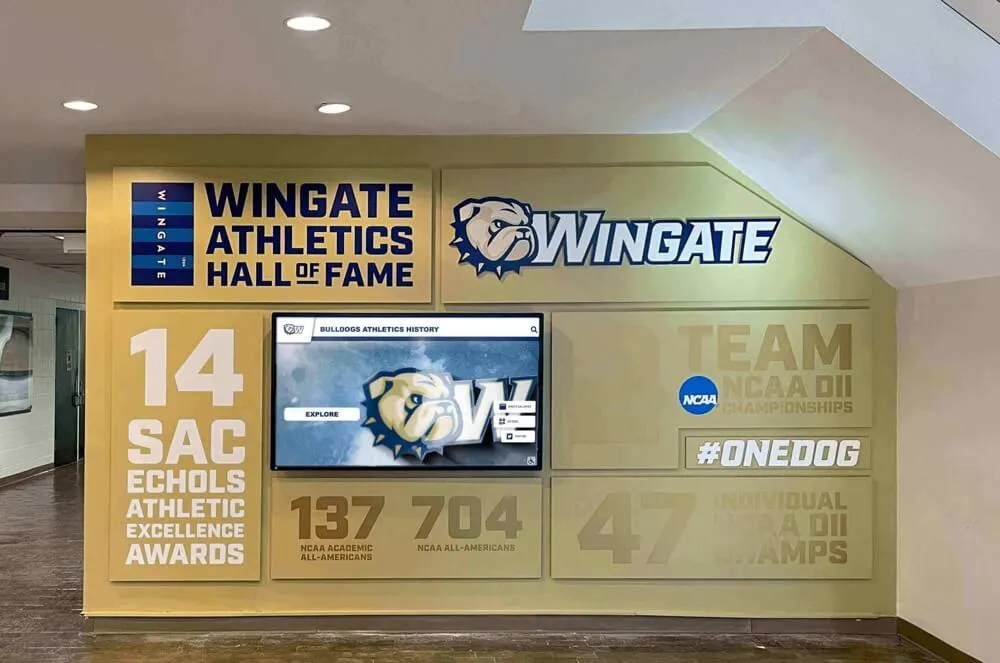
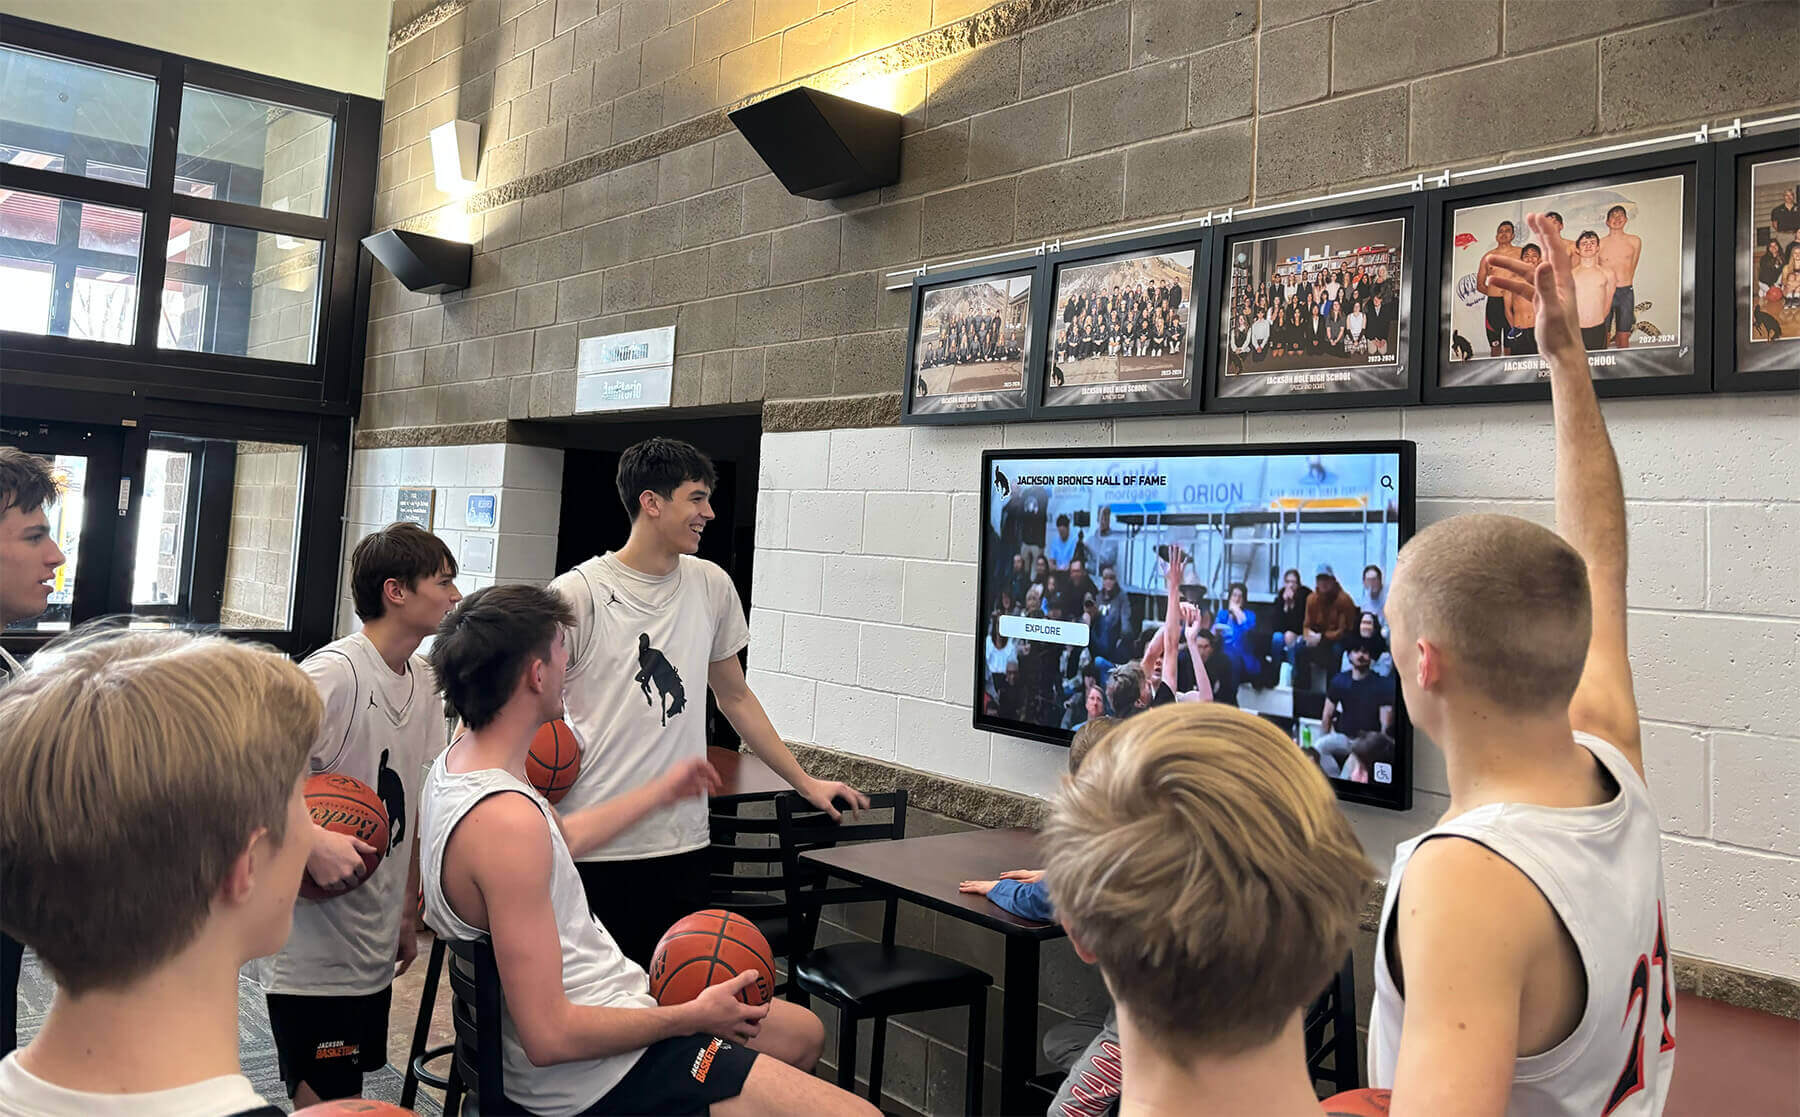
Lobby recognition screens showing sports video and athletic highlights expose local dimming failures immediately — bright scoreboards, dark courts, and high-contrast action frames reveal blooming and zone-boundary artifacts that flat-image tests miss
Why Local Dimming Matters for School Recognition Displays
School recognition programs present a content mix that is exceptionally demanding from a local dimming perspective. Unlike a corporate digital signage installation that displays brand graphics designed for a single screen size, a school athletic hall of fame draws from decades of photography and video captured under wildly different conditions: gymnasium tungsten lighting from the 1970s, outdoor stadium photography in harsh afternoon sun from the 1990s, high-definition game video from the past decade, and formal portrait sessions in controlled studio environments. Each content category has a different dynamic range, a different highlight peak, and a different shadow depth.
Local dimming technology is designed for exactly this situation: to improve perceived contrast by bringing the backlight down in areas of the frame that should be dark while keeping it elevated in areas that should be bright. The problem is that local dimming zones are coarse—a commercial display might divide a 75-inch panel into 64 zones, meaning each zone covers a substantial area—and content that places a bright element next to a dark element within a single zone forces the display into a compromise. A white jersey number on a dark court that falls within the same zone as the surrounding black surface will cause the zone to elevate, lifting the black around the white number and producing visible glow. From the perspective of the display hardware, this is the correct behavior given its zone size; from the perspective of a visitor reading a championship game recap, it looks like the display is broken.
The failure modes are not hypothetical. Stadium photography—the category most likely to appear in athletic halls of fame and game-archive displays—is precisely the scenario that exposes zone-size limitations. A wide-angle photograph of a court or field will typically contain bright overhead sports lighting in the upper frame, a moderately bright playing surface in the middle, and dark stands or walls around the edges. If the local dimming zone map does not align with this content geometry, the transition zones between bright and dark regions will produce visible gradients or halos that are not present in the original image.
Schools archiving sports highlights from major events and semesters for display in athletic recognition programs rely on video content that is particularly sensitive to local dimming artifacts because motion compounds the problem: zones that should track moving bright objects—a player crossing from shadow into spotlight—often lag by one or two frames, producing a trailing halo that sweeps across the dark background behind the athlete. This artifact is invisible in still-image testing and only appears when real game footage runs on the panel.
Understanding Local Dimming: Zones, Blooming, and Haloing
Before running the test, understanding the three primary failure modes helps IT staff correctly interpret what they observe and connect symptoms to appropriate adjustments.
Blooming is the most visible and most commonly reported local dimming artifact. It appears as a soft, diffuse glow surrounding bright objects on dark backgrounds—a scoreboard floating in a soft cloud of light above dark stands, or a white caption box surrounded by a subtle gray halo against a black background. Blooming occurs when the zone containing a bright element is larger than the bright element itself, and the elevated backlight for that zone illuminates the dark content at the zone’s edges. It is worst in displays with a small number of large dimming zones, and it is made worse by local dimming aggressiveness settings at maximum.
Highlight crushing is the opposite failure: detail in the brightest areas of an image collapses into pure white because the dimming zone serving that area is driven beyond the panel’s linear response. In sports photography, highlight crushing manifests as white jerseys losing their fabric texture and becoming flat white shapes, or stadium lighting fixtures becoming featureless white circles. The information is present in the source image; the display’s local dimming response discards it. Highlight crushing is most common in “high” or “maximum” local dimming modes on panels with aggressive adaptive backlight control.
Zone-boundary unevenness appears in large dark areas—gymnasium floors, navy blue award backgrounds, black uniform fields—as a patchwork of subtly different brightnesses that align with the dimming zone grid. Each zone settles at a slightly different backlight level based on its own content analysis, and the result is a dark area that appears as a subtle grid of lighter and darker rectangles. This artifact is particularly damaging in formal athletic portrait photography where the background is a solid dark color intended to convey gravitas.
| Failure Mode | Visual Symptom | Primary Cause | Most Vulnerable Content |
|---|---|---|---|
| Blooming | Soft glow halo around bright objects on dark backgrounds | Zone size larger than bright element; aggressiveness too high | Scoreboard on dark stands; white text on black; spotlight portrait |
| Highlight crush | Loss of tonal detail in bright areas; blown-out whites | Zone driven into non-linear response; peak brightness too aggressive | White jerseys; stadium lights; outdoor daylight photography |
| Zone-boundary unevenness | Patchwork of slightly different grays in large dark areas | Independent zone settling at different backlight floors | Dark portrait backgrounds; gymnasium floors; navy awards backgrounds |
| Motion halo (video) | Trailing bright artifact behind moving bright objects | Zone response lag behind content motion | Action footage; player entering lit area; panning shots |
| Zone flicker | Visible pulsing in zones as content transitions | Overly aggressive zone update rate; content near dimming threshold | Scene cuts in archived video; transition slides between athlete profiles |
Step-by-Step: Running the Recognition Display Local Dimming Test
This procedure requires a laptop or tablet capable of driving the display at full resolution, or a USB drive loaded with test images and a short video clip. Budget 30 to 45 minutes for a complete test. Run the procedure after the display is fully warmed up—most panels require 20 minutes from cold start before backlight behavior stabilizes.
Confirm local dimming is enabled and identify the aggressiveness setting before testing. Navigate to the display’s OSD and locate the local dimming or dynamic backlight control. Commercial displays typically offer Off, Low, Medium, and High settings. Note the current setting. If the OSD does not include a local dimming control, check the display’s advanced picture or eco settings—some manufacturers label this feature as “Dynamic Contrast,” “Active Dimming,” or “Intelligent Backlight.” Document the label and current value before making any changes.
Prepare your test images before arriving at the display. You need four synthetic test images at the display’s native resolution: (a) a solid white rectangle occupying approximately 10 percent of screen area, centered on a solid black field—the blooming test; (b) a solid white rectangle occupying approximately 50 percent of screen area, centered on a solid black field—a wider-zone blooming test; (c) a highlight ramp from RGB 200 to RGB 255 in 11 steps of 5 units each, displayed as horizontal bands—the highlight crush test; and (d) a large solid-color field at near-black (RGB 16)—the zone uniformity test. Save each as a full-resolution PNG on a USB drive or accessible folder. Alternatively, use a browser-based test pattern generator and mirror the display.
Display the small white rectangle on black and evaluate blooming from typical viewing distance. Stand 3 to 8 feet from the display depending on the installation context—closer for a kiosk, farther for a wall-mounted lobby panel. The white rectangle should appear as a clean, sharply bounded bright area against a uniform black surround. Any visible soft glow extending beyond the rectangle’s edges—even subtly—is blooming. Note its radius and intensity. If the glow is barely perceptible at typical viewing distance only when looking directly at the border, it may be within acceptable range for the installation. If it is visible in peripheral vision or extends more than 1 to 2 inches at typical viewing distance, local dimming aggressiveness needs to be reduced.
Display the large white rectangle on black and evaluate zone-level blooming. A bright object occupying 50 percent of the screen surface will activate multiple zones and often reveals whether the zones at the bright-to-dark boundary produce a different bloom pattern than a small bright object within a single zone. Compare the glow radius and intensity to the small-rectangle test. If the large rectangle shows less glow, the zone edges are cleaner than the zone interiors—usually acceptable. If the large rectangle shows more or different glow, investigate whether the display has a minimum-zone activation issue.
Display the highlight ramp and evaluate each step from RGB 200 upward. Each of the 11 horizontal bands should be individually distinguishable. Specifically, verify that the transition from RGB 245 to RGB 250 to RGB 255 produces three cleanly distinct bands. If the top two or three steps merge into a single white band, highlight crushing is occurring in the upper luminance range. Reduce local dimming aggressiveness by one step and retest. If crush persists at the lowest aggressiveness setting, check whether the display’s Contrast (white peak) setting is elevated—reducing it by 5 to 10 units often restores highlight separation without disabling local dimming entirely.
Display the near-black field and evaluate zone uniformity. The solid near-black panel should appear as a uniform shade of dark gray across its full extent. Step back to the maximum expected viewing distance for the installation and observe whether any rectangular zones are visibly brighter or darker than neighboring zones. A subtle difference detectable only at very close range (under 18 inches) on a lobby display intended for 4-foot viewing is acceptable. Visible zone-grid patterns at typical viewing distance are not. If zone unevenness is visible, reduce local dimming aggressiveness—the zones are competing to find different floor levels. If the artifact persists at all aggressiveness settings, disabling local dimming and using a fixed backlight level is the appropriate resolution.
Test with real sports photography from your recognition program. Display two or three actual images from your athletic archive: a wide-angle team photograph in a gymnasium, an action photograph of a player against stadium stands, and an outdoor field photograph with bright sky. Evaluate each for visible blooming around bright jerseys, haloing around the court or field boundary against dark surroundings, and any visible patchwork in the sky or floor areas. These images reveal whether the synthetic test results translate to actual program content—they occasionally do not, either because the test images are too synthetic to trigger the display’s dimming logic realistically or because the actual content has different spatial properties than the test patterns.
Test with archived game video. If your recognition program includes video content—championship game clips, sports highlight reels, award ceremony footage—play a 2 to 3 minute segment containing action sequences, fast scene cuts, and scenes with bright elements on dark backgrounds. Watch specifically for motion halos trailing behind players moving from dark to light areas, zone flicker during rapid scene cuts, and highlight crushing in bright game sequences. Video testing is essential: many local dimming problems are only triggered by the temporal dimension of moving content, and a display that passes all still-image tests may fail visibly with video.
Adjust and iterate. After completing all eight tests, lower the local dimming aggressiveness by one step if any failure was observed. Repeat tests 3 through 8 at the new setting. Continue reducing aggressiveness until either all tests pass or the setting reaches Off. If tests pass only with local dimming disabled, document this in the acceptance record—the display should be deployed with local dimming off, and the decision should be recorded so that future firmware updates or settings resets do not inadvertently re-enable it.
Document the final configuration and test results. Record the display model, serial number, firmware version, local dimming setting, Brightness, Contrast, and Backlight level. Note which tests passed at what setting and which required aggressiveness reduction. This documentation becomes the baseline for all future maintenance checks.
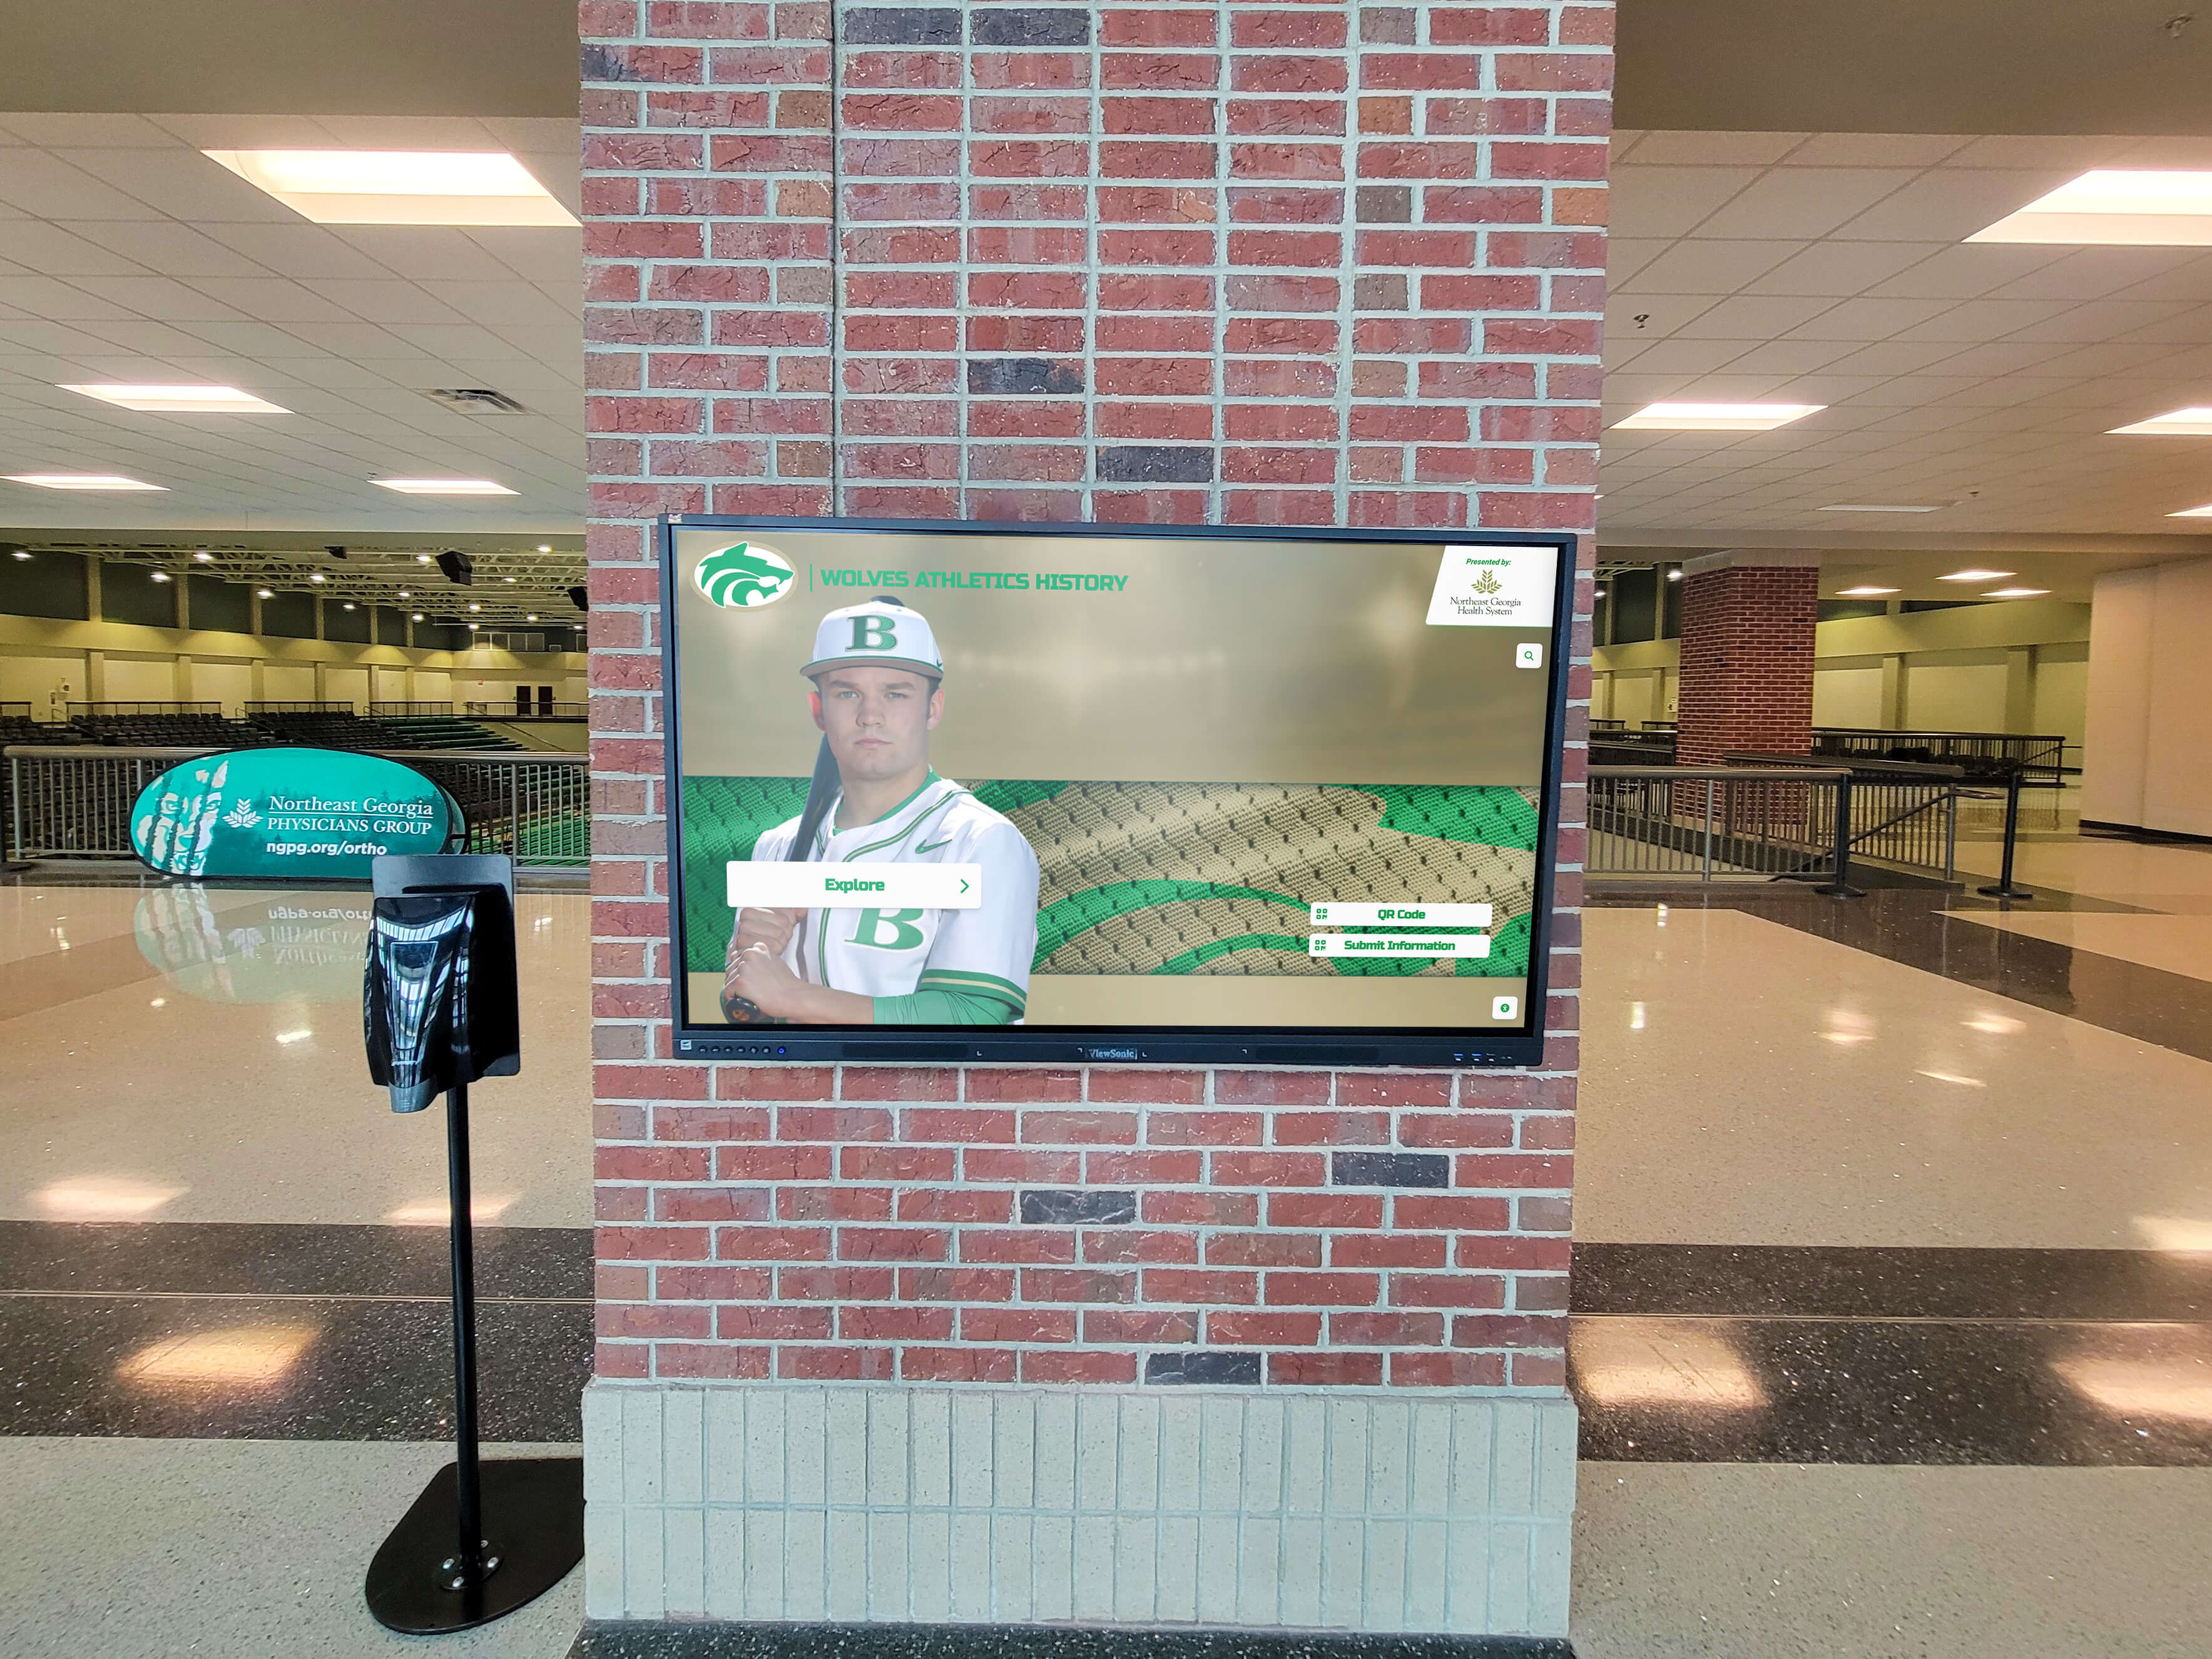
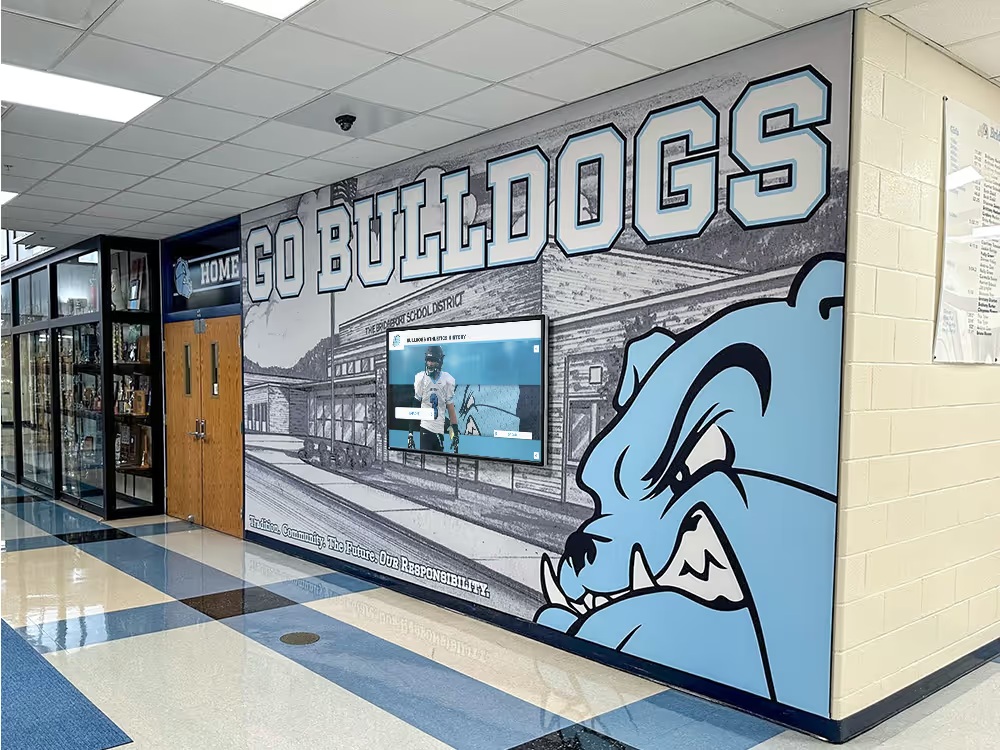
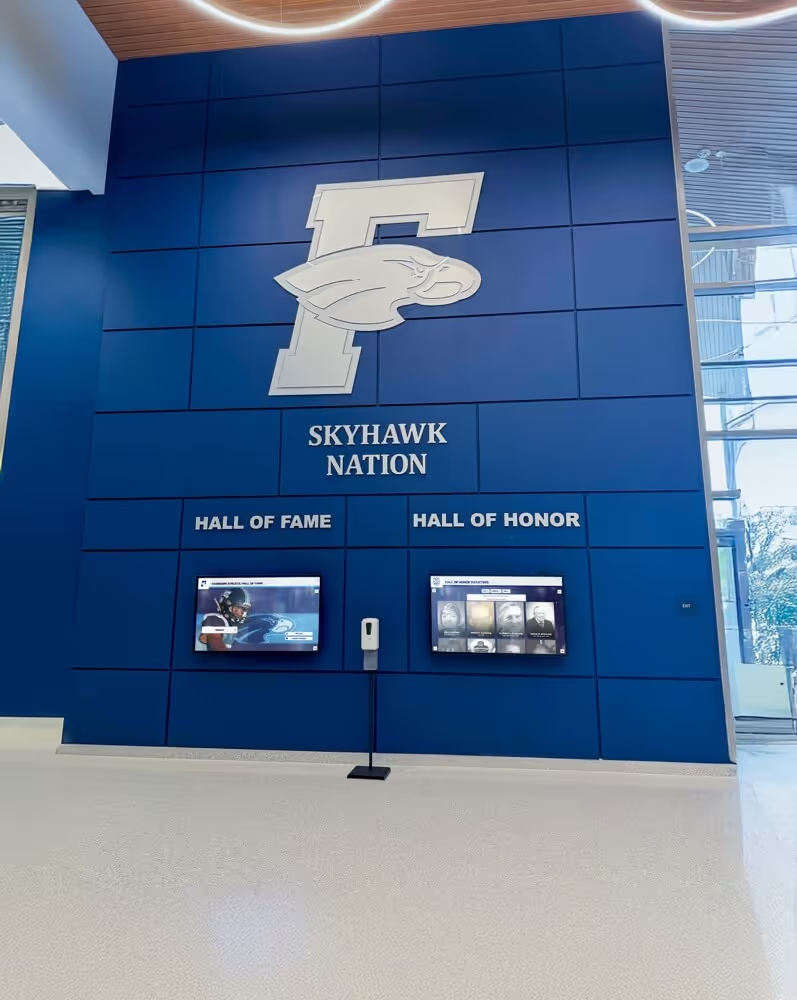
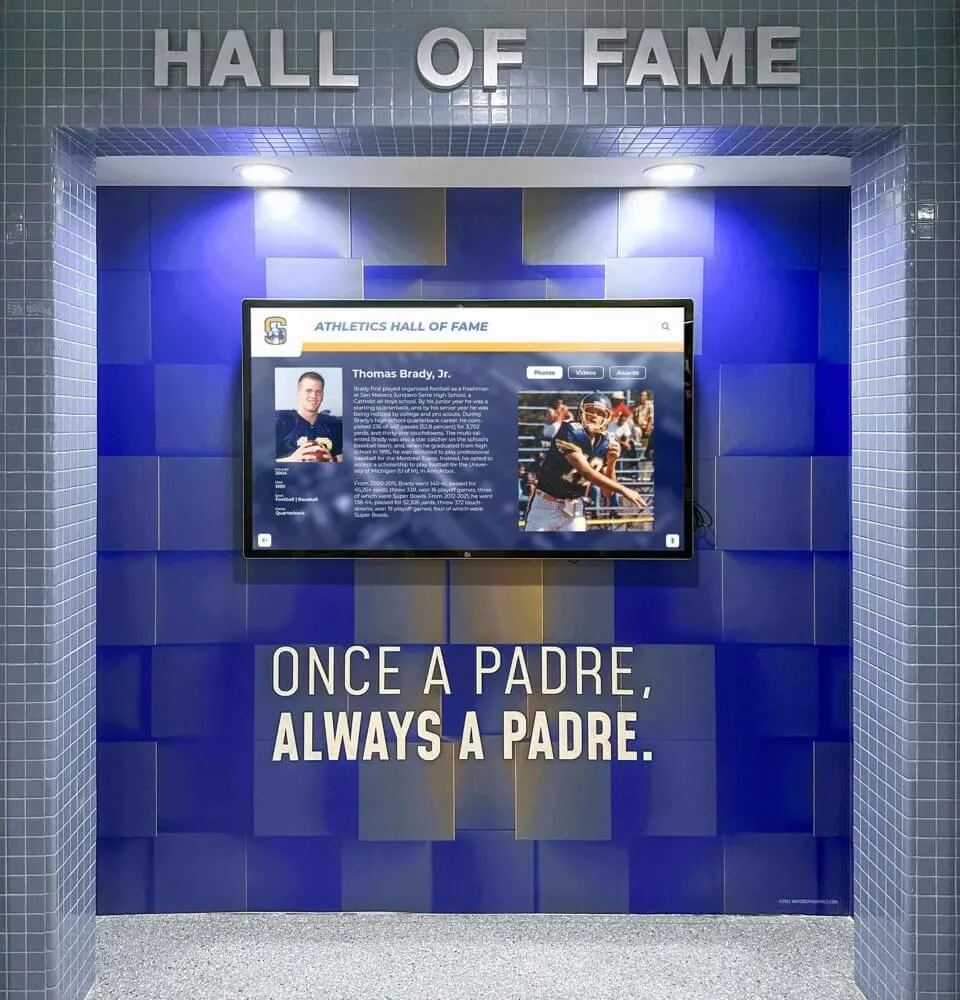
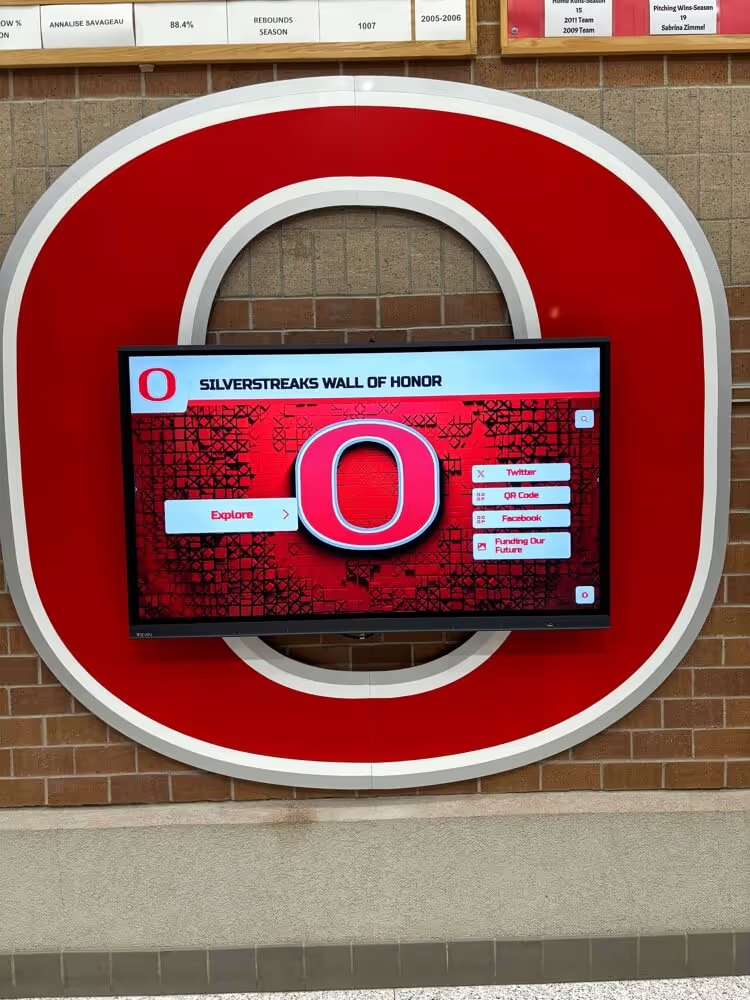
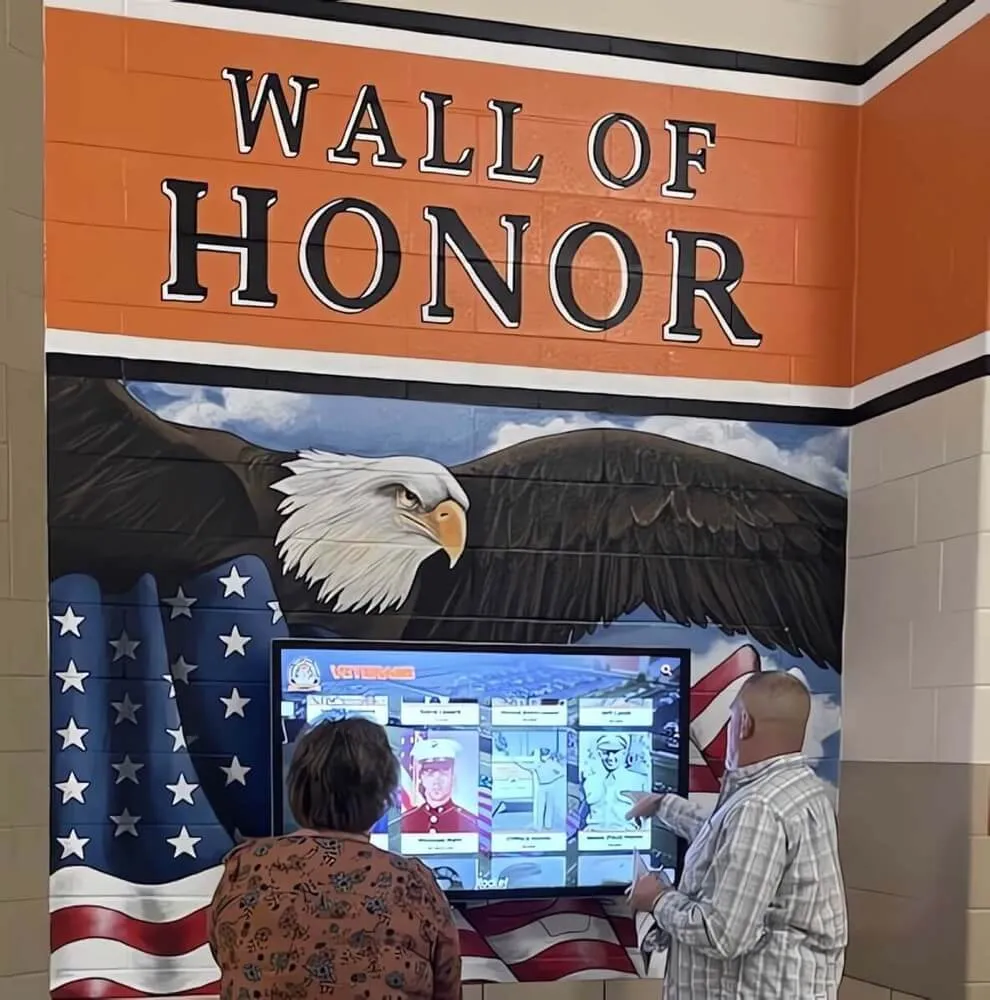
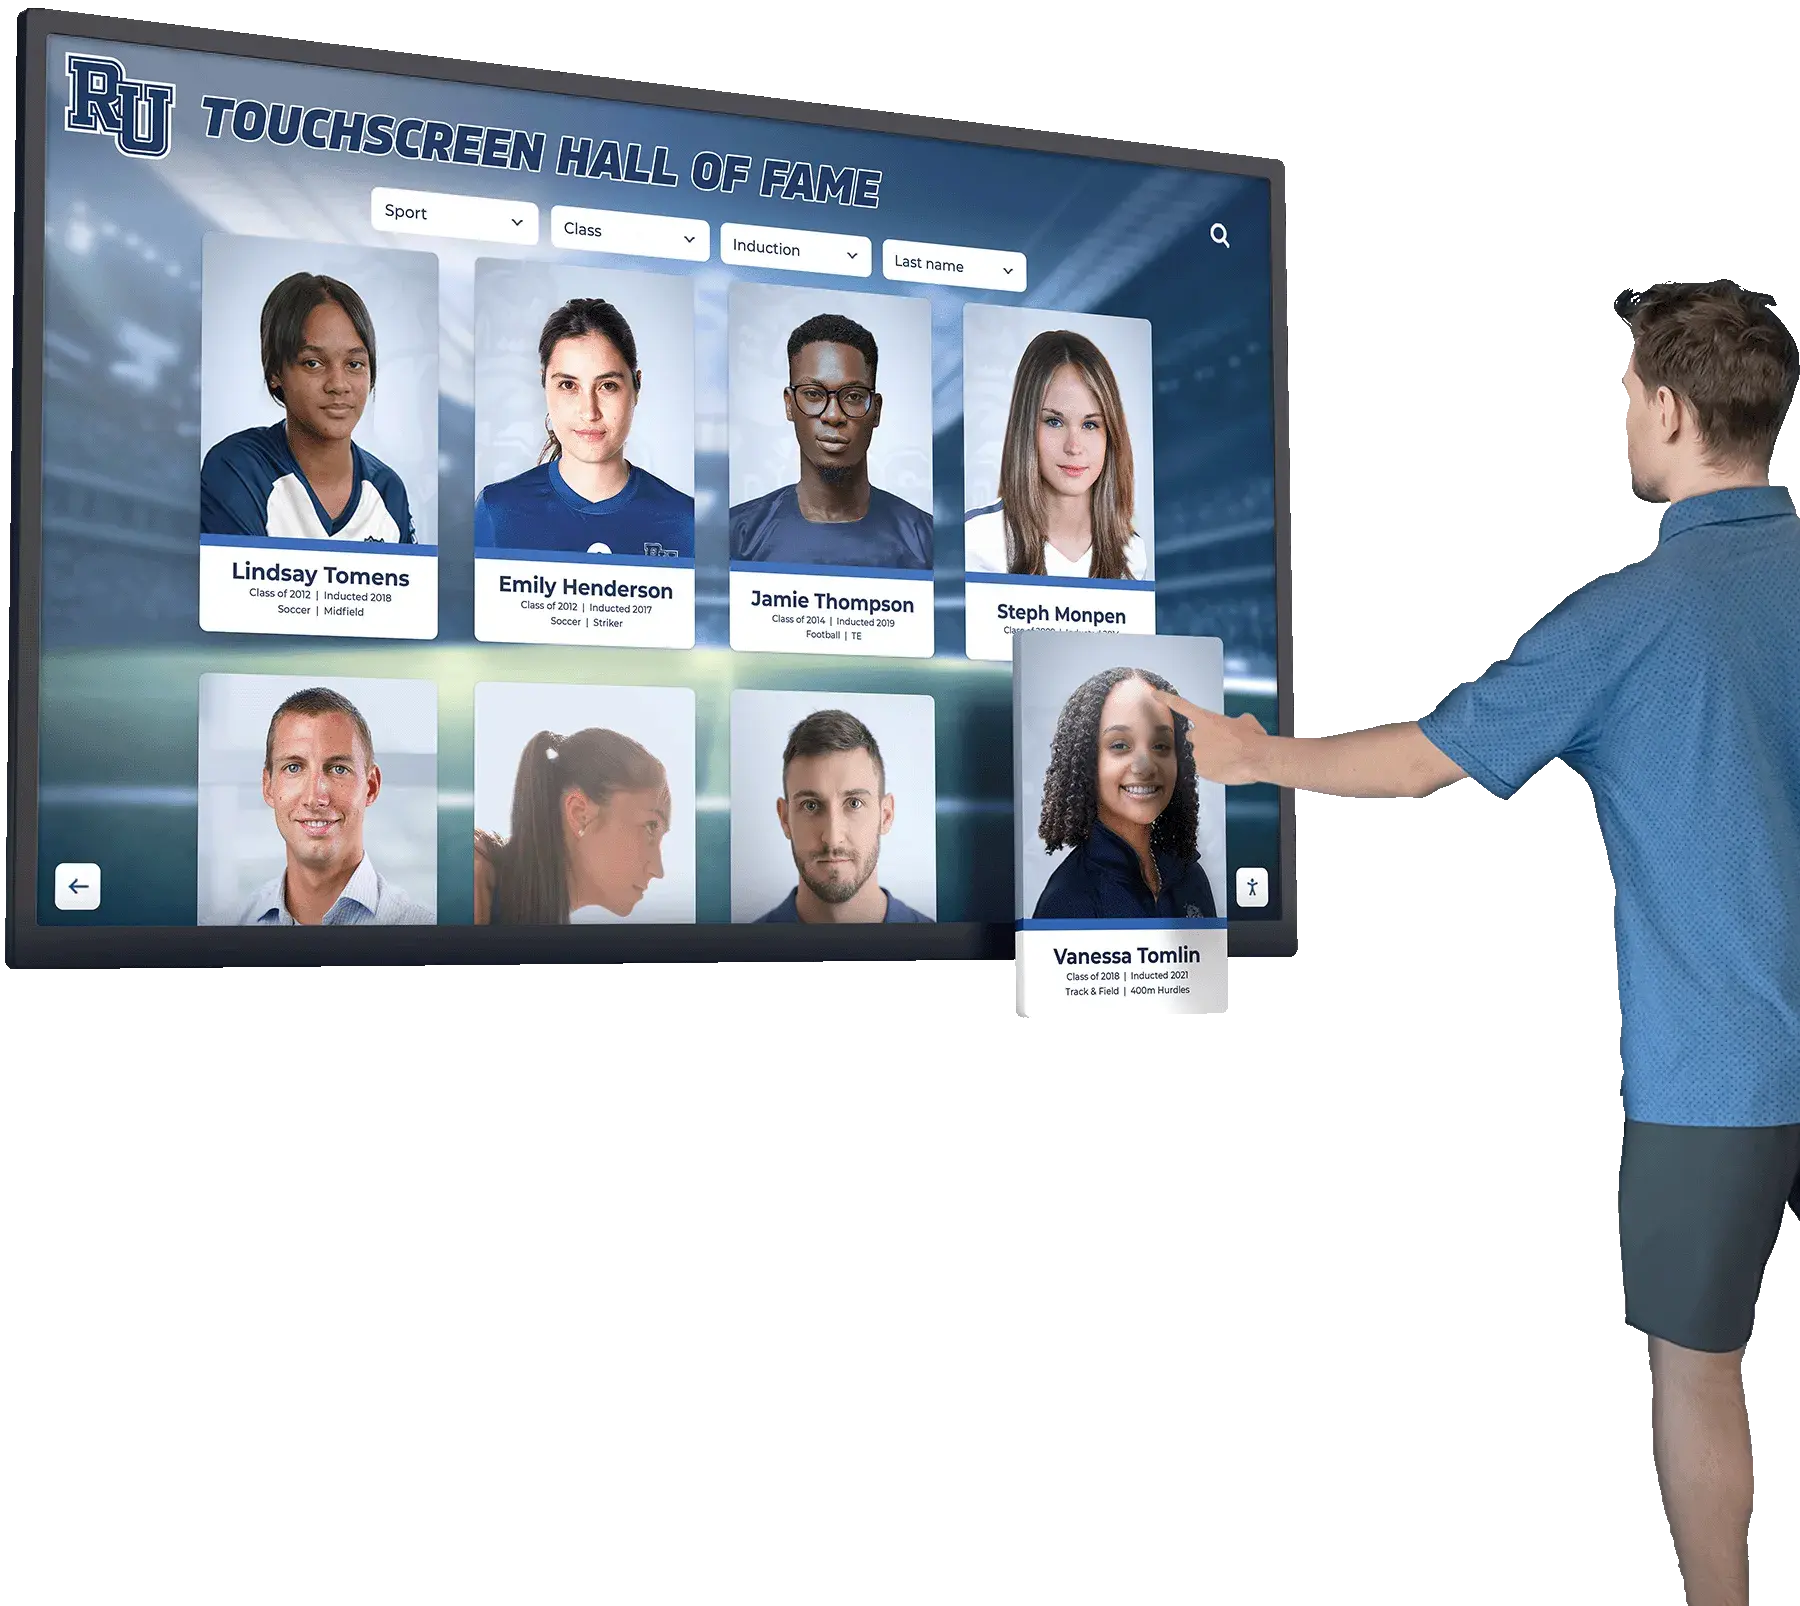
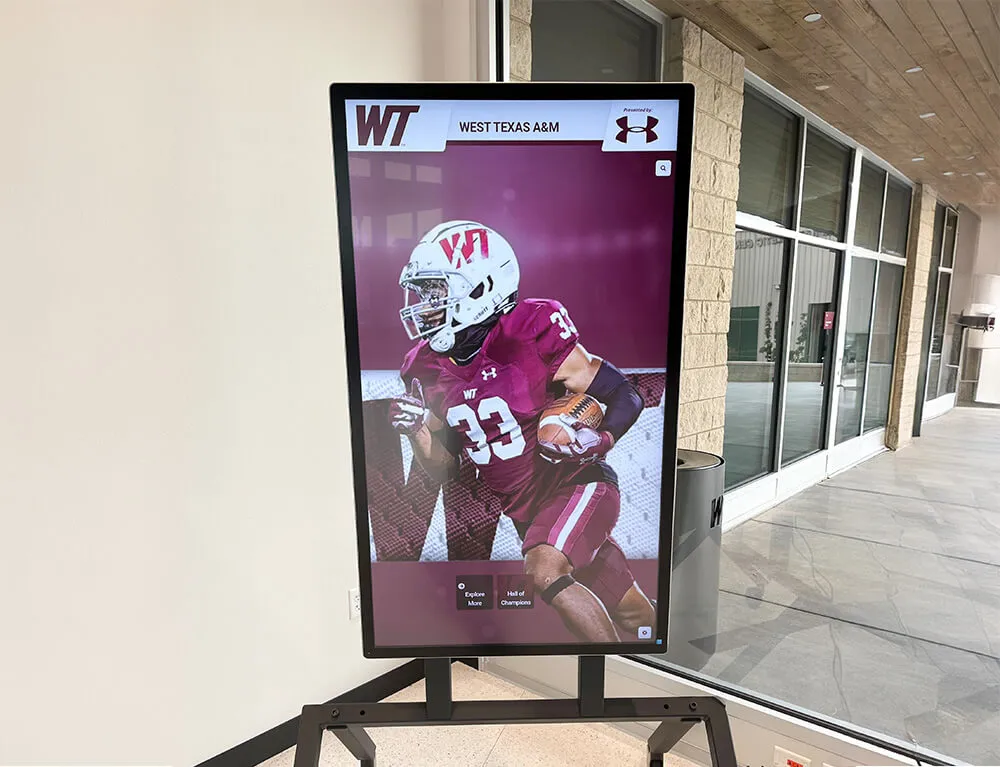
Arena and lobby recognition displays showing athlete portraits under dramatic lighting are among the highest-risk scenarios for local dimming blooming — a bright jersey against a dark lobby background will expose any zone-size limitation immediately
Local Dimming Acceptance Thresholds
Use this pass/fail reference during the test. Any Fail observation requires adjustment before accepting the display.
| Test | Observation | Result | Action |
|---|---|---|---|
| Blooming (small rectangle) | No visible glow beyond rectangle border at typical viewing distance | Pass | Continue |
| Blooming (small rectangle) | Soft glow visible, extends less than 1 inch, detectable only at close range | Marginal — document and continue | Note in acceptance record |
| Blooming (small rectangle) | Visible halo at typical viewing distance, extending more than 1 inch | Fail | Reduce local dimming aggressiveness by one step; retest |
| Highlight crush | All 11 ramp steps from RGB 200 to 255 individually distinct | Pass | Continue |
| Highlight crush | Top 2–3 steps merge into single white; steps below 240 remain distinct | Fail — mild crush | Reduce aggressiveness or lower Contrast by 5 units; retest |
| Highlight crush | Steps above RGB 220 indistinguishable | Fail — severe crush | Disable local dimming; verify peak brightness spec |
| Zone uniformity (dark field) | Uniform near-black across full panel at typical viewing distance | Pass | Continue |
| Zone uniformity (dark field) | Subtle grid visible only under 18 inches on lobby panel, invisible at 4 feet | Marginal — document | Note in acceptance record |
| Zone uniformity (dark field) | Patchwork visible at typical viewing distance | Fail | Reduce aggressiveness; if persistent at Off setting, note panel as non-uniform |
| Sports photo blooming | No halos visible on actual recognition photography at typical viewing distance | Pass | Continue |
| Sports photo blooming | Halos visible on sports photos at viewing distance | Fail | Reduce aggressiveness; retest with same images |
| Video motion halo | No trailing artifacts visible during action video sequences | Pass | Document and accept |
| Video motion halo | Visible trailing glow behind moving bright objects | Fail | Reduce aggressiveness; if persistent, disable local dimming |
Common Local Dimming Failures in School Environments
Factory “High” local dimming setting. Many commercial displays ship with local dimming set to High or Maximum to appear visually impressive in showroom demonstrations on marketing content designed to highlight the feature. This setting is almost always inappropriate for recognition program content, which includes large dark fields, small bright highlights, and motion video that was not designed around local dimming zone geometry. Begin any new installation by setting local dimming to Low or Medium before running the first test.
“Dynamic Contrast” as a hidden local dimming alias. Some display manufacturers label local dimming as “Dynamic Contrast,” which school IT staff may not identify as the same feature. A setting labeled Dynamic Contrast that adjusts the backlight based on frame content is local dimming by another name and will produce all three failure modes if set too aggressively. Disable Dynamic Contrast as a first step if standard local dimming controls are not visible in the OSD.
Zone count mismatch with content resolution. A 32-zone display showing high-resolution sports photography will produce visible zone-boundary artifacts in any image with spatially complex content—a team photograph with 30 players, each occupying a different portion of the frame, forces the 32 zones to compromise across overlapping bright and dark elements. Zone count is a hardware specification that cannot be improved through settings adjustment. If zone count is insufficient for your content, disabling local dimming and using a fixed backlight is the appropriate resolution.
Lobby ambient light masking artifacts during installation. A display installed in a dim lobby during an evening delivery and accepted during a morning walkthrough in full daylight may show blooming that was invisible during testing. The reverse is also true: a display tested in bright ambient conditions may produce visible zone unevenness that becomes more apparent in the dim lobby environment where the display actually operates. Run the test under the actual ambient lighting conditions the display will experience during its primary viewing hours—usually mid-morning through late afternoon in a school lobby.
LED wall or video wall configurations. Schools with direct-view LED panels or multi-screen video walls for recognition displays face a related but distinct challenge: the local dimming equivalent in LED is pixel-level control of each emitter, which eliminates blooming and zone unevenness but can introduce its own artifacts in the form of individual-pixel dimming hysteresis (pixels that lag in response to dark transitions) and color temperature drift as pixel brightness changes. The test procedure above applies to LED configurations with modifications: the blooming test is not relevant, but the highlight crush and uniformity tests remain valid, and the motion test is particularly important for high-refresh-rate LED panels.
How Local Dimming Interacts with Other Recognition Display Tests
The local dimming test is one element of a complete recognition display acceptance protocol. It addresses specific failure modes that other tests do not cover, and it does not replace tests that address different problems.
A recognition display color fringing test catches chromatic aberration artifacts at high-contrast edges in recognition photography—a distinct failure mode from local dimming blooming that requires different test content and different corrective adjustments. Both tests should be run on any display accepting sports photography content.
A recognition display touch sensitivity test verifies that the panel’s touch layer responds correctly to input across its full surface—a prerequisite for interactive recognition kiosks where students and families navigate athlete profiles and award records. Touch sensitivity and local dimming are independent panel subsystems; a display can pass local dimming tests and fail touch sensitivity, or vice versa.
The black level test, gamma calibration check, and moiré pattern test each address display quality from different angles. Local dimming testing fits within this suite as the test that specifically evaluates dynamic backlight behavior under the high-contrast content conditions that school sports photography routinely produces.
Schools procuring recognition displays from vendors who make strong local dimming claims should also consult guidance on evaluating digital hall of fame vendor claims and protecting your school’s recognition program investment—local dimming specifications are frequently marketed in ways that do not translate to real-world performance on school recognition content.
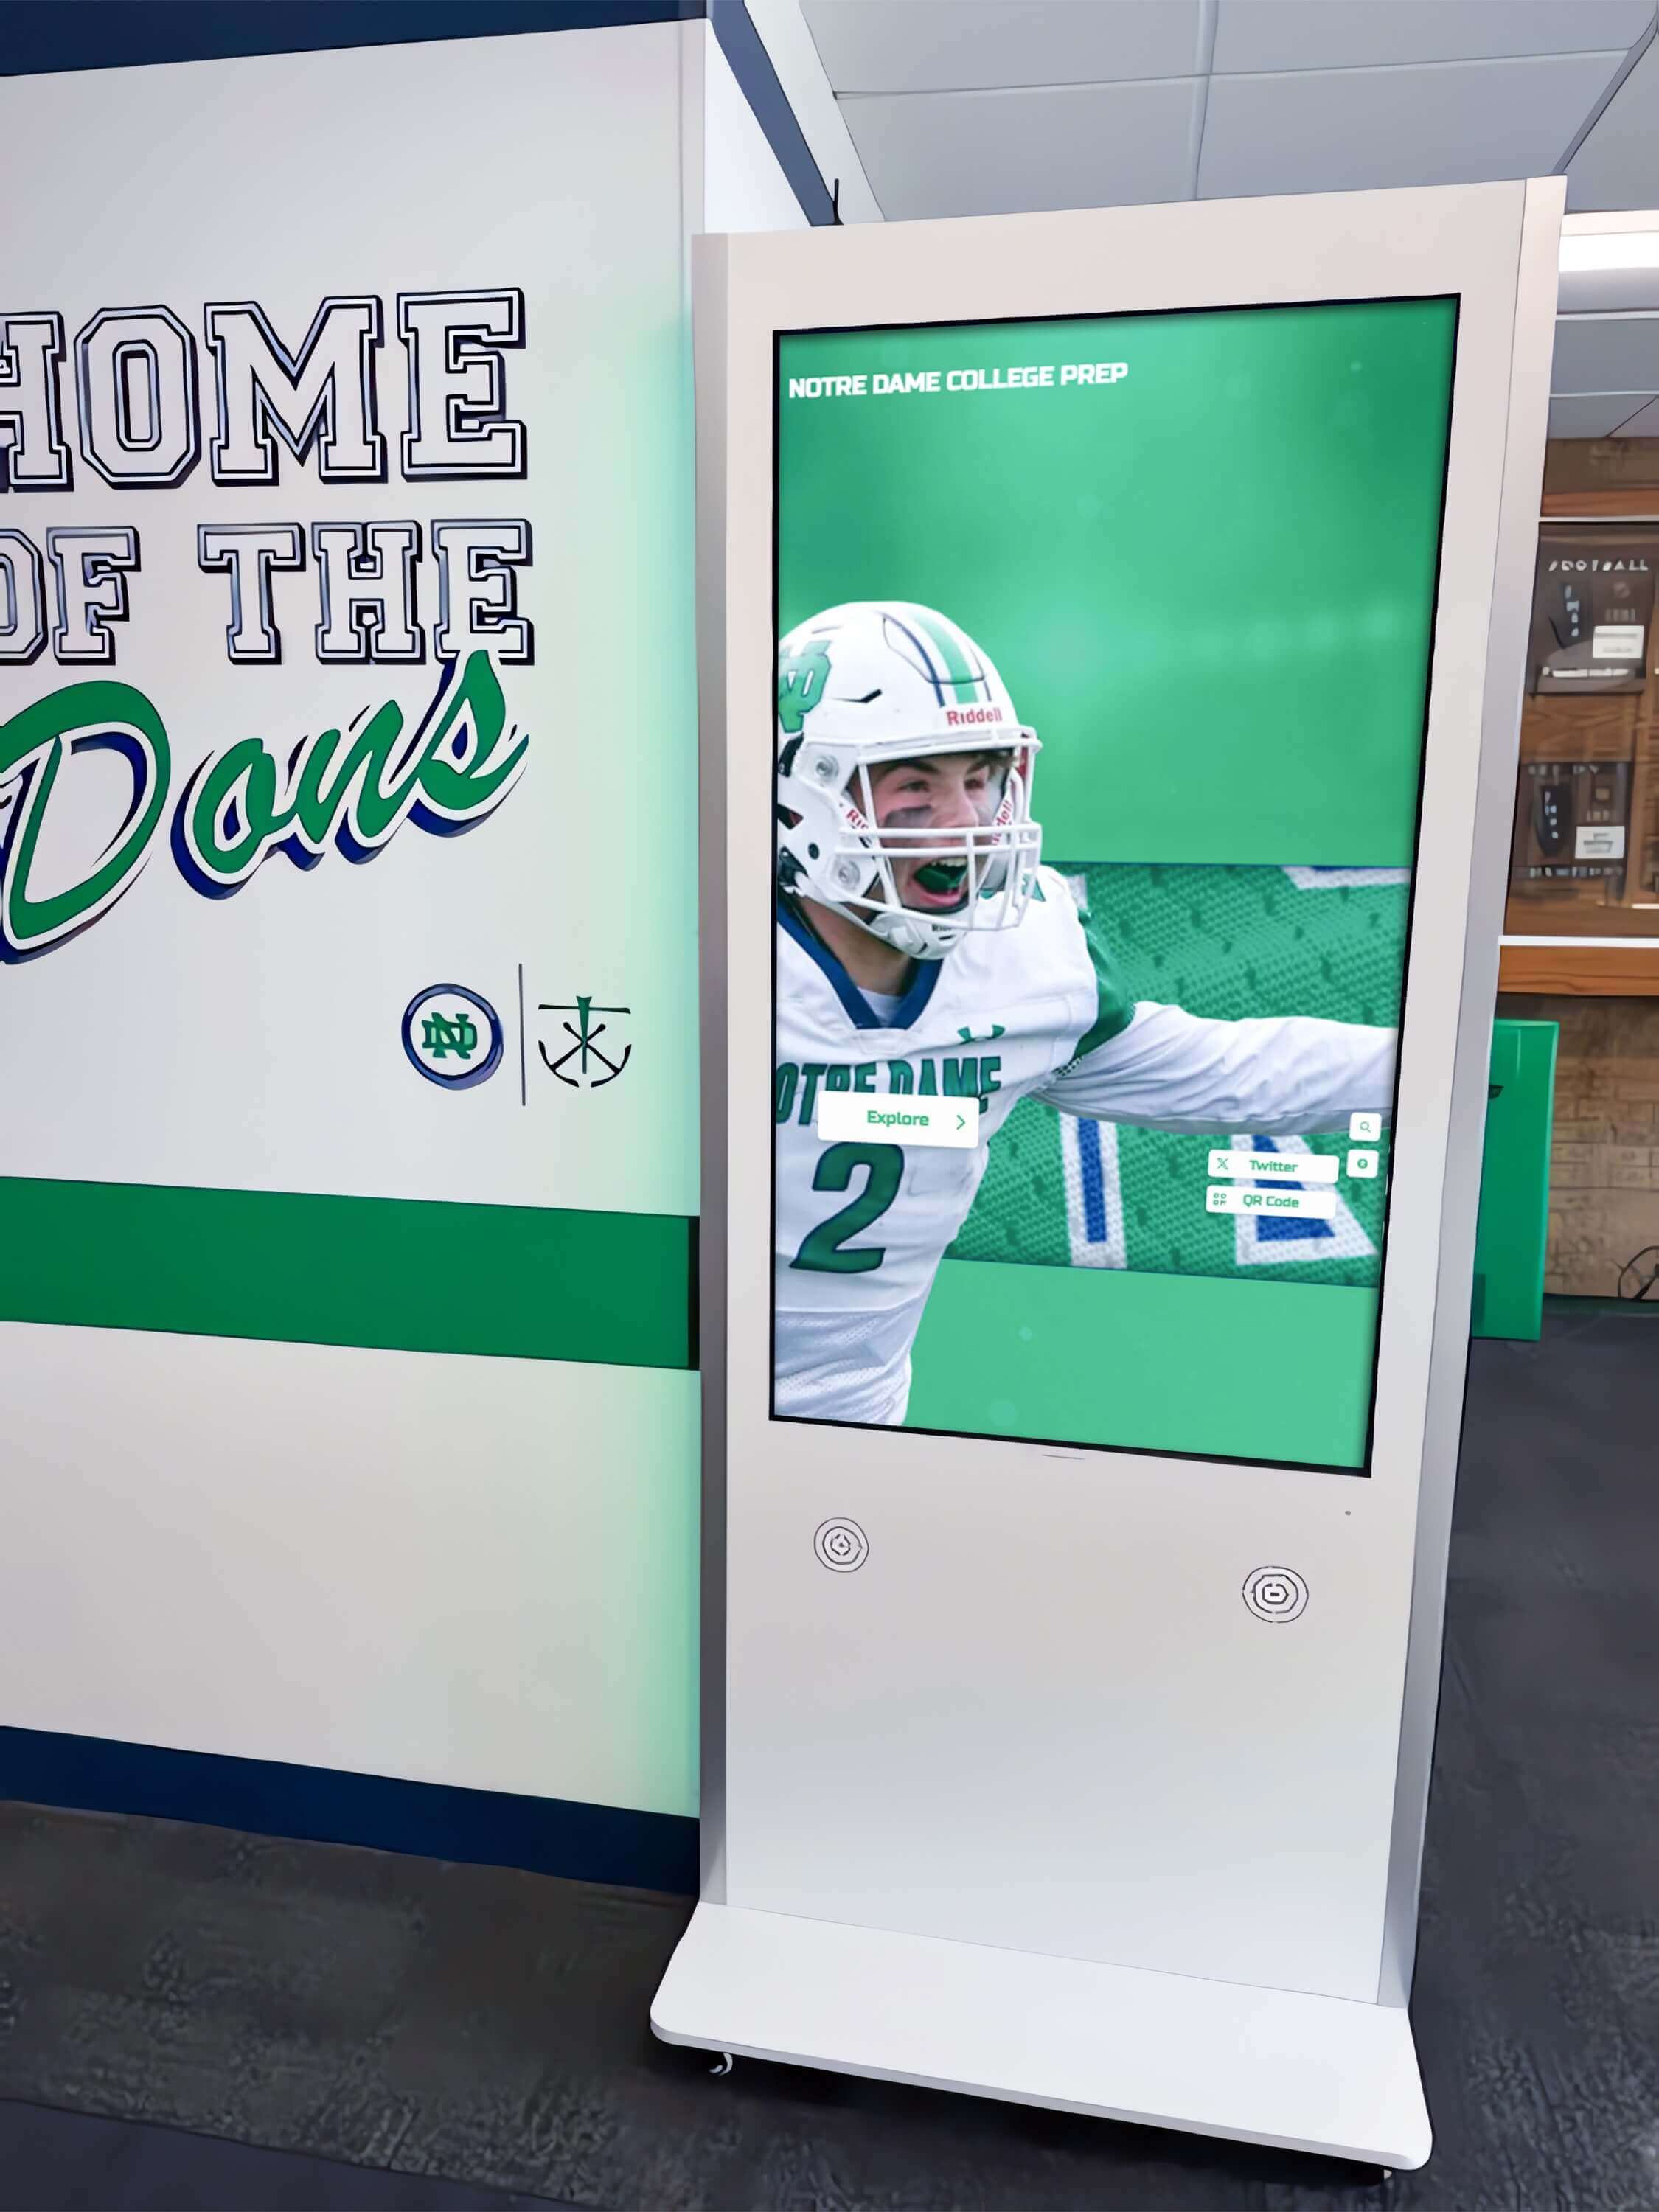
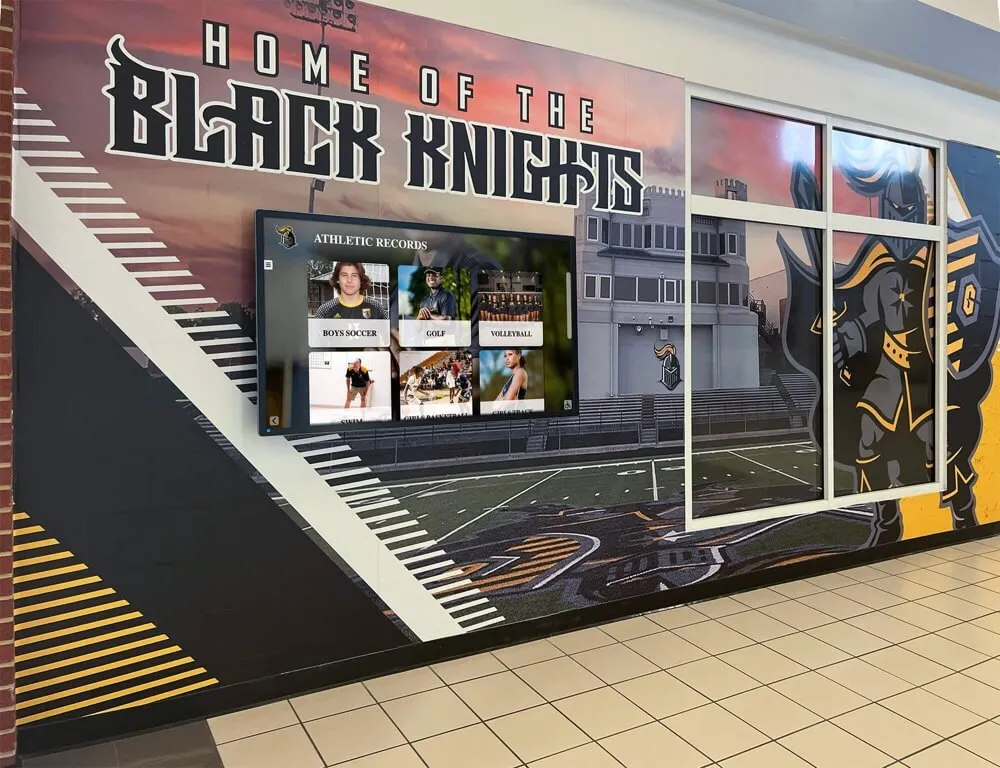
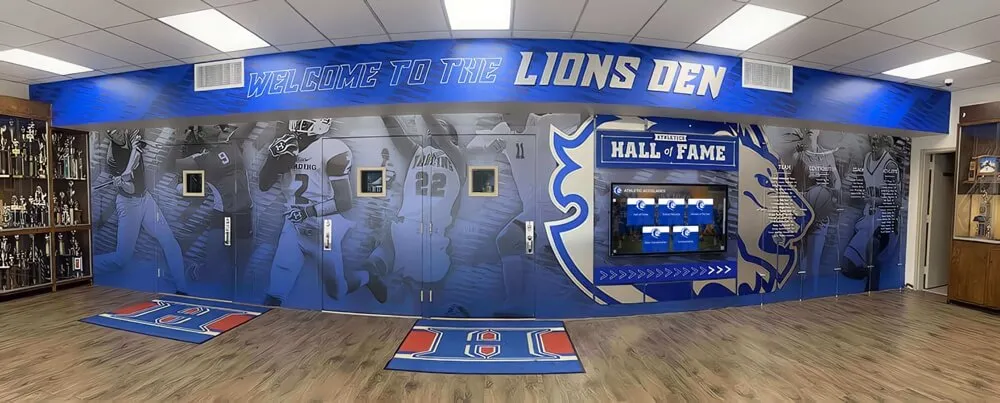
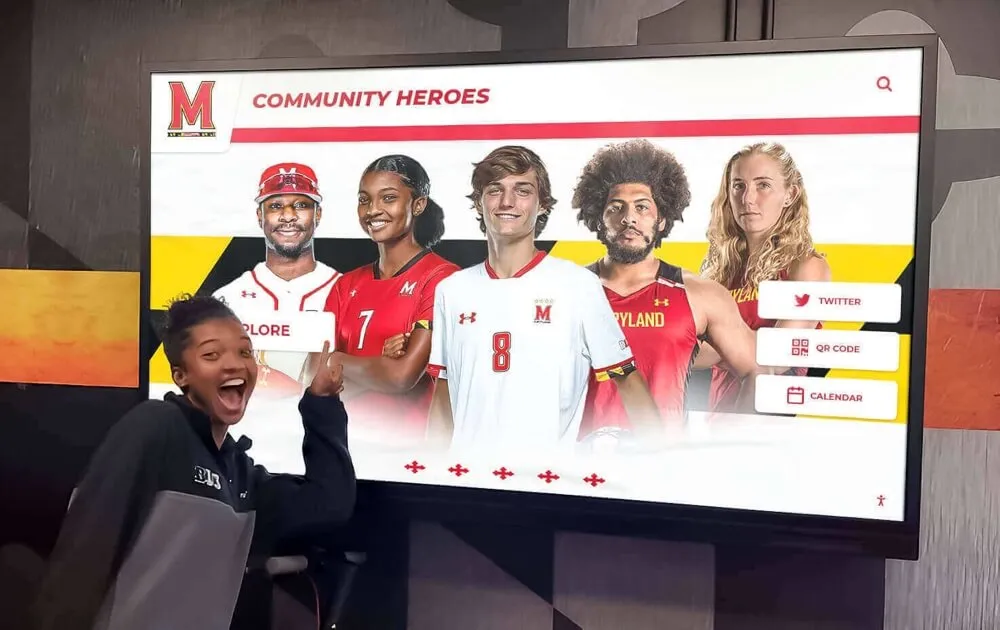
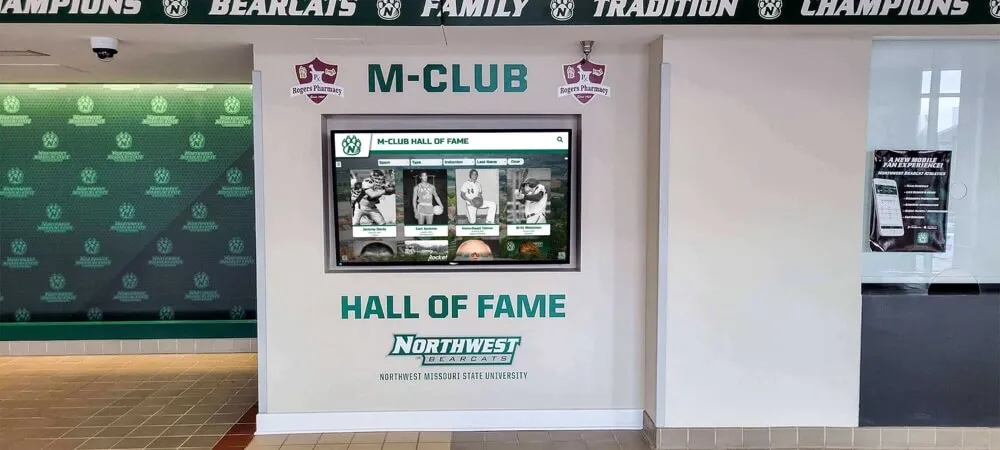
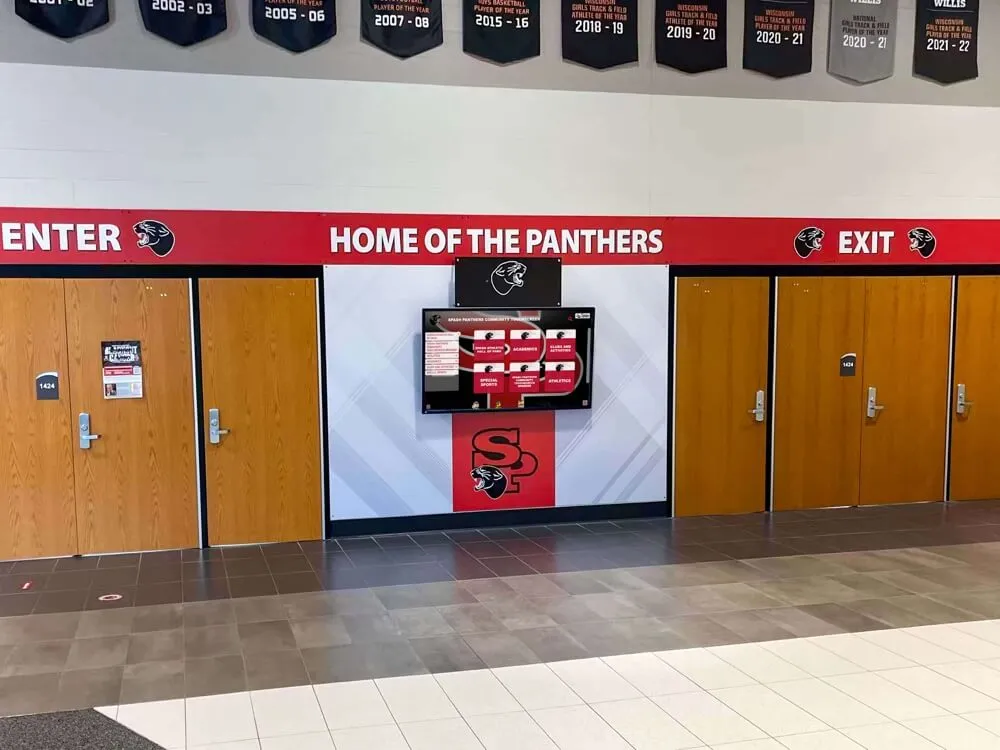
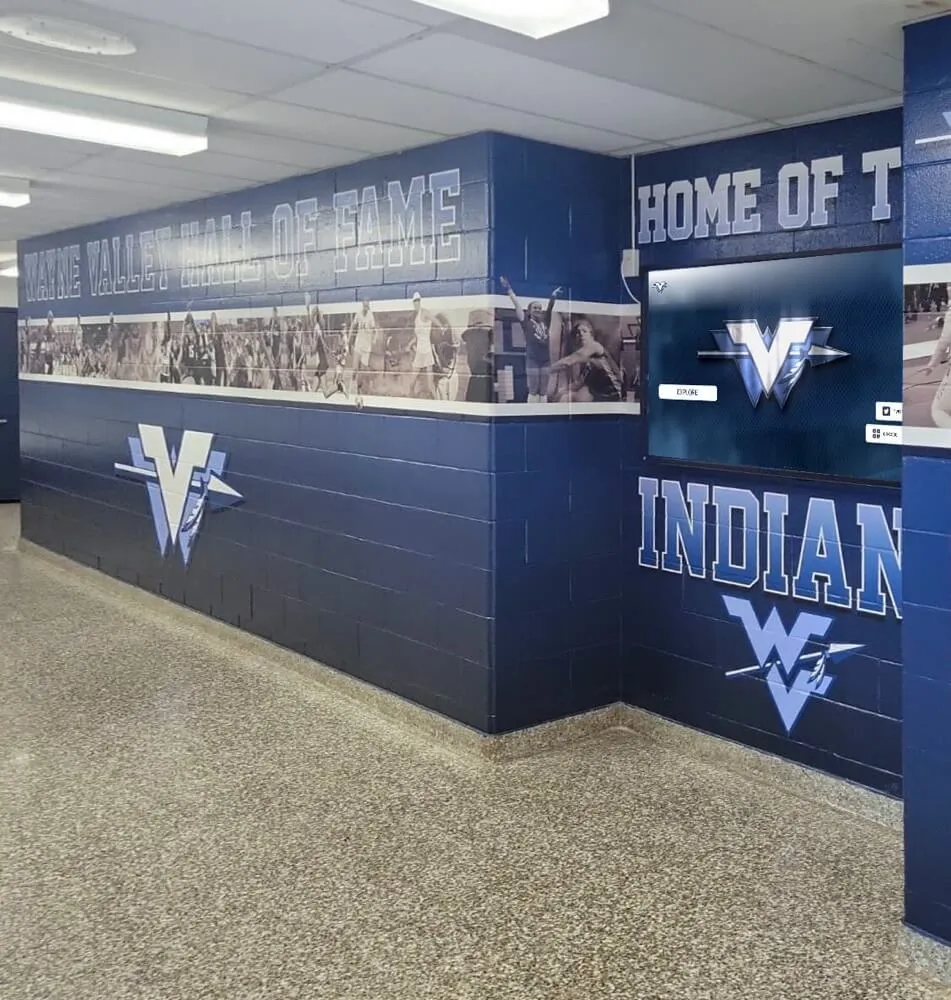
Football and other action sports photography shown on hallway recognition kiosks creates high-contrast frames that expose local dimming zone-size limitations — test with representative program content, not synthetic patterns alone
Local Dimming Performance by Display Panel Type
Understanding the local dimming implementation in your specific panel type helps calibrate testing expectations and identify which portions of the acceptance protocol deserve the most attention.
| Panel Technology | Local Dimming Implementation | Zone Count (Typical) | Primary Risk for School Recognition Use |
|---|---|---|---|
| IPS LCD — edge-lit | Edge-lit zone dimming; few zones | 8–32 zones | Blooming worst of any technology; large dark areas show zone edges clearly |
| IPS LCD — full-array (FALD) | Grid of LED arrays behind full panel area | 64–512 zones | Better than edge-lit; blooming still visible in fine-content borders |
| VA LCD — full-array | Full-array with higher native contrast | 32–256 zones | Better black floor reduces perceived blooming; zone unevenness in large dark fields |
| OLED | Per-pixel luminance control; no zone boundary | N/A (pixel level) | No zone blooming; risk is image retention on static recognition content held for extended periods |
| Mini-LED LCD | Very dense array; many small zones | 512–2,304+ zones | Blooming reduced significantly; zone unevenness minimal; most suitable for sports photography |
| Direct-view LED | Per-pixel emitter control | N/A (pixel level) | No zone artifacts; risk is pixel-level brightness uniformity and black floor at low display brightness |
Schools specifying recognition displays that will primarily show sports photography and video should consider mini-LED or OLED panel technologies when budget permits. A full-array LCD with 64 or more zones is a practical minimum for content-rich athletic recognition programs. Edge-lit LCD panels with fewer than 16 zones should be evaluated carefully with actual program photography before acceptance—their local dimming implementations frequently fail the blooming test on the kind of high-contrast sports content that athletic halls of fame present.
Establishing a Local Dimming Test Protocol for District-Wide Installations
Schools managing recognition display deployments across multiple buildings or campuses benefit from a standardized local dimming test protocol that produces comparable results across different installations. Consistency in the test procedure—the same test images, the same viewing distances, the same pass/fail thresholds—enables the IT department or facilities team to compare display performance across vendors, panel technologies, and installation environments without relying on subjective impressions from different staff members.
A practical district-level protocol assigns testing responsibility, documents the required test materials, and establishes escalation criteria:
- Designate a standard test image set—shared across all buildings—containing the four synthetic patterns and a curated selection of five representative school sports photographs. Store the set on a shared drive accessible to all IT staff.
- Establish a standard viewing distance appropriate for the most common installation type in the district (typically 4 feet for lobby kiosks, 8 to 12 feet for wall-mounted gymnasium displays).
- Use the pass/fail table from this guide as the acceptance standard—every display must pass before the installing vendor’s technician leaves the site.
- Require that the local dimming setting, Brightness, Backlight, and Contrast values be photographed from the OSD and attached to the acceptance record in the district’s asset management system.
- Schedule a mid-year and annual recheck using the abbreviated protocol (blooming test, zone uniformity test, and one real sports photograph) to catch drift or setting resets introduced by firmware updates.
This structure produces a service record for every display in the fleet and ensures that any future quality complaint can be investigated against documented baseline measurements rather than relying on staff memory of how the display looked at installation.
Connecting Local Dimming Quality to Athletic Recognition Content
The practical impact of a well-executed local dimming test extends beyond image quality to the credibility of the recognition program itself. When a championship photograph from a team’s defining season is displayed with blooming halos around the scoreboard and a zone-grid patchwork across the gymnasium floor, it communicates something about how the school values that achievement—even when the underlying problem is a two-minute OSD adjustment. Visitors do not understand local dimming; they understand whether the display looks right.
Sports recognition programs that include video content—championship game highlights, awards ceremony recordings, year-in-review reels—are especially exposed. A hockey program archiving its history for a digital hall of fame will include game footage with exactly the high-contrast scenarios that reveal local dimming limitations: white ice, dark boards, bright arena lighting, dark jerseys with white numbers, and fast motion that stresses zone response timing. Testing with representative video from the actual program, not with a generic demo clip, is the only way to confirm the display is suitable for its intended content.
For recognition programs investing in digital hall-of-fame infrastructure, the local dimming test is a 30-minute procedure that protects years of content curation from being undermined by display hardware configured at factory defaults.
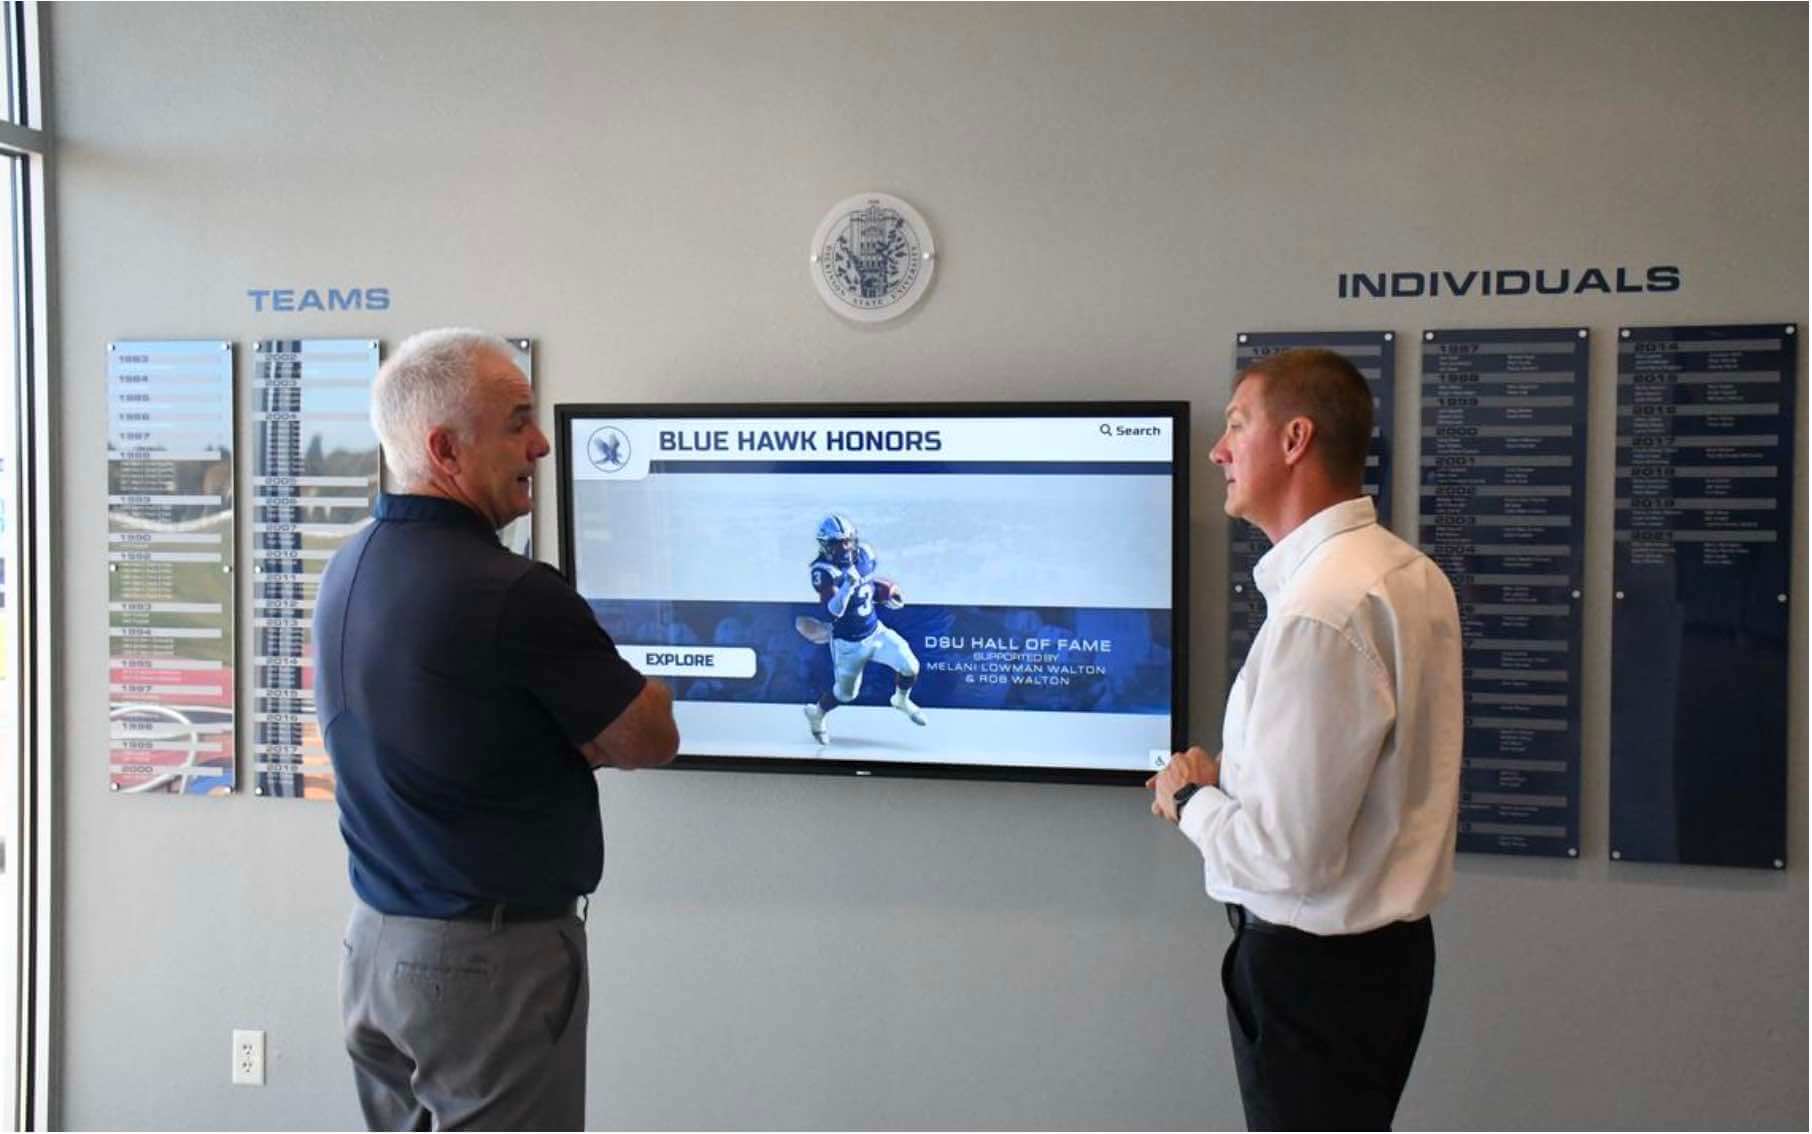
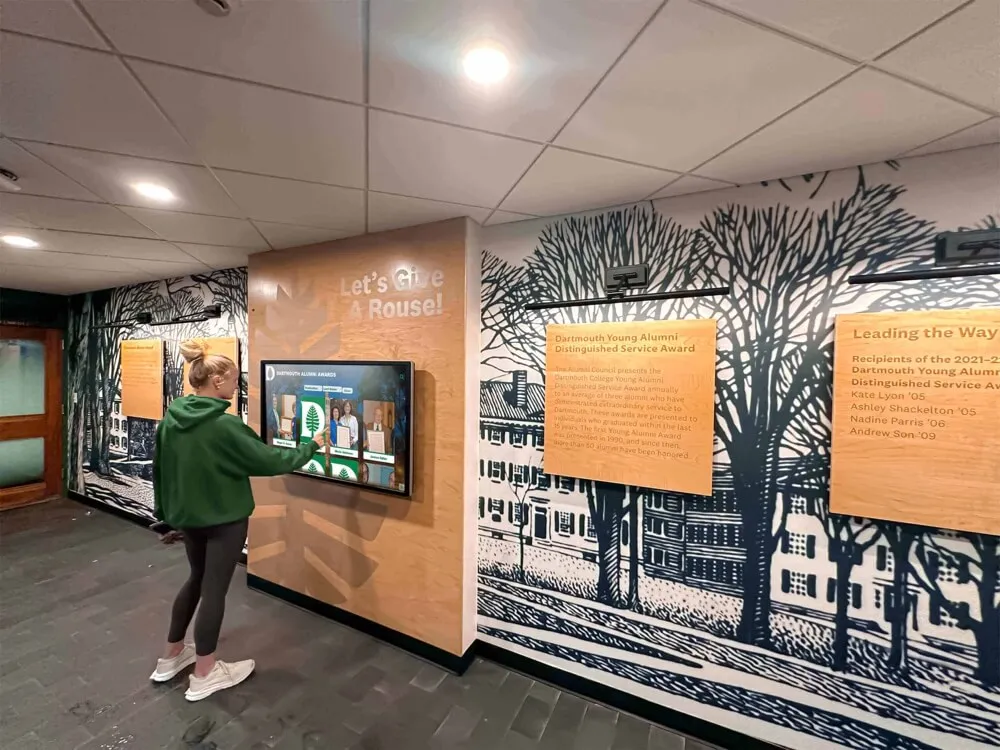
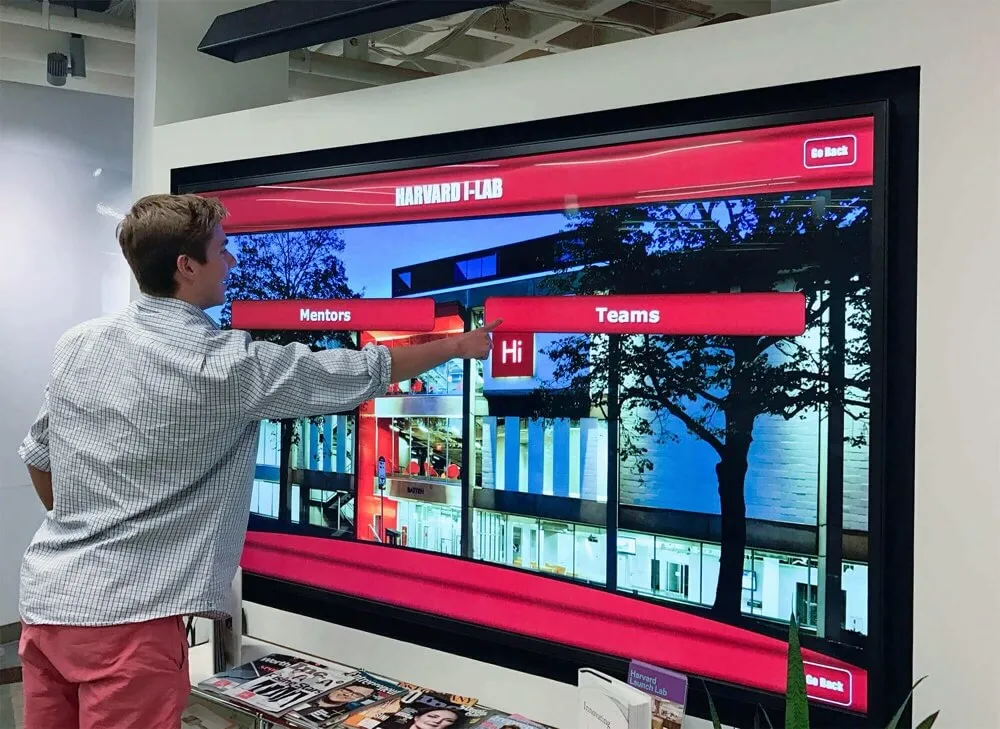
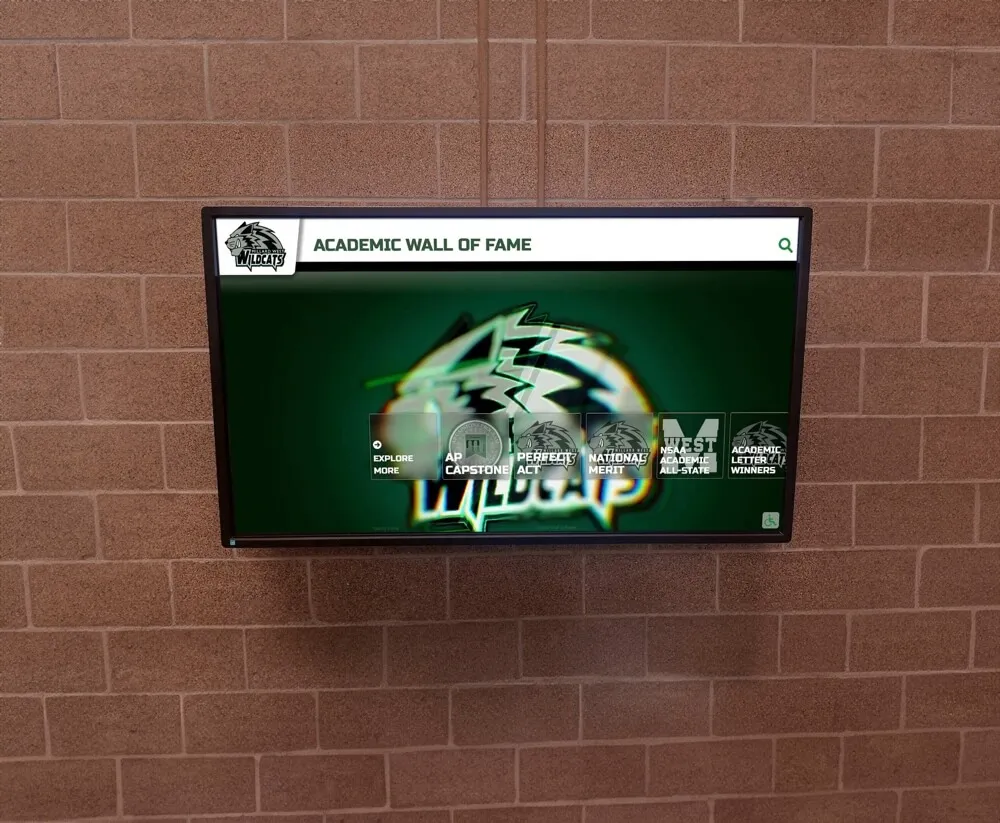
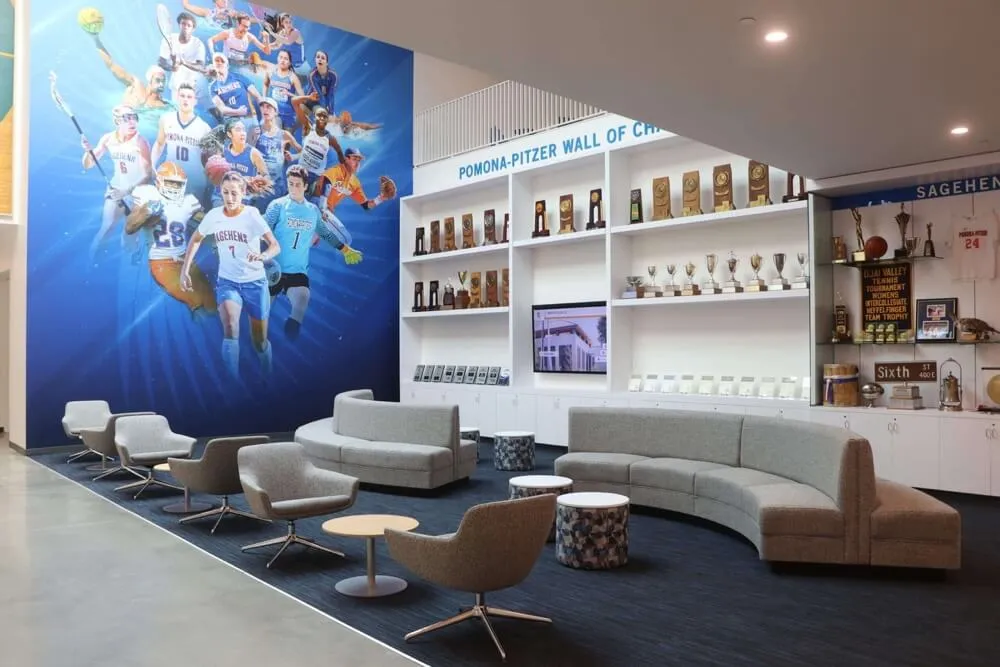
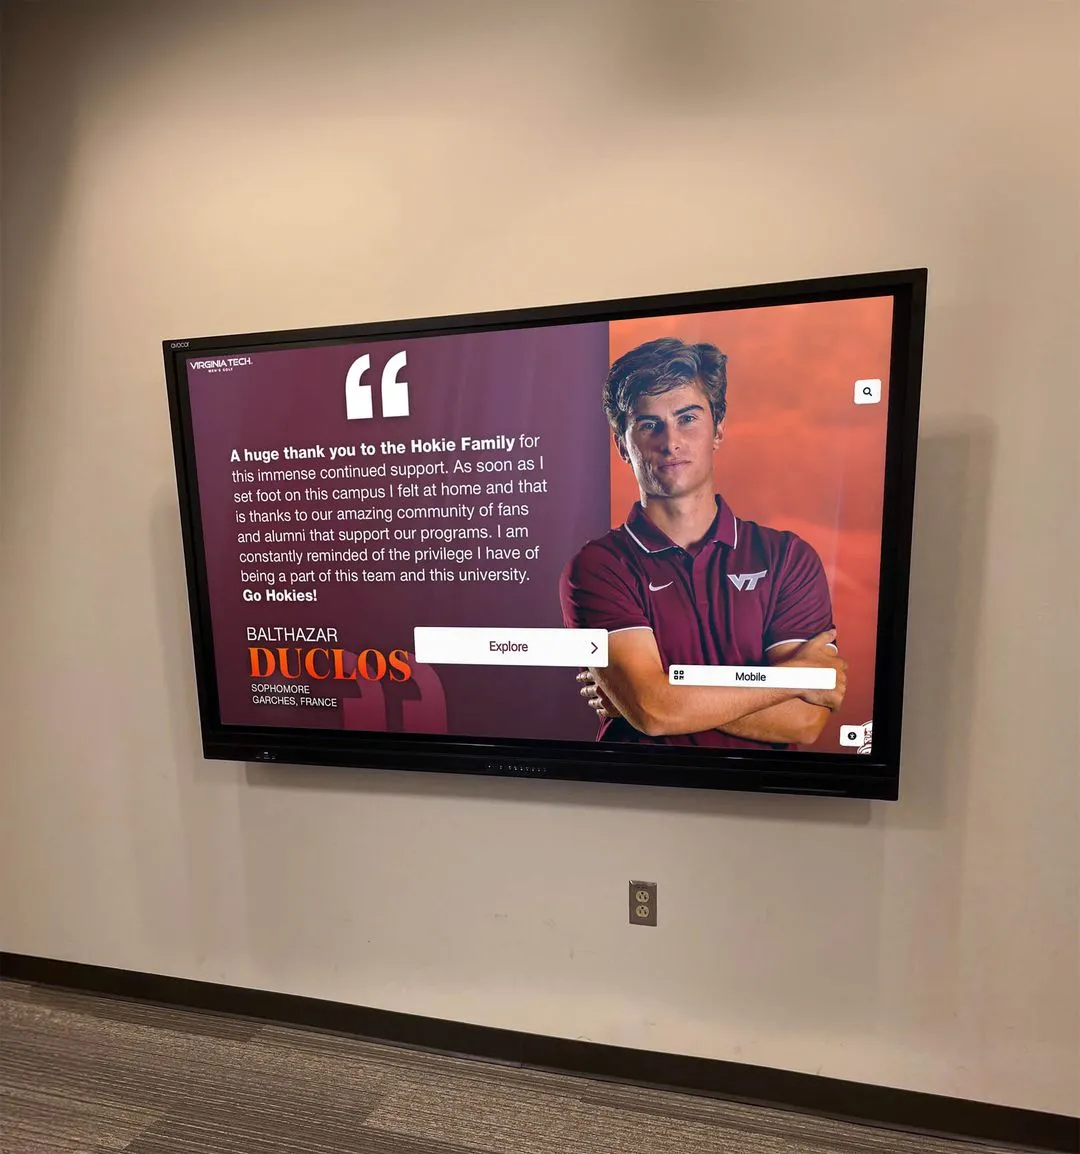
Visitors evaluating a school's digital hall of fame judge the display's credibility before reading a single profile — local dimming artifacts communicate carelessness that no content strategy can overcome
Periodic Local Dimming Test Schedule
Local dimming performance can change after firmware updates, display relocations, or environmental changes that affect the panel’s thermal operating point. Use this schedule to assign testing responsibility and frequency.
| Trigger | Test Scope | Who Runs It | Documentation Required |
|---|---|---|---|
| Pre-acceptance (new or relocated display) | Full 10-step protocol: 4 synthetic images, real sports photo, real video | IT or AV department | Record OSD settings; attach to asset record |
| Post-firmware update | Abbreviated: blooming test, zone uniformity, one sports photo | IT department | Note whether dimming setting survived update |
| Annual maintenance cycle | Abbreviated: blooming, crush, zone uniformity | IT or facilities team | Compare to baseline settings |
| Display relocated to new space | Full protocol in new ambient conditions | IT or AV department | Update asset record with new environment notes |
| After reported user complaint | Full protocol at reported failure zone | IT department | Document symptom, settings, corrective action |
| After AV system reconfiguration | Abbreviated: blooming and video motion test | AV team | Confirm signal chain change did not alter dimming behavior |
Frequently Asked Questions
What is local dimming and which school displays have it?
Local dimming is a technology that divides an LCD panel’s backlight into independently controlled zones, raising the backlight level in zones displaying bright content and lowering it in zones displaying dark content. The result is a higher perceived contrast ratio than a fixed backlight provides. Local dimming is common in commercial-grade displays marketed for education, corporate, and digital signage use—particularly those at price points above entry-level commercial panels. It is not universal: entry-level commercial displays and consumer televisions configured at their standard picture modes may use a simpler global backlight adjustment or no dimming at all. Check the display’s specification sheet under “backlight type” or “local dimming” to confirm whether the feature is present before including this test in your acceptance protocol.
Should I disable local dimming entirely on a school recognition display?
Disabling local dimming is the correct decision when the display cannot pass the blooming and zone uniformity tests at any aggressiveness setting. A display with local dimming disabled will have a lower perceived contrast ratio than a properly configured local dimming implementation, but it will render sports photography and video accurately and without artifacts. The visual quality tradeoff—slightly lower perceived contrast versus visible blooming and zone boundaries—consistently favors disabling local dimming for content libraries that include the high-contrast sports photography and video typical of athletic recognition programs. If the display passes the test at Low aggressiveness, retaining local dimming at that setting is appropriate.
Can local dimming artifacts be fixed in the content or the recognition software?
Content-side adjustments—reducing the brightness of highlights, avoiding large dark backgrounds, or compositing portrait photography against mid-toned backgrounds—can reduce the visibility of local dimming artifacts. These adjustments are workarounds that compromise the original artistic intent of the content and are not appropriate as a substitute for correct display configuration. The recognition software platform does not control display hardware local dimming settings. Address local dimming through the display’s OSD; adjust content only as a last resort when hardware adjustment is insufficient.
How does local dimming interact with HDR content from a recognition platform?
Some recognition platforms output HDR (High Dynamic Range) signals when connected to HDR-capable displays. HDR engagement typically activates the display’s local dimming at a higher aggressiveness than the standard picture mode—it is a feature of HDR’s wider luminance range. If your recognition platform outputs HDR and the display accepts it, the local dimming test must be run with the platform actively connected and HDR engaged. A display that passes local dimming tests with an SDR test signal may fail when HDR is active. Check the display’s HDR local dimming settings separately from its SDR local dimming settings and document both configurations.
Why does blooming look worse on dark lobby walls than it did in the vendor demonstration?
Local dimming blooming is most visible against a visual reference that is darker than the halo itself. In a vendor demonstration room with moderate ambient lighting and light-colored walls, the halo around a bright object on screen competes with the background illumination and becomes less perceptible. In a school lobby with dark walls, a dark floor, and lower ambient light, the same halo appears much more prominently because the eye’s reference point is a darker environment. Always test local dimming in the actual installation environment and under the ambient lighting conditions that correspond to the primary viewing hours.
Is there a difference between local dimming testing for still photos and for video?
Yes, and both tests are necessary. Still-image testing confirms that the display’s dimming zones are sized and configured appropriately for the spatial content in your recognition photography. Video testing adds the temporal dimension: zones must not only position correctly for static content but also respond quickly enough to track content that changes frame by frame. Motion halos—visible trails behind moving bright objects—are a video-only artifact that still-image testing will not reveal. Schools whose recognition programs include game highlights, awards ceremony video, or year-in-review reels should treat the video portion of the local dimming test as mandatory, not optional.
Can we use the recognition software’s built-in preview to check local dimming?
The recognition platform’s interface can reveal severe blooming on content it is actively displaying—if a portrait has a visible halo in the live application, that is diagnostic information. However, the platform cannot perform the systematic, test-pattern-based evaluation needed to establish an acceptance baseline or to compare results across multiple displays. Use dedicated test images and a video clip for the formal acceptance protocol, and use the recognition application to perform a final confirmation after the display is configured.
Recognition Displays That Show Sports Photography the Way It Deserves
Rocket Alumni Solutions builds school recognition platforms designed for the visual demands of athletic archives, hall-of-fame collections, and sports video libraries. Request a demo to see how the platform manages high-contrast sports photography and archived game video on commercial-grade displays — and ask about the display acceptance guidance included with every deployment.
Request a DemoRunning a recognition display local dimming test before accepting any new school display takes 30 to 45 minutes and prevents the three most common high-contrast image quality failures—blooming, highlight crushing, and zone unevenness—from undermining an athletic recognition program’s visual credibility. Test with synthetic patterns to establish a baseline, confirm with real sports photography from your archive, and verify with archived game video before signing acceptance. Configure the display’s local dimming setting to the lowest level that passes all tests—or disable it entirely if no setting passes—document the final configuration, and your recognition display will render every championship photograph and game highlight with the fidelity that the athletes and achievements it honors deserve.