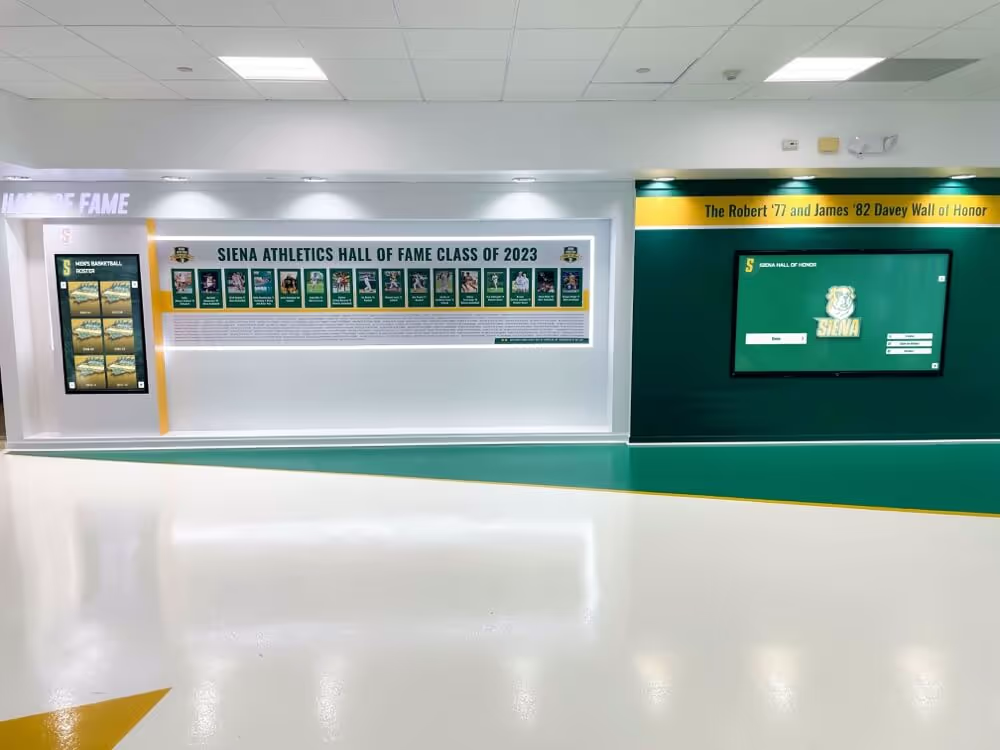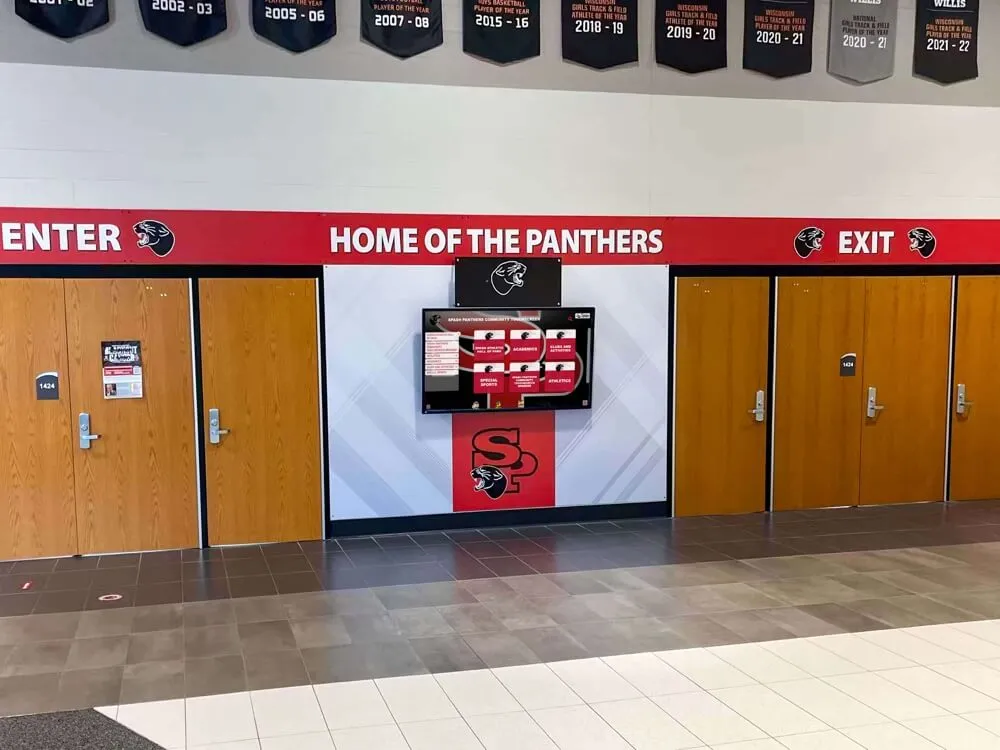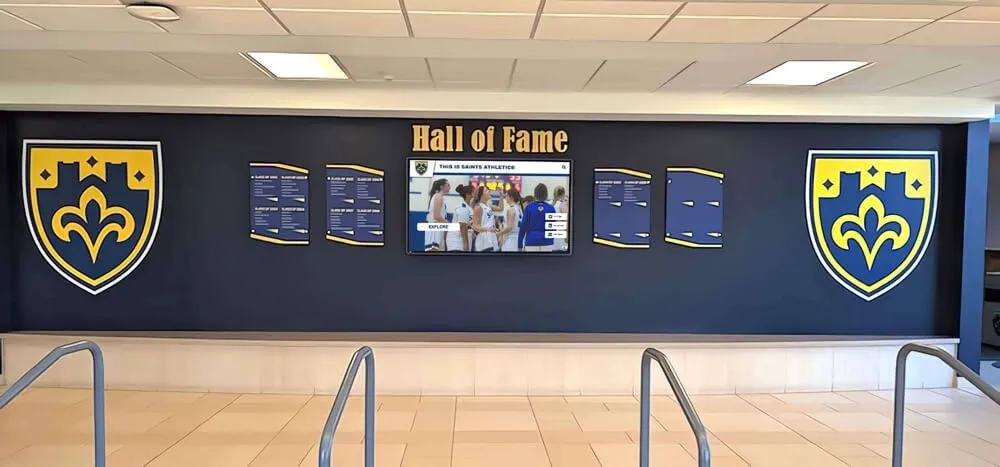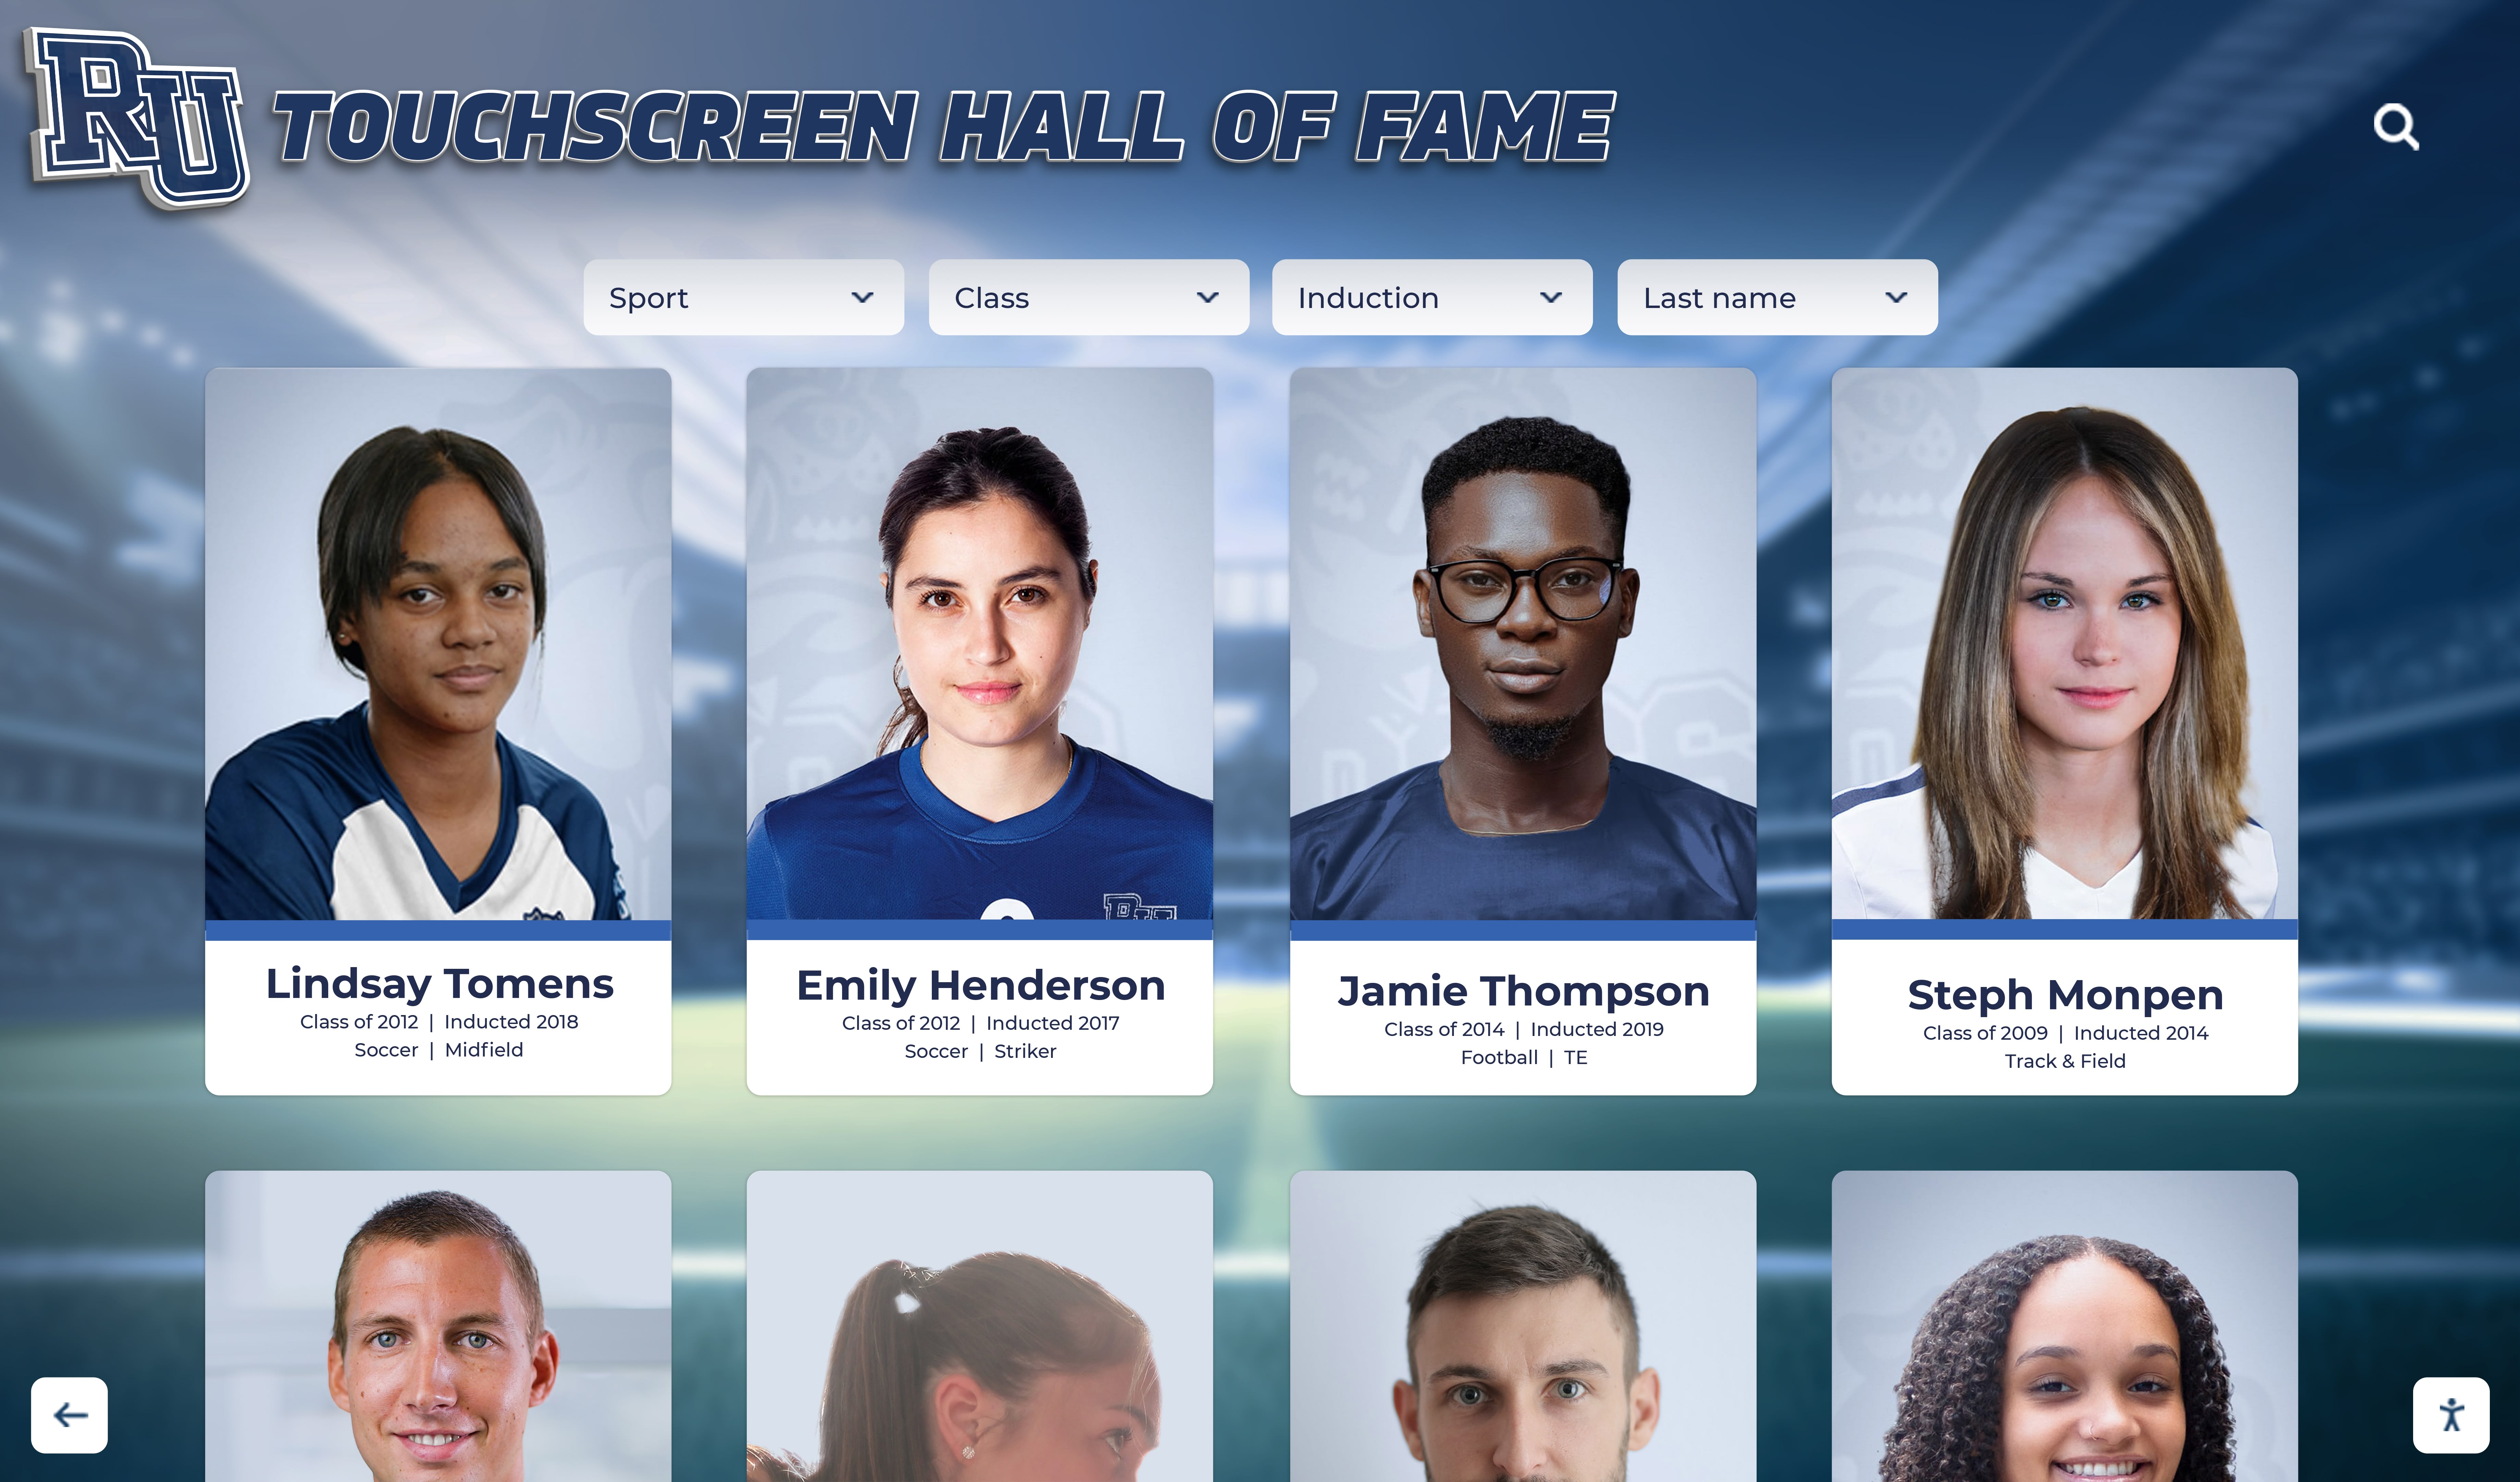




A recognition display moiré pattern test is a structured visual check that school administrators, AV teams, IT staff, and athletic directors run on touchscreens, LED walls, and digital signage panels before accepting them for recognition program use. Moiré is an interference pattern — a rippling, shimmering, or banding artifact — that emerges when two regular grids or dot patterns interact at a mismatched frequency or angle. On a recognition display, moiré appears most visibly in photographs of athletes wearing striped, checkered, or fine-weave uniforms; in scanned newspaper clippings and halftone-printed award certificates; in fine texture backgrounds used in graphic layouts; and against the regular dot pitch of direct-view LED panels. The artifact makes content look amateurish, distracts from the honored individual, and cannot be corrected by the recognition software — it is a display hardware and content-preparation issue that must be caught before the program goes live.
Moiré is context-dependent: a panel that renders a plain portrait cleanly may show severe interference when the same display is asked to render a photo of a 1980s basketball team wearing fine-stripe warm-up jackets, or when the background graphic uses a tight diagonal crosshatch. Testing with representative content from your actual recognition program — not just generic test images — is the only reliable way to identify and address moiré before it becomes a visible quality problem in front of students, families, and alumni.
Quick answer: To run a recognition display moiré pattern test, prepare three to five representative images from your recognition program that include fine stripes, checkered patterns, halftone prints, and tight texture backgrounds. Display each image fullscreen on the panel at its intended installation distance and look for shimmering, rippling, or diagonal banding that does not appear in the original image. If moiré is visible, test whether scaling the image by 5–10 percent eliminates the artifact — a size change that resolves moiré confirms the issue is a frequency mismatch between the content and the display’s pixel grid. Address the problem through image resampling, content redesign, or display scaling settings. Document all affected content types before accepting the display.

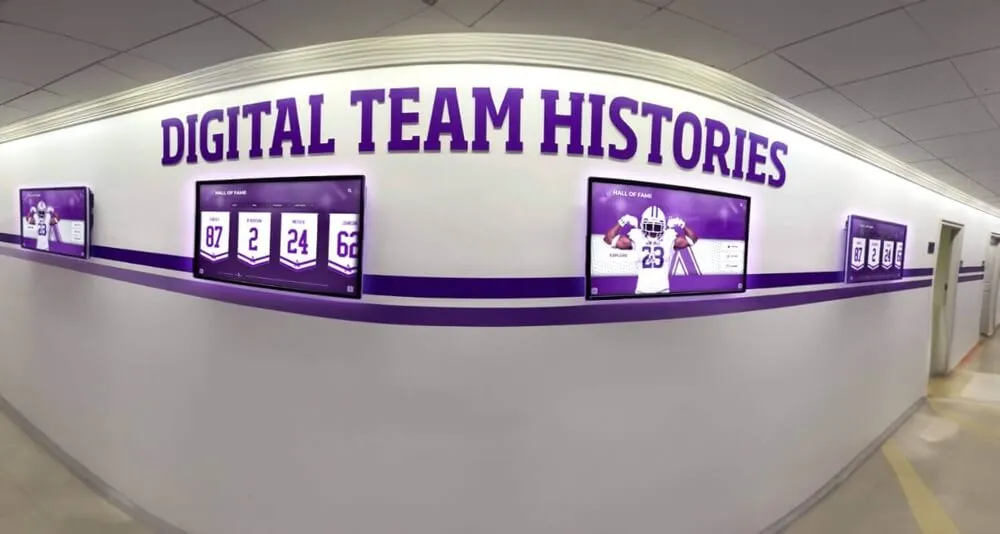
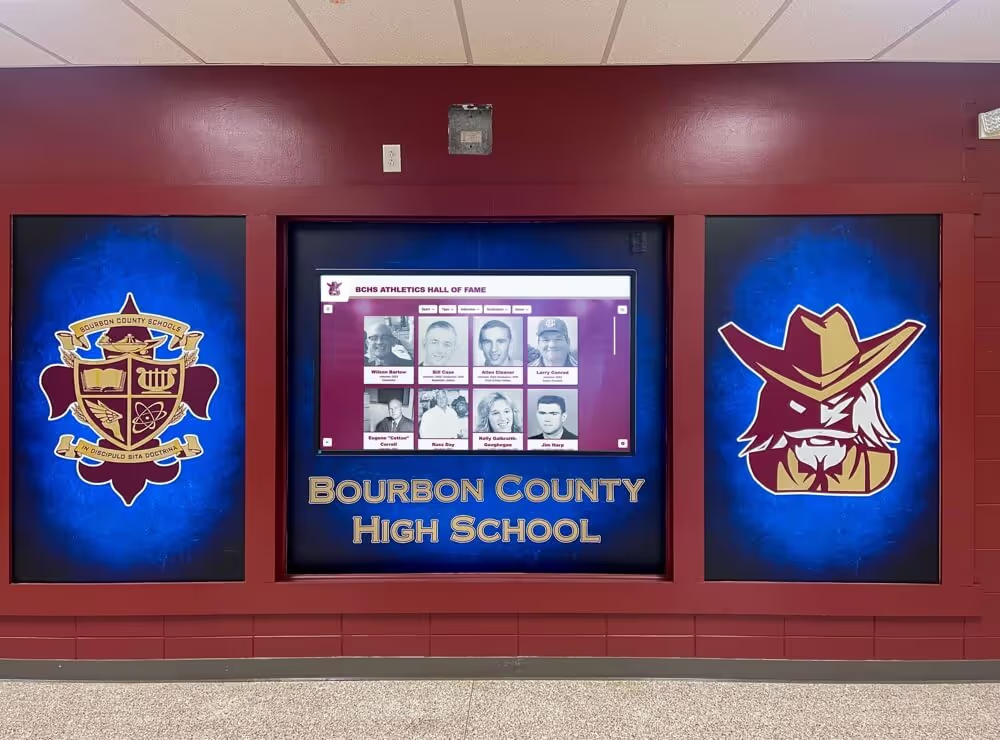
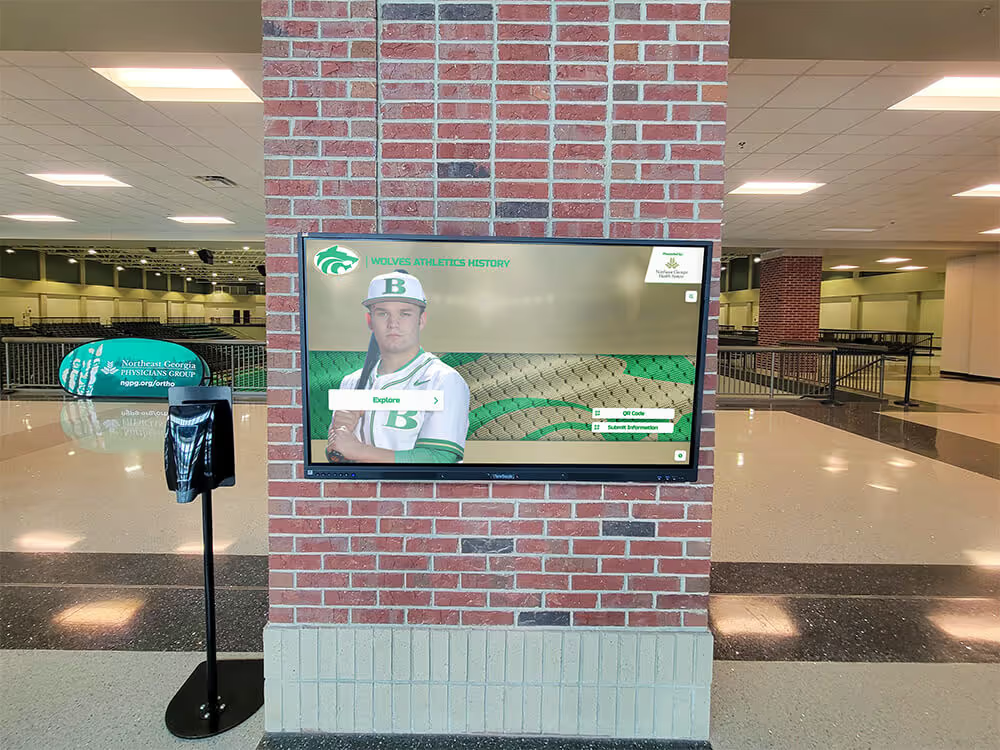
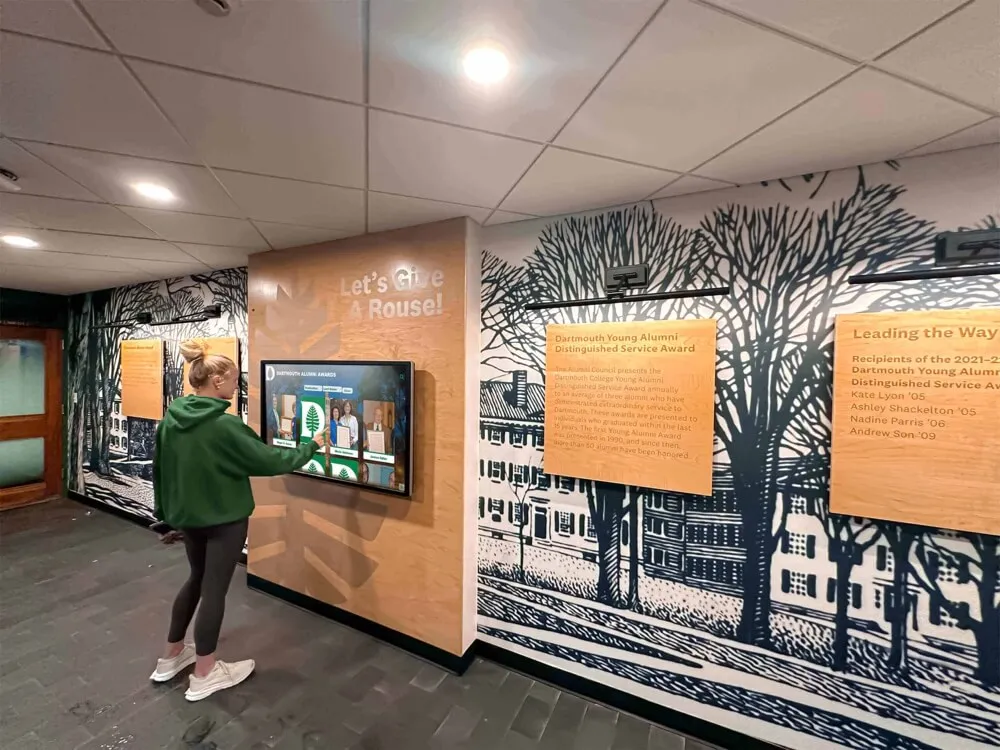
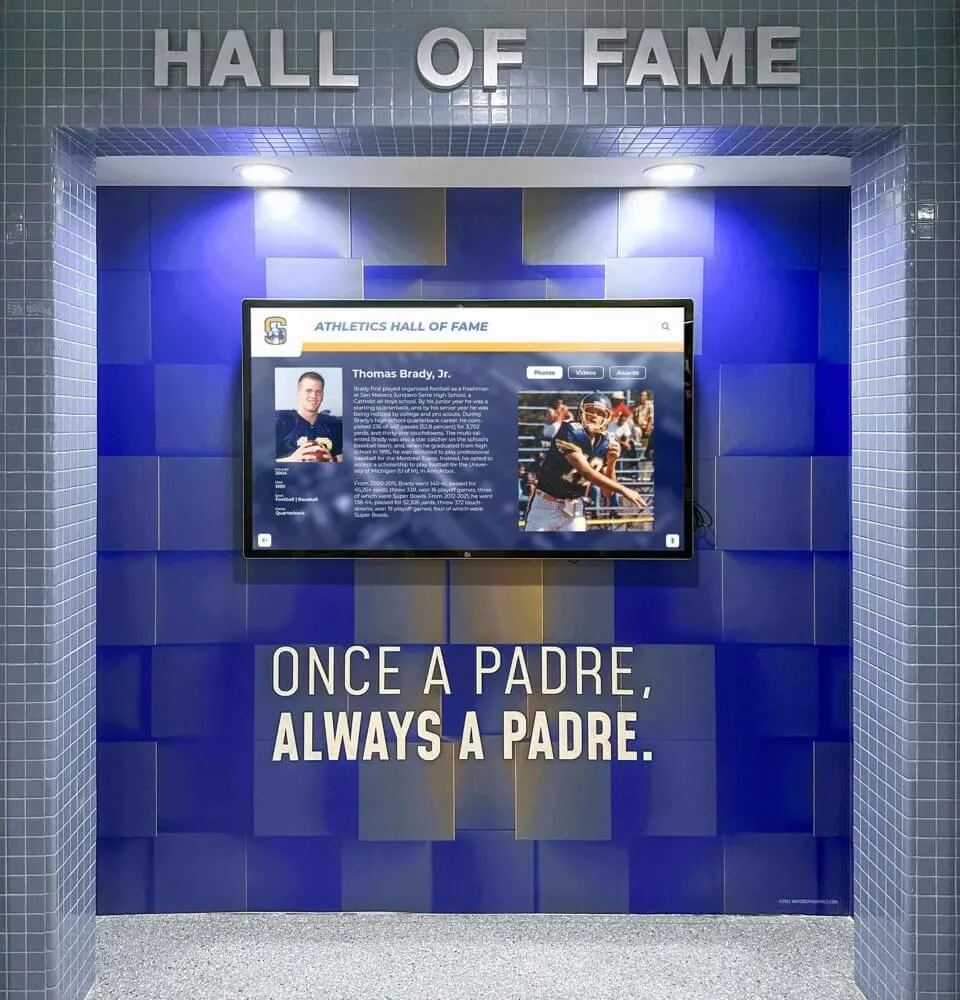
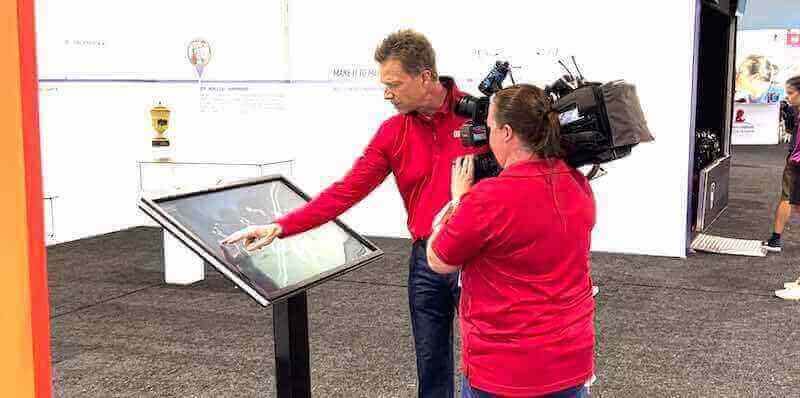
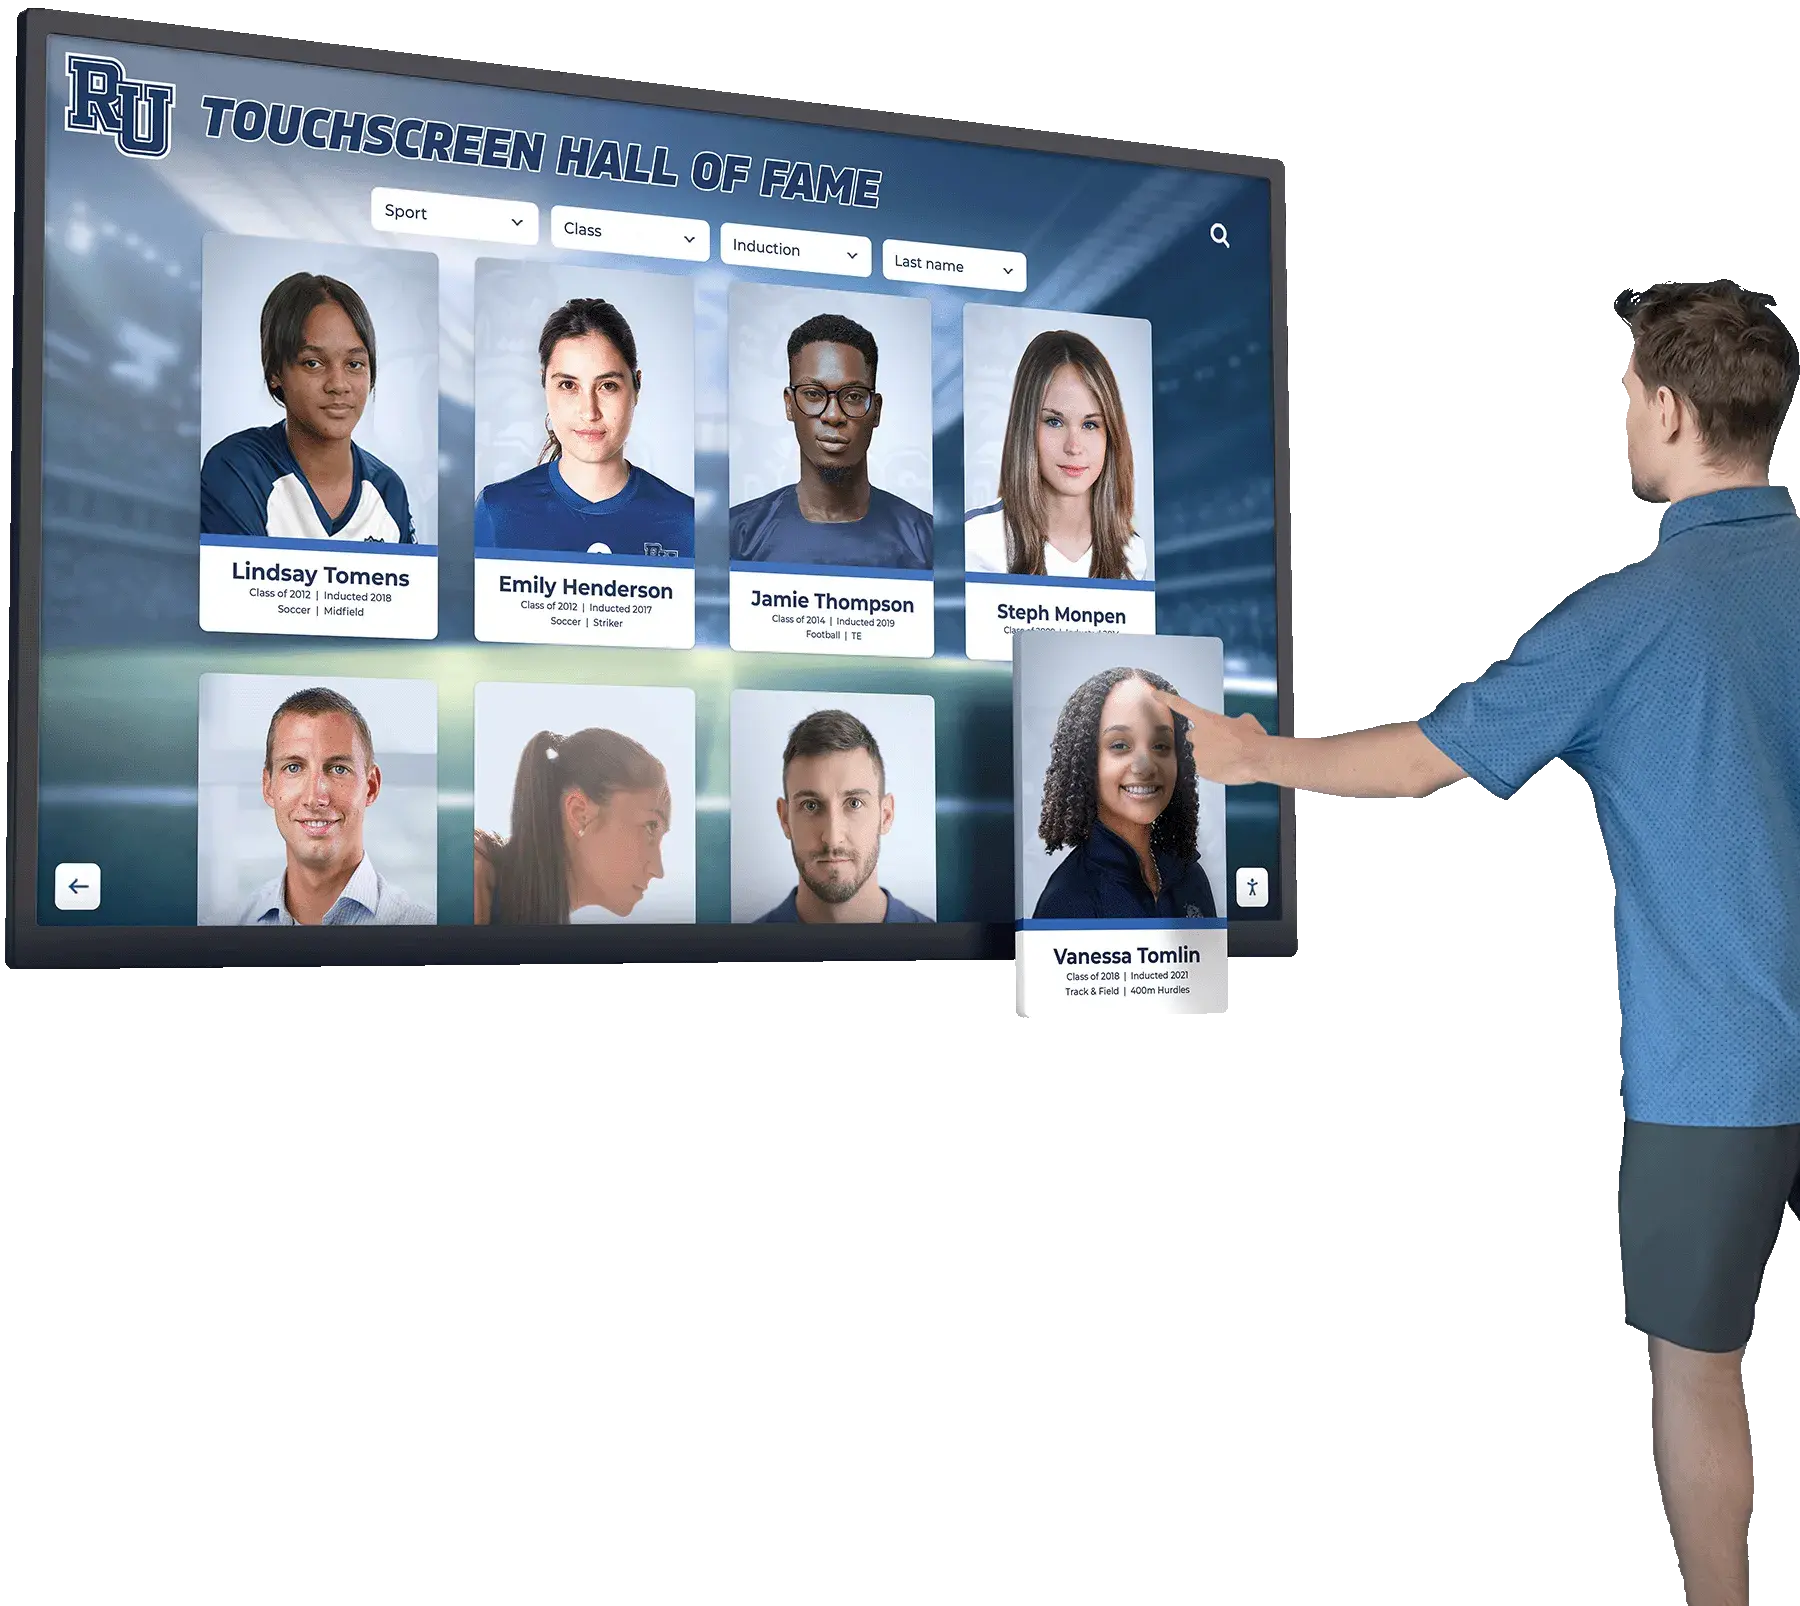
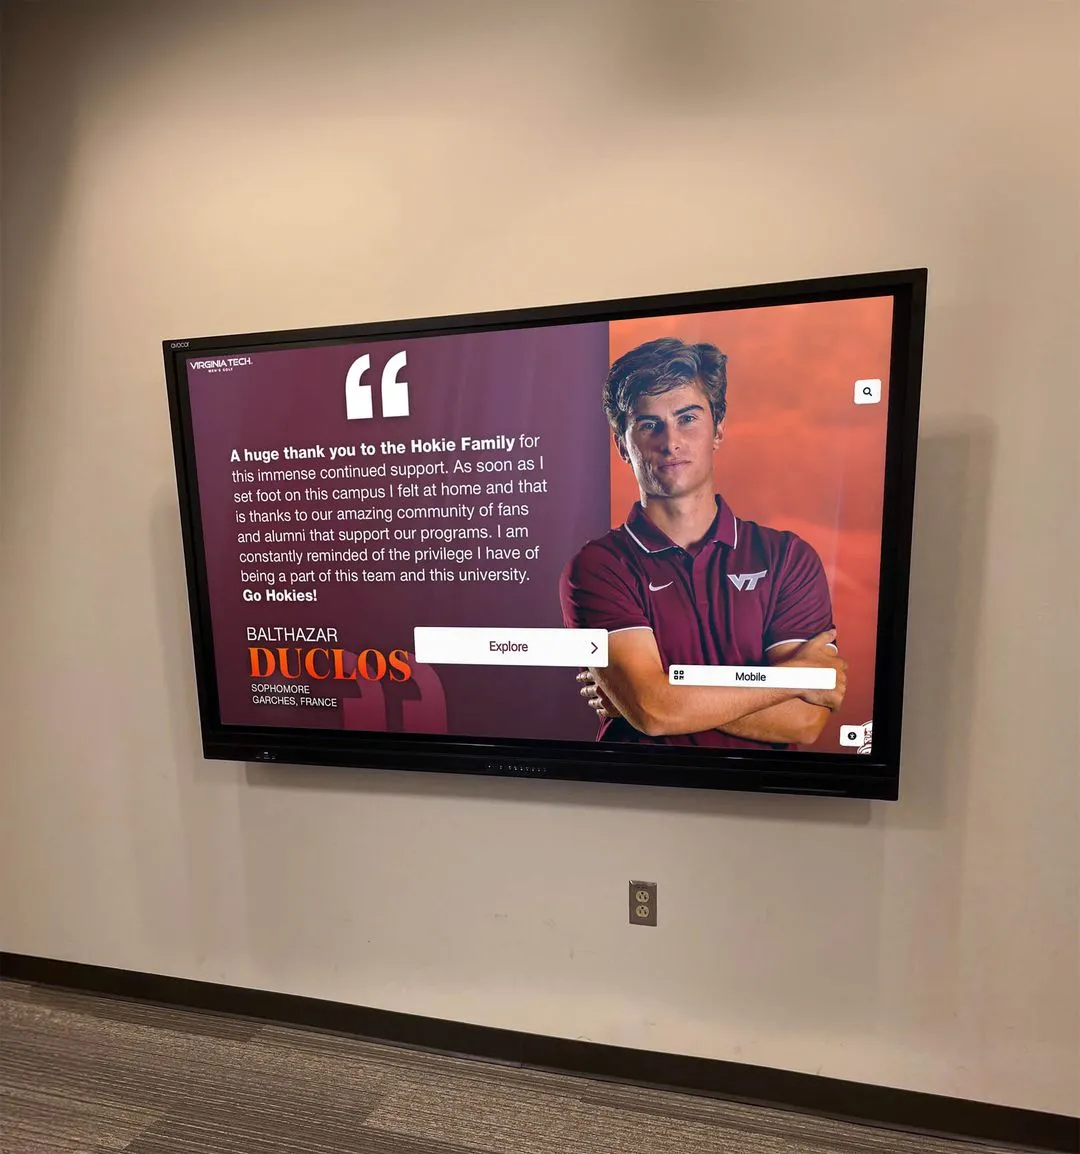
Athlete portrait cards displaying fine uniform textures on a touchscreen recognition panel are among the most common sources of moiré — test with actual program photography before accepting any display
Why Moiré Matters for School Recognition Displays
School recognition programs depend on photographic fidelity to convey respect for honored athletes, scholars, and community members. A moiré artifact on a varsity basketball team photograph — where the players’ fine-stripe warm-up jackets produce a shimmering interference wave across the entire image — draws a visitor’s eye away from the faces and names the program intends to highlight. The artifact communicates carelessness even when the root cause is a technical mismatch between image resolution and display pixel pitch. Visitors do not diagnose moiré; they simply notice that the images look wrong.
The content categories most vulnerable to moiré in school recognition programs include:
- Athletic photography with fine-pattern uniforms. Baseball pinstripes, soccer jersey mesh, basketball warm-up stripes, and swimming team Lycra prints all contain regular spatial frequencies that interact with display pixel pitch. Photographs taken with consumer cameras at typical event distances often sample these patterns at exactly the wrong resolution for common display sizes.
- Scanned newspaper clippings and halftone print. Athletic award announcements printed in school newspapers, district publications, or local press use halftone dot patterns that create strong moiré when scanned and displayed at anything other than a carefully controlled resolution. Schools archiving decades of athletic achievement frequently hold hundreds of such clippings.
- Award certificate reproductions. Formal recognition certificates often feature fine engraved borders, hatched background fills, and patterned seals that are visually indistinguishable from engineered moiré generators at typical display resolutions.
- Background graphics with tight textures. Content designers who use carbon fiber patterns, linen textures, fine diagonal crosshatches, or tight dot screens as layout backgrounds frequently discover moiré only after the content is displayed on the actual recognition panel — not in the design application.
- Direct-view LED backgrounds. Recognition displays that use a direct-view LED panel as a background element, or schools projecting content onto an LED wall during award ceremonies, face moiré from the LED’s physical dot pitch interacting with camera sensors, recorded video, or on-screen graphic patterns.
For athletic programs building a history display — including archived team rosters with decades of uniform photography — the moiré risk across the content library can be significant. Schools developing playoff sports recognition displays that include archival team photography should inventory their image collection for high-risk content before finalizing display specifications.
Understanding Moiré: The Frequency Mismatch Behind the Artifact
Moiré forms when two periodic grids — the pixel grid of the display and the spatial frequency of a pattern in the image — overlap at a frequency difference that falls within the visible range. The resulting interference pattern has its own visible frequency, often lower and more prominent than either source pattern, which is why moiré is perceptible even when the original uniform stripe is too fine to resolve clearly at viewing distance.
| Source Pattern | Mechanism | Typical Appearance on Display |
|---|---|---|
| Fine-stripe athletic uniforms | Stripe frequency near display pixel pitch | Horizontal or diagonal color banding, shimmering |
| Halftone newspaper scans | Halftone dot pitch aliasing with pixel grid | Rotating interference bands, color moiré in color halftones |
| Certificate engraving / hatching | Diagonal line frequency interaction | Chevron or herringbone shimmer across entire image area |
| Tight texture backgrounds (linen, carbon fiber) | Texture frequency near or at Nyquist limit of display | Waving, crawling artifact across background regions |
| Direct-view LED dot pitch | LED pixel pitch beating against content pixel pitch | Low-frequency banding at fixed intervals across LED area |
| Woven fabric in banners / backdrops | Fabric weave frequency aliasing | Irregular shimmer in background areas of photographs |
The key diagnostic insight is that moiré changes with viewing angle, image scaling, and display resolution. If an artifact disappears when you scale the image slightly, move your viewing position, or zoom the content by a small percentage, it is almost certainly moiré. If the artifact persists regardless of scale and angle, the problem may instead be a compression artifact, a cable bandwidth issue, or a display panel defect — each requiring a different resolution.
Step-by-Step: Running the Recognition Display Moiré Pattern Test
This procedure requires no specialized hardware beyond a laptop, tablet, or USB drive loaded with representative content from your recognition program. Allow 30 to 45 minutes for a thorough test, more if your image library includes significant archival content.
Assemble a test content set before arriving at the display. Select 8 to 12 images from your actual recognition program that span the high-risk categories: at least one photograph of athletes in patterned uniforms, one scanned newspaper clipping, one certificate or formal award document, one layout with a textured graphic background, and one or two plain portrait photographs for baseline comparison. Save all images at their intended display resolution — do not scale them in the test folder.
Set the display to its production picture mode before testing. Moiré behavior can change between picture modes because some modes apply sharpening or noise reduction that affects how fine patterns are rendered. Test in the same mode the display will use during normal recognition program operation — typically Standard or Custom mode with sharpening set to a moderate level. Disable any “Clarity” or “Super Resolution” post-processing that artificially enhances fine detail.
Display each image fullscreen at the intended viewing distance. Stand at the actual visitor viewing position — 3 to 6 feet for a lobby kiosk, 6 to 15 feet for a wall-mounted display. Observe each image for approximately 10 seconds without moving. Moiré in fine patterns often becomes more visible as your eye stabilizes on the image.
Move your viewing position laterally and note whether the artifact changes. Genuine moiré shifts its phase as viewing angle changes — the bands appear to crawl or rotate. An artifact that remains completely static as you shift position is more likely a panel defect or compression artifact than moiré.
Test the scaling diagnostic. For any image showing suspected moiré, open the image editor on your laptop and resize the image by 5 percent in either direction, then re-display it fullscreen. If the moiré disappears or significantly changes at a slightly different scale, you have confirmed a frequency mismatch — the artifact is genuine moiré. If the artifact persists at multiple scales, investigate other causes.
Test a second version of the highest-risk images with a slight blur applied. In your image editor, apply a gentle Gaussian blur of 0.5 to 1.0 pixel radius to the most affected photographs and re-display them. Blurring removes the high-frequency content that drives moiré. If the blur eliminates the artifact without unacceptably degrading the image at viewing distance, you have a viable remediation path — mild anti-aliasing or resampling during content preparation.
Test background graphic content with its full layout. Do not test background textures in isolation — moiré risk in a layout depends on how the texture interacts with portrait images, text, and border elements overlaid on top of it. Load a complete recognition layout template and evaluate the full composition, not just the background in isolation.
Document every affected content type and its severity. Record which image categories produced visible moiré, the approximate severity (subtle shimmer vs. prominent banding), whether the scaling diagnostic confirmed moiré, and whether the blur test suggested a viable fix. This documentation is your basis for deciding whether to accept the display as-is, request a display specification change, or adjust your content preparation workflow.
Re-test after applying any display-side corrections. If the display offers a sharpness or detail enhancement setting that worsens moiré, reduce it and retest. Some commercial-grade displays also offer a “Film” or “Cinema” picture mode with reduced detail enhancement that can lower moiré severity on fine-pattern content.
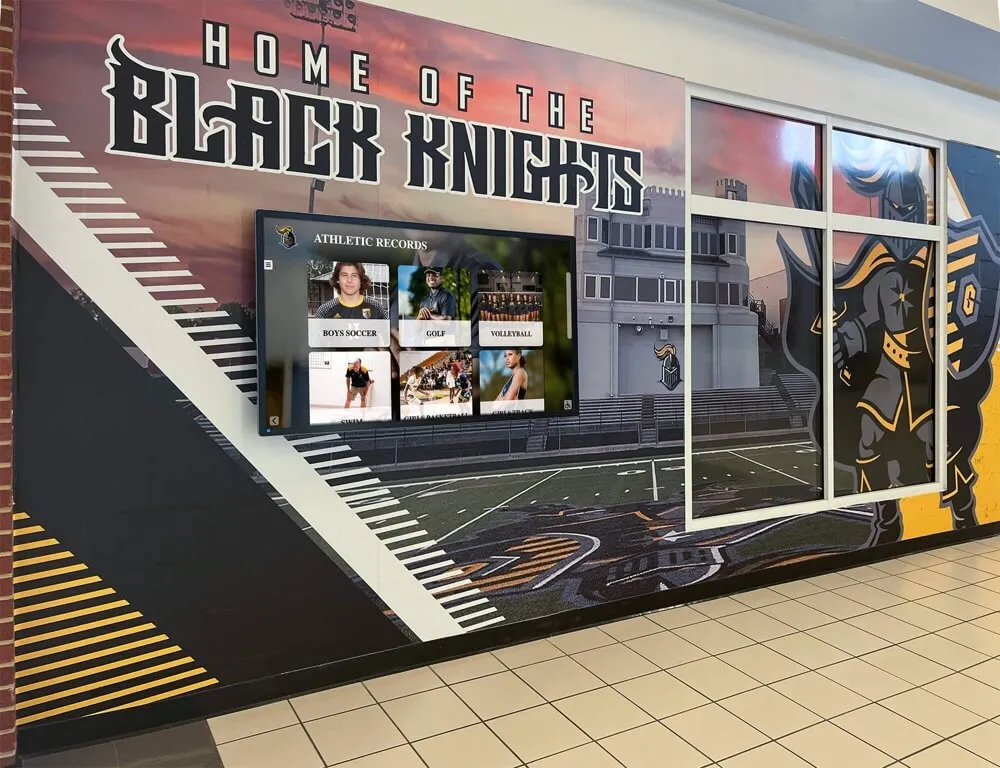
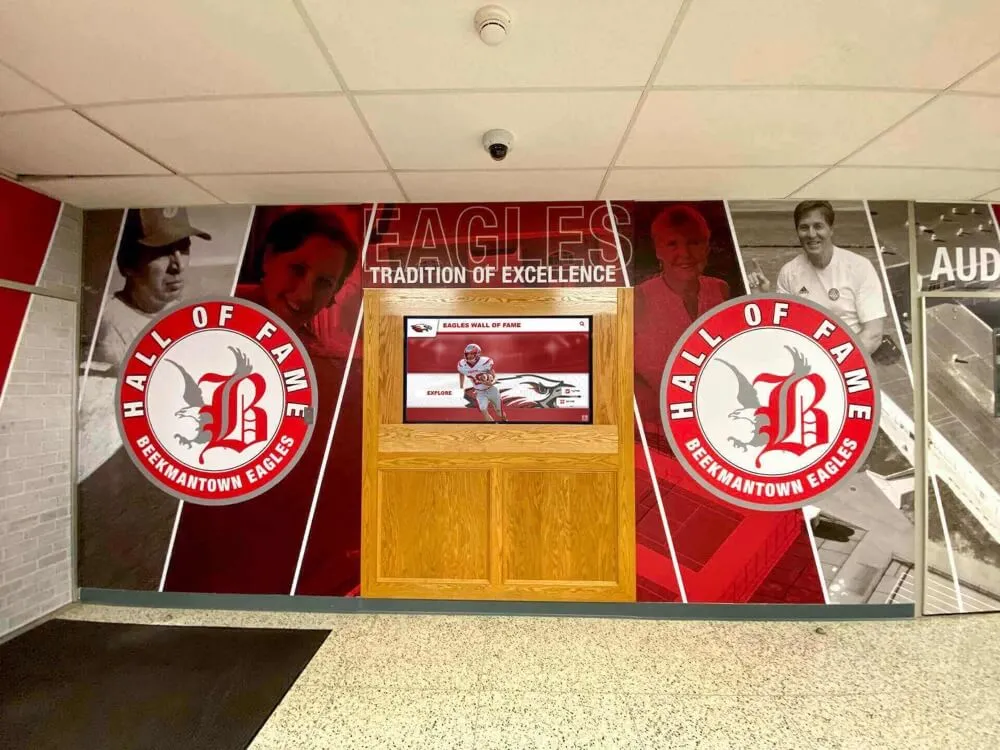
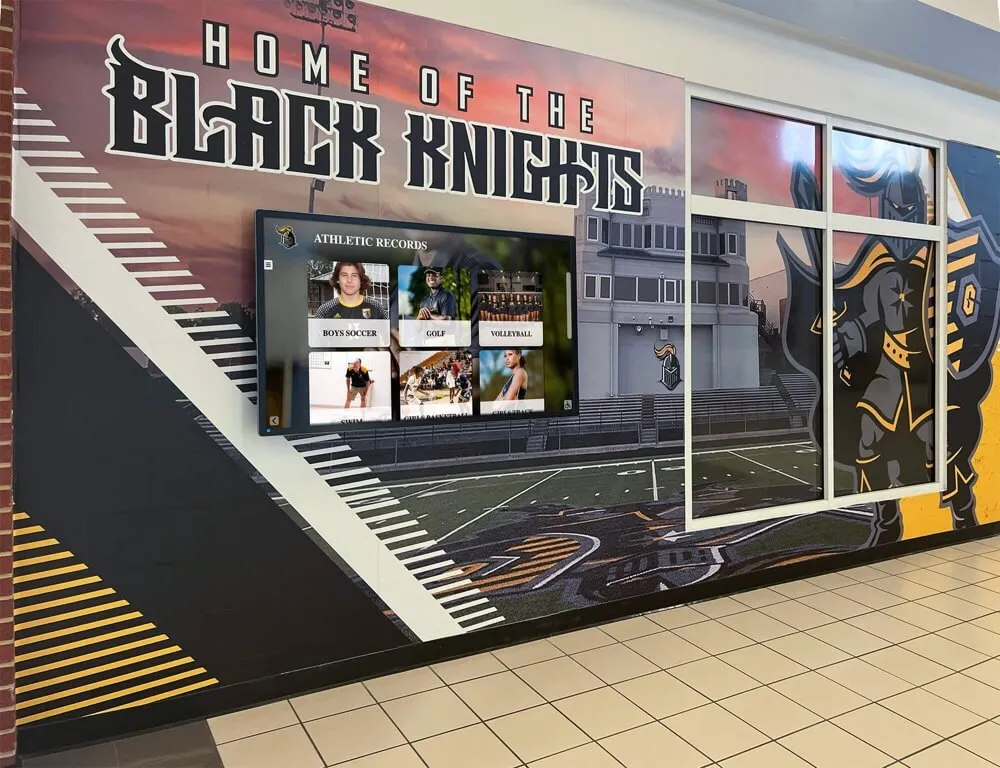
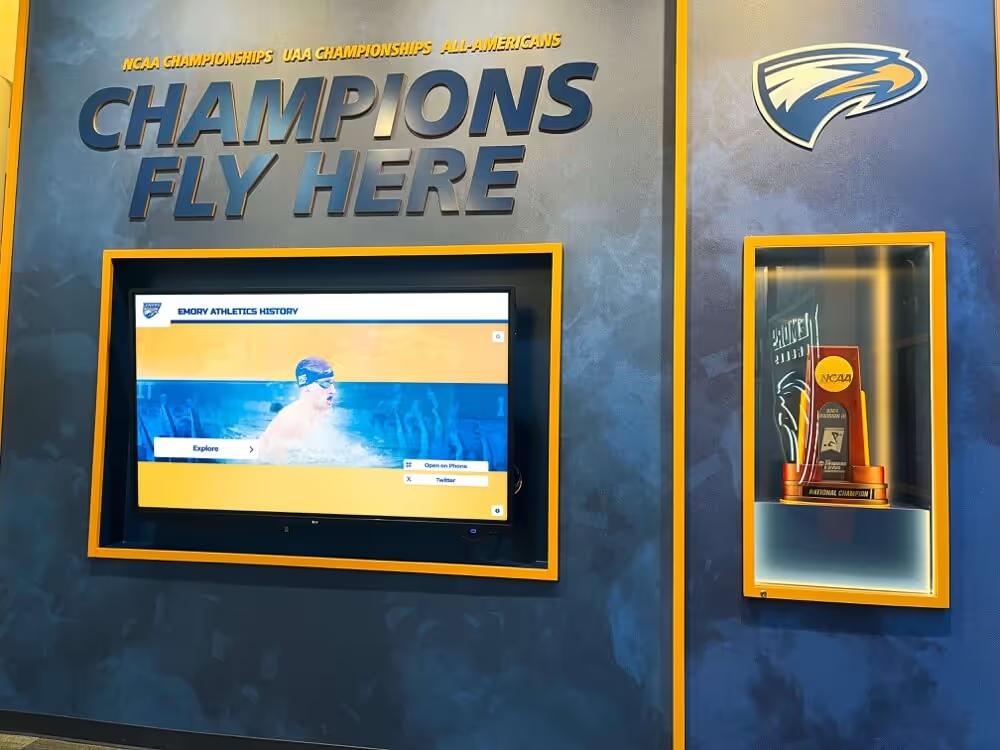
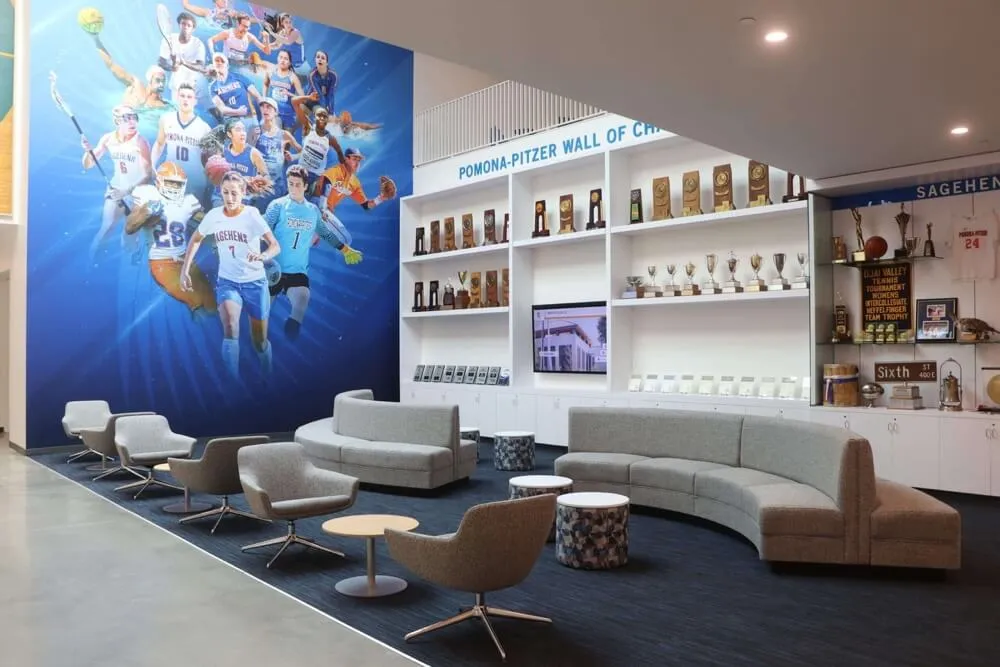
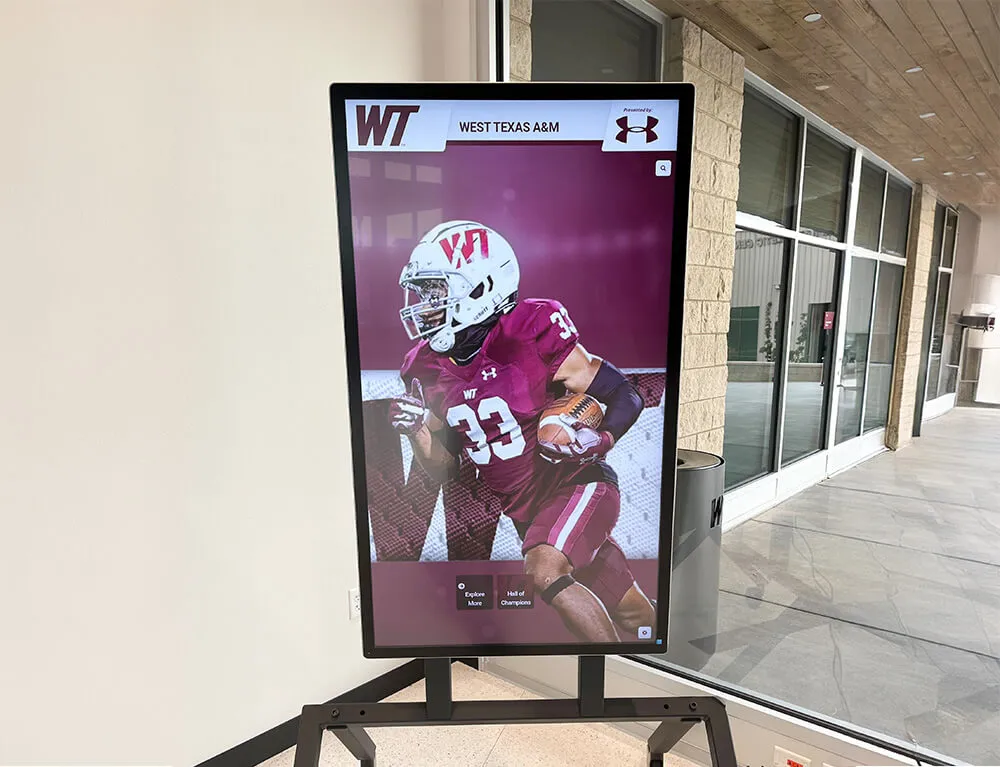
Archival athletic records displays often include decades of team photography with fine-stripe uniforms — inventory your image library for moiré risk before accepting the display installation
Moiré Risk by Recognition Content Type
Use this table to prioritize which content to include in your test set and to assess the overall moiré risk level for your recognition program.
| Content Type | Moiré Risk Level | Primary Risk Factor | Recommended Test |
|---|---|---|---|
| Athlete portraits in solid-color uniforms | Low | Minimal pattern content | Baseline check — expect clean render |
| Athlete portraits in fine-stripe uniforms | High | Stripe frequency near pixel pitch | Required test image — scale diagnostic mandatory |
| Team photographs from 1970s–1990s | High | Film grain + fine-pattern uniforms + halftone printing if scanned from print | Test scanned version; compare to digital original if available |
| Scanned newspaper clippings | Very High | Halftone dot pitch aliasing | Test before including any scanned print in library |
| Award certificates with engraved borders | Moderate–High | Fine hatching and line patterns | Test at full display resolution |
| Background textures (linen, carbon fiber, mesh) | High | Texture frequency near Nyquist limit | Test full layout with texture; blurred alternative ready |
| Plain portrait backgrounds (solid, gradient) | Low | No periodic pattern | Baseline only; expect no moiré |
| Graphic scoreboards and record boards | Low–Moderate | Only if fine grid lines used | Check grid line weight at display resolution |
| Direct-view LED panel content | Moderate | LED dot pitch beating against content | Test at production LED pitch and viewing distance |
| Photo montages with varied uniform types | High | Multiple pattern frequencies in one composition | Full-composition test required |
Common Moiré Failures in School Recognition Contexts
The “looks fine in the design app” problem. Design tools like Photoshop and Canva render images at screen resolution on a monitor — a different pixel pitch, subpixel rendering, and zoom level than the target recognition display. A background texture that appears clean in the layout tool may produce strong moiré on a 55-inch 1080p lobby display because the relationship between image pixels and physical display pixels is completely different. There is no substitute for testing the final content on the actual installation display.
Scanned historical archives without anti-aliasing. Schools digitizing decades of athletic recognition records for a hall-of-fame program often scan printed materials at 300 DPI and import them directly into the recognition platform without any post-processing. Scanned halftone prints viewed at 300 DPI on a modern display almost always produce moiré from the halftone dot grid. A resampling step — reducing the scan to 96 DPI with bicubic resampling, or applying a descreen filter before import — eliminates the artifact. For schools building academic recognition programs that include decades of honor-roll print records alongside athletic photography, establishing a scanning and resampling workflow before import is essential.
Fine-line borders on digital award certificates. Many school recognition programs display digital replicas of physical award certificates. Certificates commonly feature engraved or printed borders with hairline rules, crosshatch fills, or decorative engraving patterns. At display resolutions below the original print resolution of the certificate, these fine elements alias against the pixel grid and produce moiré. The fix is either to replace fine-line borders with stroke weights of at least 2 pixels at display resolution, or to export the certificate at 2× resolution and let the display scale it down, which applies natural anti-aliasing.
LED background walls in gymnasium ceremony setups. Schools that use a direct-view LED panel as the visual backdrop during award ceremonies and then photograph or video-record the event face a compound moiré problem: the LED dot pitch creates moiré in recorded footage, and the fine-pattern uniforms of students standing in front of the LED create a second layer of moiré from their interaction with the camera sensor. This is separate from the recognition display moiré problem and affects all video content captured against an LED background. Awareness of this issue helps event planners choose appropriate camera settings and post-processing workflows for archived ceremony footage.
Sharpening settings amplifying borderline moiré. Commercial-grade displays often ship with sharpness or detail enhancement set to moderate or high to appear impressive during demonstration. These settings amplify edge contrast and fine detail — which also amplifies the aliasing that generates moiré. Reducing sharpness from 50 to 30 on a 0–100 scale can eliminate moiré that appears severe at factory settings without perceptibly degrading portrait quality at typical viewing distances.
Moiré Mitigation Options
When the moiré test reveals problematic content, the resolution falls into three categories: content-side remediation, display-side adjustment, and content replacement. Use this table to select the appropriate approach.
| Mitigation Approach | What It Does | When to Use | Limitation |
|---|---|---|---|
| Resample image at display-native resolution | Eliminates frequency mismatch by aligning image pixels to display pixels | Best for digital originals where pixel-perfect scaling is possible | Requires knowing exact display resolution and scaling factor |
| Apply Gaussian blur (0.5–1.0 px radius) | Removes high-frequency content that drives moiré | Good for scanned prints and historical photography | May soften fine detail; evaluate at viewing distance |
| Apply descreen filter to halftone scans | Removes halftone dot pattern before display scaling | Required for scanned newspaper clippings and older print awards | Dedicated descreen software or Photoshop filter needed |
| Reduce display sharpness / detail enhancement | Reduces the amplification of aliasing artifacts | Quick adjustment if sharpness is set high; no content changes required | May reduce apparent sharpness of all content, not just affected images |
| Replace fine-texture background with solid or gradient | Eliminates texture as a moiré source entirely | For background graphics where texture is decorative, not essential | Design change required; may not match brand template |
| Scale image 5–10% to shift frequency relationship | Changes the ratio of image to display pixels, often eliminating the interference | Effective when a small size change resolves the artifact | Changes image dimensions; may require layout adjustment |
| Use higher-resolution source assets | Provides more pixels than the display can show, allowing natural anti-aliasing in scaling | For new photography and graphics going forward | Historical photography may not have high-res originals |
Connecting the Moiré Test to Your Full Recognition Display Acceptance Protocol
The moiré pattern test is one visual quality check among several that should be part of every school recognition display acceptance procedure. It operates on a different failure mode from other tests and cannot be replaced by them:
A backlight uniformity and black level review helps establish the display’s tonal accuracy baseline but does not catch moiré, which is a spatial frequency artifact unrelated to luminance calibration.
Schools managing veteran and military recognition walls frequently include historical military photographs with fine-pattern dress uniforms — among the highest-risk content for moiré on recognition displays. Including a set of representative military portrait photographs in the acceptance test is particularly important for these programs.
Recognition programs that include employee and community recognition alongside athletic honors also expand the universe of high-risk content: formal business attire with pinstripe patterns, uniform shirts with embroidered logos, and award plaques with engraved surfaces all appear in this content category.
Schools monitoring the long-term data quality of their recognition archives — including athletic award data integrity and historical record completeness — should add a moiré flag to the content QA workflow so that newly imported historical images are evaluated for display artifacts before they appear in front of students and visitors.
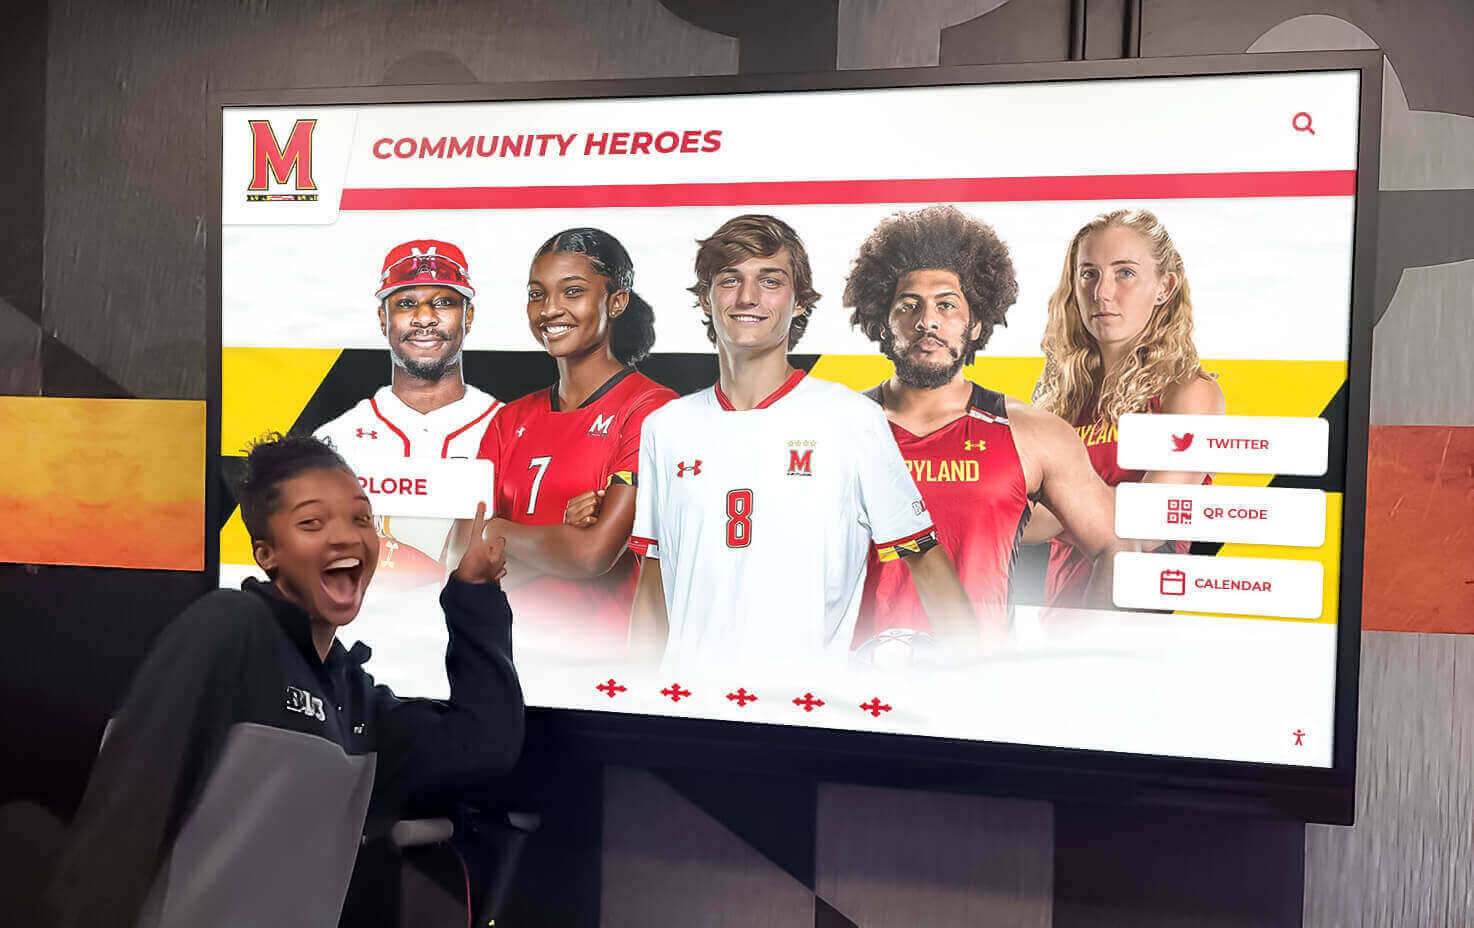
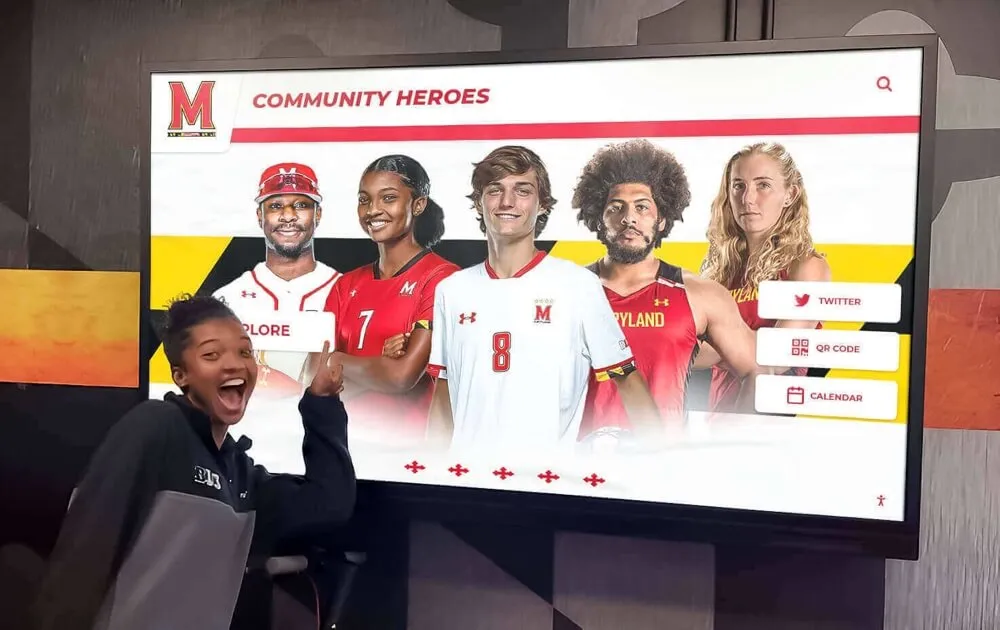
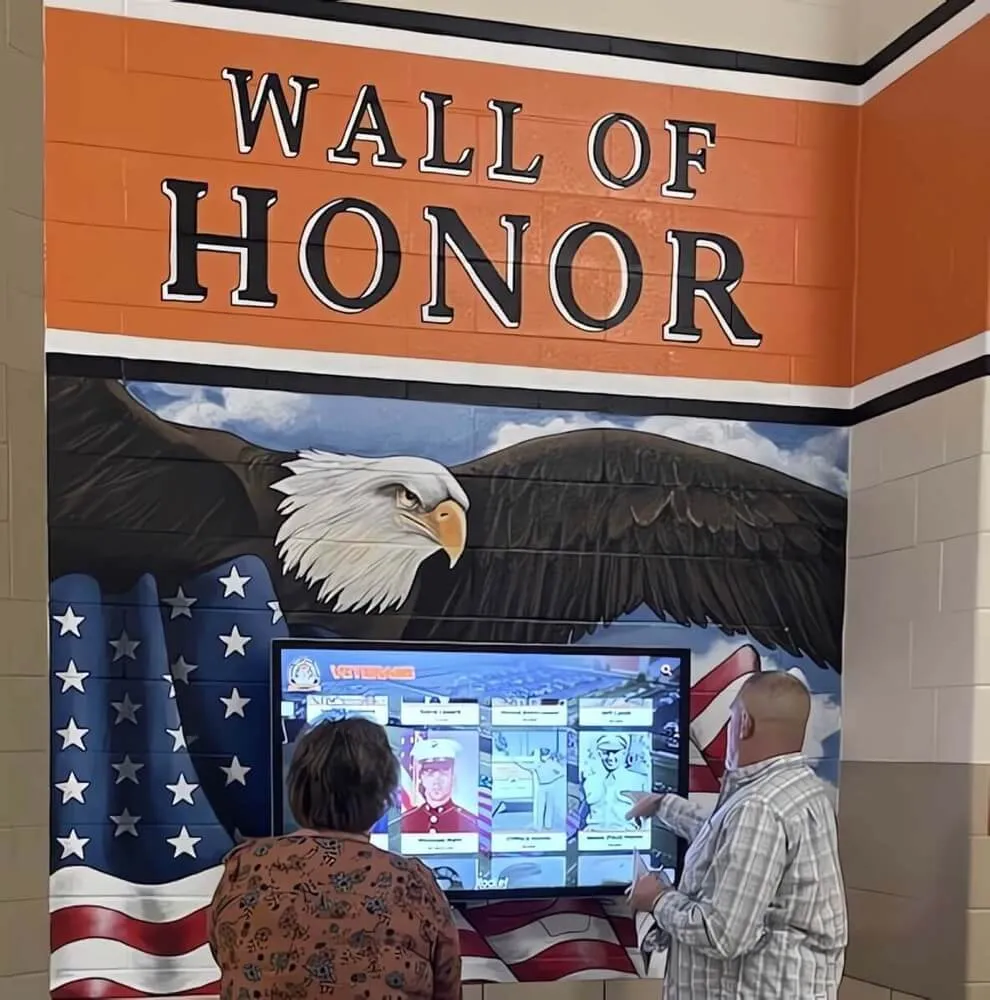
Community recognition displays presenting portraits of athletes, employees, and honorees in varied attire need moiré testing across the full content library before the program launches
Periodic Moiré Testing Schedule
Unlike black level or uniformity tests, which track a fixed panel characteristic, moiré risk evolves as new content is added to the recognition program. A panel that passes initial moiré testing may develop visible moiré problems later when a newly imported batch of scanned archival photographs introduces high-risk halftone content, or when a content designer updates the background template to use a fine-texture element.
| Trigger | Test Scope | Who Runs It | Action on Failure |
|---|---|---|---|
| Pre-acceptance (new or relocated display) | Full content library representative set, all risk categories | IT or AV team | Resolve before signing acceptance |
| New content import batch (archival scans) | All newly imported images, especially halftone prints | Content manager | Apply descreen / resampling before publishing |
| Background template update | Full layout in new template, evaluated at display | Content manager or designer | Adjust texture, stroke weight, or blur as needed |
| Display firmware update | Abbreviated test — 3–4 high-risk images | IT department | Check if sharpness or processing settings reset |
| Display relocated to new room | Full test in new ambient conditions (affects perceived artifact severity) | IT or AV team | Adjust sharpness if artifact severity changes |
| Annual maintenance | Representative set from current published content | IT department | Compare to baseline; flag new problem areas |
Documenting Your Moiré Test Results
Written documentation of moiré test outcomes is as important as the test itself. Recognition display installations are maintained over years, and the staff members who ran the original acceptance test may not be present when a quality issue surfaces two years later. A clear test record with the following fields gives any future IT staff member an immediate starting point:
- Display serial number, model, and installation date
- Test date and name of person conducting the test
- Picture mode and sharpness setting in effect during the test
- List of content categories tested and which produced moiré
- Scaling diagnostic results (did 5% scaling eliminate the artifact?)
- Blur diagnostic results (did 0.5 px blur eliminate the artifact?)
- Mitigation action taken (resampled, descrened, sharpness reduced, template changed)
- Verification that mitigation resolved the artifact before acceptance sign-off
Schools that maintain structured trophy and recognition display inventory records alongside digital display documentation can attach the moiré test record to the relevant display entry, creating a persistent service history that travels with the installation through its full operational life.
Moiré Risk by Display Technology
The physical characteristics of different panel technologies affect moiré susceptibility. Understanding your display type helps calibrate expectations and prioritize testing effort.
| Panel Technology | Moiré Susceptibility | Key Risk Factor | Mitigation Priority |
|---|---|---|---|
| IPS LCD at 1080p (55–65 inch) | High for fine-stripe content | Pixel pitch (~0.63mm at 55") creates interference with common athletic stripe frequencies | High — test all fine-pattern content |
| 4K LCD at same screen size | Lower — but not eliminated | Finer pixel pitch reduces but does not eliminate frequency mismatch | Moderate — test halftone scans and fine textures |
| Direct-view LED (typical P2.5–P4) | Moderate–High | LED pitch far coarser than LCD; strong moiré at short viewing distances | High if viewing distance < 8 feet |
| OLED | Similar to IPS LCD | Same pixel pitch considerations apply; no unique moiré advantage | Same as IPS LCD |
| 4K at large size (86 inch+) | Moderate | Larger pixels at same resolution; pitch changes moiré risk profile | Test highest-risk content; many fine patterns safe |
Schools considering an upgrade from 1080p to 4K recognition displays will find that the finer pixel pitch of a 4K panel reduces — but does not eliminate — moiré on fine-stripe athletic photography. Halftone scanned content, fine-texture backgrounds, and high-frequency graphic elements should still be tested at the new pixel pitch before migrating the full content library.
For athletic programs hosting pep rally and recognition events in gymnasiums where recognition content is projected or displayed on large-format screens, the moiré risk profile changes: large-format projection typically has lower pixel density, which shifts the interference frequencies and changes which content categories are most at risk.
Frequently Asked Questions
What is the difference between moiré and a compression artifact?
Moiré is a spatial frequency interference pattern that changes when you scale the image or change viewing angle. A compression artifact — such as JPEG blocking or banding from aggressive video compression — is tied to the image file itself and does not change with scale or angle. The scaling diagnostic (resize by 5 percent and retest) is the reliable differentiator: moiré changes significantly, compression artifacts do not. Both are visual quality problems for recognition displays, but they require different solutions — moiré is addressed through image resampling or display sharpness adjustment; compression artifacts require the source content to be re-exported at a higher quality setting.
Our 1980s athletic photographs show moiré but they are the only copies we have. What are our options?
For historical photographs where no higher-resolution original exists, the practical options are: apply a gentle descreen or blur filter to reduce the halftone dot pattern before import; accept the moiré as a characteristic of the archive and ensure it is visible only at close inspection distance; or have the original print photographs re-scanned at high resolution with a dedicated scanner using descreen mode. Many older photographs that arrived as newspaper print scans can be significantly improved by obtaining a direct scan of the original print photograph — which has no halftone pattern — rather than scanning the newspaper reproduction.
Can the recognition software help with moiré, or must it be fixed in the images themselves?
The recognition software manages content layout and database functions — it does not apply pixel-level post-processing to displayed images. Moiré must be addressed either in the source images (through resampling, blur, or descreen) or through display hardware settings (sharpness reduction). If a recognition platform offers an image processing pipeline with a preprocessing step before import, that is an appropriate place to apply descreen filtering for halftone scans. Ask your platform provider whether such preprocessing is available or whether images should be pre-processed before upload.
We have a direct-view LED wall behind our school’s recognition display setup. How do we prevent moiré in ceremony photographs?
LED background moiré in photography is a camera-side problem, not a recognition software or display calibration problem. Practical mitigations include: increasing camera-to-LED distance (moiré becomes less severe as the LED pitch becomes finer relative to the frame); adjusting camera shutter angle or exposure to avoid refresh rate interaction; choosing a focal length that changes the relationship between LED pitch and camera sensor; or applying a mild diffusion filter in front of the lens. Post-production descreen can also reduce LED moiré in existing footage. If ceremony photography is being archived for the recognition program, establish a camera and post-processing workflow that accounts for the LED environment before the first event.
Should moiré testing be part of our regular IT maintenance schedule or only at acceptance?
Moiré testing at acceptance is mandatory. Ongoing testing should be triggered by content library changes — particularly new imports of historical scanned material — and by display firmware updates that may reset post-processing settings. A full annual sweep of the published content library for moiré on the actual display is good practice for recognition programs with active archival work. The content that generates moiré is often not obvious from thumbnails or design previews; it requires evaluation on the actual panel at viewing distance.
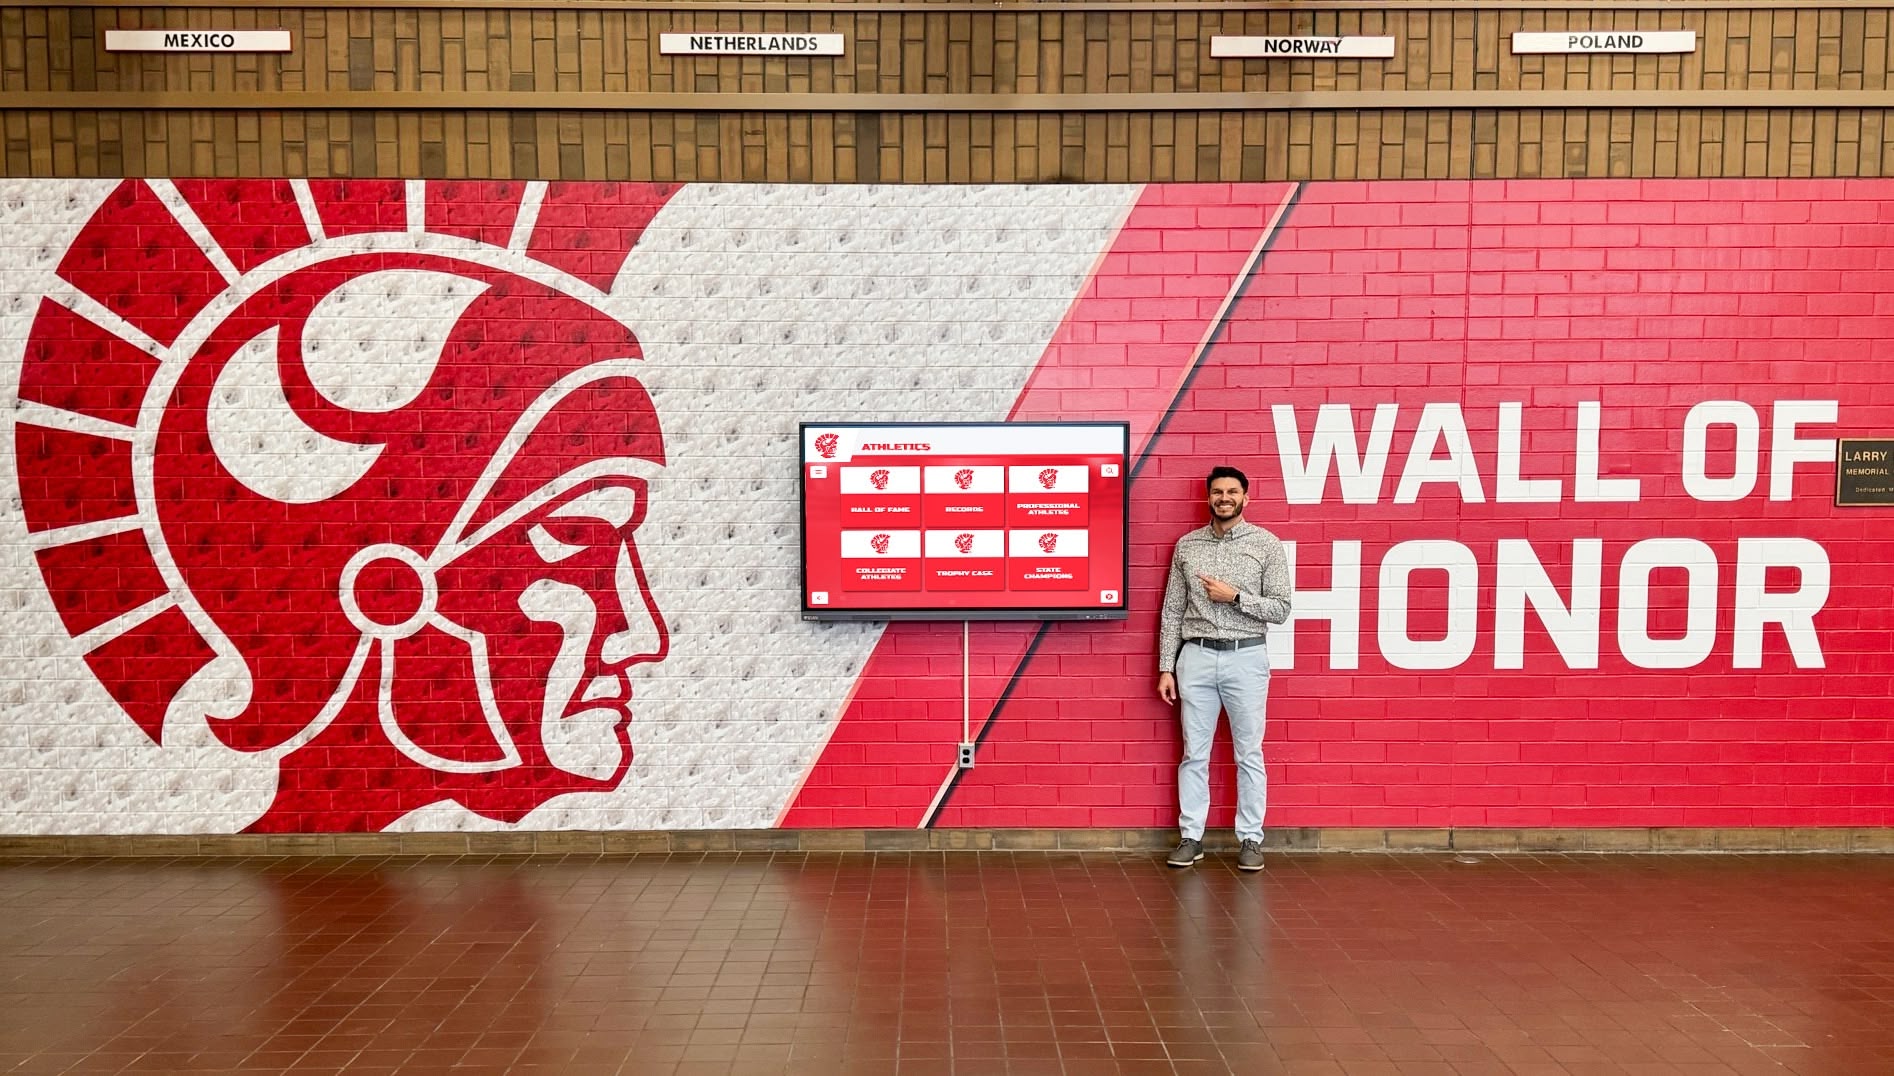
Staff reviewing recognition content at close range will notice moiré in uniform photography that appears clean in digital thumbnails — acceptance testing must happen on the actual panel at actual viewing distance
Establishing a Content Preparation Workflow That Prevents Moiré
The most sustainable approach to moiré in school recognition programs is not reactive testing but a proactive content preparation workflow that processes high-risk content before it reaches the display. A practical workflow for recognition program content managers includes these stages:
Classify incoming content by moiré risk category when images are submitted or scanned. Flag all fine-pattern uniform photography, scanned print materials, and certificate reproductions for pre-processing.
Apply a descreen filter to all halftone scans using dedicated descreening software or Photoshop’s Film Grain / Median filter workflow before any other processing. This step alone eliminates the largest moiré risk in most historical archives.
Resample all flagged images to display-native resolution using bicubic or Lanczos resampling — not nearest-neighbor. Display-native resolution means the pixel dimensions the recognition platform will show fullscreen on your installed panel: 1920×1080 for 1080p displays, 3840×2160 for 4K.
Evaluate processed images on a reference display — ideally the installed recognition panel itself — before finalizing import. If a dedicated QA workstation is used, ensure it matches the installed panel’s size and resolution as closely as possible.
Document images that still show residual moiré after processing and note the decision (accepted with mild artifact, reprocessed, replaced with alternative photograph). This record supports future review when display settings change.
For large-scale recognition programs managing hundreds of athlete and honoree records, implementing this workflow at the content management level — rather than catching moiré at the display after launch — prevents the most embarrassing outcome: a widely viewed hall-of-fame display presenting archival photography with visible, distracting interference patterns that undermine the program’s credibility.
Schools developing recognition programs that extend beyond athletics — incorporating academic, civic, and employee recognition content alongside athletic halls of fame — should ensure the content preparation workflow covers the full content universe, including the certificate reproductions, employee portraits, and community recognition photographs that appear outside the traditional sports photography context.
Recognition Displays That Render Your Photography Accurately
Rocket Alumni Solutions builds school recognition platforms designed to display athlete portraits, award photography, and archival team images with the visual fidelity your program deserves. Request a demo to see how the platform manages content quality across diverse image libraries — and ask about the content preparation guidance included with every deployment.
Request a DemoRunning a recognition display moiré pattern test before accepting any new school display, and establishing a content preparation workflow that catches high-risk images at import, protects your recognition program from one of the most visually disruptive display quality problems. A test that takes 30 to 45 minutes and a content workflow that flags halftone scans and fine-pattern photography ensure that every honored athlete’s portrait and every archived team photograph appears on your school’s recognition display exactly as it should — clear, sharp, and artifact-free.