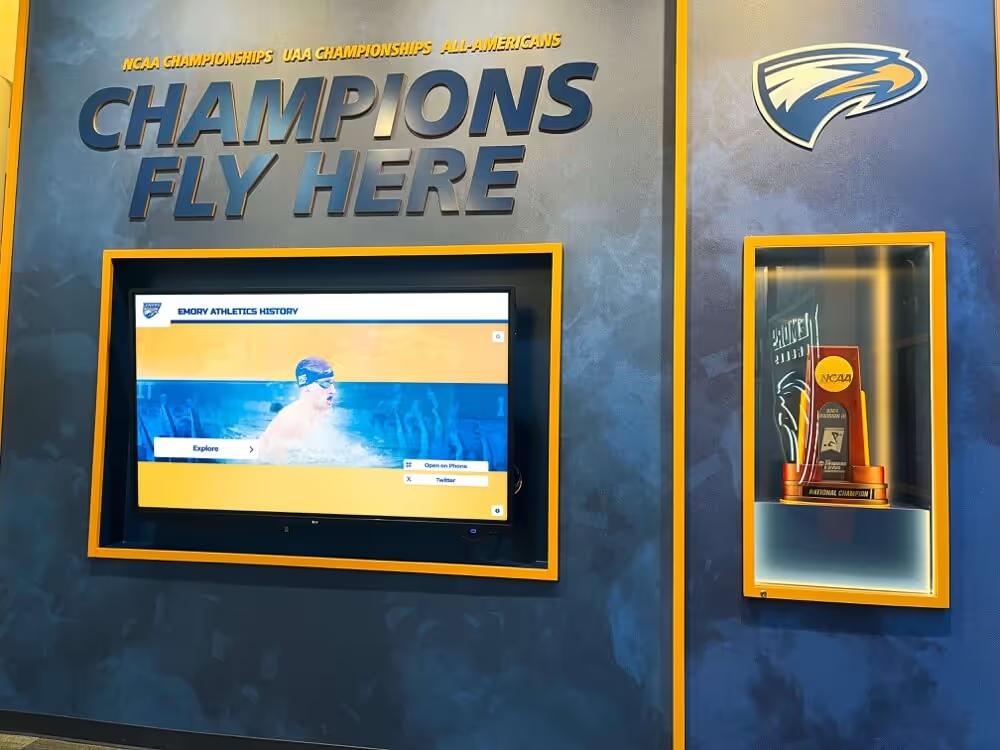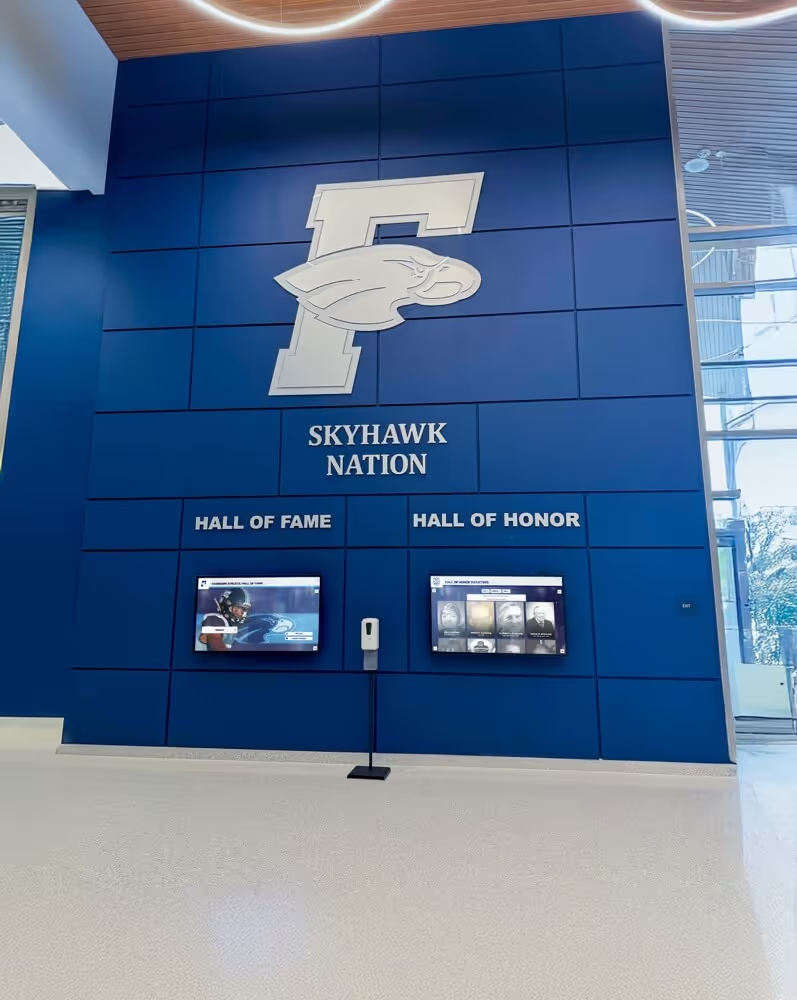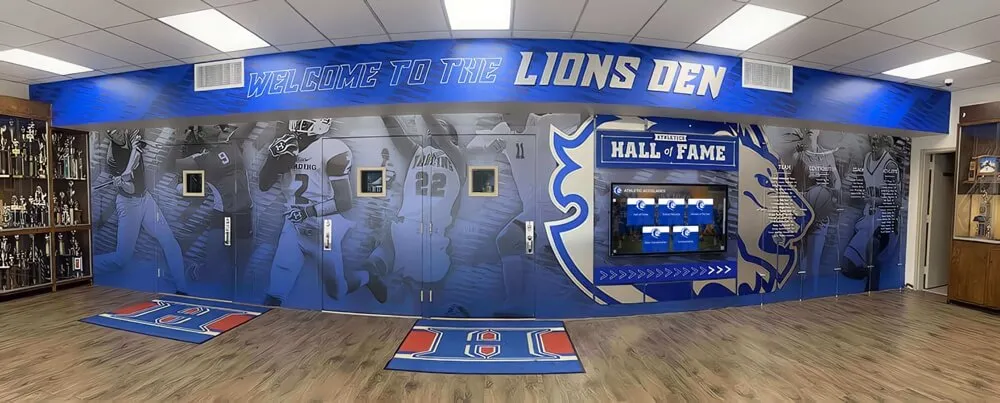




School athletic lobbies host recognition displays that celebrate championship seasons, retired jersey numbers, and decades of athletic achievement—but those displays only need to be running when students, families, and visitors are present. Leaving a recognition display powered on around the clock wastes energy, shortens the screen backlight’s service life, and generates unnecessary heat in enclosed lobbies. The alternative—manually walking to the equipment room to power on the system before every event—creates a recurring maintenance burden that falls on whichever staff member is first through the door.
Wake-on-LAN solves both problems. This recognition display Wake-on-LAN configuration guide gives school IT administrators, AV coordinators, and facilities staff a complete walkthrough for enabling scheduled remote startup on athletic lobby displays: the BIOS prerequisites that must be set first, the operating-system network adapter settings, the network infrastructure requirements that determine whether a magic packet can cross a subnet, the scheduled task configuration that fires before events, and the verification procedure that confirms the setup is working before the first game night depends on it.
Quick answer: Configuring Wake-on-LAN for a school recognition display requires four coordinated steps. (1) Enable Wake-on-LAN in the display host’s BIOS/UEFI and set the power-restore policy to remain off after a power failure. (2) Configure the Windows network adapter to accept magic packets and disable power-management settings that override WoL. (3) Verify that your network switch and router will forward the directed-broadcast or unicast magic packet to the display’s subnet. (4) Create a scheduled task on a management server or Windows Task Scheduler instance that runs a WoL sender at a fixed time before each event. Test the full chain by powering off the display host manually and confirming it wakes on schedule.

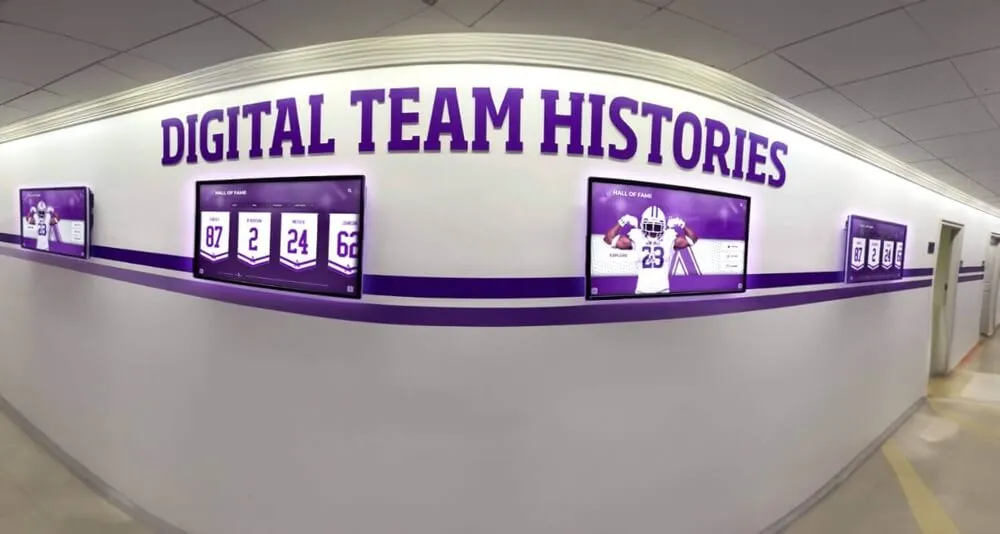
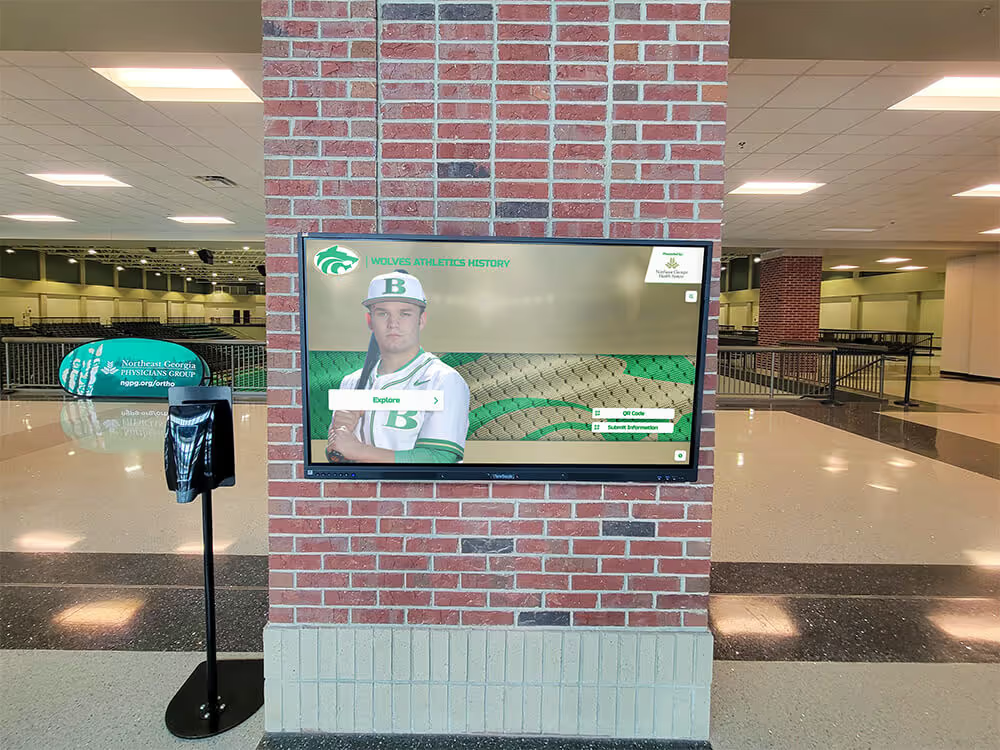
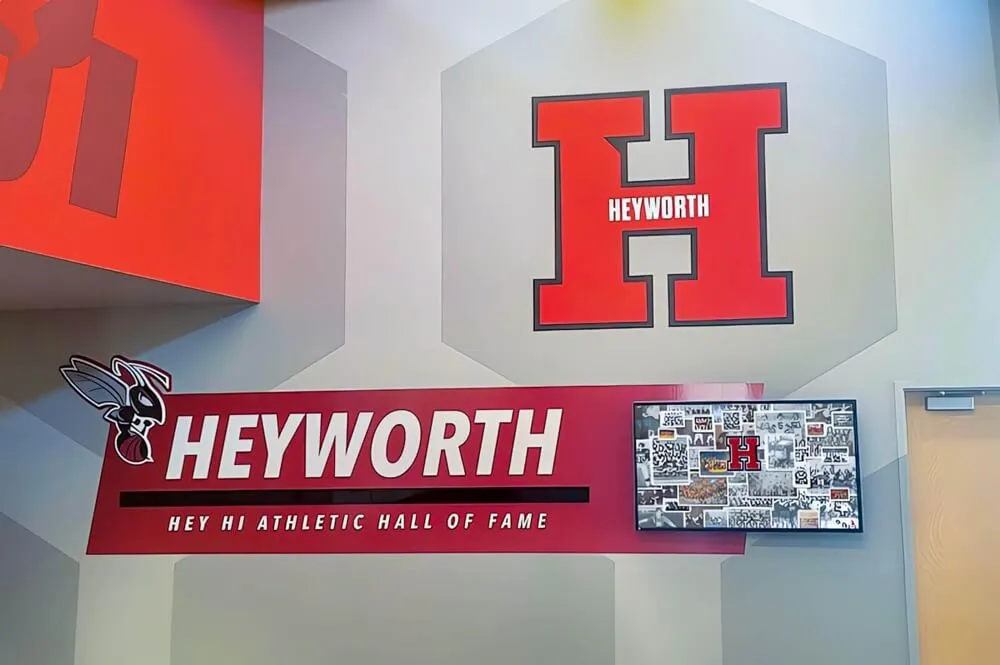
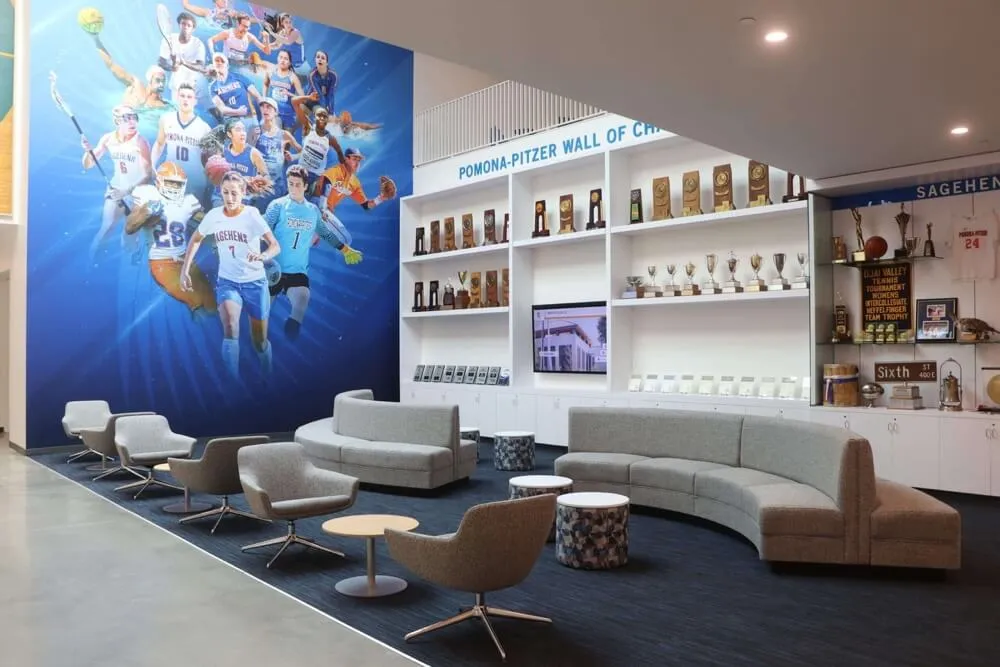
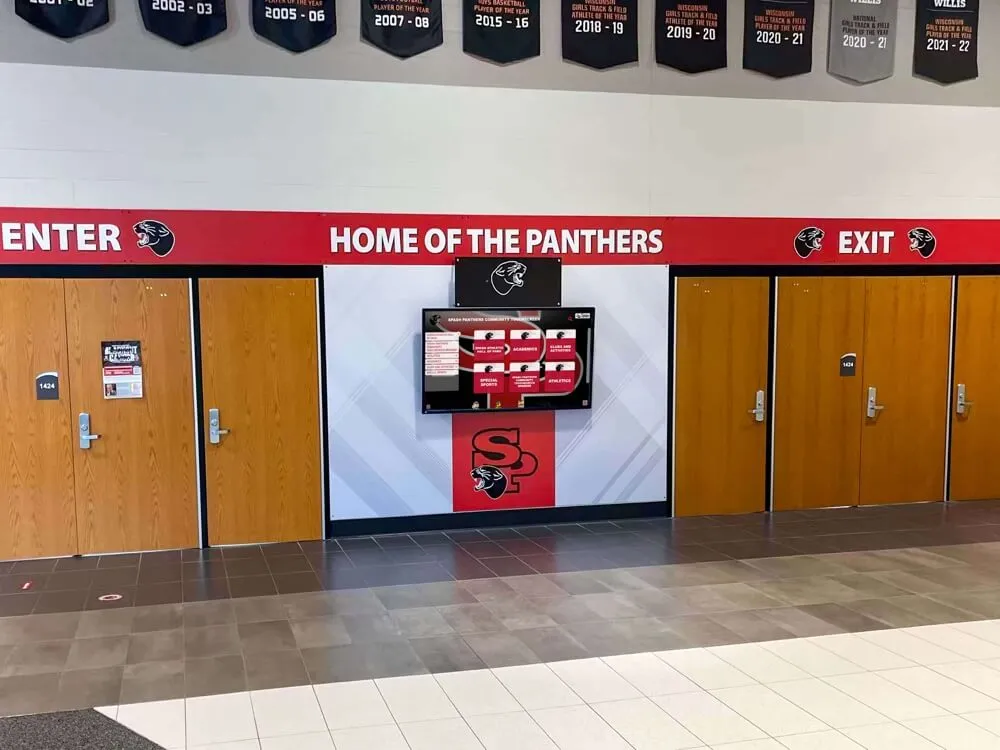
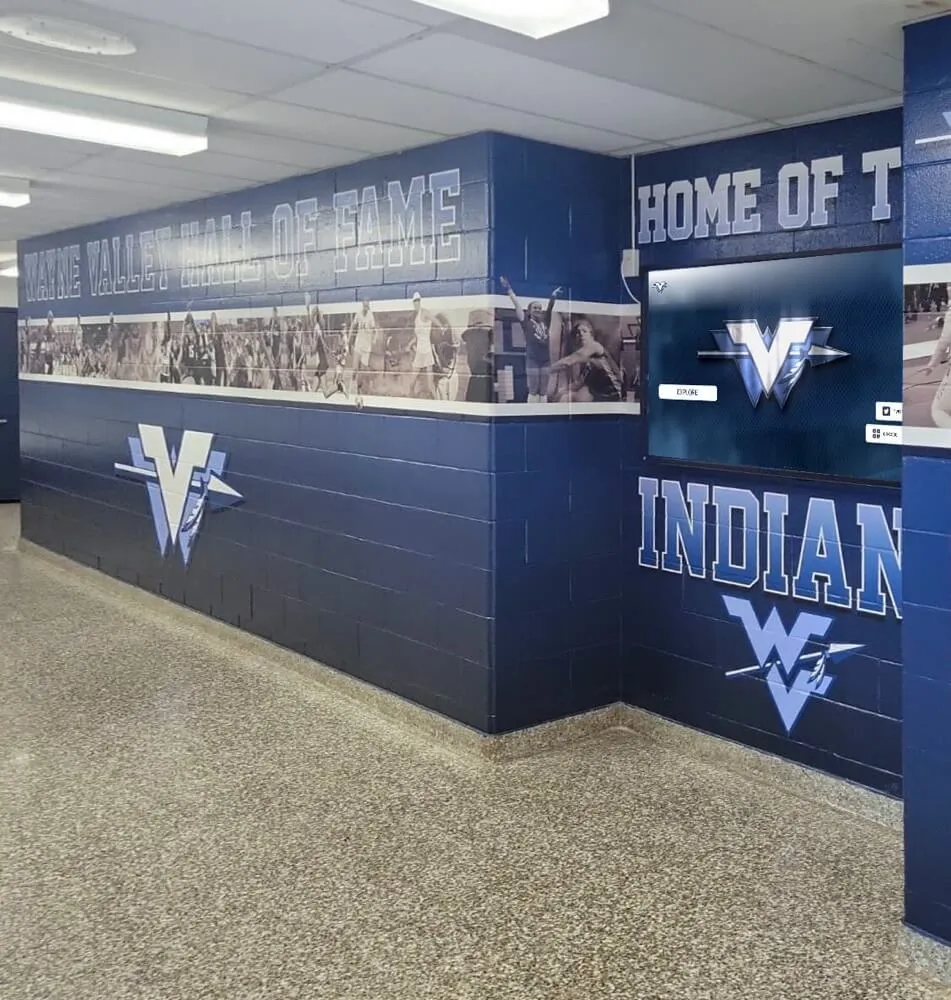
Athletic lobby recognition displays serve students, families, and visitors during events—Wake-on-LAN brings them online on schedule without requiring a staff member to power on equipment manually
What Wake-on-LAN Is and Why It Matters for Athletic Lobby Recognition Displays
Wake-on-LAN (WoL) is a network standard (published by AMD and Intel in 1996 and widely supported across commercial hardware since) that allows a powered-off or sleeping computer to be woken by receiving a specific packet on its network interface. The magic packet—a broadcast frame containing the target device’s MAC address repeated sixteen times, preceded by six bytes of 0xFF—is detected by the network interface controller (NIC) even when the host CPU is off, because the NIC draws standby power from the motherboard’s ATX 5 V standby rail whenever AC power is present.
For school recognition display deployments, WoL matters for several practical reasons:
- Event-based operation. A recognition display in a school athletic lobby is most valuable during events: varsity games, banquets, open houses, and award ceremonies. Outside those windows, the display serves few visitors. WoL enables a schedule that matches operating hours to actual foot traffic without requiring staff action for each power cycle.
- Backlight longevity. Commercial-grade displays rated for 50,000–70,000 hours of backlight life will last significantly longer when operated 12 hours per day rather than 24 hours per day. Reducing operating hours through scheduled startup extends the hardware replacement cycle, which matters for school budgets where capital purchases follow a multi-year replacement plan.
- Energy and thermal management. A 55-inch commercial display drawing 150–200 W represents measurable energy cost when left on continuously. In lobbies with limited HVAC, overnight operation also contributes to ambient heat accumulation that can affect other AV equipment in the same space.
- IT operational simplicity. Once WoL is configured correctly, the display powers on before every scheduled event without IT or facilities involvement. The same schedule can cover multiple displays across multiple locations from a single management server.
Schools managing recognition programs that include scheduled athletic letter ceremonies and year-end recognition events benefit directly from displays that are reliably powered and ready when guests arrive—not dark because a staff member forgot to start the system.
Prerequisites Checklist
Before configuring any BIOS or network settings, confirm these prerequisites are in place. WoL failures almost always trace back to one of these foundation requirements being skipped.
| Prerequisite | Requirement | Why It Matters |
|---|---|---|
| AC power present | The display host must remain plugged in at all times | WoL requires the NIC to draw 5 V standby power; unplugging the machine kills standby power and WoL with it |
| Wired Ethernet connection | WoL requires a physical Ethernet connection | Wireless WoL (Wake-on-Wireless-LAN) requires specific hardware support and a separate configuration workflow not covered in this guide |
| Static IP or DHCP reservation | The display host should have a consistent IP address | Makes scheduled task targeting reliable; DHCP expiration after power-off can reassign the IP |
| Known MAC address | You need the Ethernet adapter’s MAC address to build the magic packet | Collect this before configuring the BIOS |
| ATX power supply | Standard ATX motherboards provide 5 V standby; some non-standard embedded platforms do not | Verify on non-PC hardware (media players, SoC devices) before proceeding |
| Administrative access | BIOS/UEFI and Windows administrator access required | Both configuration layers require elevated access |
To retrieve the Ethernet adapter MAC address on Windows, open Command Prompt and run ipconfig /all. The Physical Address field under the Ethernet adapter section shows the MAC address in the format XX-XX-XX-XX-XX-XX.
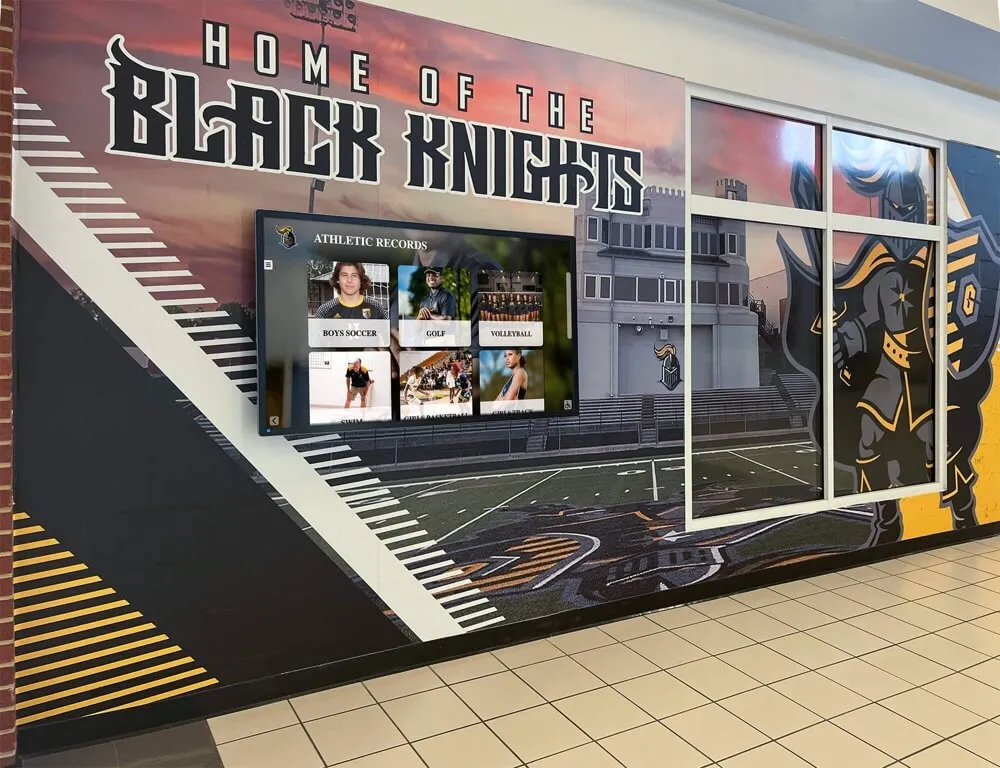
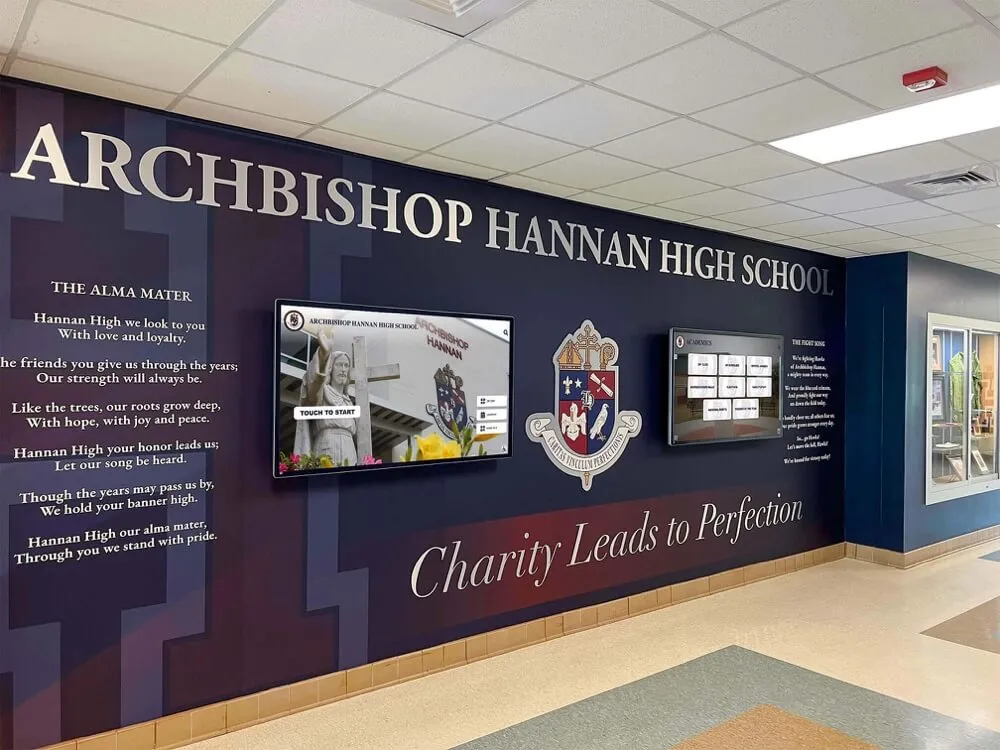
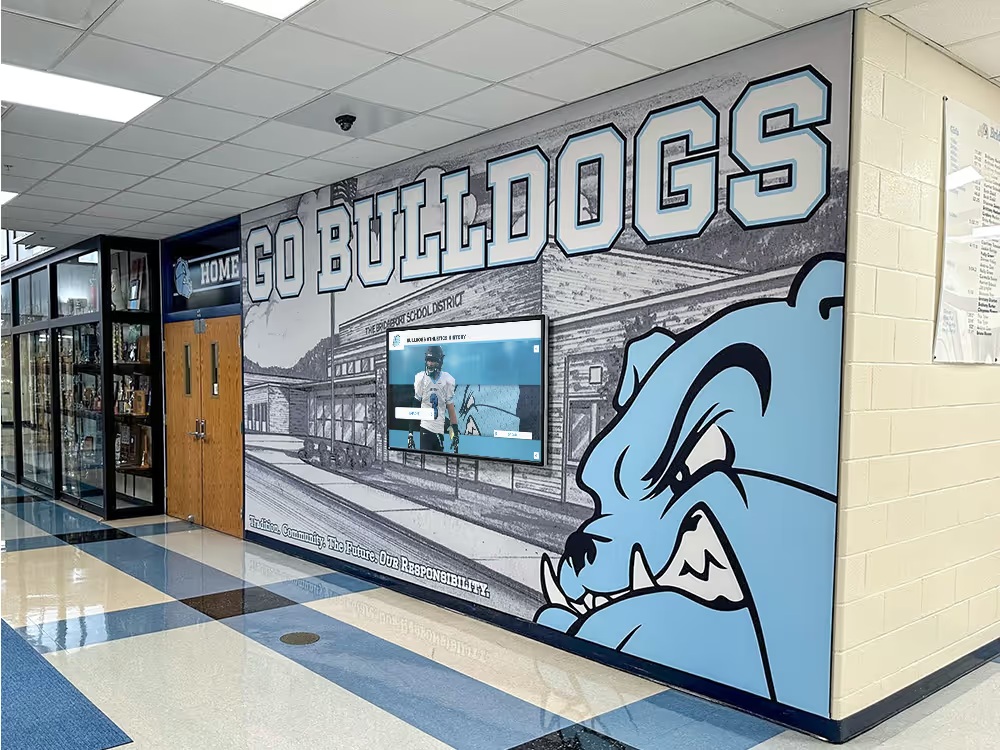
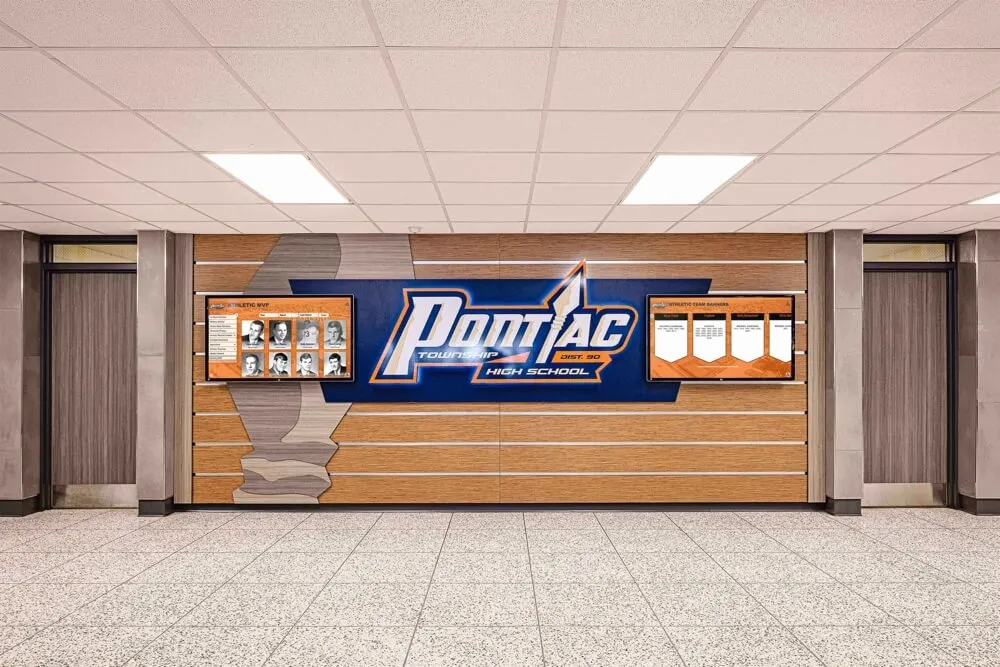
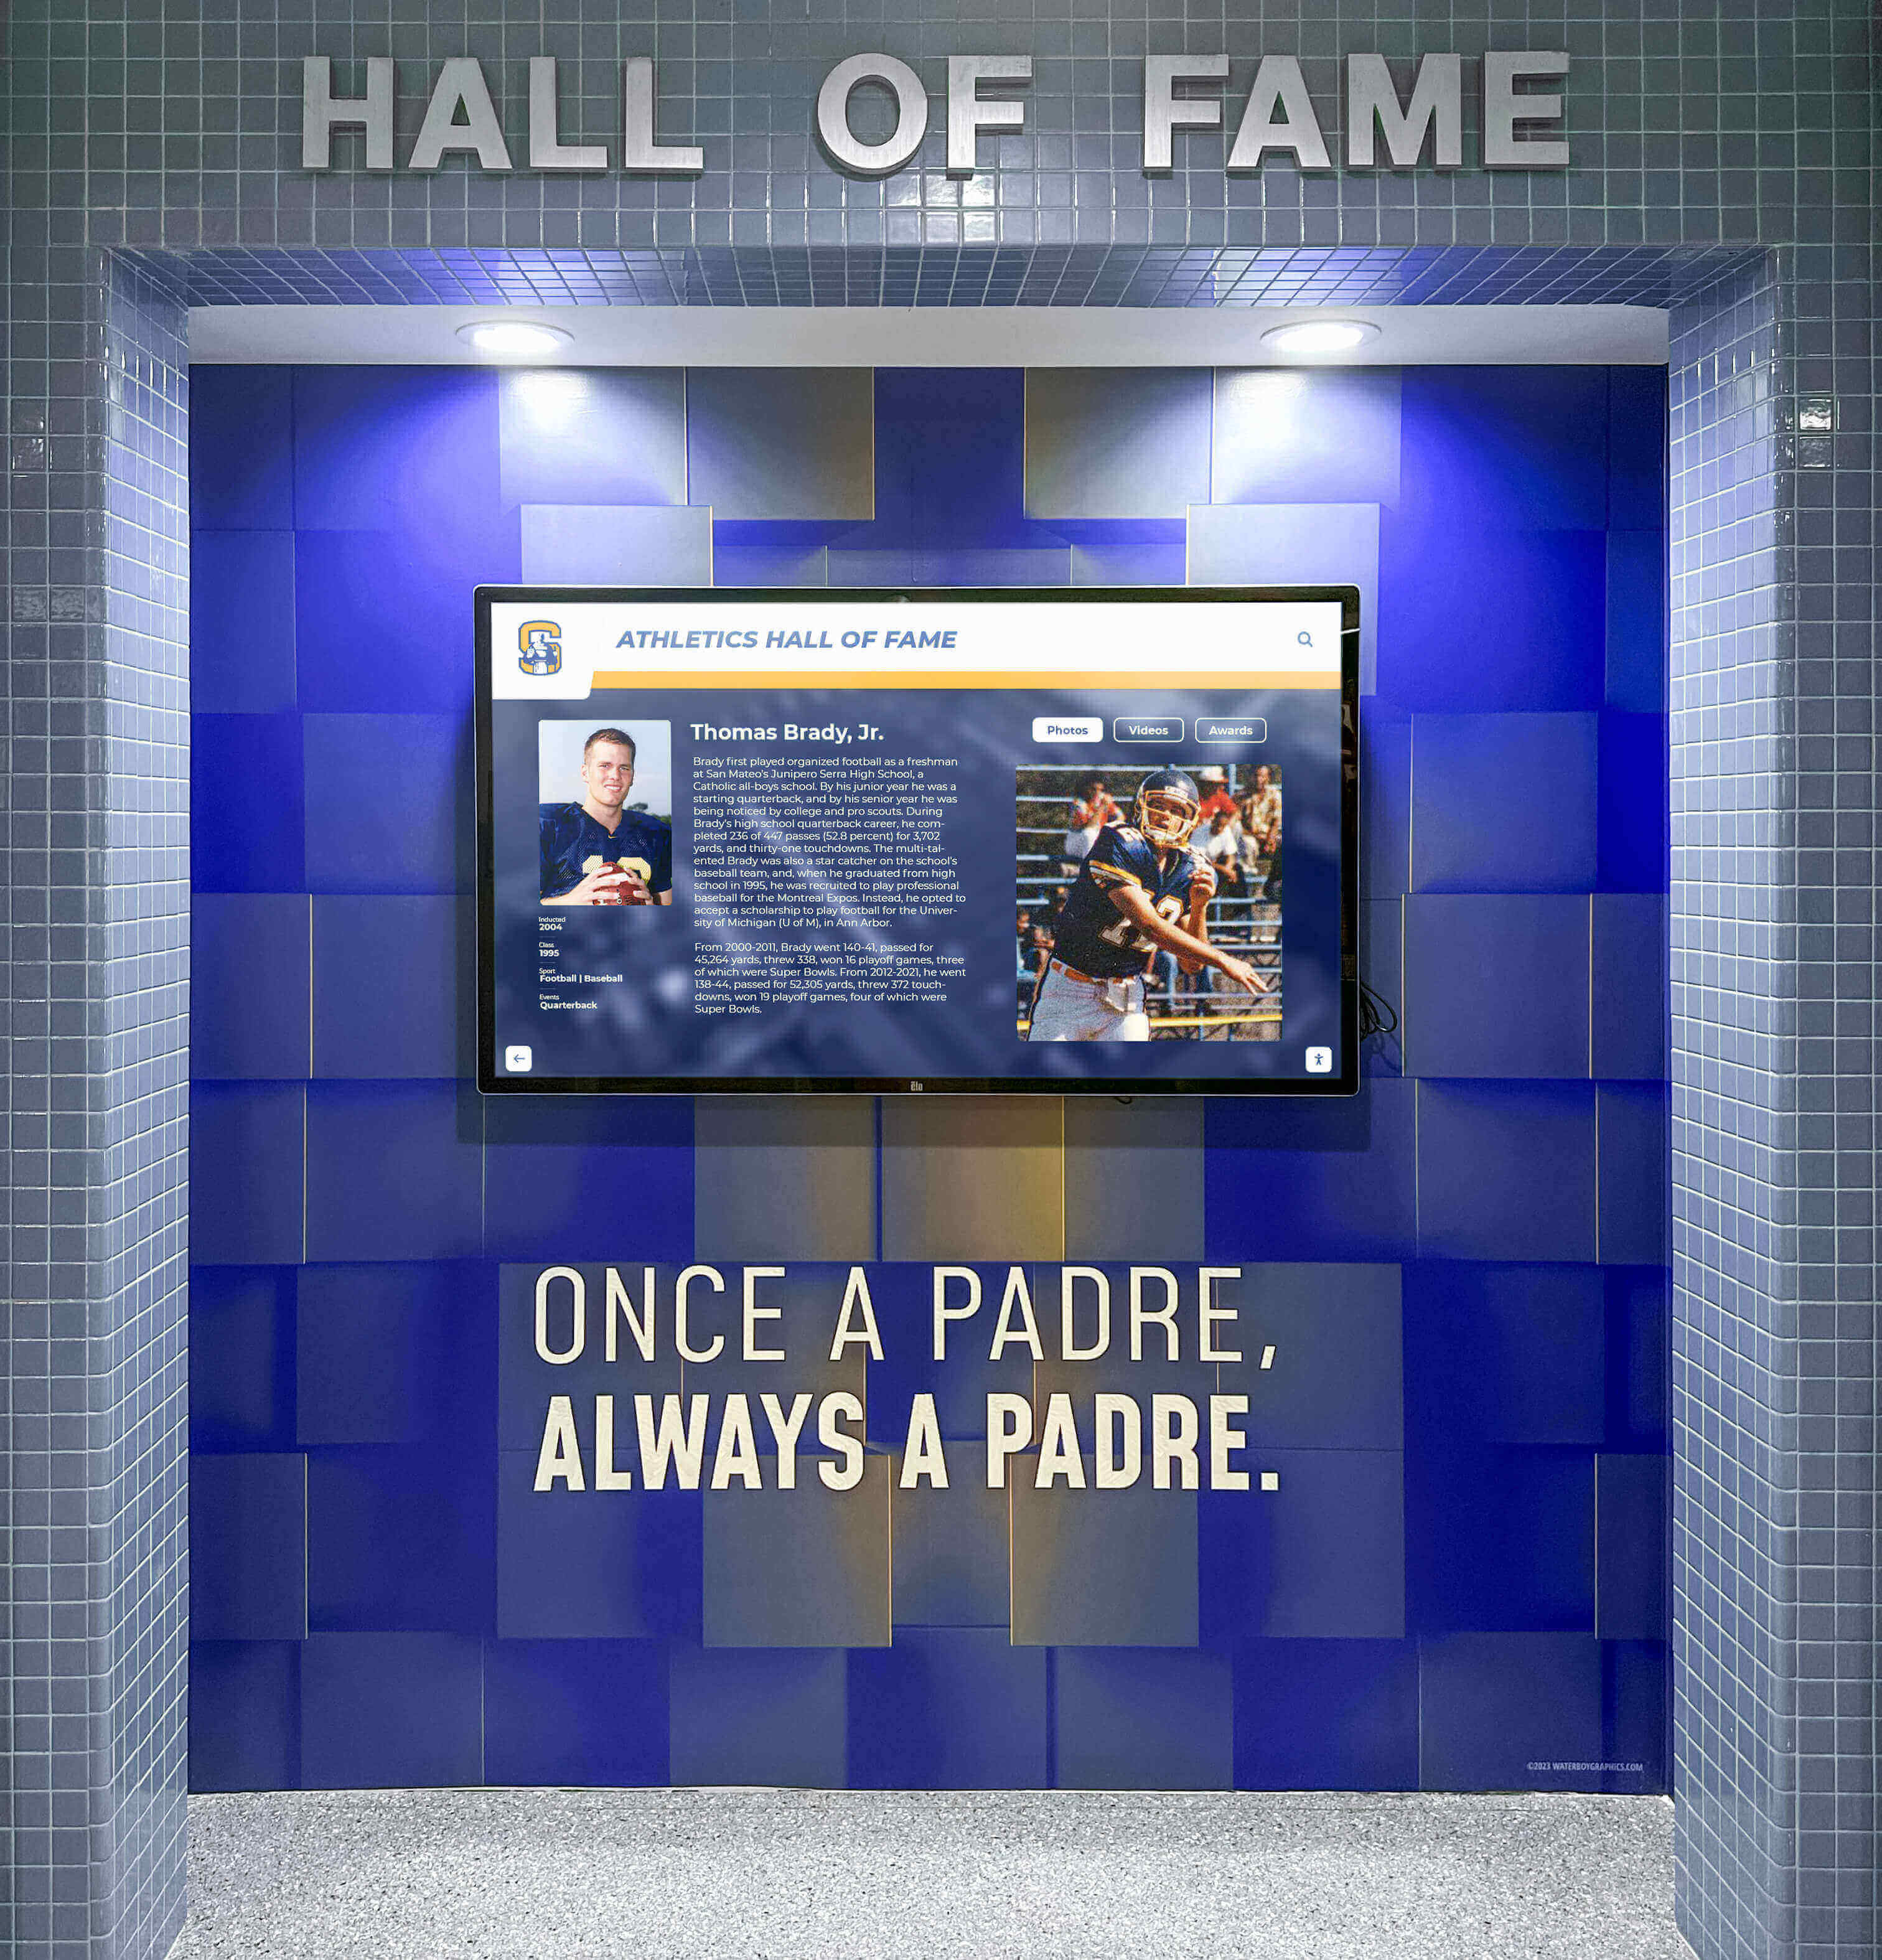
Athletic record boards and recognition displays in school hallways serve their highest-value audience during events—scheduled WoL startup ensures the display is ready before the first visitor arrives
Step 1: BIOS/UEFI Wake-on-LAN Configuration
The BIOS or UEFI firmware controls whether the NIC is allowed to receive standby power and listen for magic packets when the system is off. Without BIOS-level WoL support enabled, no operating-system or network configuration will make WoL work.
Entering BIOS/UEFI Setup
Restart the display host and press the firmware setup key during POST. Common keys are Del, F2, F10, or Esc, depending on the motherboard manufacturer. The correct key is typically shown on the POST screen for two to three seconds.
On Windows 10 and Windows 11, if the system boots too fast to catch the POST screen, navigate to Settings → System → Recovery → Advanced Startup → Restart Now, then select Troubleshoot → Advanced Options → UEFI Firmware Settings → Restart.
Locating the Wake-on-LAN Setting
Wake-on-LAN settings appear under different menu paths depending on the BIOS vendor. Common locations:
| BIOS Vendor | Menu Path | Setting Name |
|---|---|---|
| AMI (UEFI) | Advanced → APM Configuration | Power On By PCI-E / Wake on LAN |
| Phoenix / Award | Power Management → Wake Up Control | Resume by LAN / Wake on LAN |
| Intel NUC | Power → Secondary Power Settings | Wake on LAN from S4/S5 |
| Dell (Commercial) | Power Management | Wake on LAN |
| HP (Commercial EliteDesk) | Advanced → Power-On Options | Wake on LAN |
| Lenovo (ThinkCentre) | Config → Network | Wake on LAN, Wake on LAN from Dock |
Enable the Wake-on-LAN option. Some BIOS menus separate the setting into wake-from-S3 (sleep), wake-from-S4 (hibernate), and wake-from-S5 (full power-off). For recognition display scheduled startup from fully powered off, enable wake from S5 at minimum. Enabling wake from S3 and S4 simultaneously costs nothing and provides more operational flexibility.
Power Restore Policy
Locate the AC power loss recovery setting—typically labeled After Power Loss, Power State After Power Failure, or AC Recovery. Set it to Power Off (not Last State or Power On).
This setting controls behavior after the building loses power and then restores it. If it is set to Power On, the display will automatically start after every power restoration—which can cause unexpected operation during non-event hours and may start the display mid-boot at 3 AM if the building has a brief outage. Setting it to Power Off ensures the display only powers on when an explicit WoL signal is received (or when a staff member manually starts it), regardless of power events.
Save and Exit
Save BIOS changes with F10 (or the vendor-specific save key) and allow the system to restart. BIOS changes take effect immediately on next boot.
Step 2: Windows Network Adapter Configuration
After the BIOS is configured, the Windows operating system must be set to keep the NIC powered during sleep and shutdown and to enable magic packet reception.
Enabling Magic Packet Wake in Device Manager
- Open Device Manager (right-click Start → Device Manager).
- Expand Network Adapters.
- Right-click the Ethernet adapter (not the wireless adapter) and select Properties.
- Select the Power Management tab.
- Check Allow this device to wake the computer.
- Check Only allow a magic packet to wake the computer (this prevents the NIC from waking the system on any network activity, which could cause spurious wakeups from broadcast traffic on a busy school network).
Disabling Power-Management Overrides in Advanced Properties
In the same adapter Properties window, select the Advanced tab. Scroll through the property list to find these settings and configure them as follows:
| Advanced Property | Required Value | Notes |
|---|---|---|
| Wake on Magic Packet | Enabled | Core WoL requirement |
| Wake on Pattern Match | Disabled (recommended) | Prevents wakeups from ARP broadcasts or other matching patterns |
| Energy Efficient Ethernet (EEE) | Disabled | EEE can reduce NIC power in a way that interferes with WoL reception on some hardware |
| Speed & Duplex | Auto Negotiation | Do not force a fixed speed; auto-negotiation is required for proper standby |
| Shutdown Wake-On-LAN | Enabled (if present) | Some Intel NICs have a separate setting for wake from full shutdown (S5) |
Not all properties appear on every adapter. The specific names vary between Intel and Realtek adapters (the two most common in commercial mini-PC and all-in-one recognition display hosts). On Intel adapters, the relevant properties are typically labeled exactly as shown. On Realtek adapters, look for Wake-Up Capabilities and set it to Magic Packet.
Windows Fast Startup Consideration
Windows 10 and 11 enable Fast Startup by default. Fast Startup performs a hybrid shutdown that saves a hibernation file rather than doing a full shutdown, which can interfere with WoL reception from full power-off. For recognition displays that will be fully shut down between events, disable Fast Startup:
- Open Control Panel → Power Options → Choose what the power buttons do.
- Click Change settings that are currently unavailable.
- Under Shutdown settings, uncheck Turn on fast startup.
- Click Save changes.
With Fast Startup disabled, shutting down the display host performs a full S5 power-off. The NIC continues listening for magic packets as configured in BIOS and Device Manager.
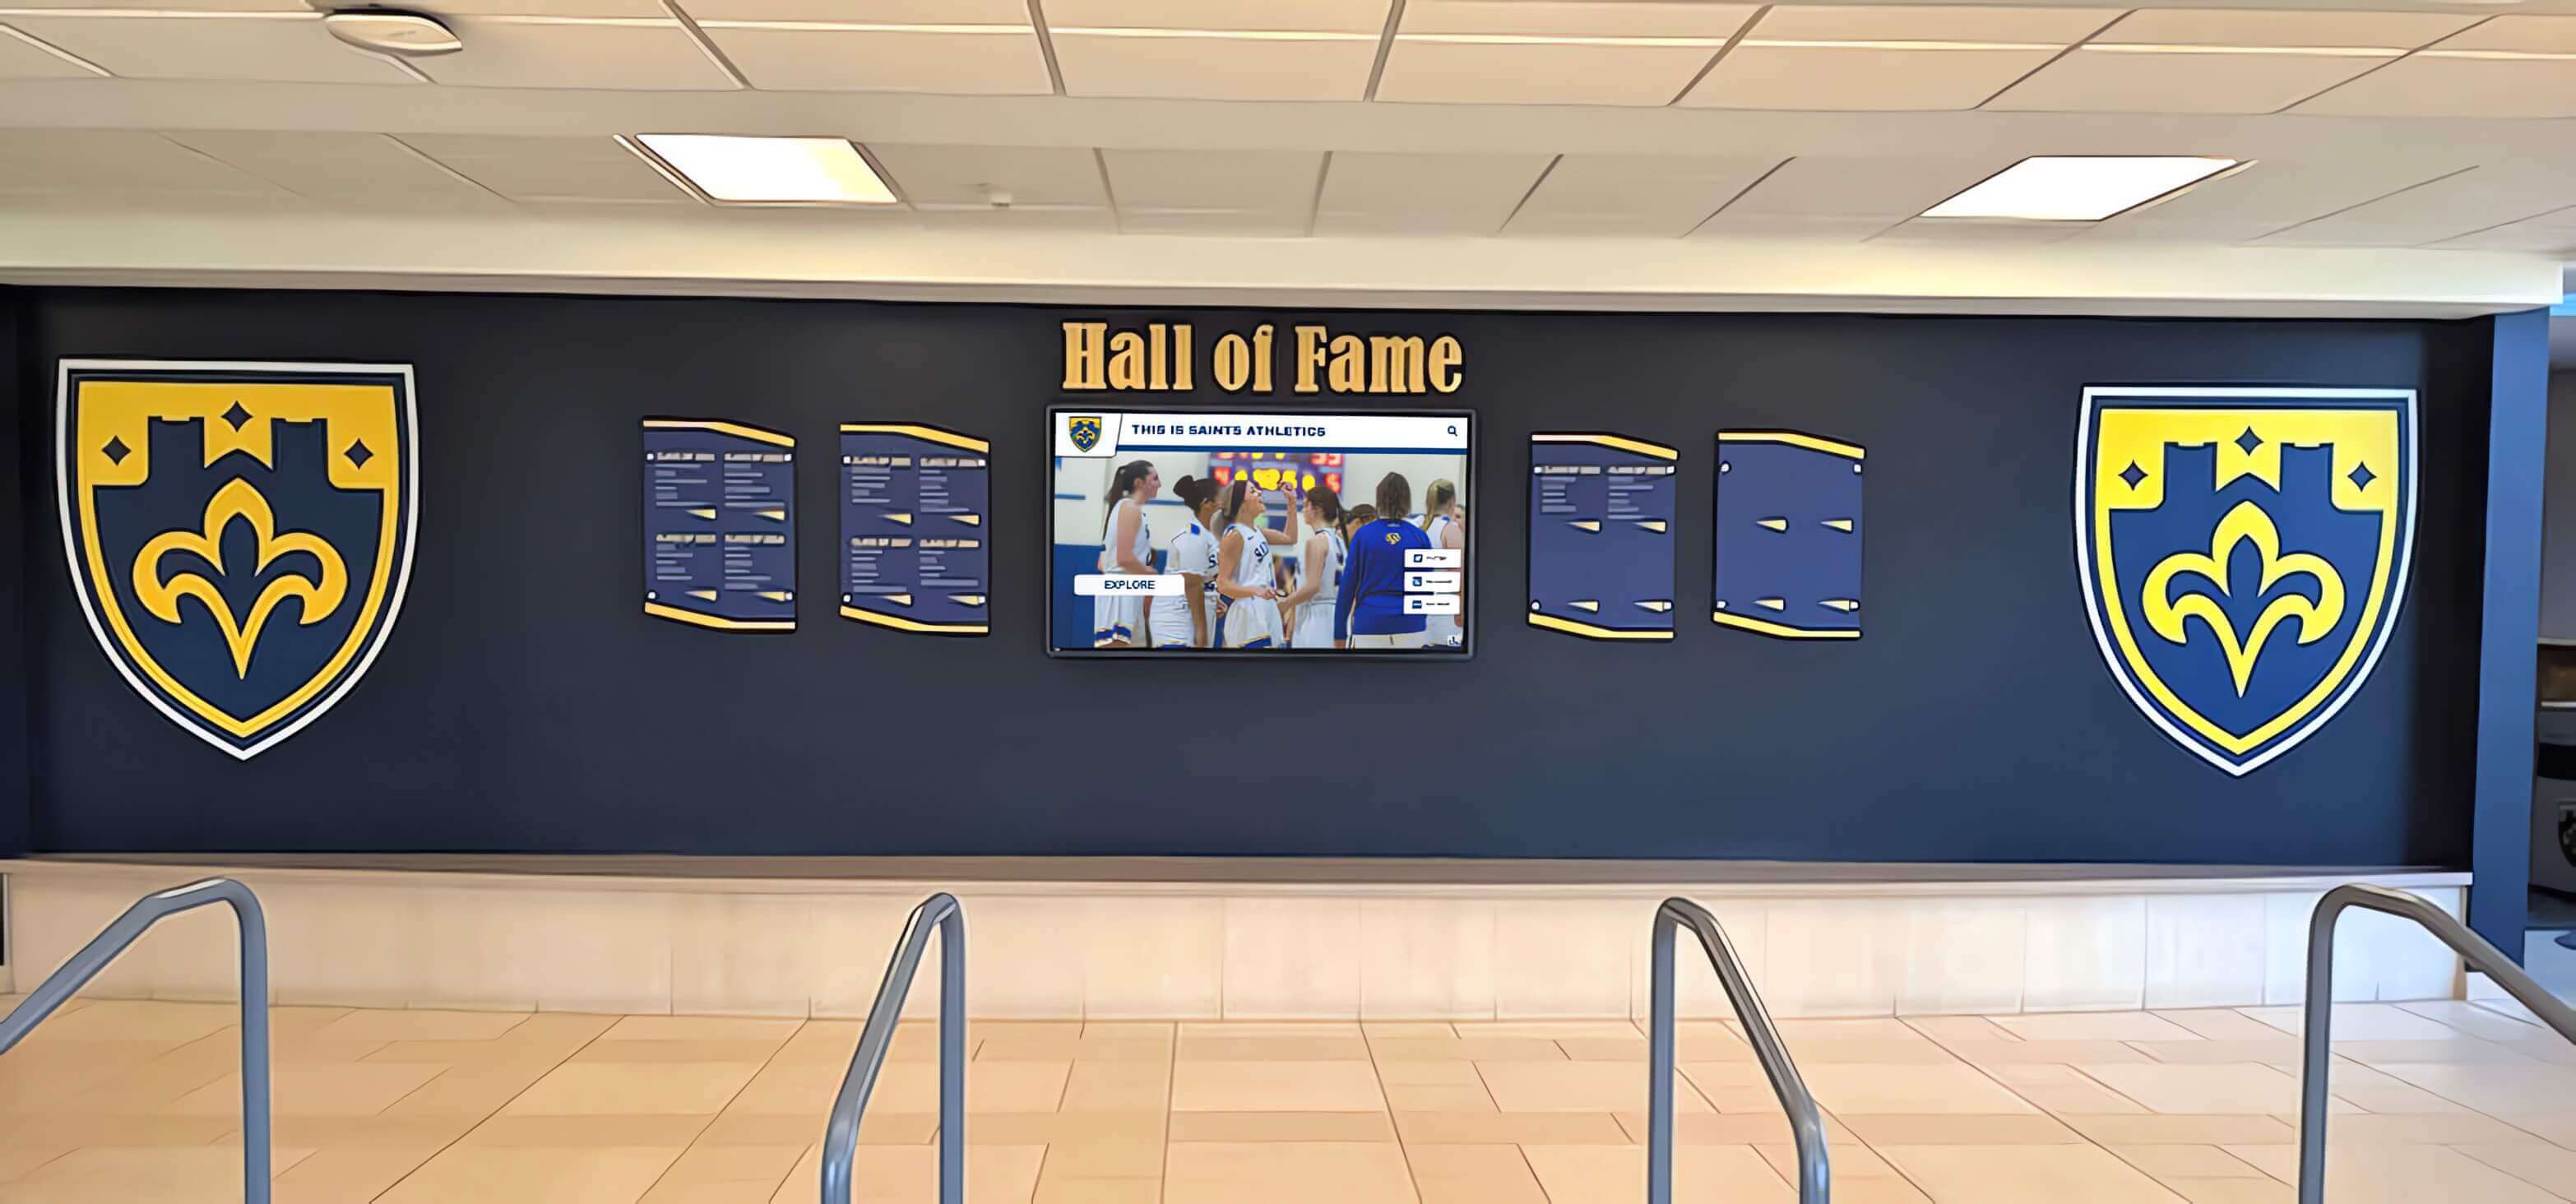
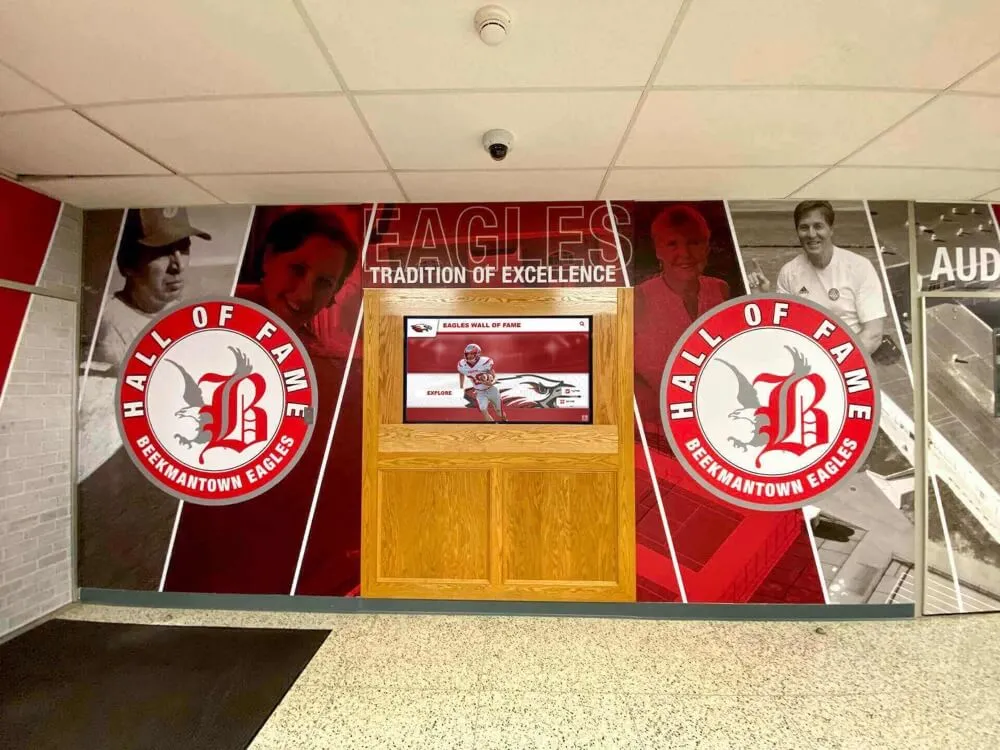
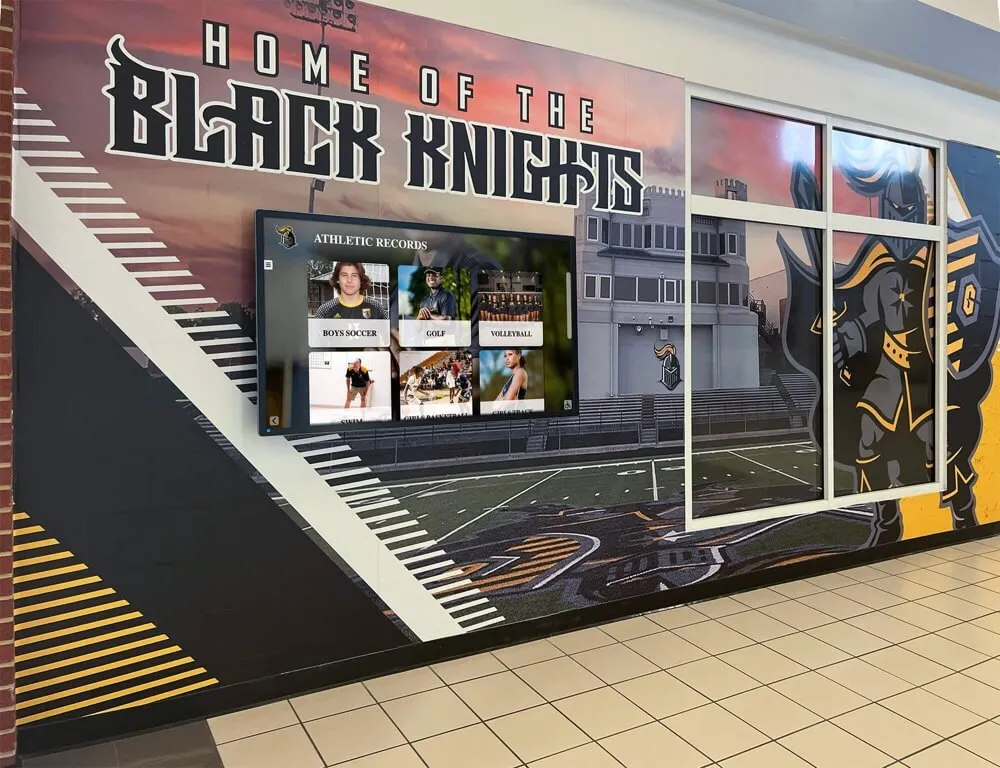
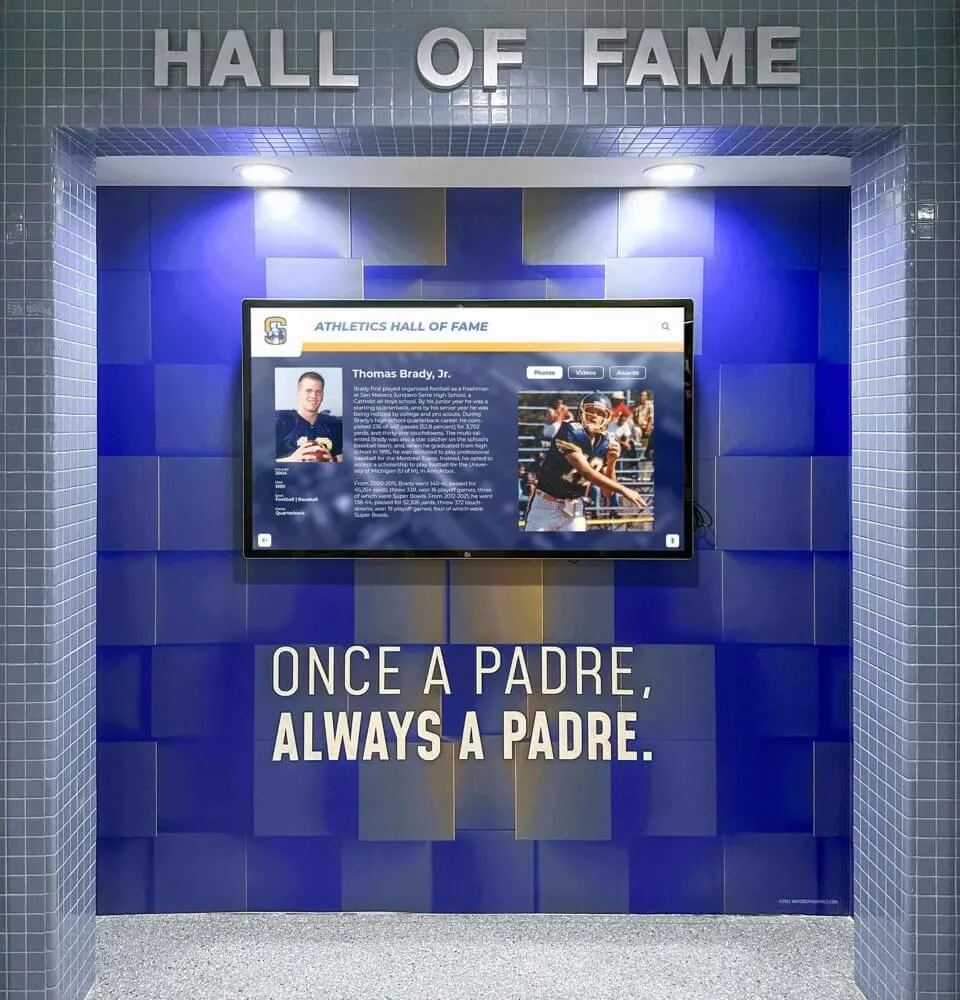
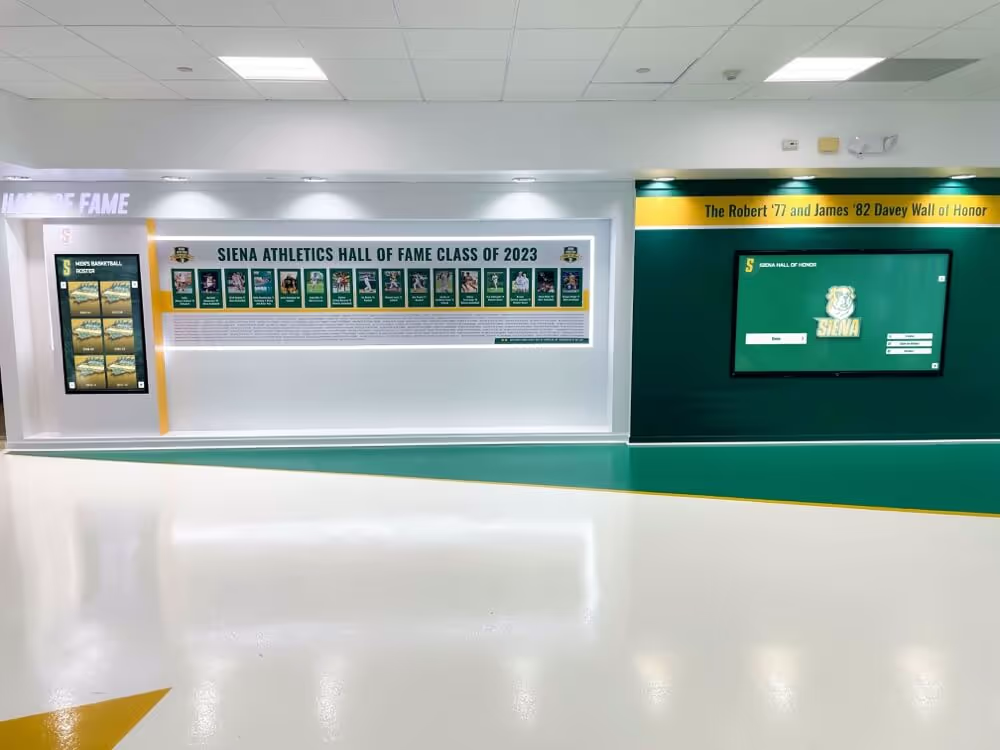
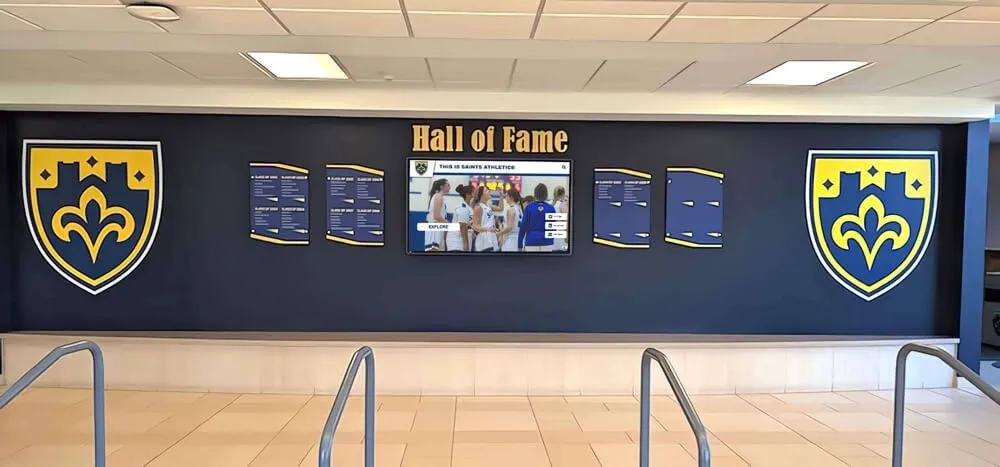
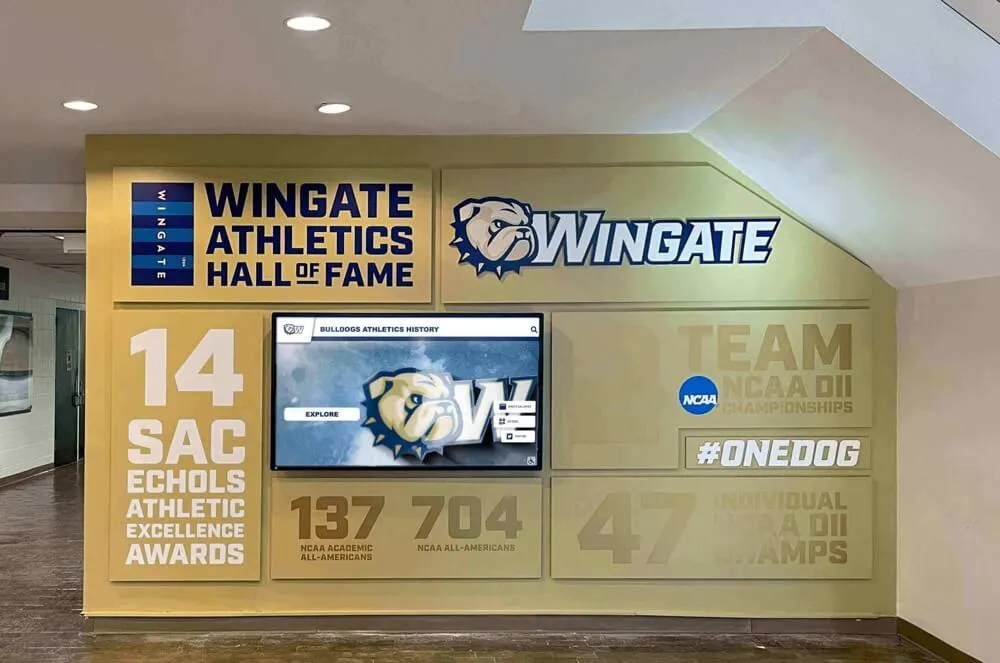
A hall-of-fame lobby with multiple recognition elements needs reliable display startup before guests arrive—Wake-on-LAN makes that timing automatic and consistent across the event calendar
Step 3: Network Infrastructure Requirements
Wake-on-LAN magic packets must travel from the sender (typically a management server or scheduled-task machine) to the display host’s network segment. Network infrastructure determines whether the packet arrives. This is where most school WoL deployments fail when the initial test does not work.
Understanding Magic Packet Delivery
The classic WoL magic packet is sent as a UDP broadcast (destination IP 255.255.255.255, port 9) or as a directed broadcast (destination IP is the subnet broadcast address, such as 192.168.10.255 for a /24 subnet). Both forms work within the same Layer 2 broadcast domain—but routers do not forward broadcasts between subnets by default.
In a school environment where the management server (or the IT workstation running the WoL sender) is on a different VLAN or subnet than the recognition display, the magic packet will not arrive by default. Three solutions exist:
| Solution | How It Works | When to Use |
|---|---|---|
| Unicast WoL | Sends the magic packet to the display’s IP address (unicast) rather than broadcast | When display has a static IP or DHCP reservation; most modern WoL senders support unicast; routers forward unicast normally |
| Directed Broadcast with IP helper | Router or Layer 3 switch forwards directed broadcast to the target subnet | Requires ip directed-broadcast enabled on the interface (disabled by default in most IOS versions since 12.0; enabling it has security implications) |
| WoL proxy or relay agent | A device on the same subnet as the display receives a forwarded WoL request and re-sends the magic packet locally | Cleanest solution for multi-VLAN campuses; some managed switches support this natively |
For most school districts that segment recognition displays onto a dedicated AV or device VLAN (which is best practice for security and QoS, as described in the 802.1X authentication guide for recognition displays), unicast WoL is the simplest solution. Send the magic packet directly to the display’s IP address using a WoL sender that supports unicast delivery.
Switch Port Configuration
Most managed school switches do not require special configuration for WoL because the NIC’s standby-power state maintains its MAC address registration in the switch’s MAC address table. However, two switch behaviors can interfere with WoL:
MAC address table aging: If the switch’s MAC address table ages out the display’s entry while the host is powered off, the switch will not know which port to forward the magic packet to. On most switches, the default aging time is 300 seconds (5 minutes). After five minutes of inactivity, a magic packet sent to the display’s MAC as a unicast frame will be flooded to all ports in the VLAN, which still delivers it—but if port security or other restrictions are in place that limit flooding, the packet may be dropped. Setting a longer aging time on the port connected to the recognition display, or using directed broadcast to the subnet, avoids this edge case.
PoE power scheduling: Some schools use PoE scheduled power cutoffs on switch ports to reduce energy use. If the switch port powering the recognition display’s PoE access point (if used) is scheduled to cut power overnight, the host will lose AC standby power and WoL will not work. Confirm that no PoE schedule applies to the port the display host’s Ethernet connection terminates on.
Firewall and VLAN ACL Considerations
If network ACLs or firewall rules restrict traffic between the management server’s subnet and the recognition display’s VLAN, add an explicit rule permitting UDP port 9 (and optionally UDP port 7) from the management server to the recognition display’s IP address (or to the display subnet’s broadcast address if using directed broadcast). WoL packets are small (102 bytes) and low-frequency; the rule poses negligible security risk when scoped to the specific source and destination.
Step 4: Sending the Magic Packet — WoL Sender Options
With BIOS, adapter, and network prerequisites in place, the final configuration layer is the mechanism that actually sends the magic packet on schedule.
Windows Built-In Options
Windows does not include a native WoL sender. The most common approaches for school IT environments are:
PowerShell magic packet sender: A PowerShell function can send a WoL magic packet without installing any third-party software, which simplifies deployment in environments with strict software policies. The following script sends a WoL magic packet to a specific MAC address:
function Send-WakeOnLan {
    param([string]$MacAddress, [string]$BroadcastAddress = "255.255.255.255")
    $mac = $MacAddress -replace '[:-]', ''
    $bytes = [byte[]]( ,0xFF * 6) + ($mac -split '(..)' | Where-Object { $_ } | ForEach-Object { [Convert]::ToByte($_, 16) }) * 16
    $udp = New-Object System.Net.Sockets.UdpClient
    $udp.Connect([System.Net.IPAddress]::Parse($BroadcastAddress), 9)
    $udp.Send($bytes, $bytes.Length) | Out-Null
    $udp.Close()
}

Send-WakeOnLan -MacAddress "AA-BB-CC-DD-EE-FF" -BroadcastAddress "192.168.10.255"
Replace AA-BB-CC-DD-EE-FF with the display host’s MAC address and 192.168.10.255 with the broadcast address of the display’s subnet (or the display’s static IP for unicast delivery).
Third-party GUI tools: Tools such as SolarWinds Wake-On-LAN (free for individual use), Depicus Wake on LAN, or ManageEngine WoL utility provide graphical interfaces and scheduling features that may be preferred in environments where non-technical staff need to trigger wake events manually.
Network Management Platforms: If the school uses an RMM (Remote Monitoring and Management) tool such as NinjaRMM, Atera, or Datto RMM, most of these platforms include WoL functionality natively. The display host must be enrolled as a managed device. This is the preferred approach for IT teams already operating an RMM, as it integrates WoL into the same platform used for patch management and remote access.
Scheduled Task Configuration (Windows Task Scheduler)
To automate WoL on a fixed schedule, create a Windows Scheduled Task on a management server or workstation that remains powered on:
- Open Task Scheduler (search in Start menu).
- Select Create Task (not Create Basic Task, for full control).
- On the General tab: give the task a name (e.g.,
WoL-Athletic-Lobby-Display), select Run whether user is logged on or not, and check Run with highest privileges. - On the Triggers tab: click New. Set Begin the task to On a schedule. Configure the schedule to match your event calendar—for example, Weekly on game days (Monday, Wednesday, Friday) at 4:30 PM if home games begin at 6:00 PM.
- On the Actions tab: click New. Set Action to Start a program. In the Program/script field, enter
powershell.exe. In the Add arguments field, enter:
-ExecutionPolicy Bypass -File "C:\Scripts\Send-WakeOnLan.ps1"
Save the PowerShell script from the previous section to C:\Scripts\Send-WakeOnLan.ps1 on the management machine before creating the task.
- On the Conditions tab: uncheck Start the task only if the computer is on AC power if the management machine is a laptop that may be on battery.
- On the Settings tab: check Run task as soon as possible after a scheduled start is missed so that a management machine restart does not cause the display to miss its startup signal.
Test the task by right-clicking it in Task Scheduler and selecting Run. Confirm the display host powers on within 30 seconds.
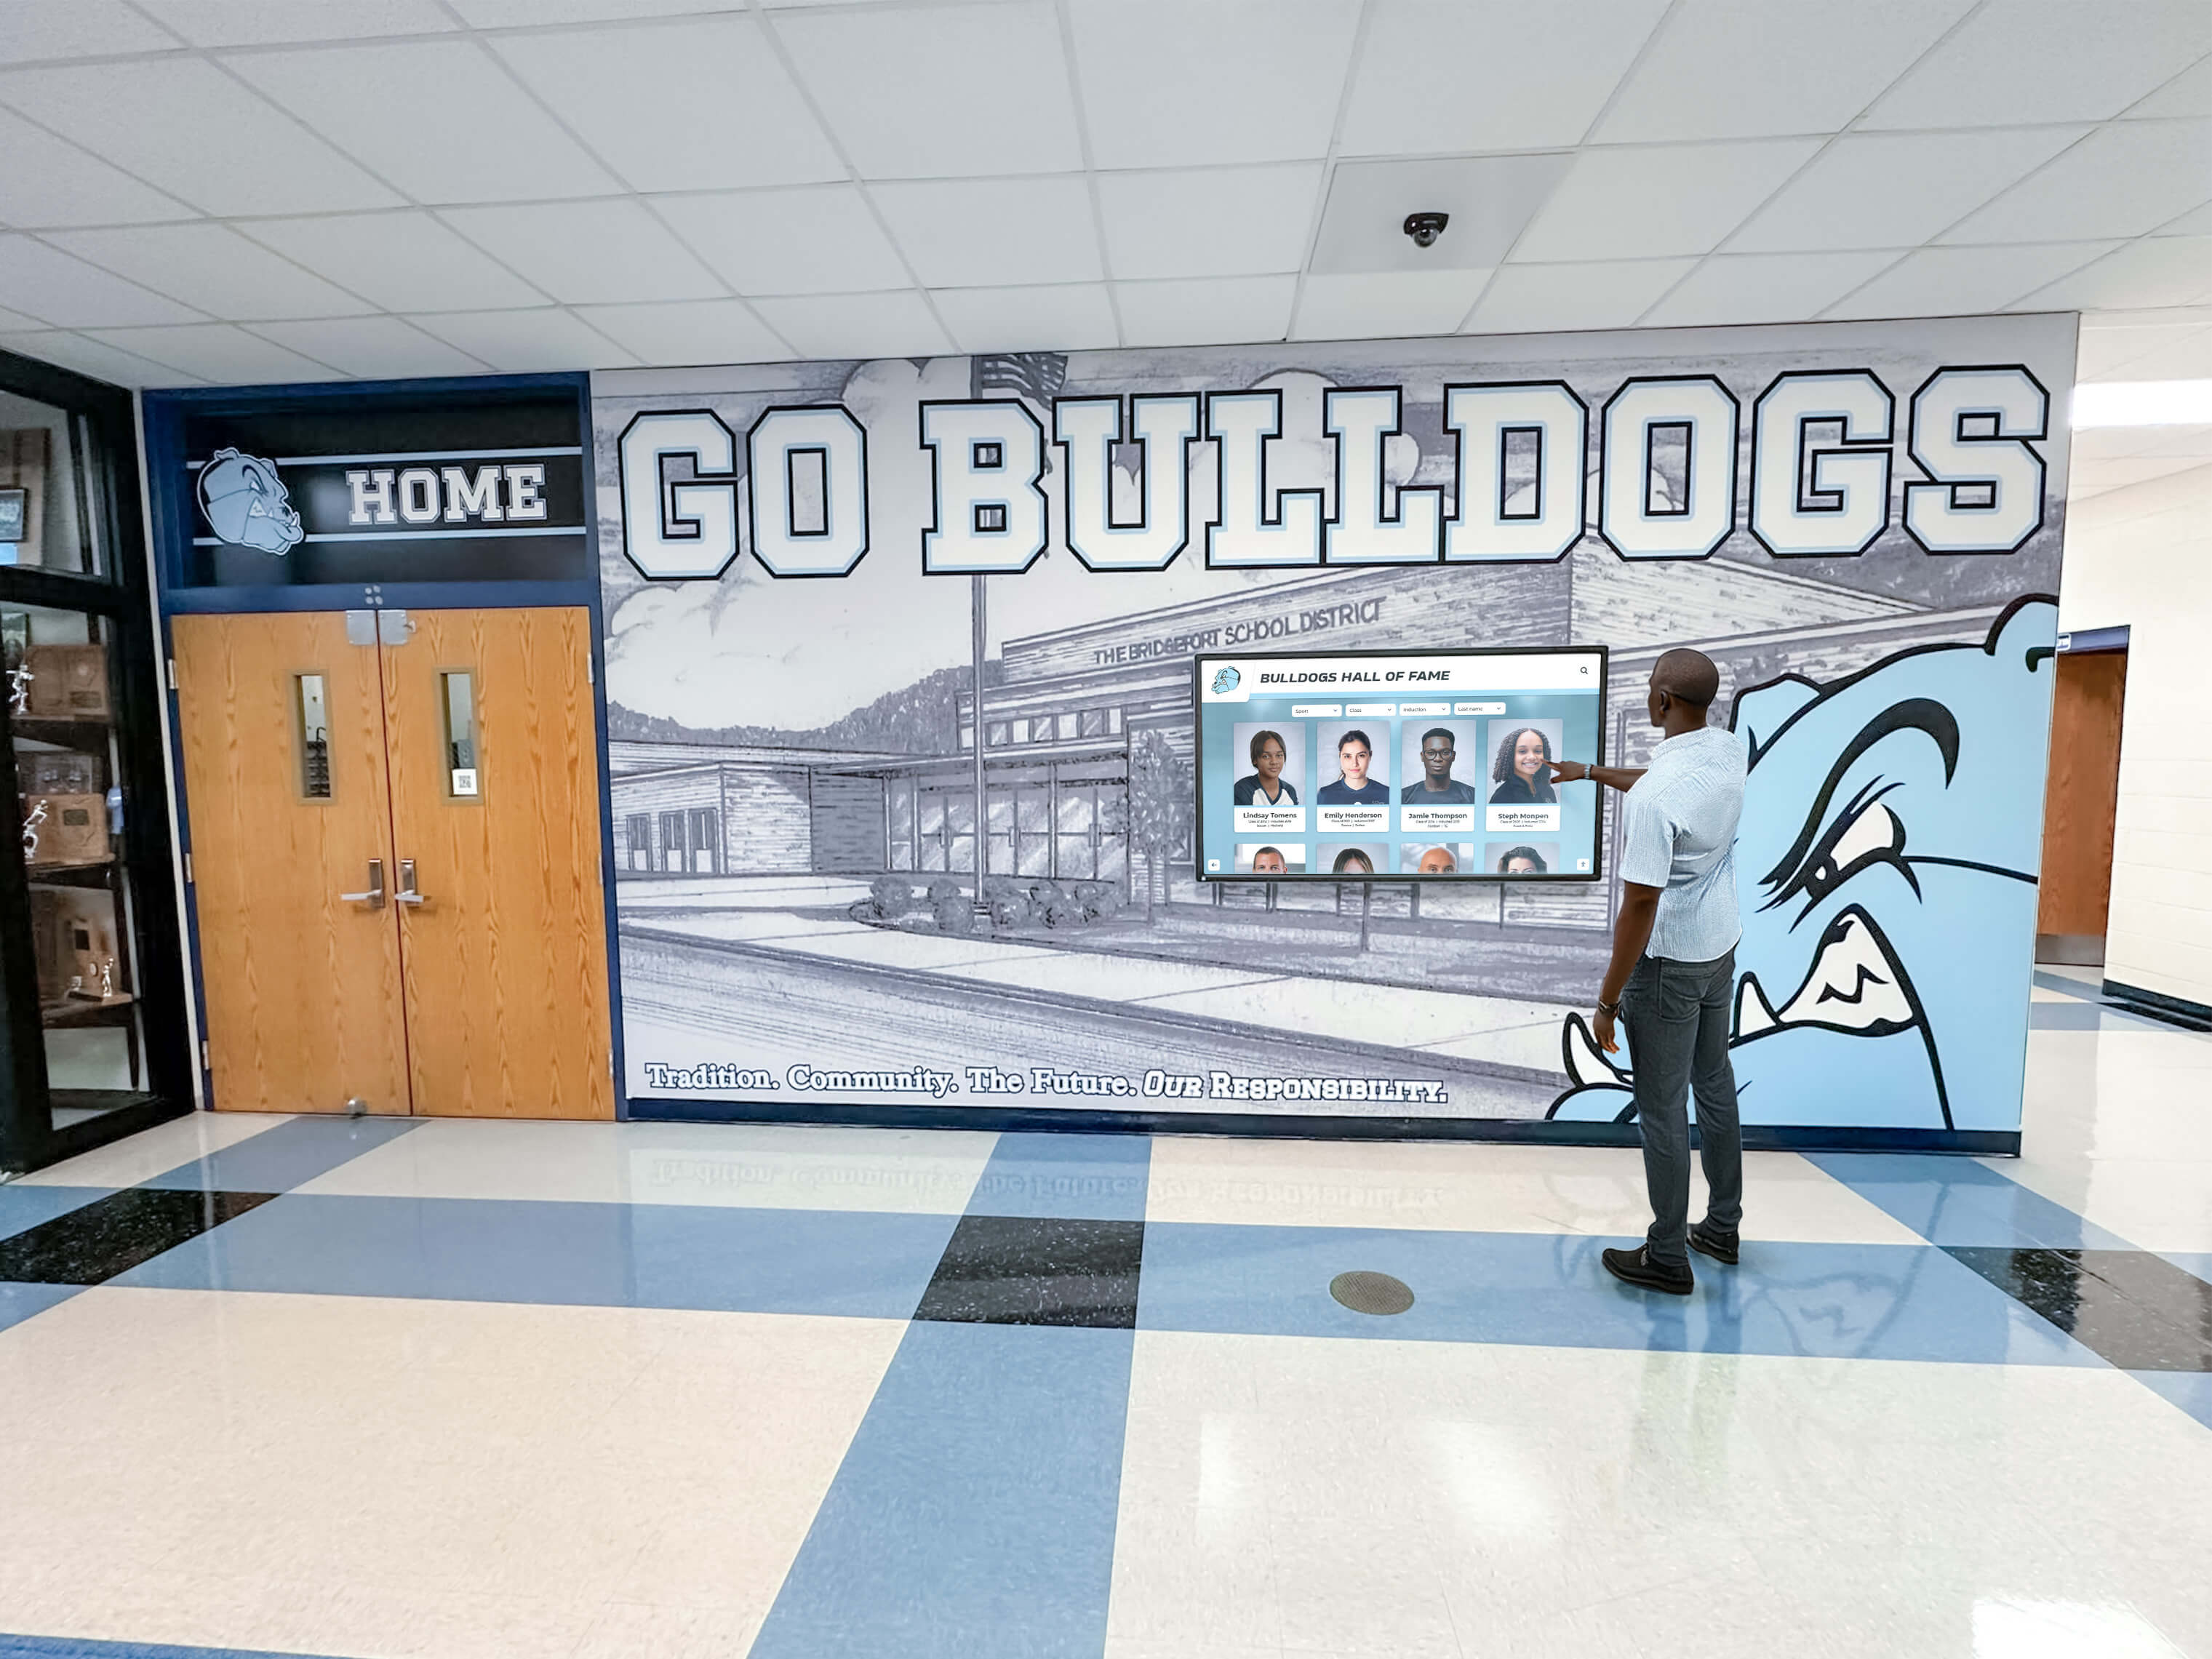
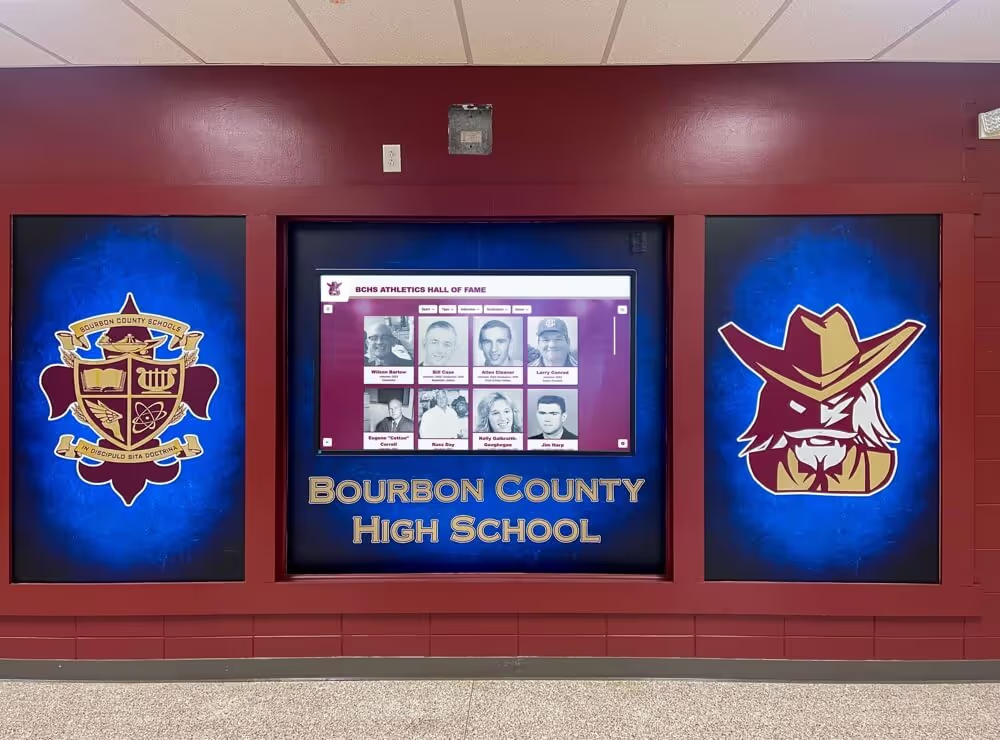
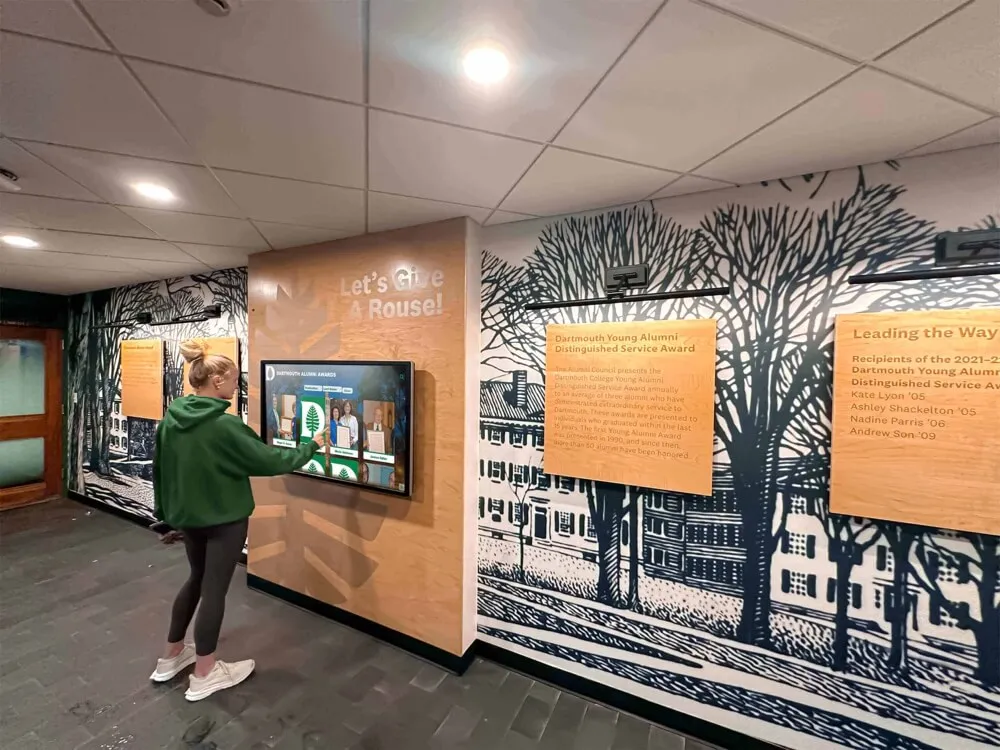
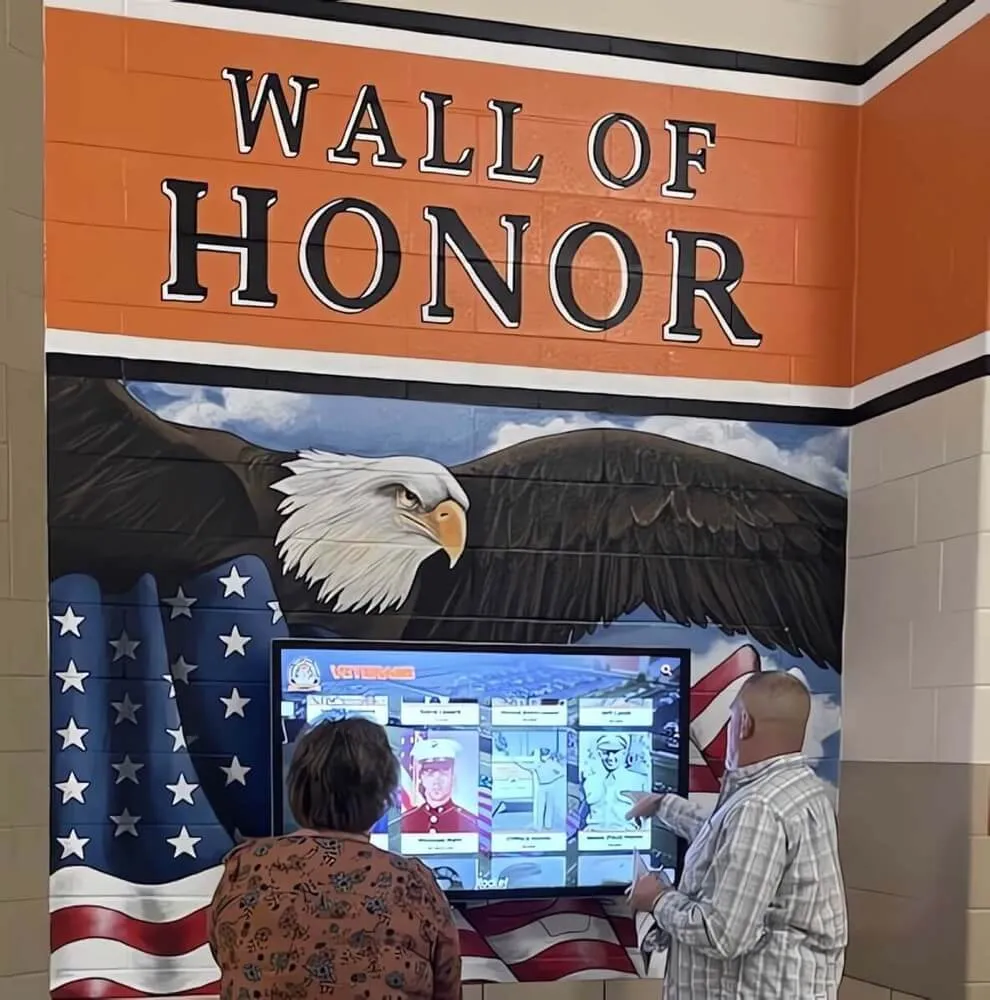
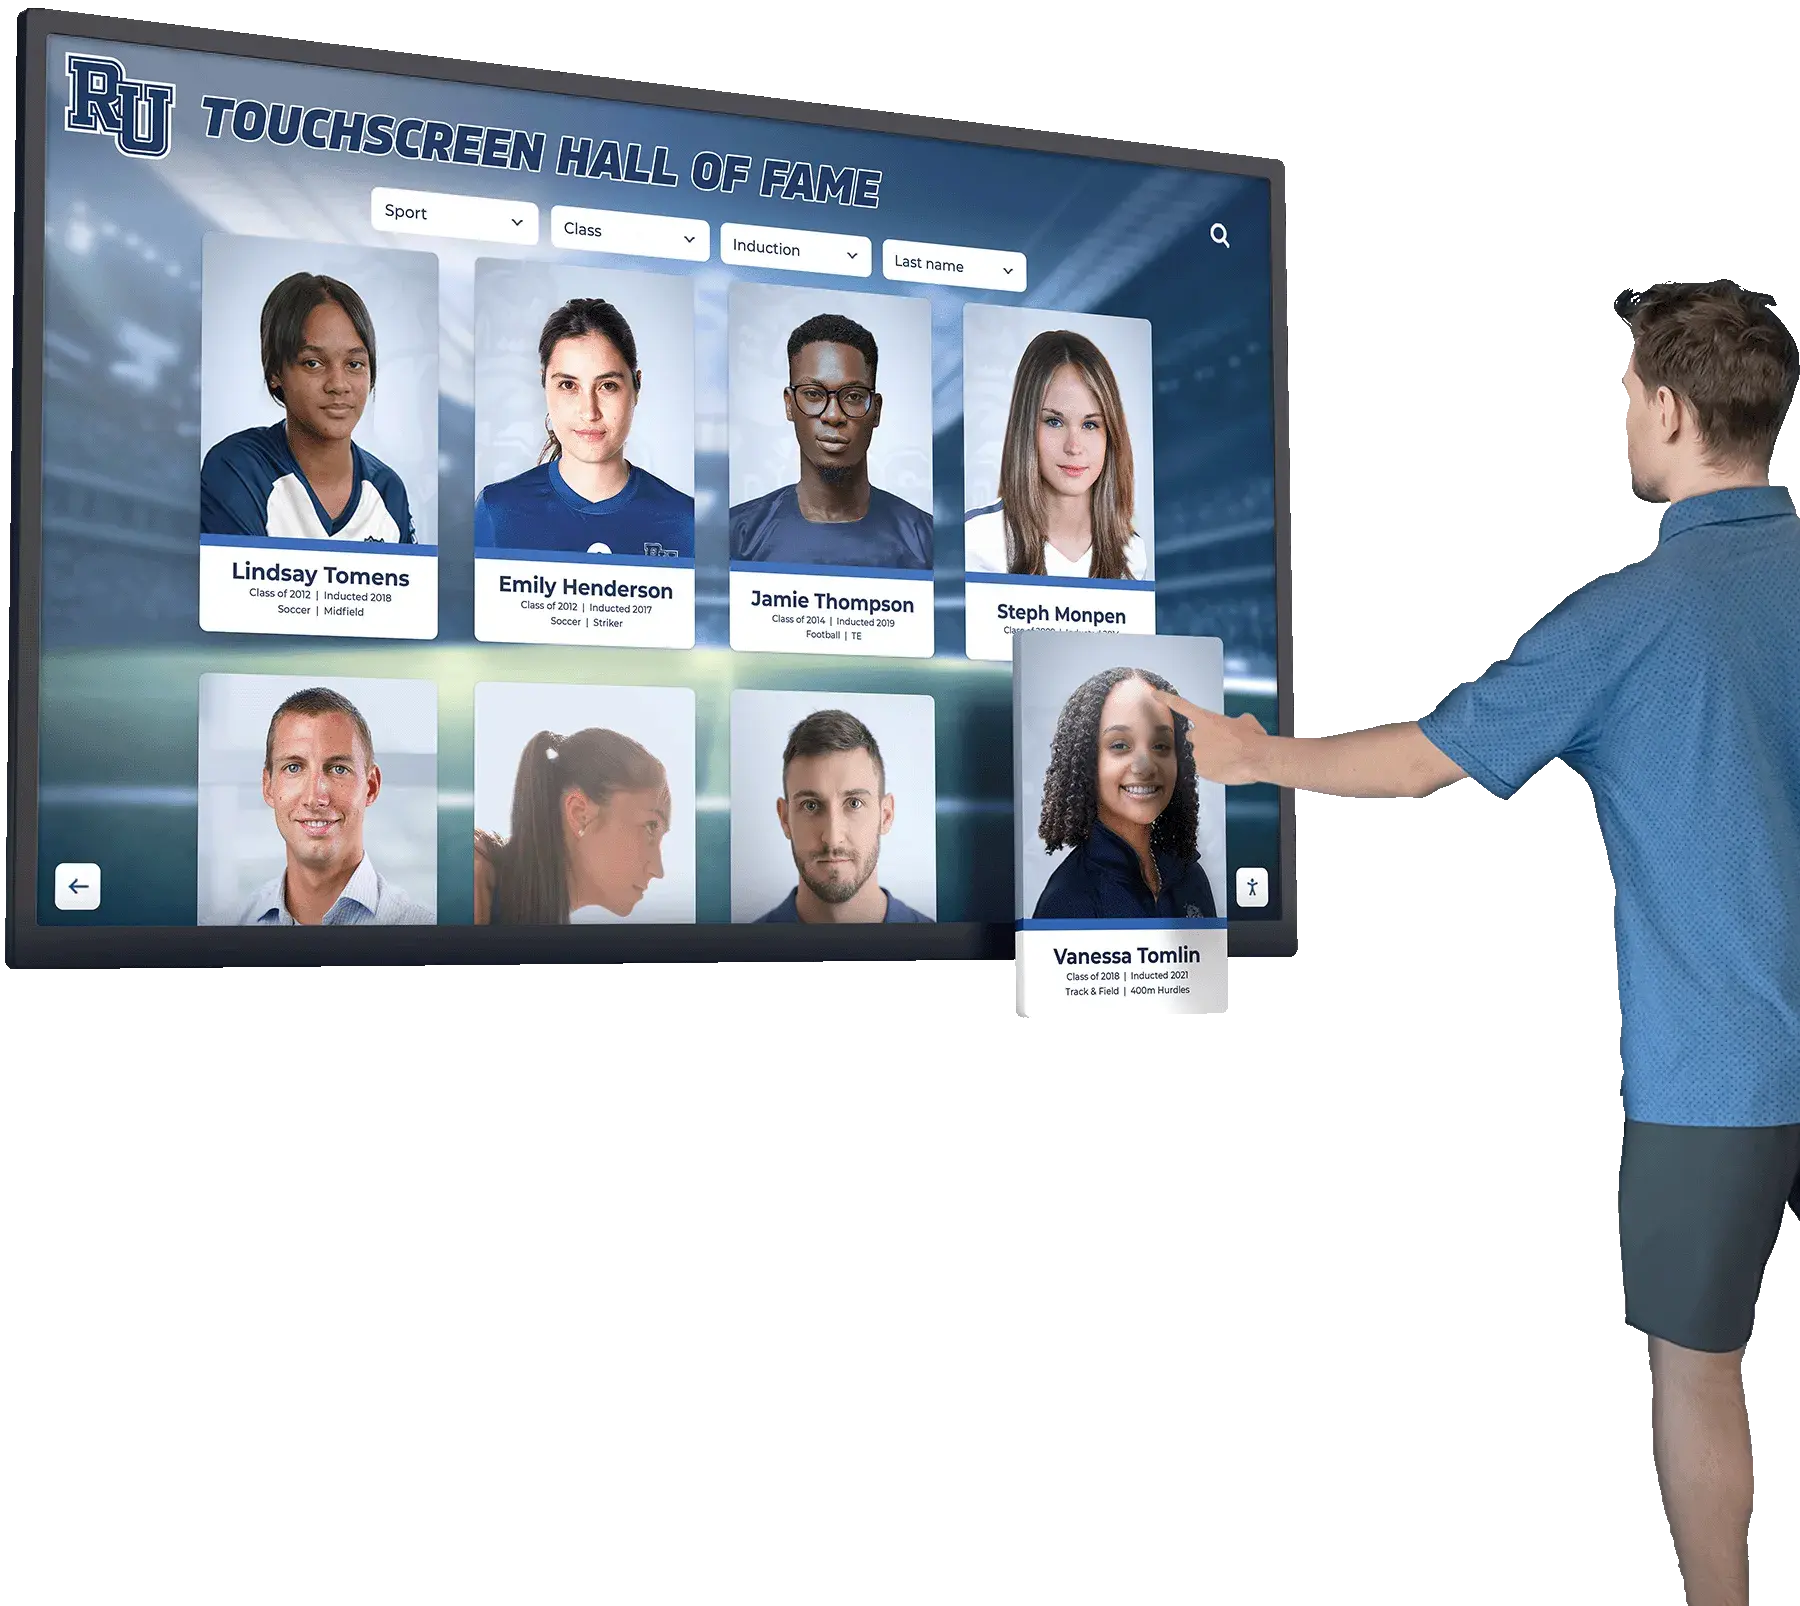
Recognition touchscreens serve students and visitors throughout events—Wake-on-LAN scheduling guarantees the system is running and responsive from the moment doors open
Step 5: Verification Procedure
After completing BIOS, adapter, network, and scheduler configuration, run a complete verification test before the first live event depends on WoL.
Manual WoL Test
- Fully shut down the display host from Windows (Start → Power → Shut down). Confirm the system is powered off—fans stopped, indicator LED off.
- Wait 60 seconds to allow the MAC address table aging timer to run on the switch (optional but eliminates timing as a variable on first test).
- From the management server, run the WoL sender PowerShell script manually.
- Observe the display host. It should begin the POST process within 5–30 seconds. Time this and record it; the startup-to-ready time (from WoL packet to recognition software displaying content) determines how far in advance of an event the scheduled task should fire.
- Confirm the recognition platform launches automatically on startup (configure it as a startup program or service if it does not launch by default).
If the display host does not power on within 60 seconds:
| Failure Symptom | Most Likely Cause | Diagnostic Step |
|---|---|---|
| Host does not power on at all | BIOS WoL not enabled, or NIC not receiving standby power | Re-enter BIOS, confirm WoL is enabled; verify AC power is present |
| Host powers on when WoL packet is sent from same subnet, not from management subnet | Magic packet not crossing subnet | Switch to unicast WoL targeting the display’s IP address |
| Host powers on intermittently | MAC address table aged out, directed broadcast not reaching NIC | Use unicast WoL or confirm directed-broadcast forwarding |
| Host powers on but recognition software does not launch | Startup program not configured | Add recognition software to Windows startup programs |
| Scheduled task fires but display stays off | Task running on wrong machine, or script path incorrect | Check Task Scheduler history tab for run status and any error output |
Startup-to-Ready Timing
Commercial mini-PCs and NUCs used for recognition displays typically take 60–120 seconds from WoL signal to fully booted Windows desktop. Add another 15–30 seconds for the recognition platform to initialize, connect to its content-update server, and display the first content screen. Total startup-to-ready time is typically 2–3 minutes.
Set the scheduled task to fire this amount of time before visitors are expected to arrive. For a home game with doors opening at 5:30 PM, a 5:25 PM wake signal provides adequate buffer. For evening ceremonies or end-of-season athletic recognition programs where the lobby display is part of the arrival experience, an earlier wake time—15–20 minutes before doors—ensures the display is fully initialized and showing content before the first guest walks in.
Automated Verification (Optional)
For campuses managing multiple recognition displays, an automated verification step after WoL confirms each display is online before staff arrive. A ping sweep or HTTP check to the recognition platform’s local management endpoint, scheduled to run five minutes after the WoL task, generates an alert if any display fails to respond. Platforms that include device health dashboards provide this visibility natively; a simple PowerShell script using Test-Connection achieves the same result without additional software.
Scheduled Shutdown Configuration
A complete power management strategy pairs WoL startup with scheduled shutdown, so displays power off automatically at the end of events rather than requiring manual action.
Windows Task Scheduler Shutdown Task
Create a second Scheduled Task that runs shutdown.exe /s /t 0 at a fixed time after events end—for example, 9:00 PM on game nights. This fully powers off the host, which enables WoL for the next scheduled startup.
Alternatively, use shutdown.exe /h to hibernate instead of full shutdown. Hibernate preserves the system state to disk and also accepts WoL signals (from S4), which means startup after hibernate is faster (30–45 seconds versus 90–120 seconds for a cold boot) and the recognition platform restores its session without relaunching from scratch.
For recognition displays that host digital hall-of-fame profiles with detailed athlete histories and reading-level-appropriate content, a consistent hibernate-and-wake cycle may be preferable to full shutdown-and-boot because the recognition platform’s content cache and session state are preserved, reducing the time to display fully populated content after wake.
Group Policy Power Management (Domain-Joined Displays)
For recognition displays joined to the school’s Active Directory domain, Group Policy provides a centrally managed alternative to per-device Task Scheduler configuration:
- Computer Configuration → Administrative Templates → System → Power Management → Sleep Settings: Configure hibernate timeout and sleep timeout.
- Computer Configuration → Windows Settings → Scripts → Shutdown: Deploy a shutdown or hibernate script that runs at a domain policy-controlled time.
- Power Plans: Deploy a custom power plan via Group Policy that defines wake timers, sleep timeouts, and display-off timers appropriate for recognition display operation.
Group Policy-based power management is more maintainable than per-device Task Scheduler tasks in environments with multiple recognition displays, as the schedule can be updated centrally and applied across all managed devices without touching each machine individually.
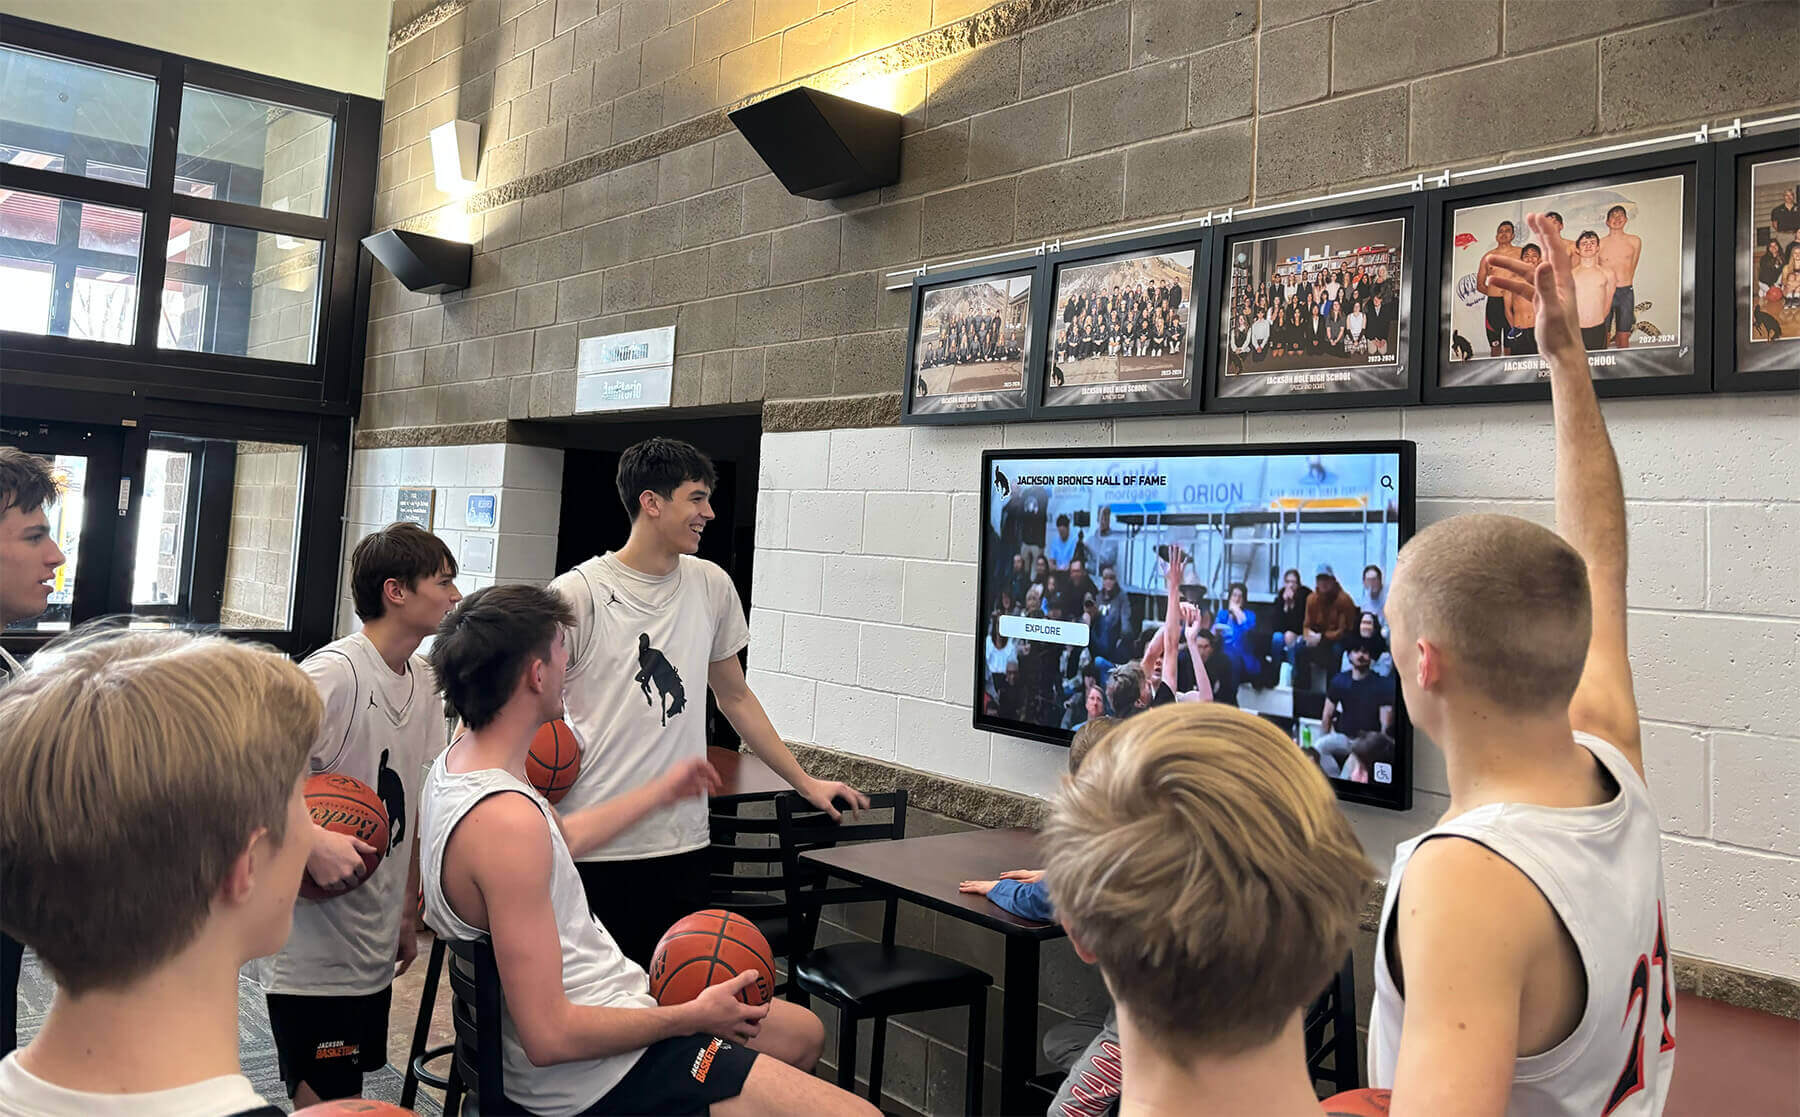
Student-athletes and families gathering in the lobby before a game expect recognition screens to be on and showing content—WoL scheduling makes that expectation reliable without staff intervention
Special Considerations for School Athletic Lobby Environments
Non-Standard Event Schedules
School athletic calendars are not fixed weekly schedules—playoff dates change, home games are rescheduled due to weather, and special events like alumni reunions or induction ceremonies fall on irregular dates. A rigid weekly Task Scheduler configuration will not automatically accommodate these changes.
Solutions:
- Supplement the weekly schedule with on-demand WoL. Provide the athletic director or designated staff member with a simple WoL tool (a one-click desktop shortcut that runs the PowerShell script, or a lightweight GUI WoL application) so they can wake the display on unscheduled event days without IT involvement.
- Use an RMM-based WoL trigger. RMM platforms typically allow WoL to be triggered from a web dashboard, which the athletic director can access without installing any software. This also gives IT visibility into when the display was manually woken.
- Build a shared event calendar integration. Advanced environments can trigger WoL automatically from a shared Google Calendar or Outlook calendar event using Power Automate (Microsoft 365) or a simple Python script that reads the calendar and sends WoL packets for events matching recognition display location tags. This requires more setup but eliminates manual coordination entirely.
Schools managing alumni reunion planning alongside regular athletic events—where the lobby recognition display serves as a centerpiece for returning graduates—benefit from calendar-integrated WoL so that reunion weekend events are covered automatically alongside the regular sports schedule. The alumni reunion planning guide notes that arrival experiences shape guest impressions significantly; a dark or booting recognition display when alumni first walk through the lobby undercuts the impact of the program.
Multiple Display Deployments
Many school athletic programs operate more than one recognition display—a lobby touchscreen kiosk, a hallway record board, and a trophy room archive screen may all serve the same event audience from different physical locations. In multi-display deployments:
- Create separate scheduled tasks (or separate entries in the WoL script) for each display host’s MAC address.
- Stagger the WoL packets by 5–10 seconds between displays to avoid a simultaneous power surge on shared circuits.
- Document each display’s MAC address, IP address, subnet, and location in a single reference spreadsheet accessible to all IT and facilities staff.
For athletic programs with recognition displays across multiple buildings—a main gymnasium lobby, a field house entrance, and a natatorium hallway—verify that the management server’s WoL packets can reach each building’s VLAN using the unicast or directed-broadcast approach described in Step 3.
Interaction with Recognition Platform Auto-Launch
For WoL to deliver its full value, the recognition platform must launch automatically when Windows starts, without requiring a user to log in and start the application manually. Configure automatic launch through one of these methods:
- Windows Startup folder: Place a shortcut to the recognition platform executable in
C:\ProgramData\Microsoft\Windows\Start Menu\Programs\Startup(applies to all users, launches after any login). - Task Scheduler at logon: Create a Task Scheduler task triggered by At log on that launches the recognition application. This method supports more control options (run as specific user, delay, etc.).
- Windows auto-logon with startup: Configure the display host to automatically log into a designated service account using the Windows
netplwizauto-logon setting, combined with a startup entry for the recognition platform. This approach is appropriate for dedicated kiosk machines that run only the recognition software.
Rocket Alumni Solutions recognition displays are designed to launch and restore their content session automatically on startup, so that IT teams do not need to configure the application launch separately from the WoL wake mechanism.
Testing Before the First Live Event
Do not validate WoL for the first time on a live event day. Run the complete verification procedure at least one week before the first event that depends on the display:
- Full shutdown test (host powers off, WoL packet wakes it, recognition platform launches automatically).
- Scheduled task test (create a test trigger five minutes in the future, observe the display power on without any manual action).
- Startup timing measurement (record the time from WoL packet to content-visible state and use this to set the pre-event wake offset).
- Edge case test: cut AC power to the display host and restore it; confirm the BIOS power-restore policy keeps the machine off and WoL functions correctly after the next scheduled task fires.
Schools that maintain digitally archived athletic records and hall-of-fame profiles as part of their recognition program cannot afford to discover a WoL misconfiguration during an induction ceremony. The week-before test window provides enough time to resolve any BIOS, network, or scheduling issues without event pressure.
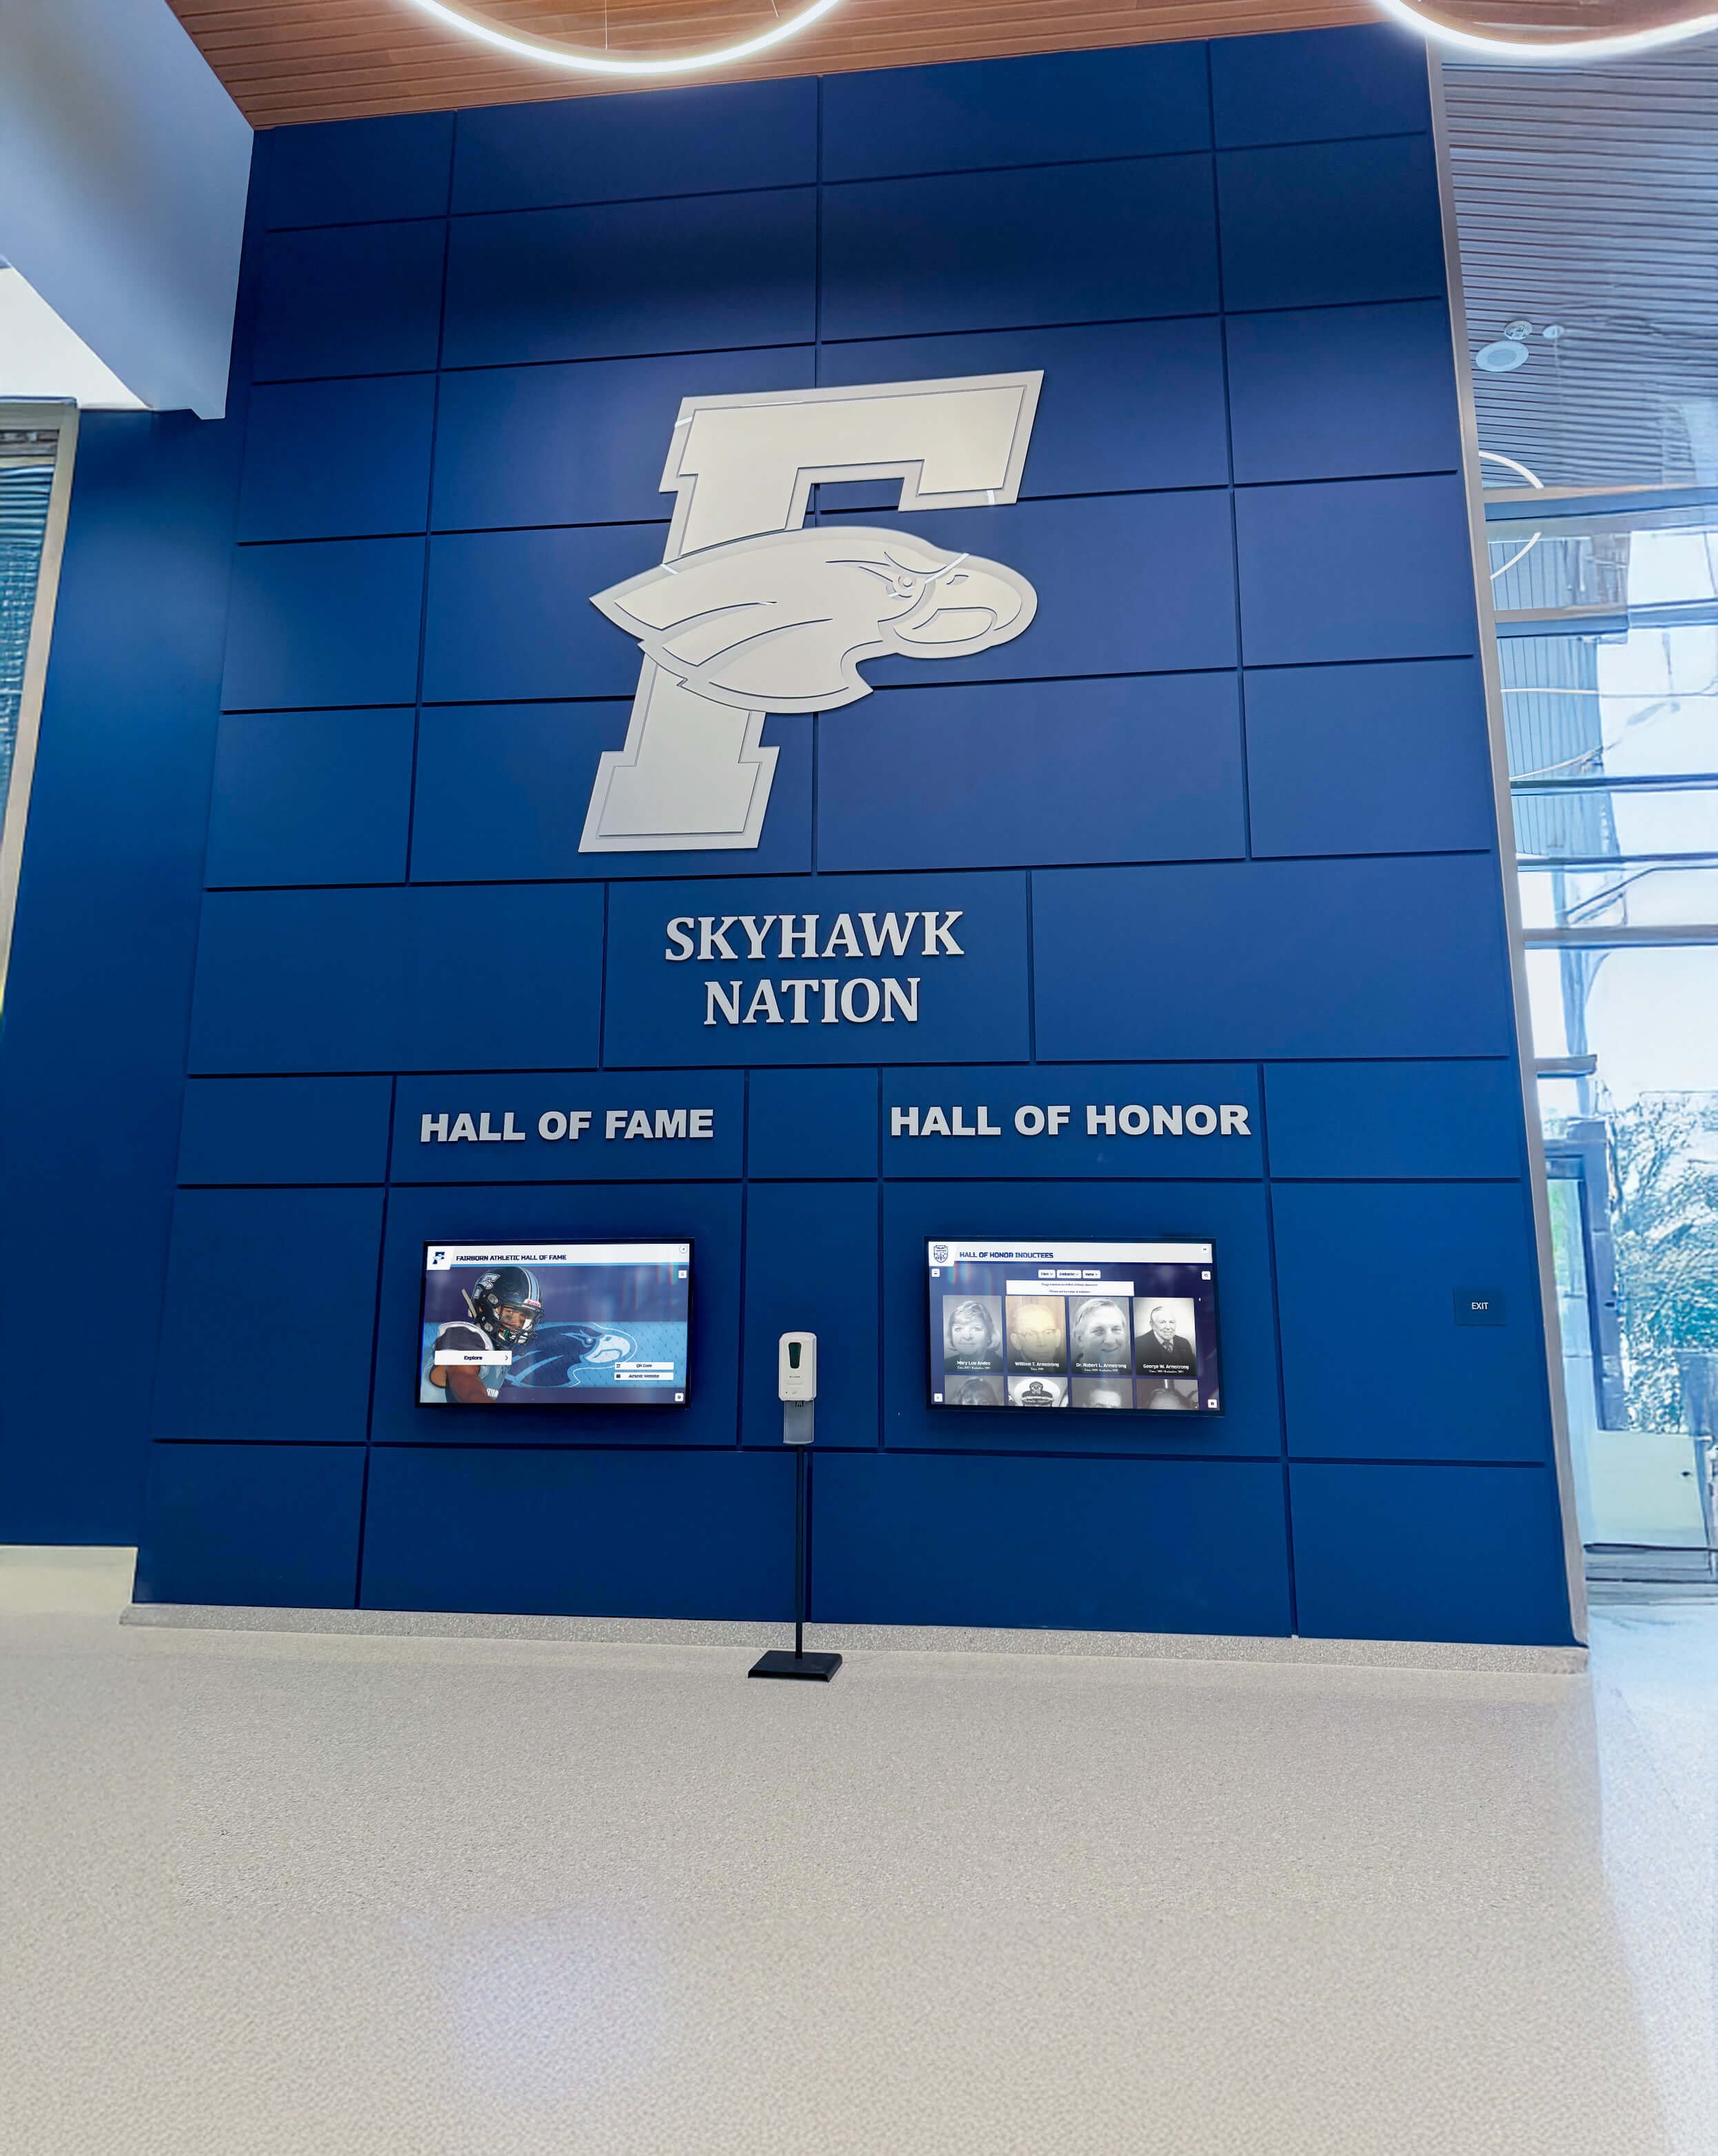
Lobby honor boards and recognition walls greet visitors at the entrance to every event—Wake-on-LAN scheduling makes that greeting consistent and automatic across the full athletic season
Troubleshooting Reference
WoL Works from the Same Subnet but Not Across the Network
This is the most common WoL failure in school environments with VLANs. The management server and the display are on different subnets, and the broadcast magic packet does not cross the router.
Resolution: Switch the WoL sender to unicast mode. In the PowerShell script, replace the broadcast address (255.255.255.255 or the subnet broadcast) with the display host’s specific IP address. Unicast packets are routed normally. Confirm the display has a static IP or DHCP reservation so the IP address is stable after power-off.
BIOS Shows WoL Enabled but the Host Never Wakes
The BIOS setting is necessary but not sufficient. The Windows network adapter must also be configured to accept magic packets.
Resolution: Confirm that Wake on Magic Packet is enabled in Device Manager → Adapter Properties → Advanced tab. Also confirm that Fast Startup is disabled in Windows power options (see Step 2). On some hardware, the BIOS WoL setting is ignored when Windows Fast Startup is active because the hybrid shutdown state interferes with magic packet detection at the firmware level.
Host Wakes Randomly at Night Without a WoL Signal
The adapter is waking on traffic other than magic packets.
Resolution: In Device Manager → Adapter Properties → Advanced tab, set Wake on Pattern Match to Disabled. This ensures only magic packets (not ARP broadcasts or other matching patterns) trigger a wake event. Also confirm no other scheduled tasks or RMM agents are sending WoL packets on an unintended schedule.
Recognition Platform Does Not Launch After WoL Wake
The host powers on but the recognition application does not start.
Resolution: Confirm the recognition platform is configured as a startup application (see the Auto-Launch section above). If using auto-logon, confirm the auto-logon account has the startup entry configured. Check the application’s own startup log for errors if it begins launching but fails to complete initialization.
WoL Stops Working After a Windows Update
Some Windows updates re-enable Fast Startup or reset network adapter power management settings to defaults.
Resolution: After major Windows updates, verify Fast Startup status and re-confirm the Wake on Magic Packet adapter setting. If the school uses a managed update policy, consider testing updates on a non-critical machine first and documenting any settings that are reset.
Frequently Asked Questions
Does Wake-on-LAN work if the display host is on Wi-Fi instead of wired Ethernet?
Wake-on-Wireless-LAN (WoWLAN) is supported on some hardware—notably Intel wireless adapters on Wi-Fi 6 and newer—but it requires the wireless access point to maintain a DTIM association with the powered-off device and has significantly more environmental dependencies than wired WoL. For recognition display deployments, wired Ethernet is strongly preferred. If the display host is currently on Wi-Fi, adding a wired Ethernet run to the equipment is the most reliable path to functional WoL.
How long does the display host’s MAC address stay in the network switch’s table after power-off?
Most managed switches default to a MAC address table aging time of 300 seconds (5 minutes). After that, the entry is removed and the switch floods any unicast frame to all ports in the VLAN. For WoL purposes, this means a magic packet sent as a directed MAC-address unicast more than 5 minutes after shutdown will still arrive (via flooding) unless port security restricts flooding. Unicast WoL to the IP address avoids this entirely by routing normally regardless of MAC table state.
Can the recognition platform vendor’s support team help with WoL configuration?
Platform vendors typically support and document the WoL requirements for their systems—specifically, whether their software requires any configuration to survive a wake-from-shutdown restart (some platforms require a license reactivation step after certain power states). Contact your platform vendor before finalizing the WoL schedule to confirm there are no application-layer requirements that interact with the power management configuration.
What happens if the management server is powered off when a scheduled WoL task is supposed to fire?
The scheduled task does not fire if the host machine running Task Scheduler is powered off. For recognition displays that must wake reliably regardless of management server availability, consider using a dedicated low-power always-on device (a Raspberry Pi, a network-attached storage device with WoL support, or an IoT-capable switch) as the WoL sender. Some network switches also support WoL scheduling natively without requiring an external sender.
Is WoL a security risk on a school network?
WoL’s security surface is narrow: an attacker who can send a magic packet to the display’s MAC address can power it on. This is typically not a meaningful threat for recognition displays (powering on a display does not grant access to sensitive data). To minimize risk, apply the standard network segmentation practices—keep recognition displays on a dedicated VLAN with firewall rules restricting inbound UDP port 9 to the management server’s IP address only.
Can WoL be combined with an uninterruptible power supply (UPS)?
Yes. A UPS on the recognition display host’s AC circuit ensures that brief power fluctuations do not interrupt standby power delivery to the NIC. For school athletic lobbies where electrical circuits may share loads with gymnasium lighting and sound systems that create voltage fluctuations on event evenings, a UPS protects both the WoL function and the host hardware itself.
Recognition displays in school athletic lobbies document the achievements—the championship seasons, the individual records, the decades of tradition—that define a school’s identity for student-athletes, alumni, and the broader community. Keeping those displays reliably powered on for every event, without wasting energy overnight or burdening staff with manual startup tasks, is a solvable infrastructure problem. A properly configured Wake-on-LAN setup—with BIOS prerequisites, adapter settings, network forwarding, and a scheduled task working together—delivers consistent, automatic startup that matches the display’s operating window to the athletic calendar.
See how Rocket Alumni Solutions recognition displays are built for reliable, low-maintenance operation in school athletic lobbies—with deployment guidance, IT-friendly configuration documentation, and support for the AV and IT teams who keep these systems running.