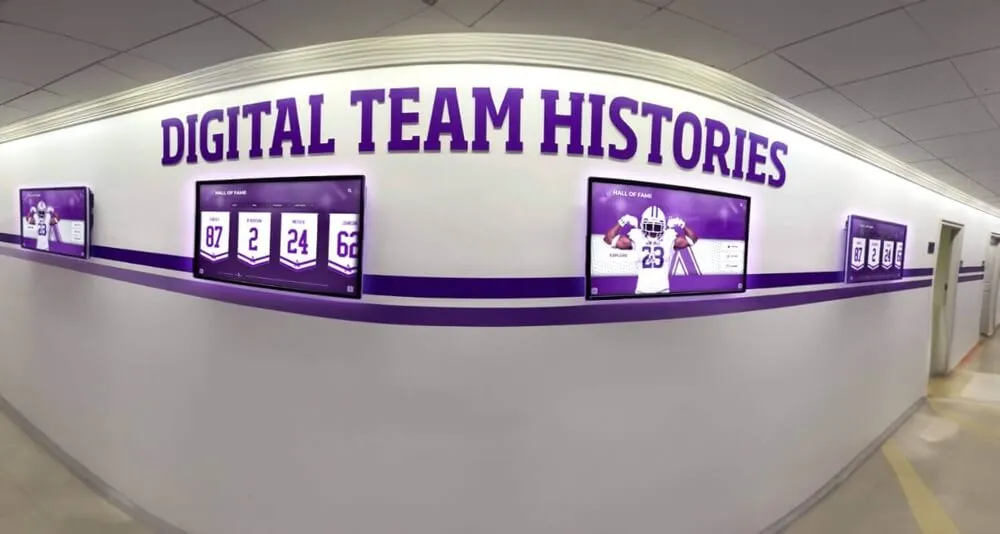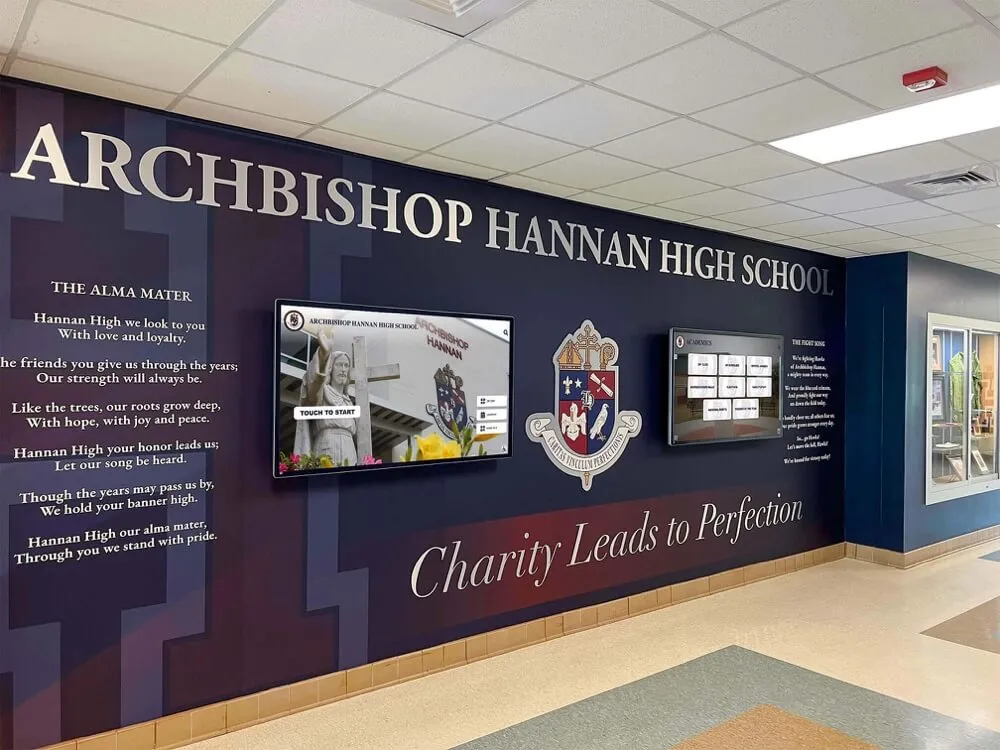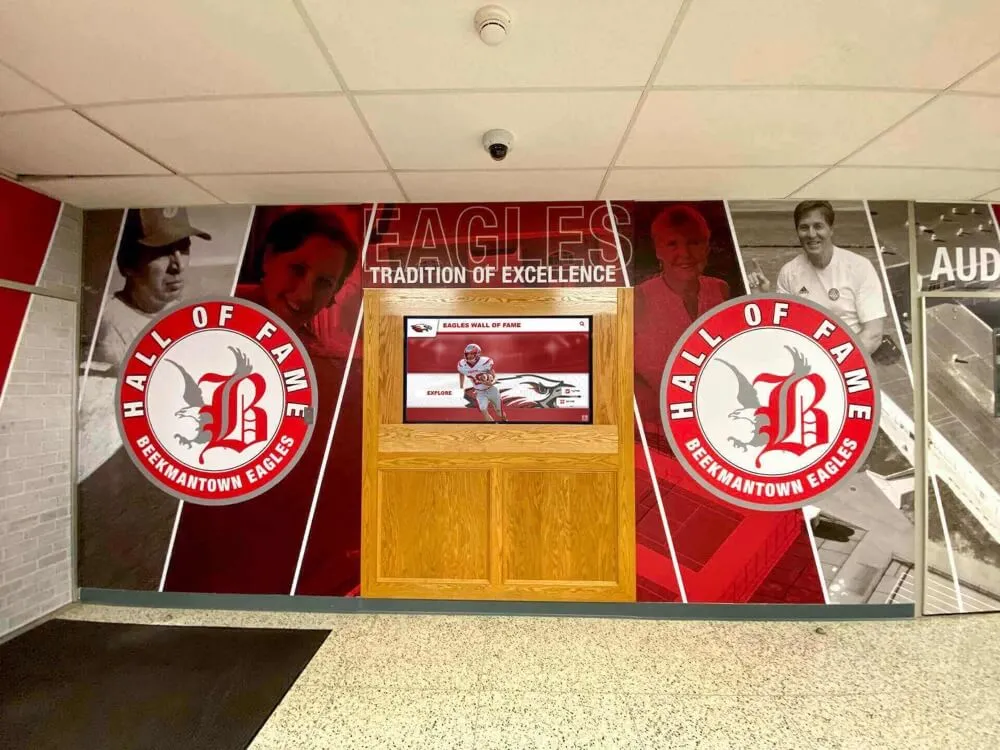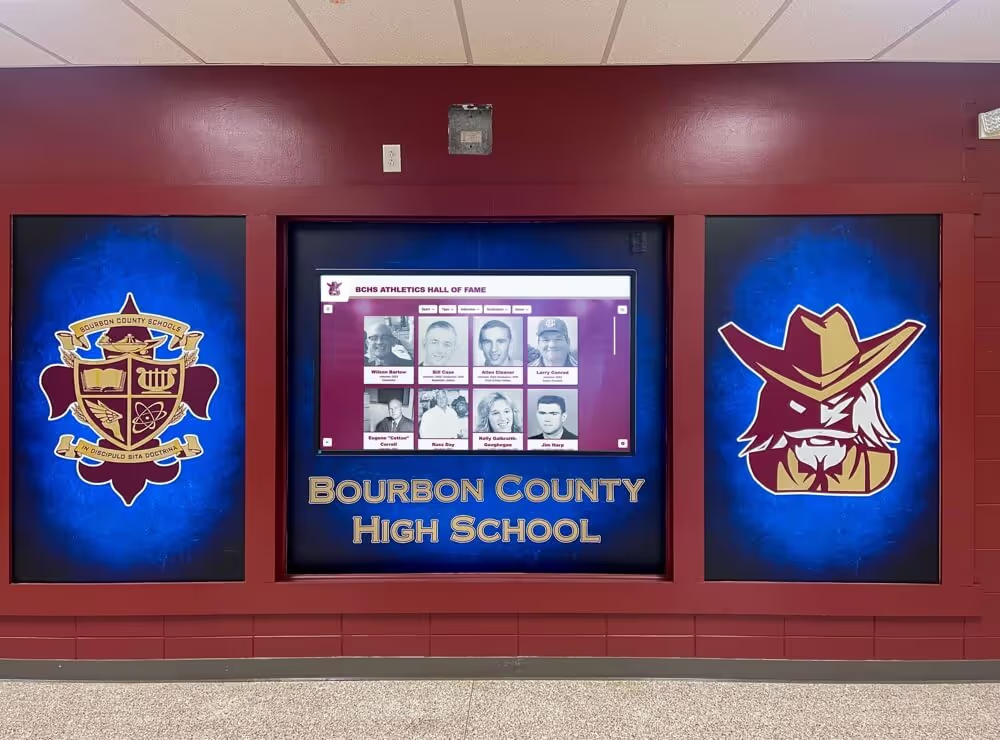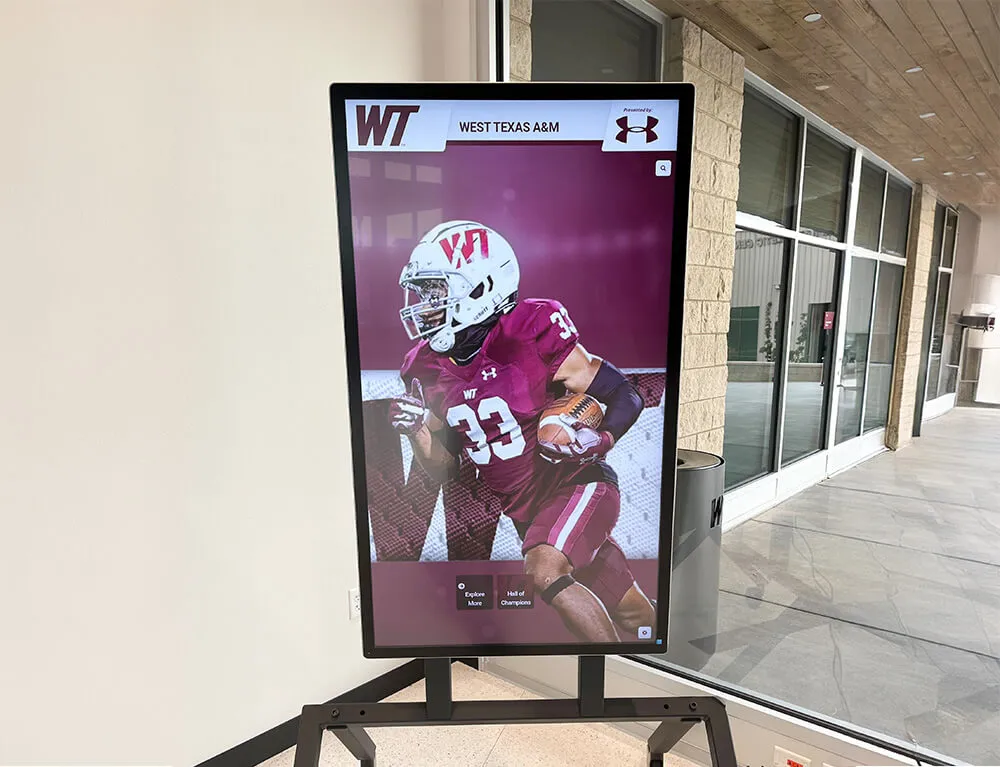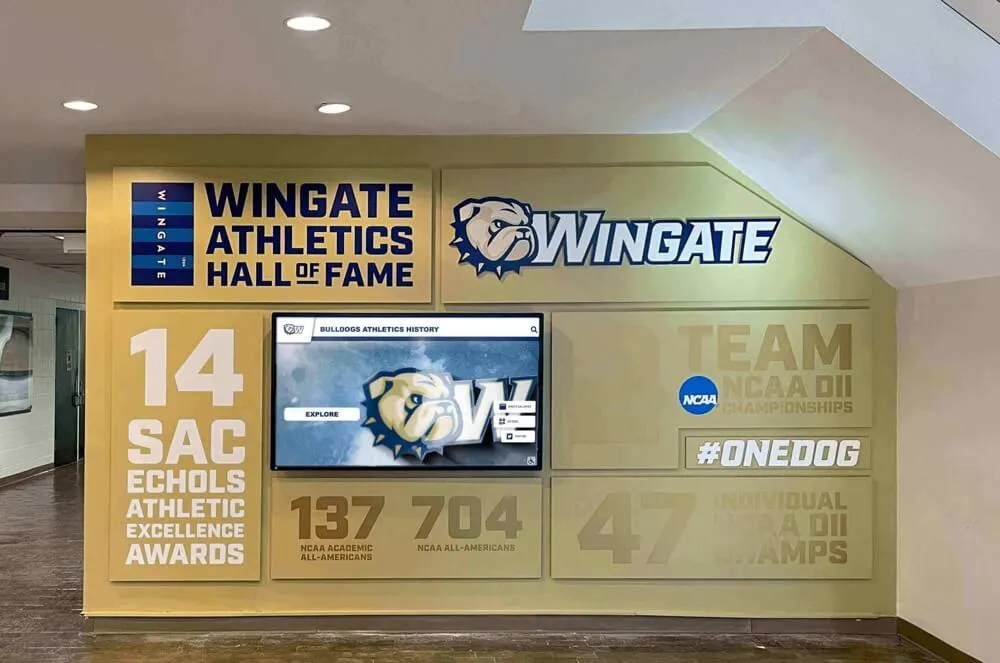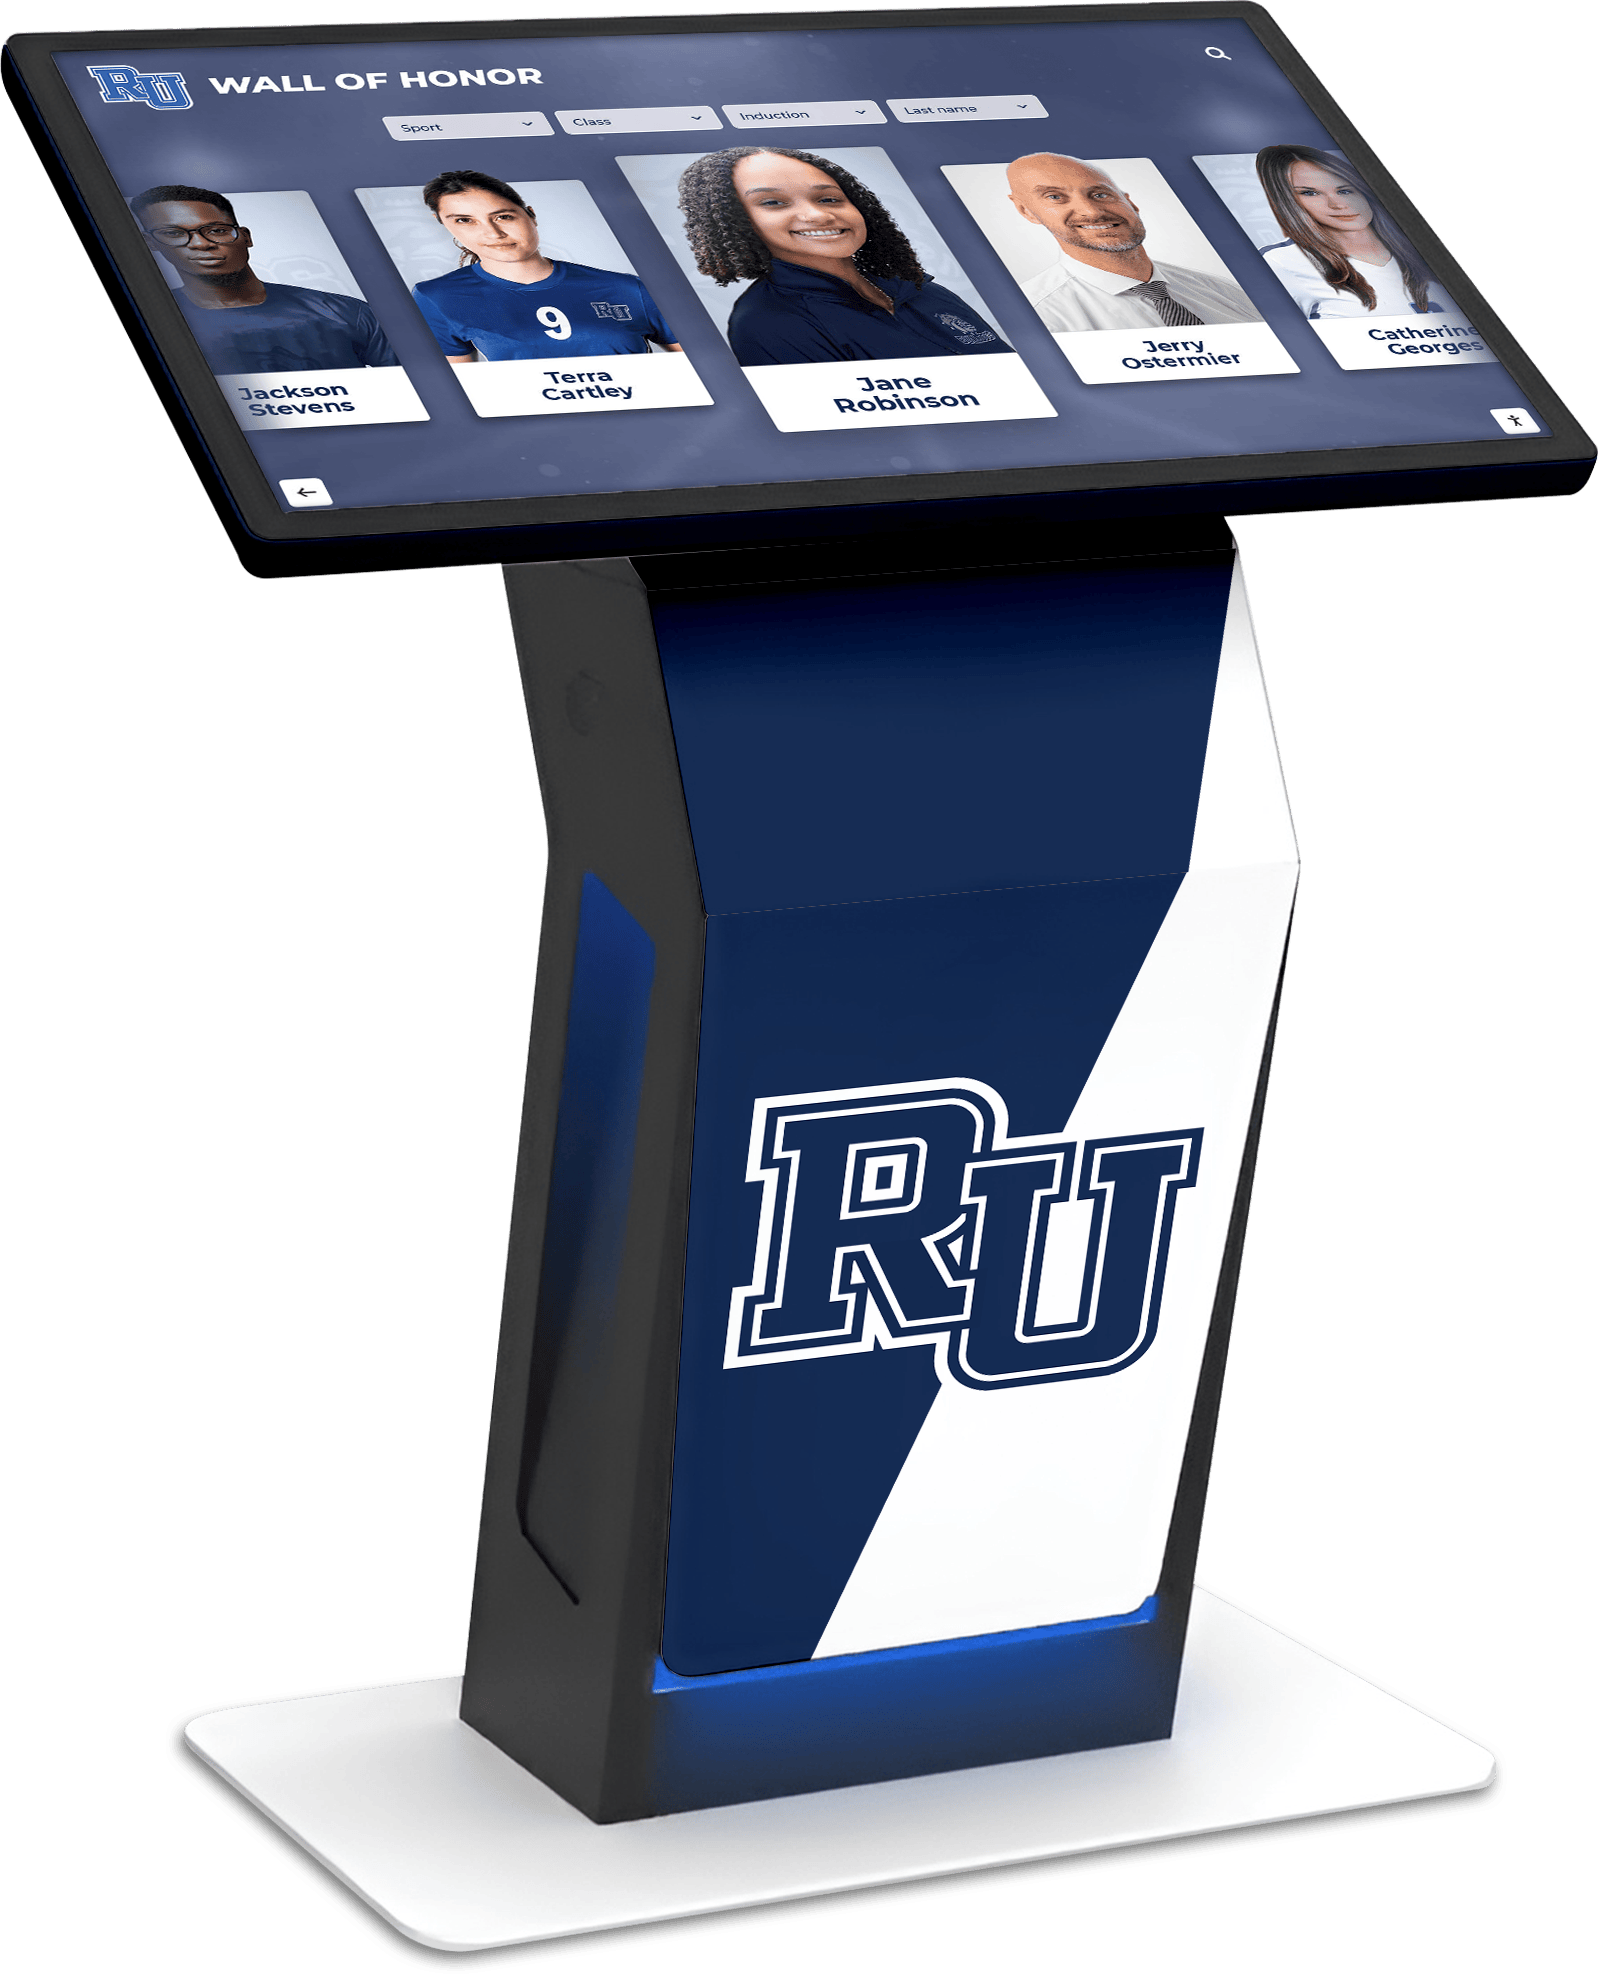




A touchscreen recognition display captive portal compatibility checklist is the structured pre-installation and ongoing verification process that school IT teams use to confirm an unattended recognition kiosk can reach its cloud platform — and reconnect automatically after any credential refresh — without a human clicking through a browser-based login page. Captive portals are ubiquitous on school guest networks, cafeteria segments, and shared athletic-wing WiFi; they are also one of the most common reasons a newly installed hall of fame kiosk works perfectly on installation day and then fails silently when the display restarts overnight and the portal session expires.
Recognition displays are unattended devices. They boot up before the building opens, they restart automatically after power events, and they must synchronize content updates from the cloud platform without IT intervention. A captive portal that interrupts any one of those reconnection events leaves the display isolated from its backend — unable to pull updated inductee profiles, refresh athletic records, or confirm that content is current. The display may continue showing cached content for a time, but eventually it falls behind the platform, and the next change — a new inductee added before a ceremony, a record updated before a championship game, a donor name corrected before a board visit — never arrives.
This checklist walks school IT coordinators, athletic directors, and facilities and network managers through every step of identifying captive portal risks before installation, configuring the network to avoid them, testing reconnection behavior, and resolving the issues that appear most frequently in production deployments.
The direct answer: a complete touchscreen recognition display captive portal compatibility checklist covers five areas — pre-installation network assessment, authentication method selection, display device configuration, reconnection and failover testing, and an event-window verification protocol. Schools that complete all five areas before a recognition display goes live eliminate the most common cause of silent content failure on unattended kiosks and keep recognition content current through every power cycle, network event, and credential refresh the academic year produces.

A touchscreen recognition display must reconnect to its cloud platform automatically after every reboot and network event — captive portals that interrupt that reconnection silently isolate the kiosk from its content source
What a Captive Portal Is and Why It Disrupts Recognition Displays
A captive portal intercepts HTTP and HTTPS traffic from a newly connected device and redirects it to a browser-based authentication or acceptance page before allowing access to the broader network or internet. Most people encounter captive portals when connecting to airport WiFi, hotel networks, or coffee shop hotspots — a browser opens, you click “Accept Terms” or enter a password, and the network grants access.
Schools deploy captive portals for legitimate administrative and security reasons: guest networks in cafeterias and lobbies require acceptance of acceptable-use policies before granting access; shared athletic-wing WiFi requires credential entry so the school can attribute traffic to an authenticated user; district-managed guest networks use captive portals for visitor session control and content filtering compliance. All of these are reasonable policies for typical user devices, and none of them account for the reality that an unattended touchscreen kiosk cannot click “Accept” or enter credentials through a browser.
The specific failure mode on recognition displays is this: after any disconnect and reconnect event — a nightly power-management cycle, a building-wide power failure, a network switch reboot, or an ISP interruption — the display hardware reconnects to the configured WiFi SSID and obtains an IP address. To the device, the network appears to be available. But until a human (or an automated bypass mechanism) completes the captive portal flow, the network is not actually routing traffic to the recognition platform’s cloud endpoints. Every content sync attempt fails silently, every health check from the platform fails to receive a response, and the display begins to drift behind the production content without any visible error on the screen.
For schools with active recognition programming — planning athletic hall of fame induction events that draw inductees and their families, or managing annual recognition showcases where fresh content is the point — a kiosk that cannot reconnect reliably is a kiosk that fails at exactly the wrong moments.
Pre-Installation Network Assessment Checklist
Complete this assessment before the recognition display is installed. Correcting a network configuration before a kiosk is mounted on the wall is straightforward; reconfiguring network segments after installation, especially in access-controlled hallways and athletic wings, is significantly more disruptive.
Identify the Network Segment the Display Will Use
- Document which SSID or network port the display will connect to. Get this from your network administrator before ordering mounting hardware. Common options: the staff network, an IoT/device VLAN, the guest network, or a dedicated signage VLAN.
- Determine whether the identified network segment uses a captive portal. Ask the network administrator explicitly. Test by connecting a laptop to the same SSID in the same physical location and confirming whether a captive portal page appears on the first browser request after connect.
- Determine the captive portal session duration. If the identified segment uses a captive portal, find out how long an authenticated session remains valid before it expires and requires re-authentication. Sessions that expire in 24 hours or less will interrupt the display at least daily.
- Confirm whether the captive portal requires a browser interaction. Some captive portals use MAC address authentication or pre-shared keys that can be provisioned without a browser; others require clicking “Accept Terms” or entering credentials through a web form. The former can be configured for unattended devices; the latter cannot, without additional tooling.
- Identify the network team’s point of contact for display-specific configuration requests. Document the contact name, role, and expected response time. You will need this contact for the configuration steps in the next section.
Confirm Platform Traffic Requirements
- Obtain the list of domain names and IP ranges the recognition platform requires. Request this from your recognition platform vendor. Most enterprise platforms publish a network requirements document listing domains for content delivery, authentication, analytics, and admin console access.
- Verify those domains are reachable from the proposed network segment. Use a laptop or test device on the same SSID in the same physical location. Run
curlor a browser check against each required domain and confirm you receive expected responses, not redirect-to-portal responses. - Test content sync traffic volume against any data caps or throttling rules on the network segment. Some guest network segments apply bandwidth throttling that will cause content sync operations to time out. Run a test sync using a device on the same network and verify it completes within the platform’s documented sync timeout window.
- Check whether the network segment blocks outbound ports required by the platform. Common required ports for recognition platforms include 443 (HTTPS), 80 (HTTP redirect to HTTPS), and occasionally 8443 or custom ports for specific platform APIs. Confirm these are not blocked by a campus web proxy or firewall rule applied to the segment.
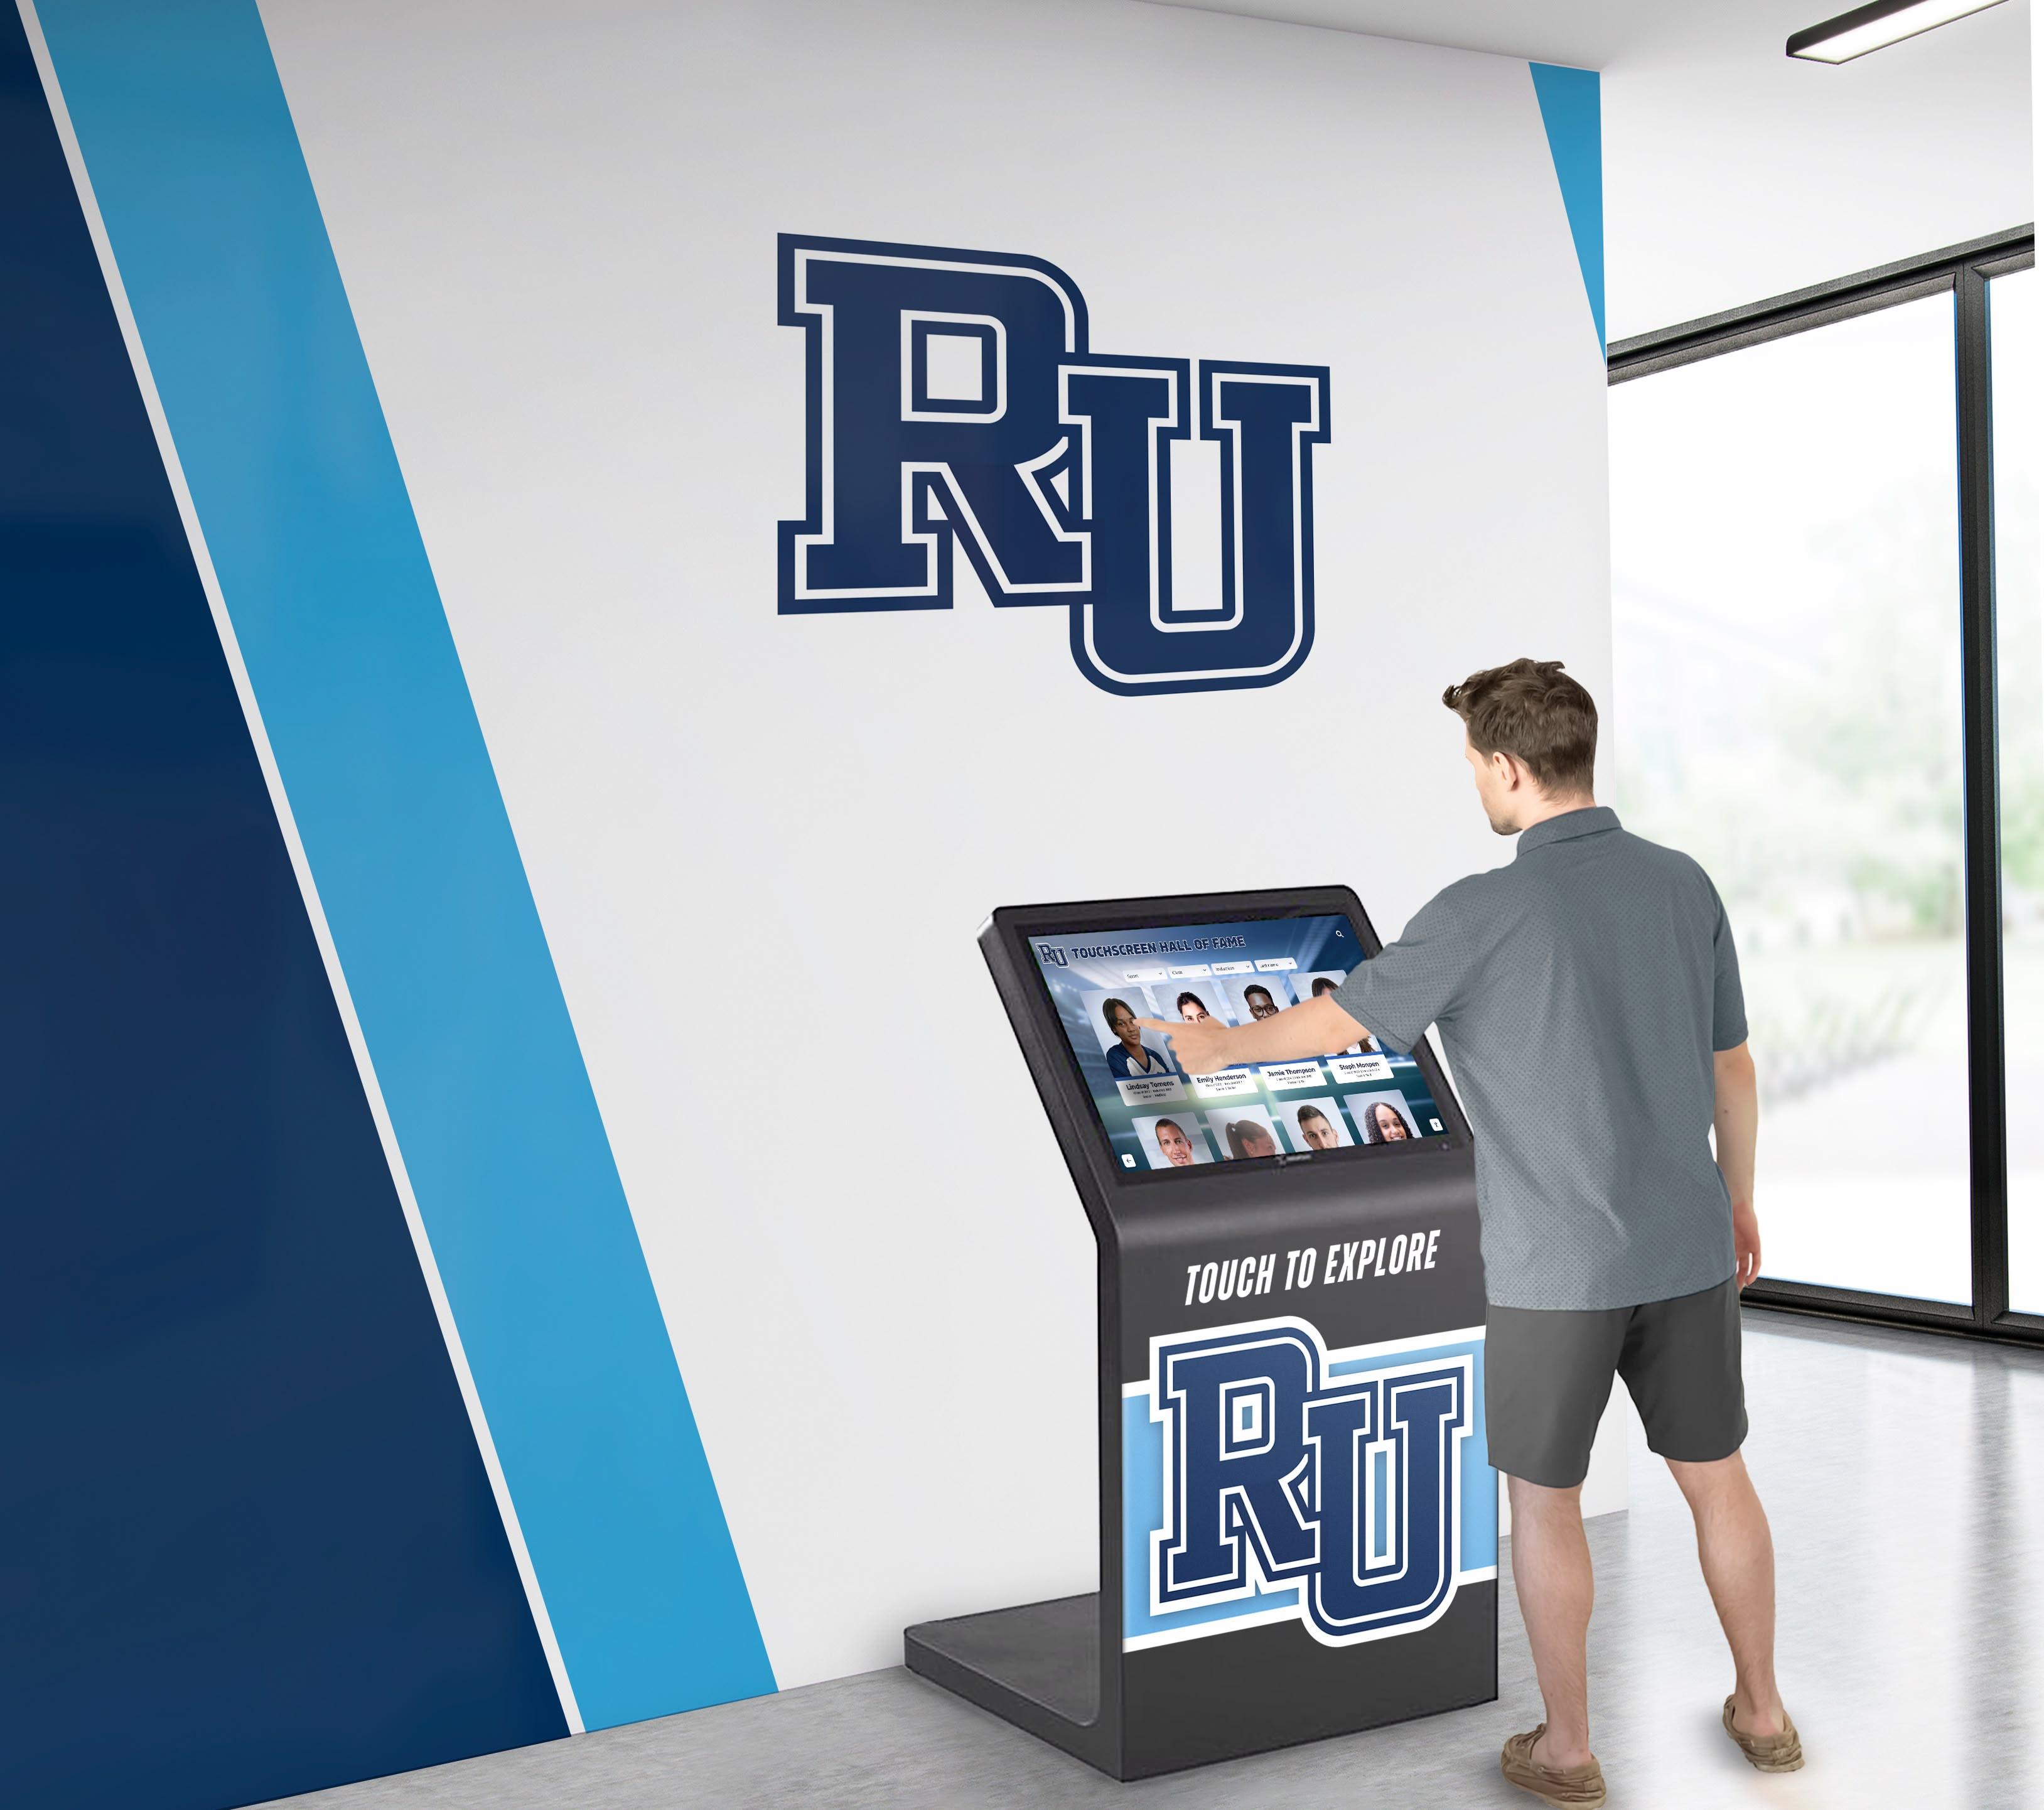
A recognition display kiosk in a campus lobby must be provisioned on a network segment where the platform's content delivery and sync traffic is never blocked by a captive portal or firewall rule
Network Authentication Method Selection
Once you understand the current network configuration, choose the authentication approach that eliminates captive portal interruption for an unattended device. The table below describes each option, its prerequisites, and its suitability for recognition display deployments.
| Authentication Method | How It Works | Captive Portal Risk | Prerequisites | Best For |
|---|---|---|---|---|
| MAC address bypass (MAB) | Network registers the display’s hardware MAC address and grants access without portal interaction | None — bypass is automatic on reconnect | Network admin configures per-device bypass in captive portal system | Schools with enterprise network controllers (Cisco ISE, Aruba ClearPass, Meraki) |
| Dedicated device VLAN | Display is assigned to a VLAN that routes directly without captive portal enforcement | None — VLAN bypasses portal entirely | Network admin creates or identifies a portal-free VLAN; switch port or SSID assigned to it | Schools with managed switches and VLAN capability |
| Certificate-based WiFi (802.1X / EAP-TLS) | Display authenticates using a device certificate rather than a browser session | None — certificate is presented automatically on reconnect | PKI infrastructure; device certificate installed on display hardware | Schools with district-managed PKI and MDM |
| Pre-shared key on a portal-free SSID | Display connects to a separate SSID with a pre-shared key and no portal | None — PSK authenticates without browser | A portal-free SSID must exist or be created | Smaller schools without enterprise network infrastructure |
| Wired Ethernet (no WiFi) | Display uses a wired connection to a network port on a staff or device VLAN | None — wired ports typically bypass portal | Ethernet run to display location; port assigned to appropriate VLAN | Any school with ethernet infrastructure at the display location |
| Automated portal re-authentication script | A script on the display device submits portal credentials on a schedule | Low, if script runs before session expires | Script access to portal credential, network script execution capability | Fallback only — not recommended as primary strategy |
| Guest WiFi with captive portal | Display connects to the general guest network | High — session expires and breaks sync | None additional | Avoid for unattended recognition displays |
Recommended order of preference: wired Ethernet on a device VLAN first; then MAC address bypass on the existing network segment; then a dedicated portal-free SSID; then 802.1X certificate authentication if district PKI is in place. Guest WiFi with an active captive portal should be used only when no alternative is available, paired with automated re-authentication tooling.
Display Device Configuration Checklist
Once the network authentication method is chosen, apply these configuration steps on the recognition display hardware itself before installation.
Network Configuration
- Assign a static IP address or a reserved DHCP lease to the display device. A static or consistently reserved address simplifies MAC address bypass registration and makes the device easier to locate on the network during troubleshooting.
- Register the display’s MAC address with the network administrator. Provide the exact MAC address — not an approximation — and confirm the bypass registration has been applied and tested before installation day.
- Configure the display device to connect to the correct SSID (or Ethernet interface) automatically on boot. Verify the network profile is set to connect automatically and is prioritized above any other saved network profiles on the device.
- Disable the device’s browser-based captive portal detection, if applicable. Some operating systems automatically open a browser to a captive portal page when one is detected. On an unattended kiosk running recognition software, this behavior should be disabled — it does not help the device authenticate and it disrupts the recognition application’s display.
- Set DNS servers explicitly to reliable resolvers that operate independently of the campus DNS in case of a campus DNS failure. The recognition platform’s domains must resolve correctly after every reconnect; DNS configuration is often overlooked until a real outage reveals the gap.
- Configure the device’s proxy settings to match whatever proxy the identified network segment uses. A device that connects to a network segment with a transparent proxy but has no proxy configuration will fail HTTPS requests silently.
Startup and Reconnection Behavior
- Set the display application to launch automatically on operating system boot. Every operating system restart must return the display to its recognition application without manual intervention. Test this by rebooting the device cold and confirming the application launches and connects to the platform without any keyboard or mouse input.
- Configure the recognition application’s connection retry logic. Most enterprise recognition platforms have configurable retry intervals for failed cloud sync attempts. Set the retry to begin within 60 seconds of a failed connection and to retry at least every five minutes until a successful sync is confirmed.
- Verify the operating system’s network reconnection behavior. Test that the device reconnects to the configured WiFi SSID automatically after a simulated disconnect — pull the ethernet or disassociate the WiFi — and confirm the reconnection occurs within the expected time window without requiring user interaction.
- Disable any network-related prompts or notifications that might appear on the display screen during a reconnection event. Toasts, network status dialogs, or OS-level notifications that overlay the recognition application are visible to lobby visitors and undermine the display’s professional appearance.
Reconnection and Captive Portal Testing Protocol
Testing is the step most often skipped, and the most important. A configuration that appears correct in documentation may still fail when the display restarts in the actual installation environment after a real network event. Run these tests before the display goes live and record the results.
Test 1: Cold Boot Network Reconnection
Purpose: Confirm the display connects to the network and syncs platform content after a full power cycle, without human interaction.
- Power the display completely off — use the hardware power switch or unplug the device.
- Wait 30 seconds, then restore power.
- Observe the display from the time power is restored. Do not touch any input device.
- Pass: The recognition application launches, connects to the platform, and displays current recognition content within five minutes of power restoration, without any portal login page appearing.
- Fail: A captive portal page appears, the application fails to connect to the platform, or a network error state is visible for more than five minutes.
Test 2: WiFi Disassociation Recovery
Purpose: Confirm the display reconnects automatically after losing the WiFi signal, simulating what happens after a network switch reboot or an access point failure.
- From the display device’s network settings (or via MDM remote management), disconnect from the WiFi SSID while the recognition application is running.
- Wait 60 seconds.
- Reconnect to the WiFi SSID, then step back and do not interact with the device.
- Pass: The display reconnects, resumes content sync, and returns to normal recognition display content within three minutes without portal interaction.
- Fail: A portal page appears, sync fails to resume, or the recognition application requires manual restart.
Test 3: Session Expiration Simulation
Purpose: Confirm the device’s authentication mechanism does not expire and block content sync during normal overnight operation.
- If using MAC address bypass or a portal-free VLAN: skip this test — session expiration is not applicable.
- If using a portal-free PSK SSID: verify the PSK has not been scheduled for rotation during the test window, then wait 24 hours and confirm sync is still current.
- If using any portal-dependent method: wait until the portal session’s documented expiration window, then check whether the content sync timestamp in the admin console shows a successful sync after the expiration window.
- Pass: Sync completes normally across the session expiration boundary without manual re-authentication.
- Fail: Sync fails after the session expiration. Switch to a portal-free authentication method.
Test 4: Content Update After Reconnection
Purpose: Confirm that content changes made in the platform during a network outage are applied correctly after the display reconnects.
- Disconnect the display from the network using the method from Test 2.
- While the display is disconnected, publish a content change in the recognition platform’s admin console — a test profile, a record update, or any change that produces a visible difference on the display.
- Reconnect the display to the network without interacting with the device.
- Pass: Within the platform’s documented sync interval, the content change appears on the display, confirming that reconnection triggers a full sync rather than only restoring cached content from before the disconnect.
- Fail: The content change does not appear on the display after reconnection. Investigate whether the sync triggered correctly by checking the admin console’s sync status for the device.
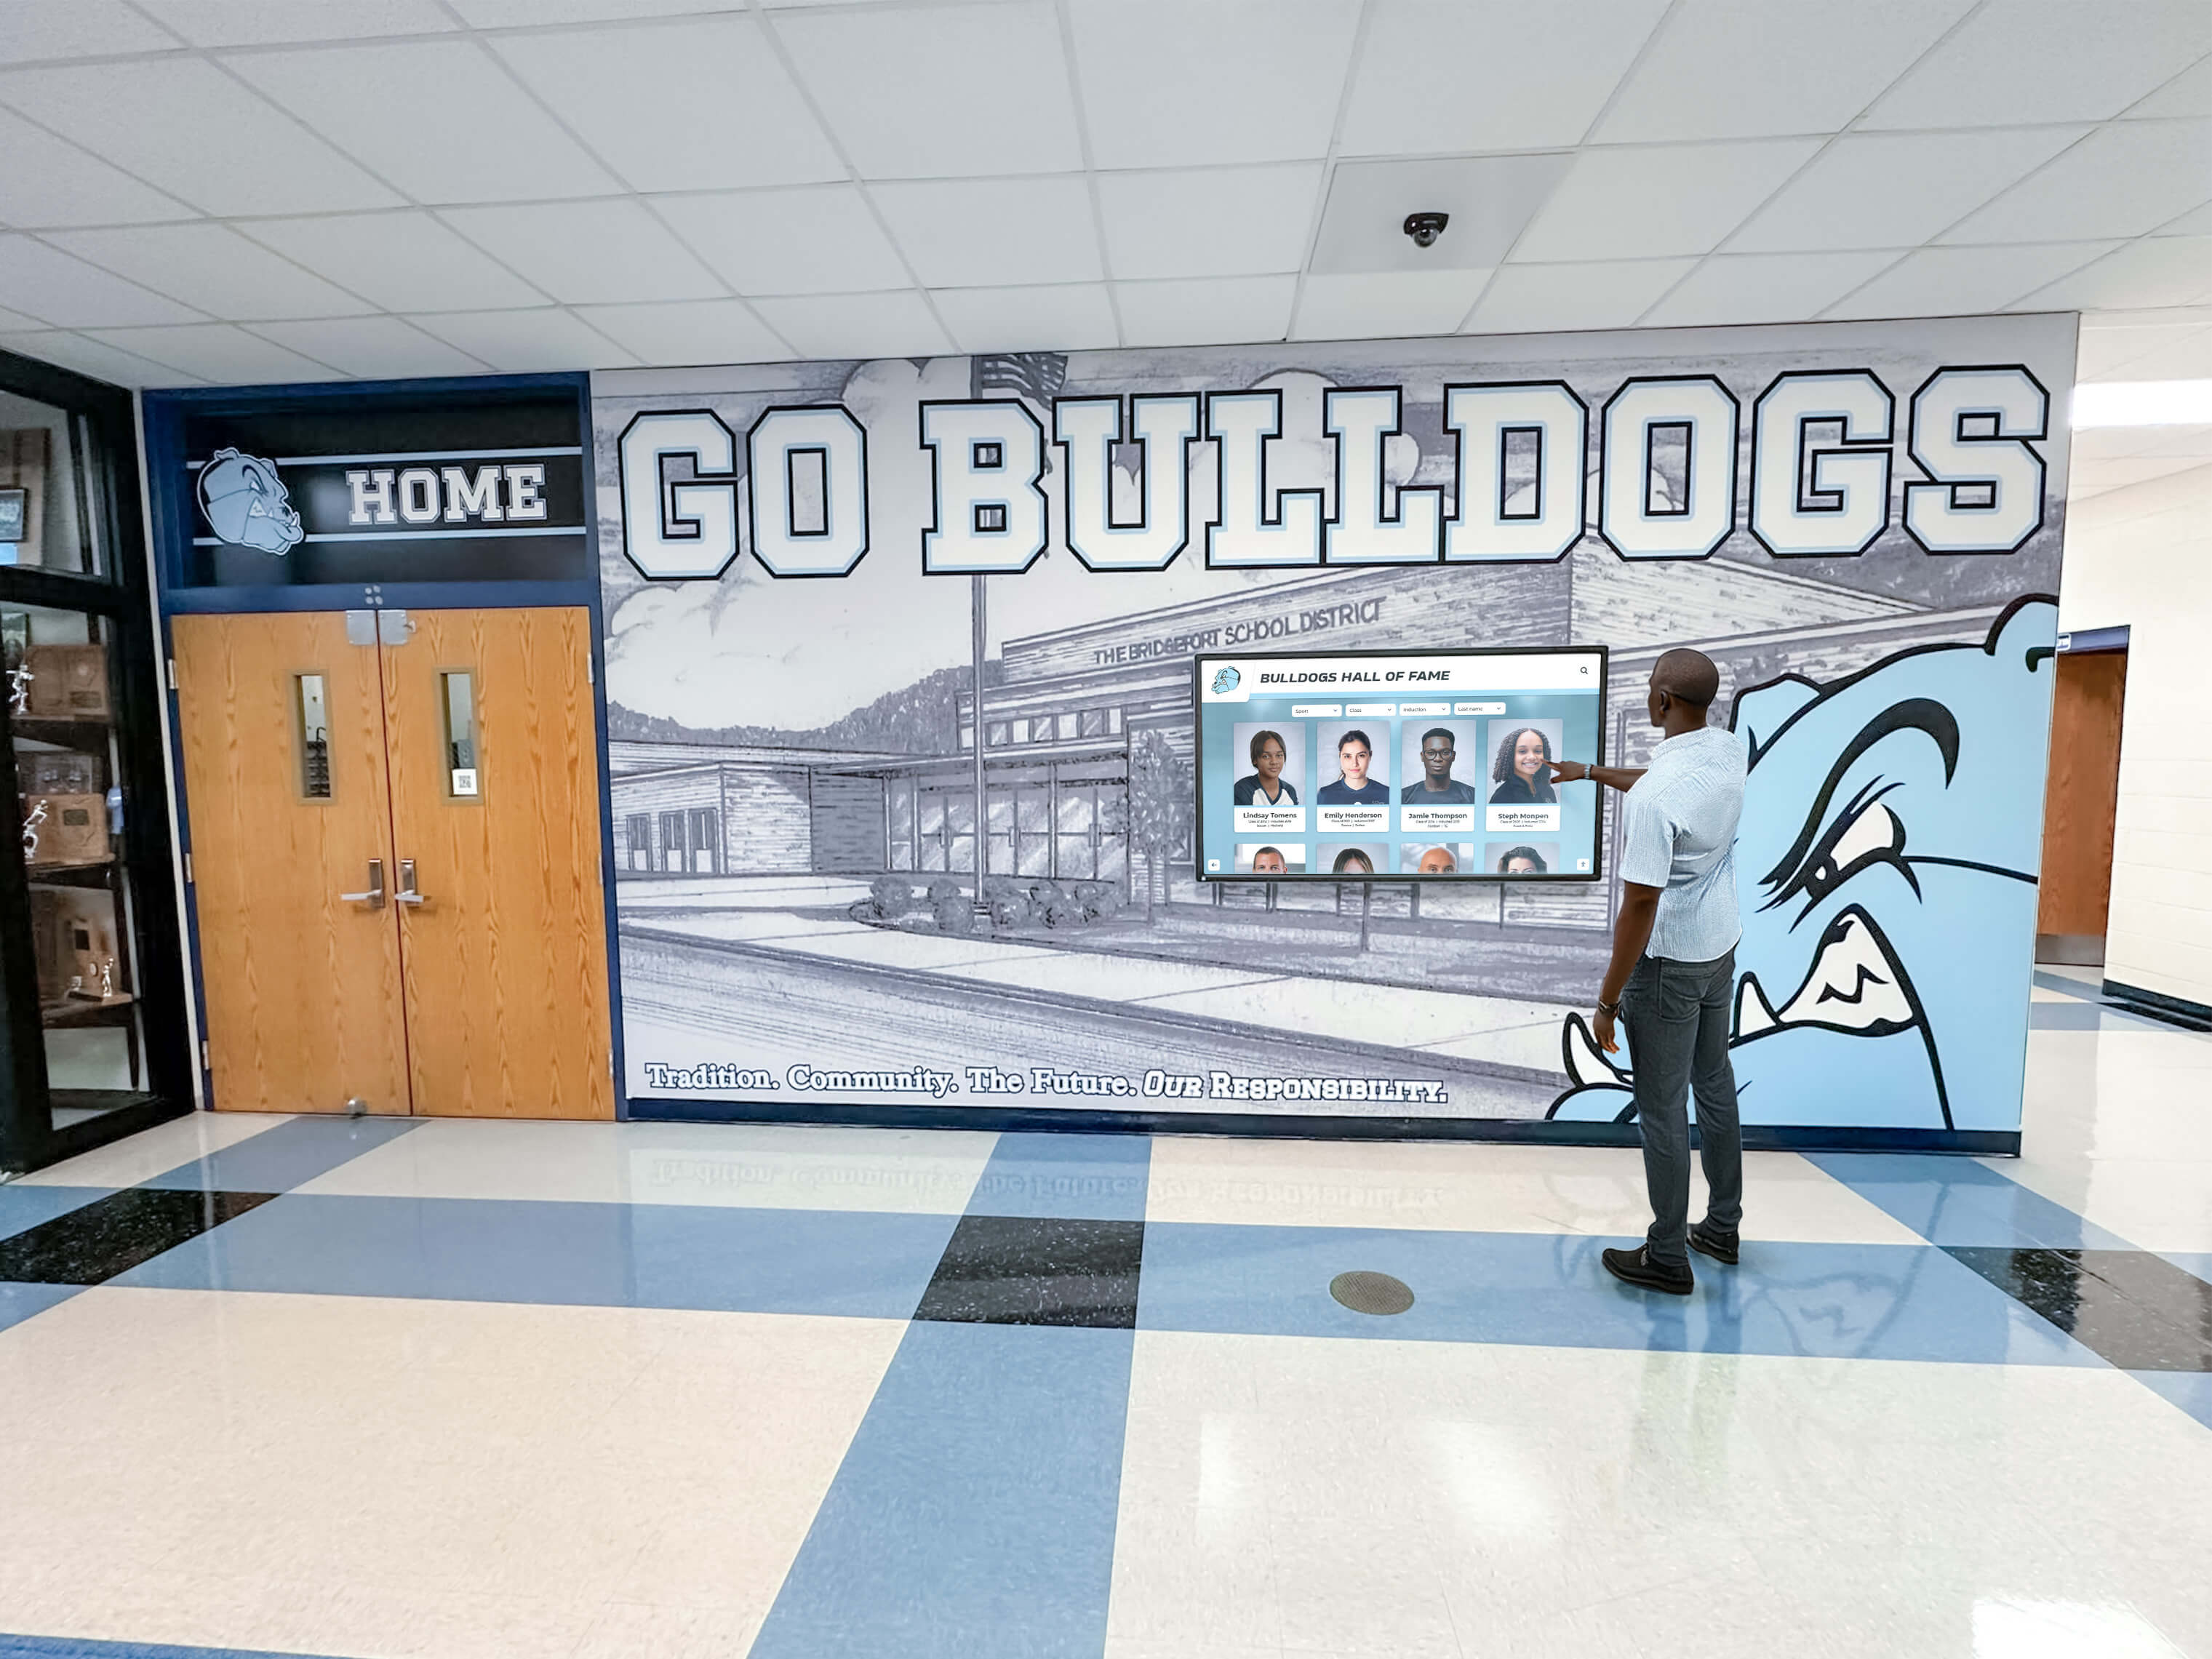
Reconnection testing must happen in the actual installation environment — a display that passes in the IT office may still fail in the hallway if the WiFi access point coverage or VLAN assignment differs
Troubleshooting Table: Common Captive Portal Issues
When a display fails to reconnect correctly in production, this table maps symptoms to likely causes and resolution steps.
| Symptom | Likely Cause | Resolution |
|---|---|---|
| Display shows current content but sync timestamp is hours old | Captive portal session expired; sync traffic blocked | Verify session has not expired; switch to MAC bypass or portal-free VLAN |
| Display shows portal login page over recognition content | OS captive portal detection opened browser; portal intercepting traffic | Disable OS portal detection; verify MAC bypass is registered |
| Display shows recognition content but admin console shows device offline | Platform’s heartbeat endpoint blocked by firewall or proxy on the segment | Confirm all required platform domains and ports are open on the network segment |
| Display reconnects after reboot but sync fails for 10+ minutes | DNS resolution delay on the segment after DHCP lease assignment | Set explicit DNS servers on the device; investigate DHCP/DNS timing on the segment |
| Display works on staff WiFi during setup but fails on installation-location WiFi | Different SSID at the installation location has captive portal; MAC bypass registered on wrong SSID | Register MAC bypass on the correct SSID; confirm VLAN assignment matches |
| Sync works intermittently — succeeds some attempts, fails others | Bandwidth throttling on the network segment causing occasional sync timeouts | Move display to a non-throttled VLAN; request throttling exception for device MAC |
| Display reconnects but shows error screen rather than cached content | Cache not populated before the outage; media player process crashed on reconnect | Verify cache is enabled and current; configure watchdog to restart media player on crash |
Event-Window Captive Portal Verification
For schools planning orchestra concerts, homecoming events, championship celebrations, or athletic awards programs, recognition displays in lobbies and hallways serve guests who are not aware of and do not care about network configuration — they expect the display to be working when they arrive. An event-window captive portal verification, completed 48 to 72 hours before any high-visibility event, adds a human check on top of automated sync monitoring.
72 Hours Before the Event
- Confirm the display’s last successful sync timestamp in the platform admin console is within the past 24 hours.
- Confirm the network segment’s captive portal configuration has not changed since the most recent quarterly test. Check with the network administrator if any network maintenance was performed in the prior two weeks.
- Confirm the display device’s MAC address bypass registration is still active. Some network controllers clear bypass registrations after a defined period; verify the registration has not aged out.
- Confirm the display’s startup configuration — auto-launch, auto-reconnect, connection retry — has not been modified by an OS update or MDM policy push.
24 Hours Before the Event
- Reboot the display device manually and observe the full cold-boot reconnection sequence. Time from power restoration to content display and record the result.
- Publish a test content change in the admin console and confirm it appears on the display within the sync interval. Revert the test change after confirming.
- Walk the physical space and confirm the display is visible, bright, and showing current recognition content from the position a lobby visitor would occupy.
Day of Event
- Check the admin console sync status once in the morning and once one hour before guest arrival. Both should show a successful sync within the platform’s normal sync interval.
- Confirm the display power schedule includes the full event window, including at least 30 minutes before the first scheduled guest arrival.
- Document the name and direct contact number of the IT staff member available during the event window in case a portal or sync issue appears during the event.
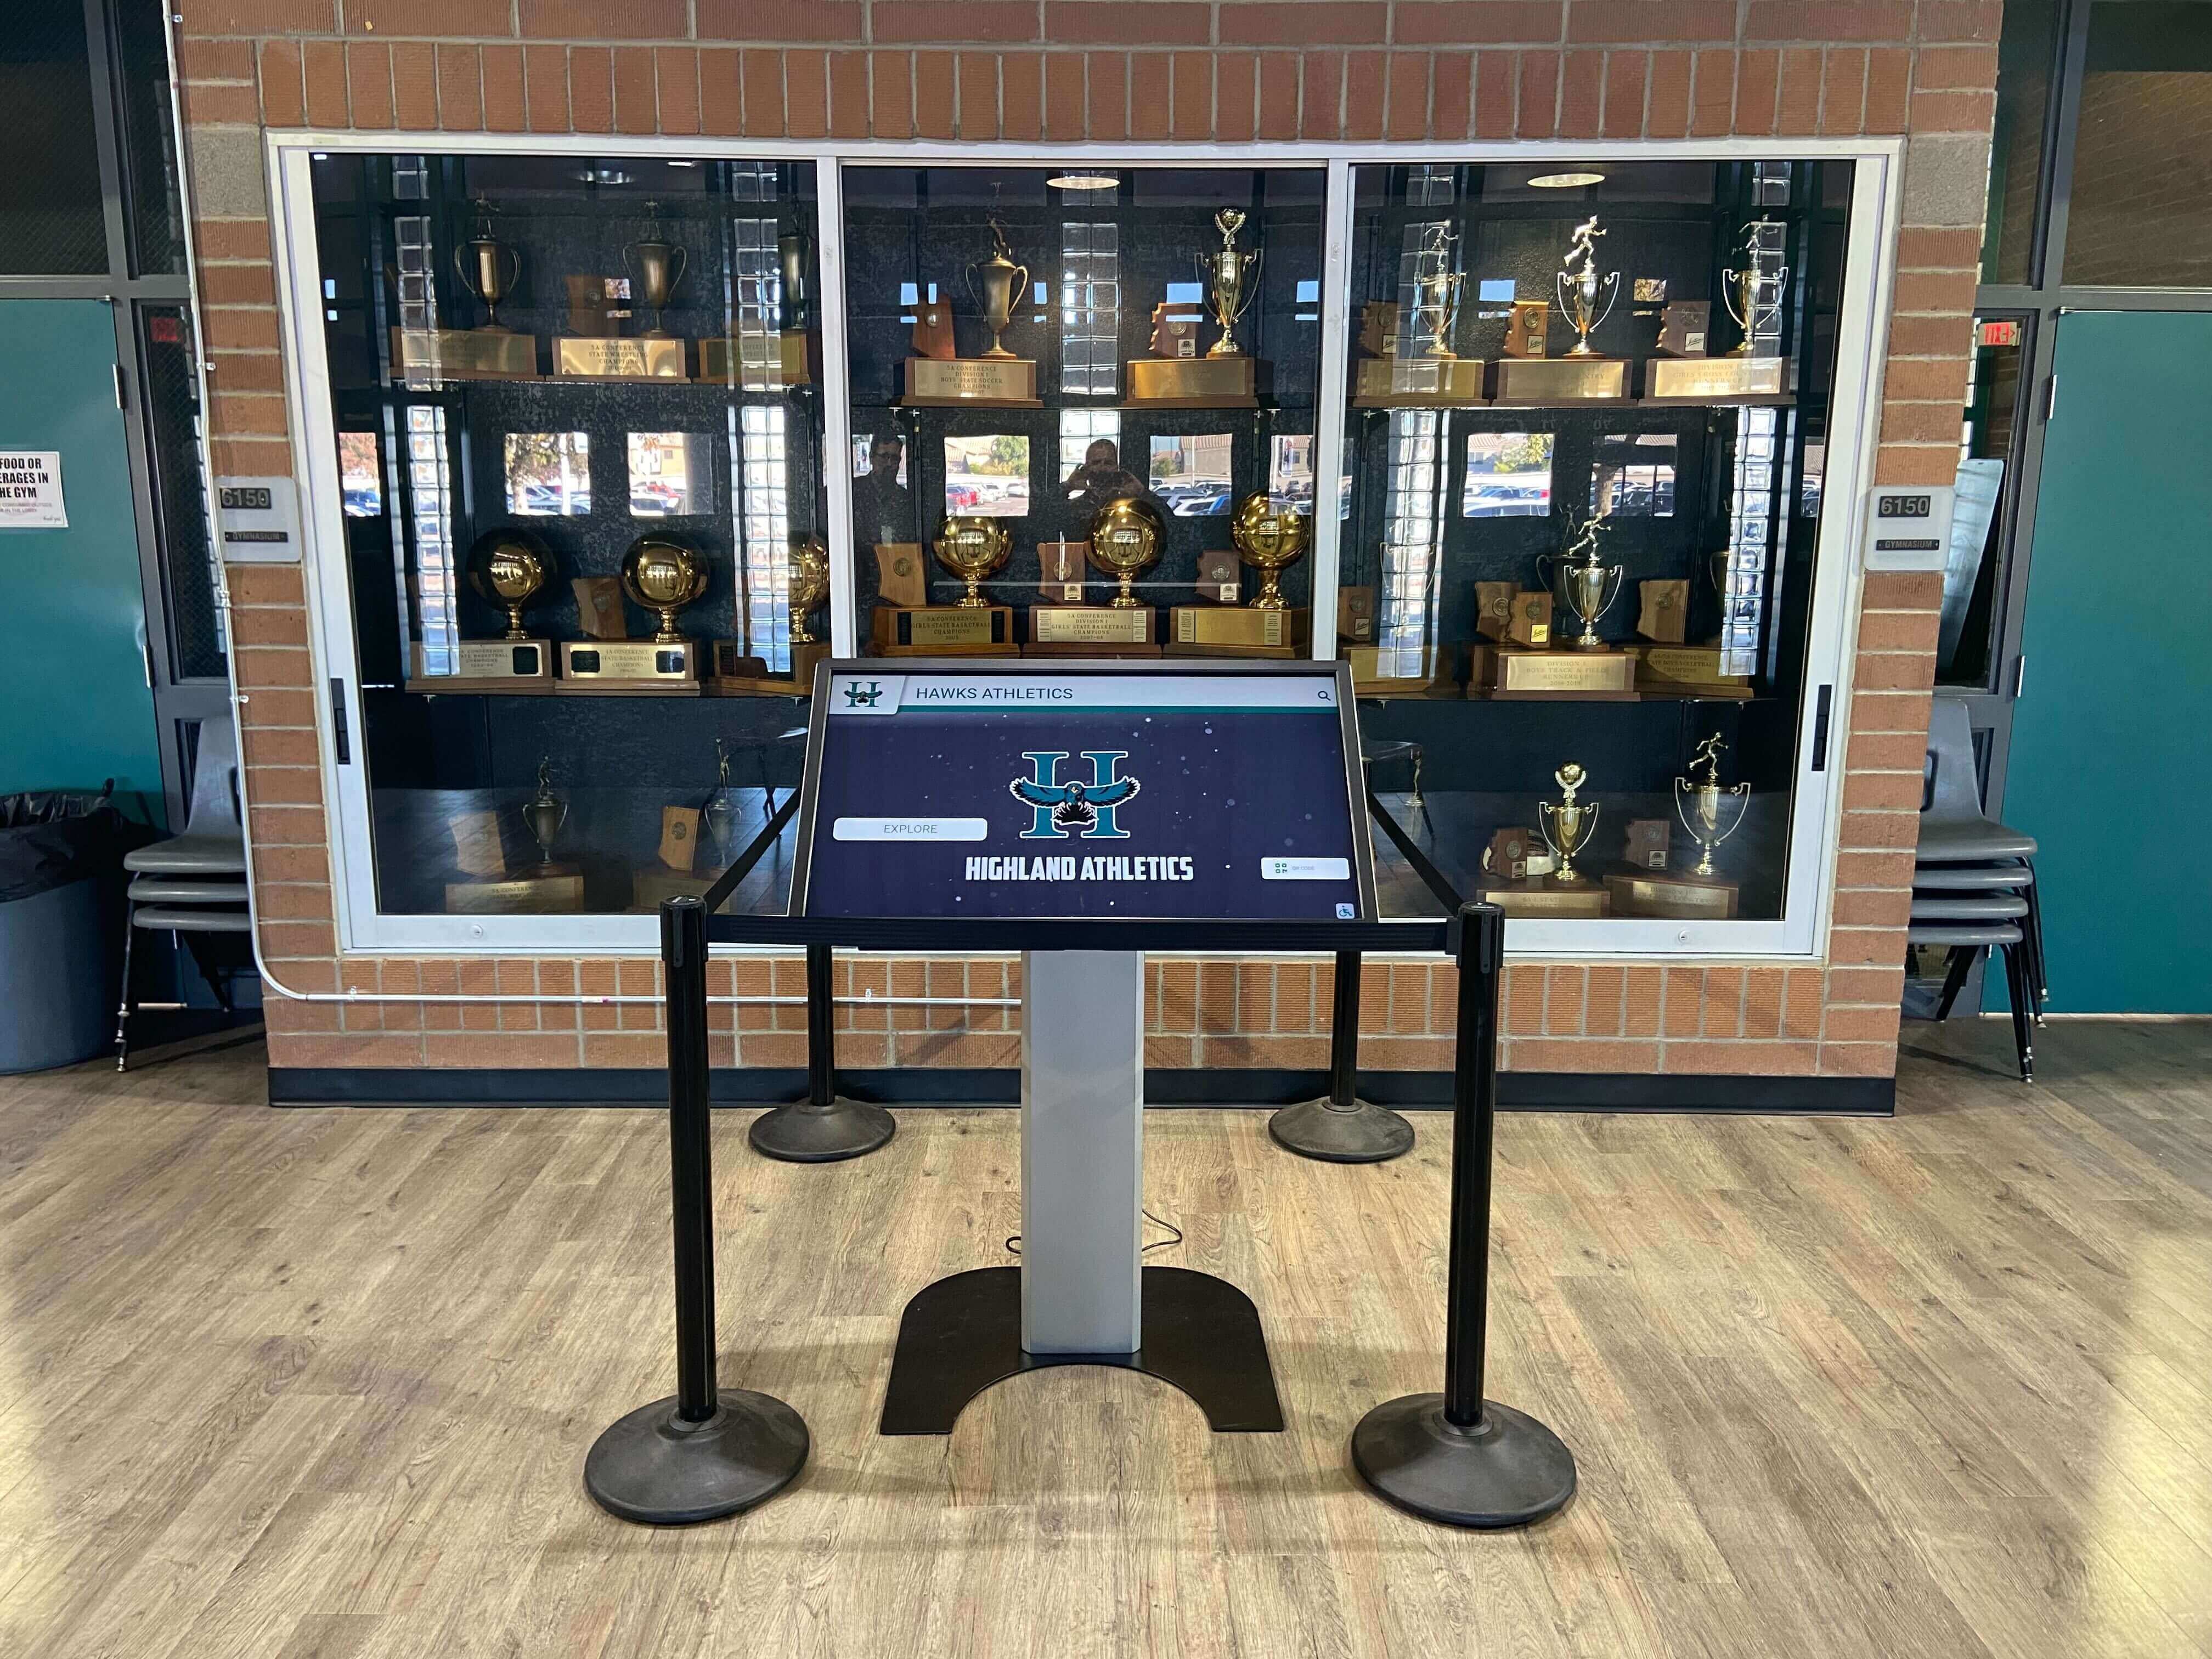
Recognition displays integrated into trophy cases and hallway installations must be verified 72 hours before any induction night, homecoming event, or campus tour where guests will encounter them
Captive Portal Risks Specific to School Network Environments
School networks present several configurations that create captive portal risks for recognition displays that are less common in other enterprise environments.
Shared IoT and device VLANs with per-device portal requirements. Some district IT policies require all non-user-authenticated devices, including printers and displays, to authenticate through a web-based portal before being granted network access, even on nominally “device” segments. If your district applies this policy to an IoT or device VLAN, recognition displays on that segment will face the same problem as on a guest network.
SSID schedule changes. Cafeteria and lobby SSIDs on some school campuses are disabled outside school hours to reduce network exposure. A recognition display connected to one of these SSIDs will lose connectivity during the SSID blackout window and may face a captive portal on reconnection when the SSID comes back online. Confirm that the SSID the display connects to is always-on, or switch to a wired connection that is not subject to SSID schedule policies.
AUP re-acceptance cycles. Some school guest networks require all connected devices to re-accept the acceptable-use policy at the start of each academic year or each semester. If the recognition display’s network session falls under this policy, it will require manual intervention at those calendar boundaries unless the device is exempted or moved to an exempt segment.
Content filtering proxy reconfiguration. District content filtering rules are often updated during school breaks and at the start of each year. A new proxy rule added during the summer that blocks a recognition platform domain will appear as a silent sync failure when displays come back online in August. The pre-event verification protocol above catches this before it becomes an event-day issue, but a post-break network configuration review is also a sound practice.
For schools managing donor recognition signage alongside athletic and academic displays, connectivity reliability has donor stewardship implications: a recognition display that drops offline and loses updates during a donor appreciation season creates visible evidence that the program is not being actively maintained, regardless of the underlying network cause.
Long-Term Captive Portal Compatibility Maintenance
The captive portal compatibility configuration is not a set-and-forget item. Network environments change: new captive portal systems replace old ones, VLANs are reorganized during summer infrastructure projects, MAC address bypass registrations age out of some systems, and OS updates on the display device occasionally change network behavior. A lightweight maintenance schedule keeps the configuration reliable over time.
Annually (at the start of each academic year):
- Confirm MAC address bypass registrations are active for every display device.
- Confirm VLAN assignments are unchanged and the VLAN still routes without a captive portal.
- Confirm all required platform domains and ports are still reachable from the display’s network segment.
- Run the cold-boot reconnection test (Test 1 above) for each display location before the first high-visibility event of the year.
After any network infrastructure change:
- Repeat the pre-installation assessment (Steps 6–9) for any display that is on a network segment that was modified.
- Run Tests 1 and 2 for those displays before assuming the change did not affect captive portal behavior.
After any OS update on the display device:
- Confirm the auto-launch and auto-reconnect configuration is unchanged.
- Confirm the captive portal detection disable setting has not been reverted.
- Run Test 2 (WiFi disassociation recovery) to verify reconnection behavior is correct after the update.
Schools building comprehensive digital recognition archives that families and alumni expect to access for decades need the underlying infrastructure to be just as durable. A captive portal compatibility checklist maintained year over year is the operational discipline that keeps the display infrastructure aligned with the recognition program it serves.
Q&A: Captive Portal Compatibility for Unattended School Kiosks
Q: Our school’s IT team says the display can just use the guest WiFi. Is that acceptable?
Only if the guest network’s captive portal session does not expire more frequently than your IT team is willing to re-authenticate manually, and only if the guest network provides adequate bandwidth for content sync. For any display that must reconnect automatically after reboots or overnight power cycles, guest WiFi with an active captive portal is not a reliable solution. Request MAC address bypass on the guest network segment, or request placement on a portal-free VLAN.
Q: What if the network administrator is unwilling to create a portal-free VLAN or register MAC bypasses?
Document the risk formally and escalate to the facilities or technology director before the display is installed. The cost of a blocked recognition display on an induction night — inductees whose profiles cannot be accessed, donors whose names are not visible, families who see a login page instead of a hall of fame — is significantly higher than the network administrative effort of a MAC bypass registration. Frame the request as a visibility-of-institutional-recognition issue, not a technical preference.
Q: How do we handle a recognition display that has already been installed on a captive portal network and is experiencing sync failures?
Work backward through the pre-installation assessment to understand the current configuration. Identify the portal session duration and whether the current authentication method supports automatic renewal. If MAC bypass is available on the segment, request the registration and test the reconnection behavior before the next high-visibility event. If the segment cannot support an unattended device, work with IT to move the display’s connection to a wired port on a staff or device VLAN.
Q: Does it matter whether the recognition display runs on Windows, Android, or a dedicated media player OS?
Yes, for captive portal detection behavior. Windows operating systems have built-in Network Connectivity Status Indicator (NCSI) behavior that detects captive portals and may open a browser window automatically. Android devices have similar behavior. Some embedded media player operating systems have no built-in browser and will simply fail silently when a portal is detected rather than opening a login page. Know which OS your display hardware uses and confirm the specific captive portal detection behavior for that OS before selecting a mitigation strategy.
Q: Can the recognition platform itself handle captive portal re-authentication?
Platform-side portal handling requires the platform to store and submit network credentials, which creates a security concern, and requires the portal to accept scripted credential submission, which not all portals permit. It is not a standard feature of recognition platforms and should not be assumed without explicit vendor confirmation. Resolving captive portal compatibility at the network infrastructure level — through MAC bypass, dedicated VLANs, or wired connections — is more reliable than attempting to address it in the recognition application layer.
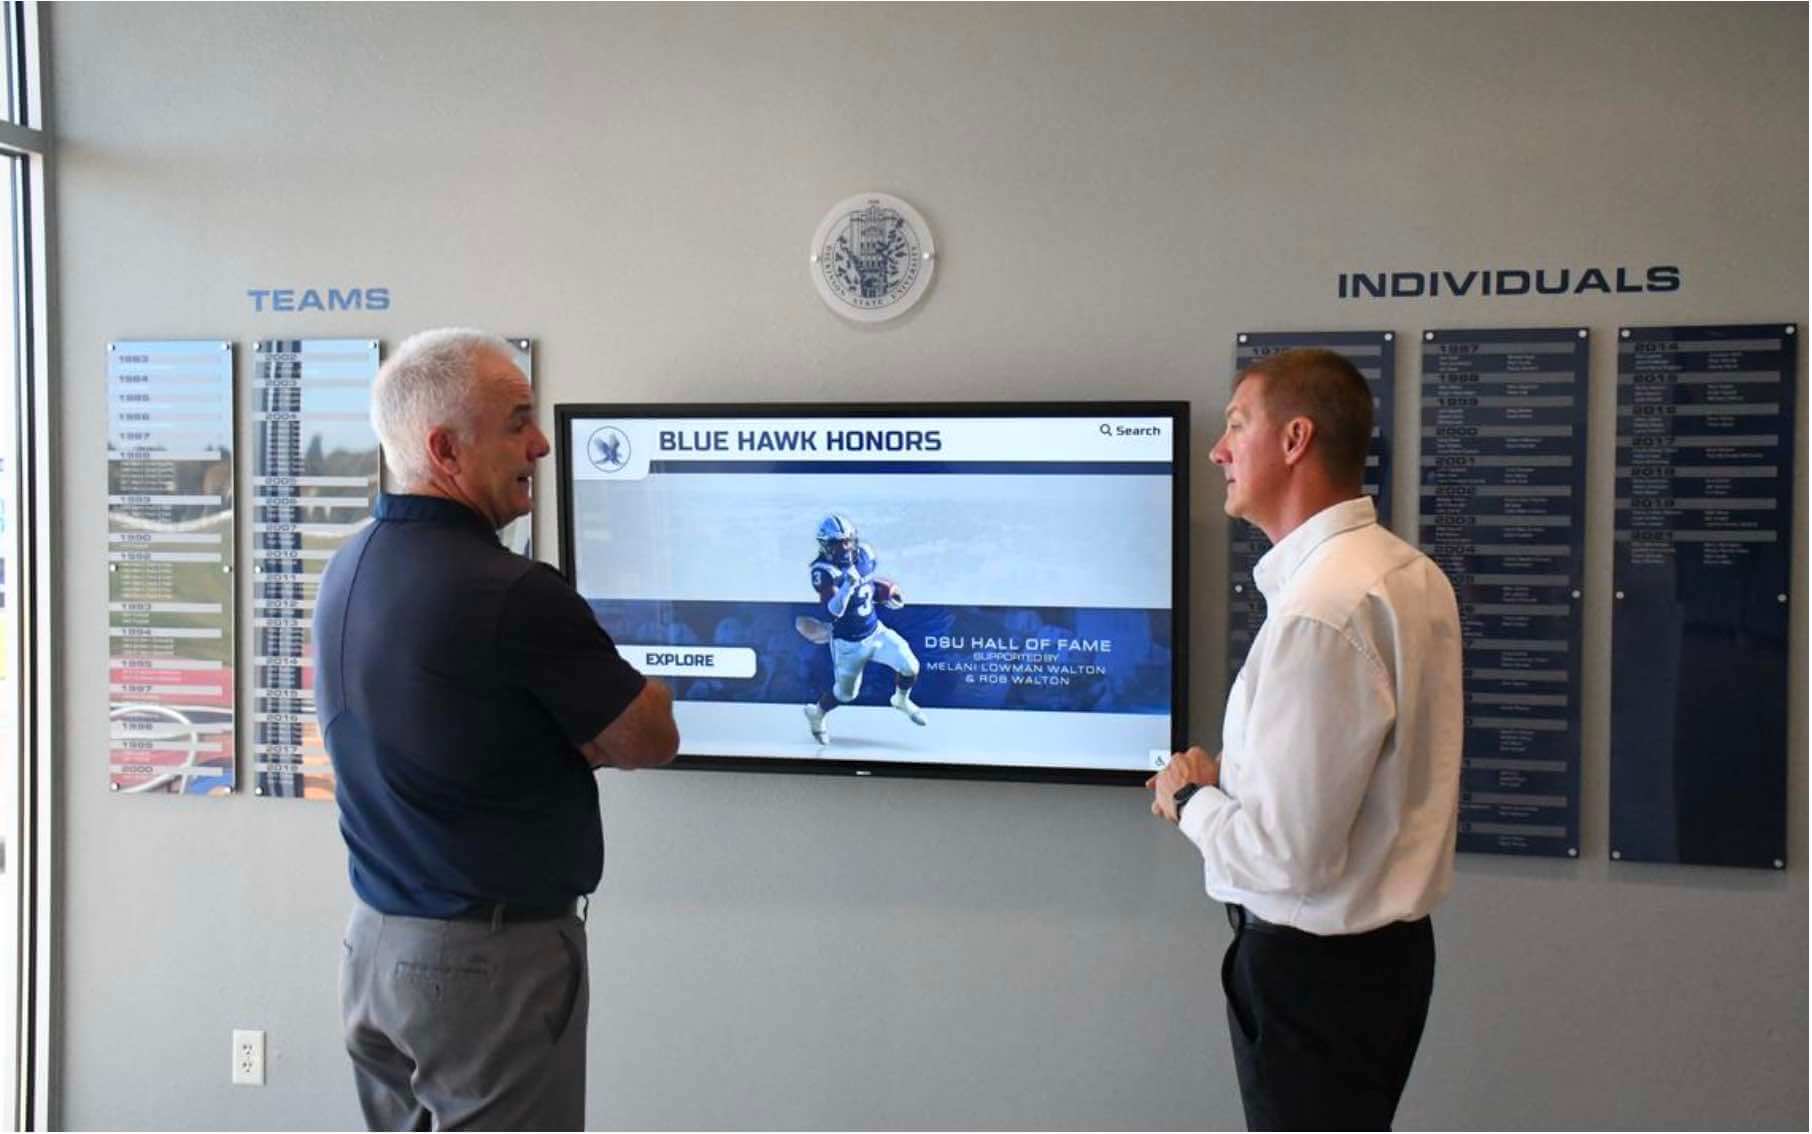
Families and guests engaging with recognition content during school events represent the audience that captive portal compatibility planning protects — a display that reconnects reliably serves them every time, not only when IT has recently visited the location
For schools considering the full scope of what supports a reliable recognition display for events like homecoming week, captive portal compatibility is one layer of a broader operational program that also includes power protection, network failover planning, and content synchronization monitoring.
Complete Touchscreen Recognition Display Captive Portal Compatibility Checklist
Use this summary checklist as a one-page reference for installation planning and recurring maintenance reviews.
Pre-Installation Network Assessment:
- Identified which network segment the display will connect to
- Confirmed whether the segment uses a captive portal and documented the session duration
- Confirmed whether the portal requires browser interaction or supports automated bypass
- Obtained the recognition platform’s domain and port requirements from the vendor
- Verified platform domains are reachable from the identified segment (not redirected to portal)
- Confirmed segment bandwidth and port availability support platform sync traffic
- Identified the network administrator contact for configuration requests
Authentication Method Selected and Configured:
- Authentication method chosen from the compatibility table above
- MAC address bypass registered with the network administrator (if applicable)
- VLAN assignment confirmed with the network administrator (if applicable)
- Portal-free SSID configured and tested (if applicable)
- Wired Ethernet port assigned to the correct VLAN (if wired)
Display Device Configuration:
- Static IP or reserved DHCP lease assigned
- Device configured to connect automatically to the correct network profile on boot
- OS captive portal detection behavior confirmed and disabled if needed
- Explicit DNS servers configured on the device
- Proxy settings configured to match the network segment
- Recognition application set to auto-launch on OS boot
- Connection retry interval configured within platform settings
- Network reconnect behavior tested: device reconnects without user interaction
Reconnection Testing Completed:
- Test 1 (Cold boot reconnection) — pass recorded with timestamp
- Test 2 (WiFi disassociation recovery) — pass recorded
- Test 3 (Session expiration simulation) — pass recorded or not applicable documented
- Test 4 (Content update after reconnection) — pass recorded
Event-Window Verification Protocol in Place:
- 72-hour pre-event verification steps documented and assigned to a responsible team member
- 24-hour pre-event verification steps documented
- Day-of sync check steps documented
- IT contact confirmed for event-window coverage
Annual Maintenance Scheduled:
- MAC bypass registration review scheduled at the start of each academic year
- Post-network-change verification protocol documented
- Post-OS-update verification protocol documented
- Annual cold-boot reconnection test scheduled before fall event season
A touchscreen recognition display captive portal compatibility checklist completed before installation is the difference between a recognition kiosk that reconnects reliably after every power cycle and one that drifts silently offline between visits from IT. Inductees, donors, and families who attend school events expect the display to be working — the network configuration work that makes that possible happens before anyone walks through the door.
See How Rocket Supports School IT Teams With Recognition Display Operations
Rocket Alumni Solutions builds digital hall of fame and recognition systems with offline content caching, platform health monitoring, and sync status reporting designed to keep recognition displays current through any network event. Request a demo to see how the platform supports unattended kiosk deployments in real school environments — including the network configuration documentation your IT team needs before installation.
Request a Demo